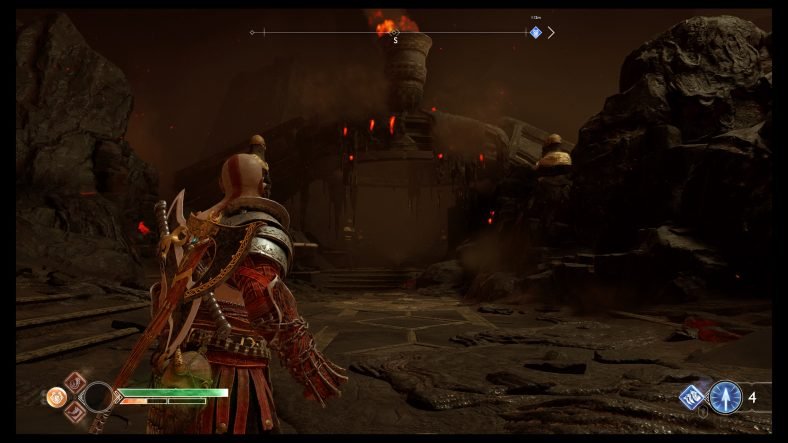
In this God of War Muspelheim Guide, we will guide you on how you can complete the realm of Muspelheim. Muspelheim is one of several realms present in God of War and is also called the Realm of Fire. This realm is not related to the main story in anyway and you need to unlock this realm by performing a certain task. Our God of War Muspelheim Guide ensures that it covers all the details necessary for completing Muspelheim.
The Muspelheim realm is divided into a number of challenges that need to be completed in order to reach the top of the mountain. As you make progress in the realm, these challenges become harder and harder while each cleared challenge takes you one step closer to the until gauntlet challenge of Muspelheim. We have shared some tips and strategies below on how you can clear each challenge and complete the realm.
God of War Muspelheim Guide
Our God of War Muspelheim Guide details everything that you need to know about completing the Realm of Fire. To clear the Realm, you must complete a set of 10 challenges, which are not easy by any means. Once you have cleared the initial challenges, the last challenge is to come face to face with a Valkyrie and defeat it. The Valkyrie that you need to defeat here is Gondul.
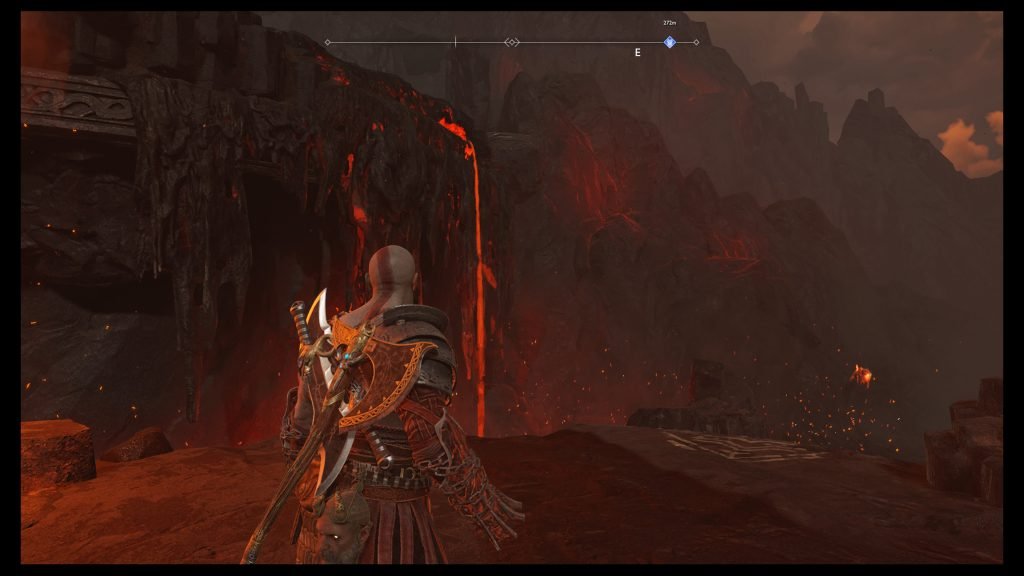
Once the Valkyrie is out of the way, another set of Impossible Trails will be unlocked which will be your final test before the final Gauntlet of the realm. The real challenge for you is this Gauntlet which when completed, will complete the favor ‘The Realm of Fire’. We have detailed below all trials and how you can easily complete them.
Muspelheim is not all challenges and despair. All this pain and grinding is totally worth it because here you can craft some of the best and epic gear pieces that cannot be found anywhere else in the game. You can collect Smoldering Embers in Muspelheim which is a resource exclusively found here and it is used to craft some of the best armor sets in the game.
As you complete more trails, you will earn more of this rare resource and you will be able to craft the gear as you advance in the realm. You can also find different chests around which contain Smoldering Embers. They are also an easy way of obtaining more of this rare resource. We recommend that you search every nook and corner of the realm for these chests.
Muspelheim Exclusive Gear and Items
We have detailed the complete armor and other equipment found exclusively in Muspelheim realm below.
Armor Sets
Three armor sets can be forged in Muspelheim.
- Smoldering Brimstone Armor (3 Pieces)
- Fallen Ash Armor (3 Pieces)
- Blazing Magma Armor Set (3 Pieces)
Talisman
Muspelheim exclusive Talisman is Sinmara’s Cinder.
Enchantment
Muspelheim’s Eye of Power is the exclusive Realm of Fire enchantment.
Axe Pommel
You can craft the exclusive axe pommel Sutr’s Grip of Flame in this realm.
Blades Pommel
Grips of the Forgotten Flame are the exclusive Realm of Fire blades pommel. Collect enough Smoldering embers to craft it.
Muspelheim Walkthrough
To access Muspelheim, you will need to collect four Muspelheim Language Scrolls, which allow you to travel to this realm. Once you have collected all four Muspelheim Language Scrolls, use the Realm Travel Room to travel to Muspelheim. Once you have travelled to this realm, leave the room and head down the path where you will soon come across Brok.
Brok has set up his shop here near a Mystic gateway and a Jotnar Shrine. Collect the shrine and then speak with Brok. He will tell you about the realm. Once the conversation is over, head down the path and go west. Find the wall on the right side and climb it to find a coffin behind it. Open it and you will find some Smoldering Ember inside.
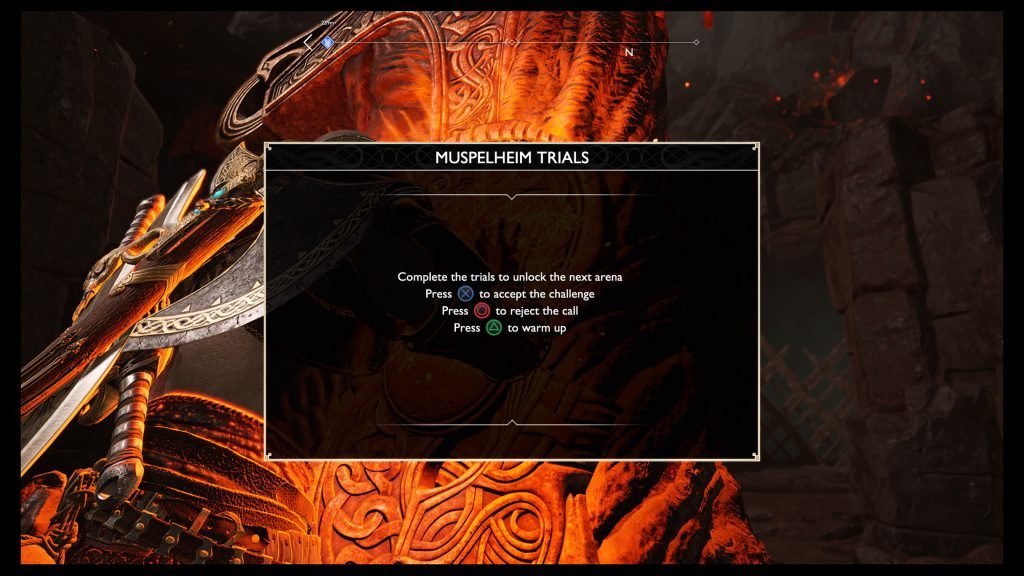
Head back to the main path and continue on to the first arena. When you reach the first arena, you will see a huge sword in the middle. Head to the sword and interact with it to begin the first trail.
Trial I – Time Attack (Normal), Resurrection (Hard)
When you first interact with the sword, you will start the first trial of Muspelheim. The first phase of the trail is based on a time limit. Enemies will spawn in waves and you will be required to defeat them all in under three minutes. Enemies spawning will be different types of Draugr so they should be easy to kill. Once all enemies are dead, you will complete the first phase of Trial I.
The second phase of Trail I is much harder and requires you to kill enemies quickly otherwise the fallen ones will respawn. Interact with the sword again to start this phase. When the enemies spawn, start hitting them but do not kill them right away. Hit all enemies and make sure that health bar of all enemies is nearly empty. Once this happens, you can kill them all in quick succession. Focus on heavy enemies first and then go for the weaker one.
Trial II – Survival (Normal), Stunner (Hard)
After the first trial is over, a gate will open. Follow the path and you will arrive in the next arena. Find the sword in the middle and interact with it to start the first phase of Trial II. For the first phase, you must survive for five minutes. Enemies will continue to spawn until the timer runs out so all you need to do is survive the onslaught. Stick to long-range combat and use Atreus’s arrows for maximum efficiency.
After completing the first phase, head to the sword again and interact with it initiate the harder phase of the trail. For this phase, enemies cannot be defeated until you stun grab them. We suggest that you ditch your weapons for this phase and use Guardian Shield and Kratos’s fists to kill enemies. They will quickly build up the stun meter allowing you to stun grab them. Atreus’s shock arrows are also helpful here.
Trial III – Shield Breaker (Normal), Gold Ring Challenge (Hard)
After completion of Trial II, another gate will open. Follow the path to the next arena. If you look on the left side on the way to next arena, you will find some Hacksilver as well. Collet it and then start climbing the cliffs with the lava waterfall.
Enter the arena and find the sword in the middle. Interact with it to start the first phase of the trail, Shield Breaker. An elite will spawn in the arena accompanied with some weaker enemies. The key to defeating the elite here is to lower his shield by killing the weaker ones. Even if one weak enemy is still standing, the elite will be invincible behind a shield. Kill all weak enemies to lower the shield and deal damage to the elite.
After defeating the elite, the sword will appear again in the arena. Interact with it to start the second phase of the trial. For the second phase, you will need to eliminate enemies inside the gold rings that appear in the arena. For each wave of enemies, a certain number of enemies must be killed inside these rings. The golden rings will keep changing places so keep an eye out for them. Weaken enemies outside the rings and then lure them inside to kill them.
Trail IV – 100 Kills (Normal), Protector (Hard)
After completing Trial III, use the opened gate to follow the path further and reach the next arena. Find the sword and interact with it to start the first phase of killing 100 enemies. This is a straightforward challenge. There is no time limit or fixed location. Kill 100 enemies in any means necessary to complete the challenge.
For the second phase, you will have to protect Atreus. Enemies will focus more on Atreus this time around and if he is grabbed by the enemies three times or incapacitated three times, the trial will fail. The best strategy here is to keep him in your sights all time and attack any enemy that gets close to him. Special Son Killer Heavy Draugrs will spawn here. Keep them away from Atreus.
Trial V – Time Slips Away (Normal). Untouchable (Hard)
Nearly to the top, complete Trial IV to open the next gate to access the path to Trial 5. Here if you look to the left side while climbing the steep cliff, you will find a narrow path that you can shimmy across to find and open a coffin. After looting, head back and up the cliff to reach the next arena. Interact with the sword to begin the Time Slips Away phase. This is a classic kill and time challenge. You start with a small amount of time with each kill adding 30 seconds to the timer. Defeat all waves of enemies to complete the phase.
For the second phase, you cannot take any damage. If you are hit a single time, the trial will fail. Stick to ranged combat and defeat all 20 enemies. You should always be aware of your surroundings for this challenge and make sure that you maintain a safe distance from all of them. Keep rolling; maintain a safe distance, stick to ranged combat and you should be fine for this challenge.
Trial VI – Valkyrie Battle
Once the gate opens, head through to reach the top of the mountain where you will come across the Valkyrie Gondul. Gondul is a dangerous Valkyrie and you should maintain your distance while fighting her. Use your axe throw as much as you can to deal damage while staying at a safe zone. Atreus can also help you with his shock arrows for this fight. Defeat the Valkyrie to unlock the impossible trials, which will drop keys to unlock the final Gauntlet.
Impossible Trials
The final Gauntlet is located inside this Valkyrie boss battle arena however you cannot interact with the sword right now. For this, you need to collect three keys by completing the Impossible Trials. Each trial arena, which you completed before, now have these Impossible Trials. All the swords are back in their place and you can interact with them to start the ultimate set of challenges.
These Impossible Challenges are basically two challenges combined into one challenge which dramatically increases the difficulty for each challenge. To access the final Gauntlet, you need to complete three Impossible Challenges and win three keys. Each Impossible Challenge will give you one key when completed. You can complete any three challenges out of five to access the Gauntlet.
You can go back to each arena and interact with the swords there to start trials. You can start them in any order. You can find detailed guides on these Impossible Trials below.
Impossible Trial – Untouchable
One of the Impossible Trials is untouchable where you must defeat 20 enemies without getting hit a single time. You will come across more aggressive enemies this time around. Completing the challenge will reward you with a key.
Impossible Trial – Time Attack
Classic time attack but with harder enemies. Defeat all enemies to complete the trial and win a key.
Impossible Trial – Kill Location
Killing enemies inside the ring will count towards the score. Rings will change quickly and the enemies will be much tougher this time around. Complete the challenge to win a key.
Impossible Trial – Stunner
Kill all enemies using stun grabs for this challenge. Enemies will quickly regenerate their health so use your fists against their faces to quickly fill the stun bars or Atreus’s arrows will take care of them. Complete the challenge to win a key.
Impossible Trial – Time Slips Away
You start the challenge with even less time and each enemy kill gives relatively less time. Enemies are tougher as well. Sounds like the perfect combination. Even quick kills will not allow the time to exceed the 1:30 limit. Complete the challenge to win a key.
Complete any three of these challenges to win a key. Fourth and Fifth challenge will not give you a key when completed as you only need three to access the Gauntlet. Complete any three challenges in any order you like to reach the final test, The Gauntlet.
The Gauntlet
The Gauntlet is the final test of The Realm of Fire that only the worthy will survive. Tackle this challenge and complete it to prove your might and complete the ‘Realm of Fire’ favor. Head back to the top of the mountain once you have three keys to take part in the Gauntlet. Unlike other challenges, the Gauntlet has three winning conditions and you can opt for any one that you like. Each winning condition also awards you with medals based on your performance while attempting that goal.
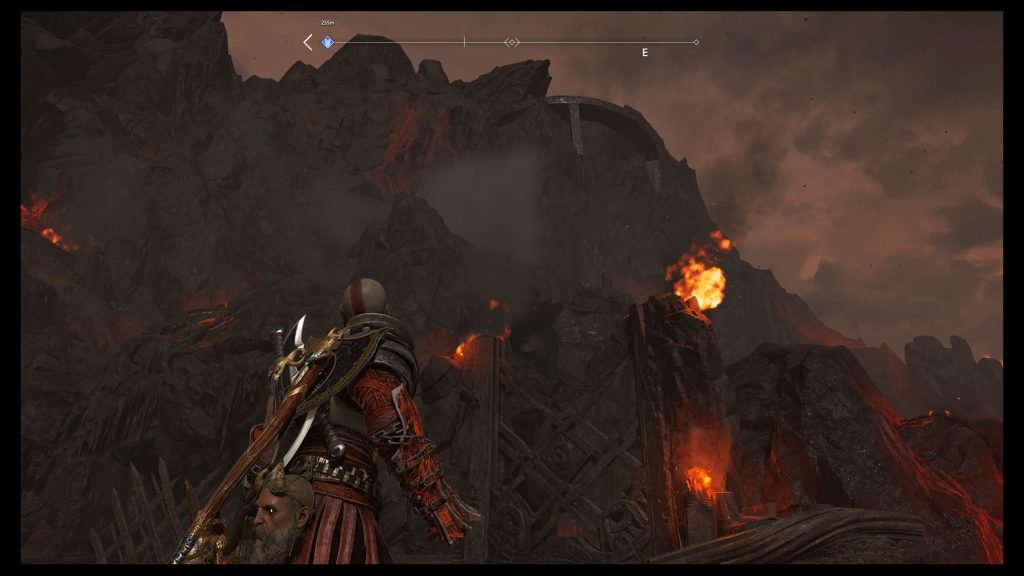
We have detailed the winning conditions for the Gauntlet below.
- Condition # 1 – Defeat 50 enemies as quickly as possible
- Gold Medal – 8:00
- Silver Medal – 16:00
- Bronze Medal – 32:00
- Condition # 2 – Defeat as many enemies as possible before the timer runs out
- Gold Medal – 50
- Silver Medal – 35
- Bronze Medal – 20
- Condition # 3 – Defeat as many enemies without getting hit
- Gold Medal – 35
- Silver Medal – 20
- Bronze Medal – 8
These are the winning conditions required for conquering the toughest challenge of Muspelheim. Aim for anyone and make sure that you achieve at least a bronze to complete the Gauntlet.
For a detailed guide on completing Niflheim, the realm of fog, check out our God of War Niflheim Guide here.
This concludes our God of War Muspelheim Guide. If you want to add anything to this guide, feel free to use the comments section below.


