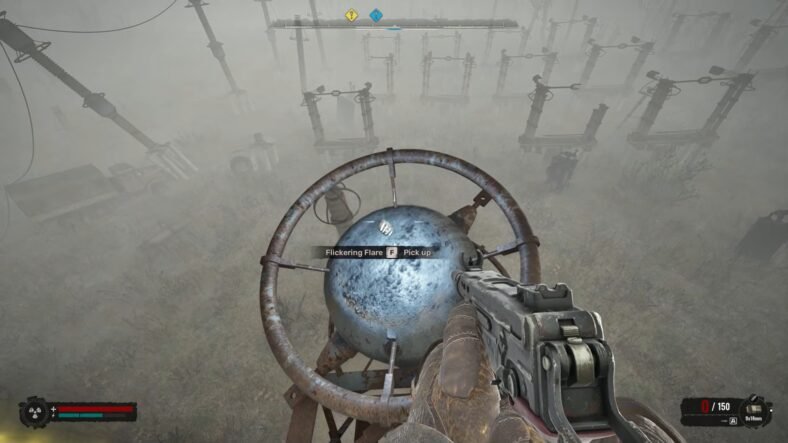
This STALKER 2: Cost of Hope guide tells you where to get the Flickering Flare Artifact and how to safely reach it through the dangerous anomalies in the Iron Forest. The route involves using cover, carefully moving across the area, and throwing bolts into anomalies before making your way to the artifact’s location.
Flickering Flare Artifact Guide –STALKER 2: Cost of Hope
In order to get the Flickering Flare Artifact, head towards the Iron Forest and go to the location with a white exclamation mark on the map.
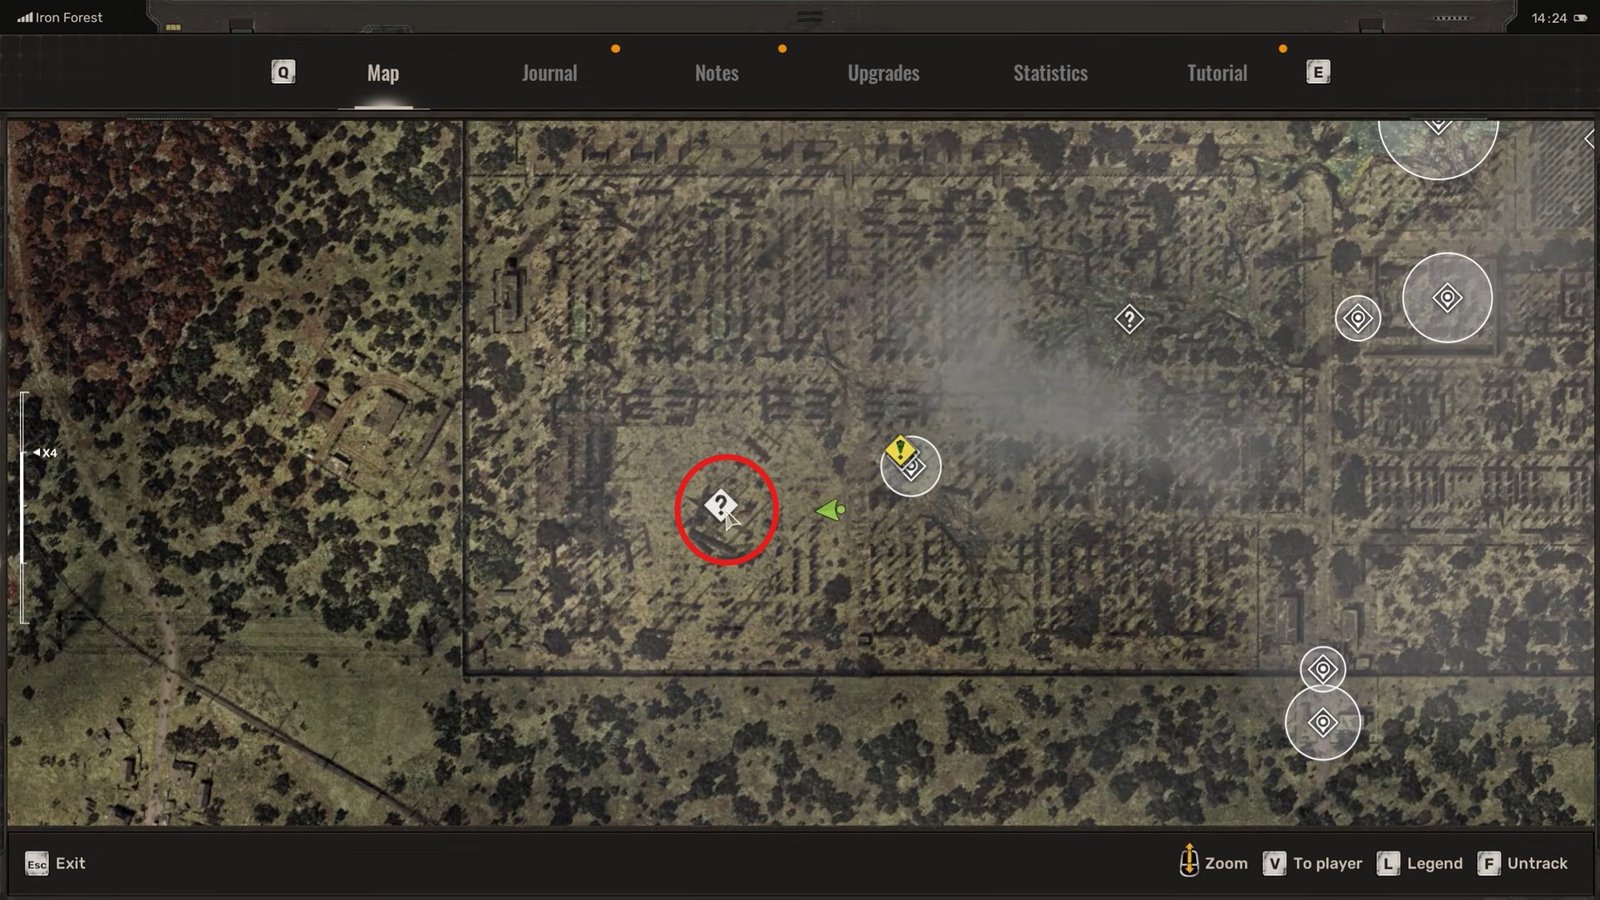
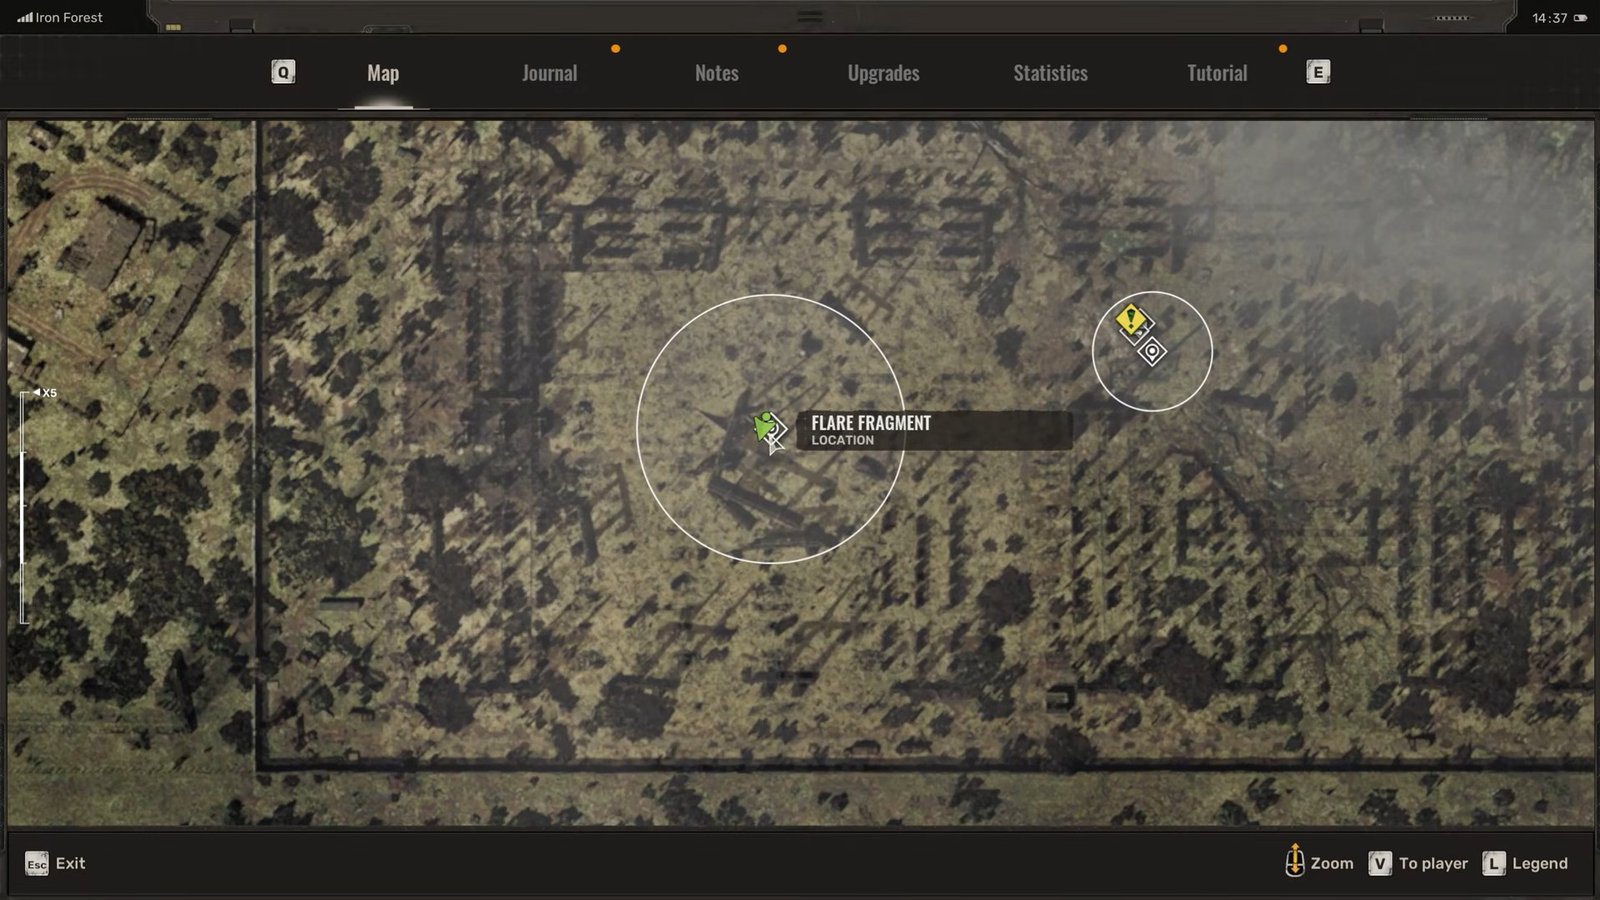
Once you reach the area, be aware of a yellow flare directly ahead. If you let it take up the whole screen, you will take a lot of damage when approaching.
To avoid taking any damage, back up and take cover behind obstacles while the flare is on, and then proceed forward once it is safe to do so.
When you get to this anomaly, the starting point to get the flare is going to be Flare Fragment, so go to this location. Then head towards the wall and smash the boxes and electrical sphere out of the way. Be sure to take cover between actions; don’t be left out in front of the anomaly.
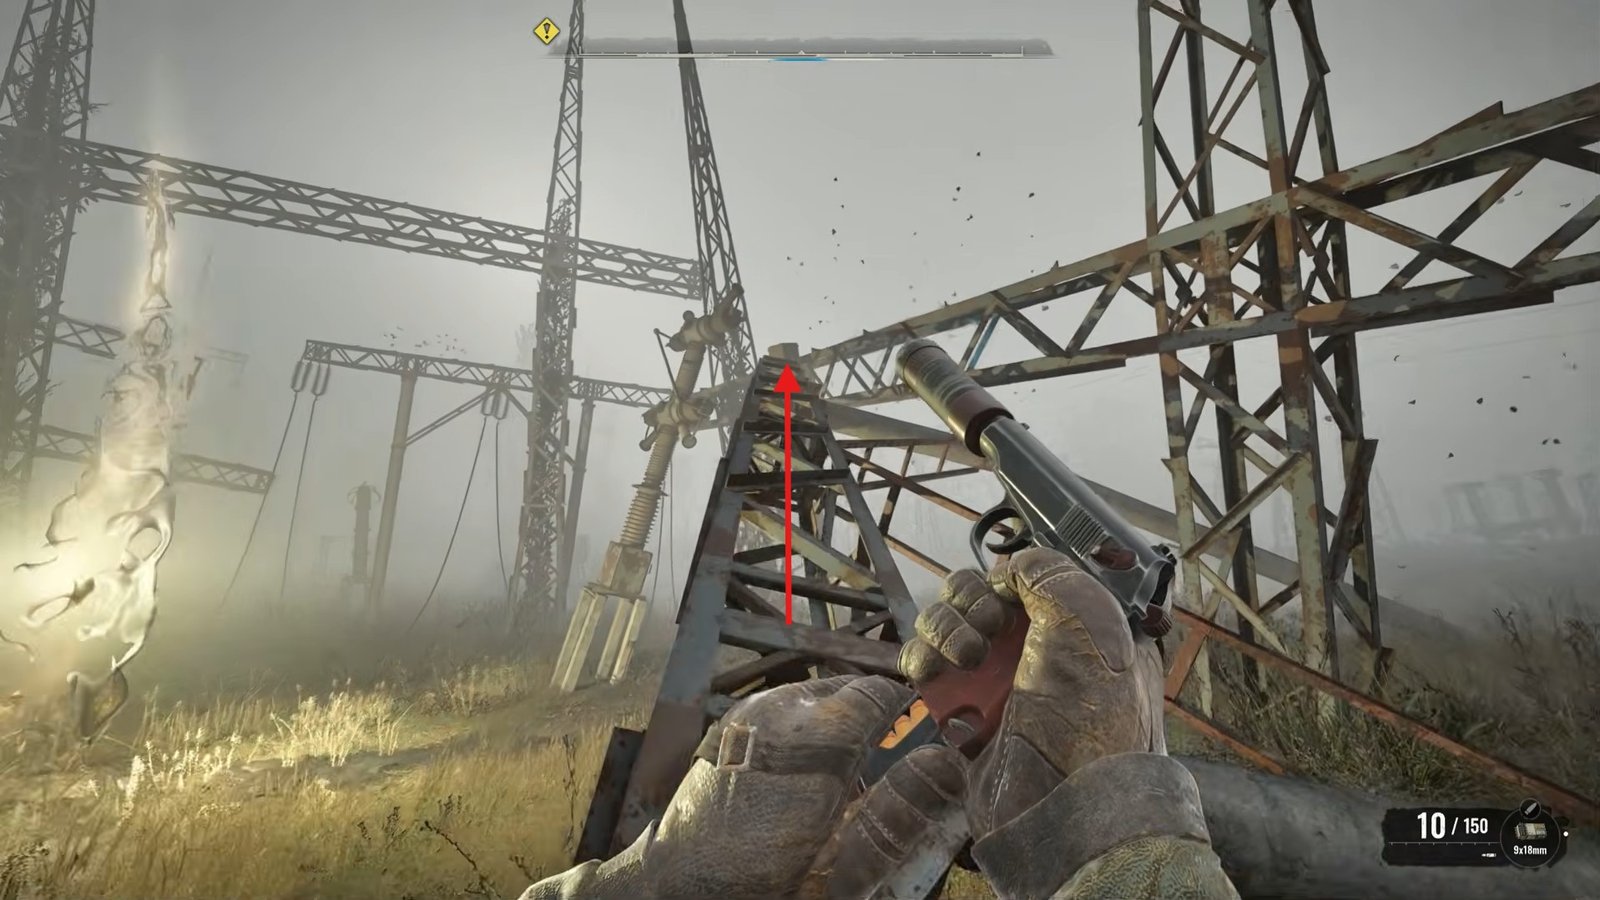
Once you’ve passed each obstacle, jump across to the next, and proceed through the obstacle course.
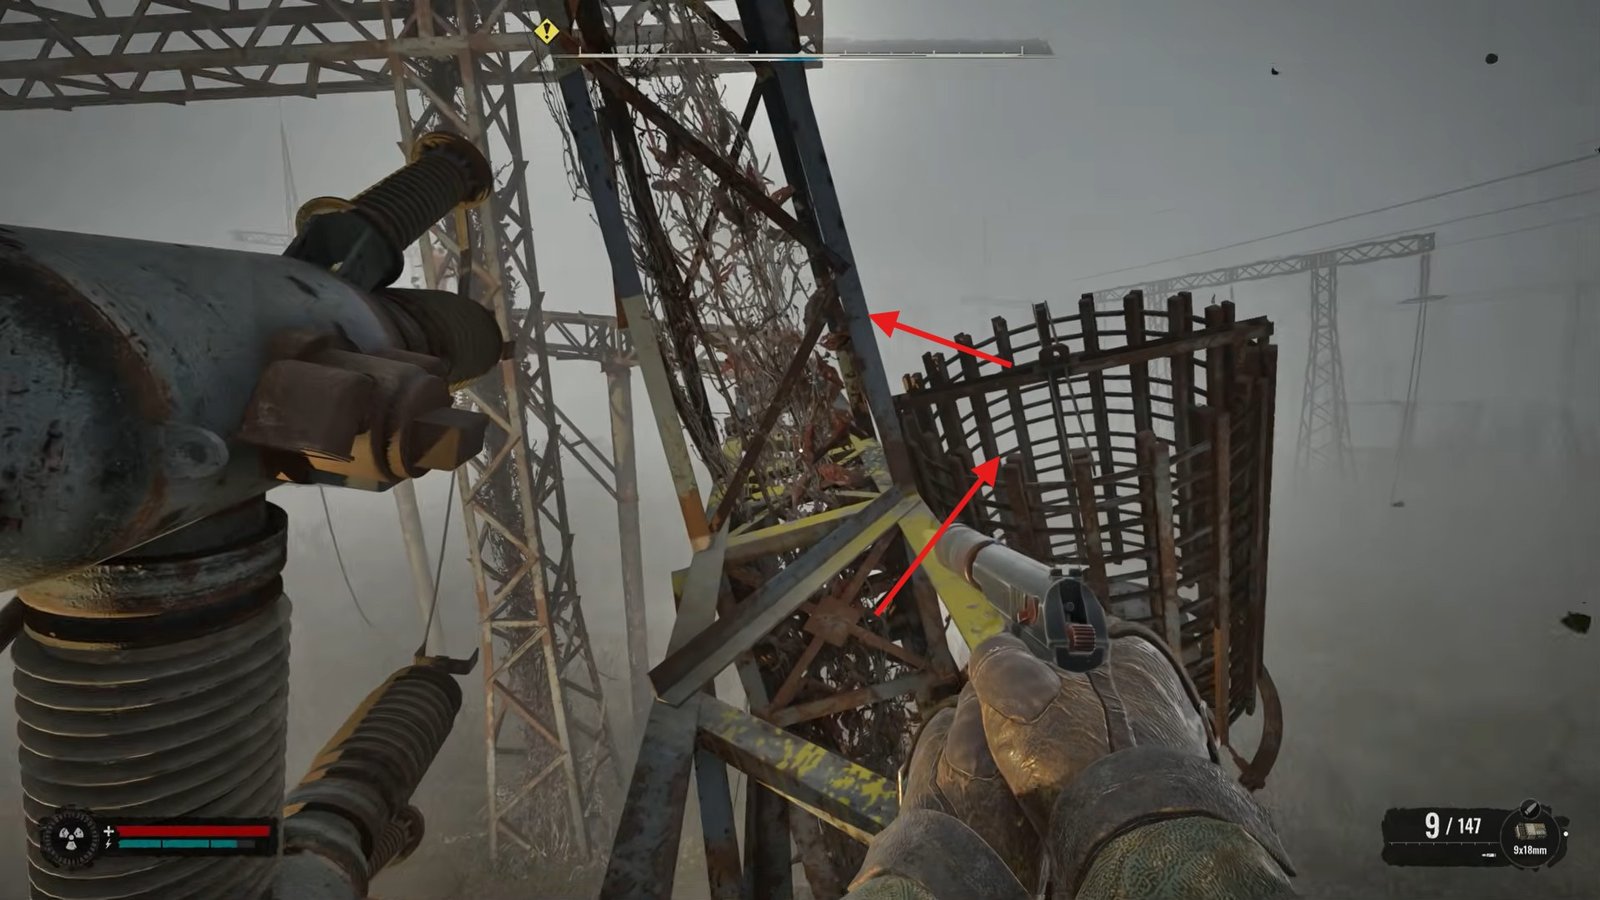
Several jumps will be required, and care will have to be taken to avoid any dangerous spots.
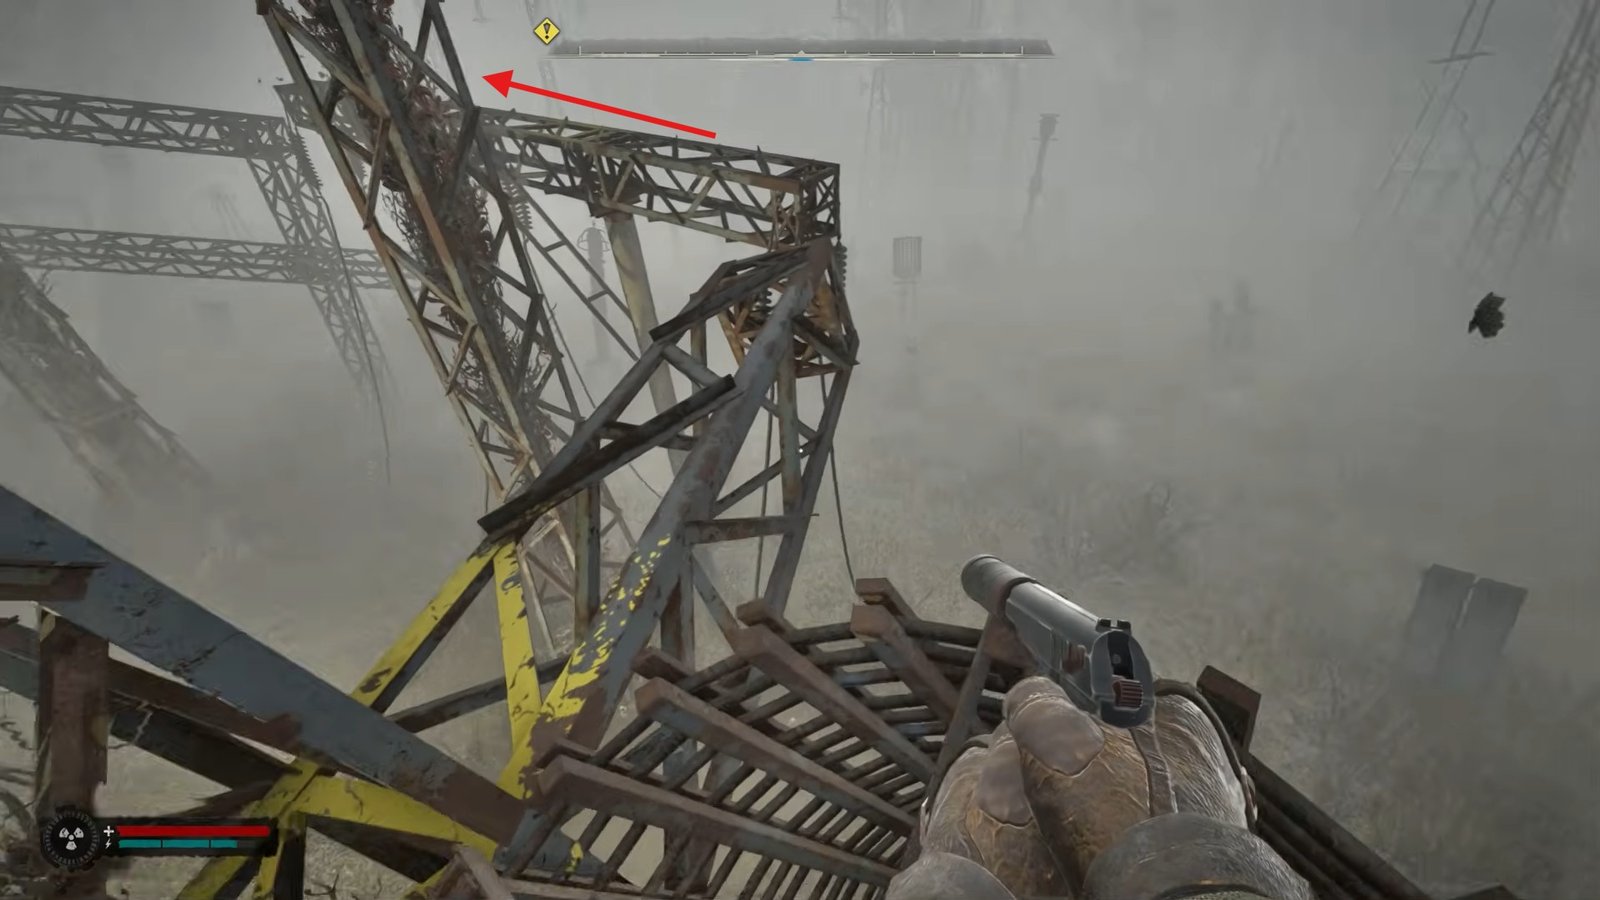
During the journey, you will come across another anomaly. This time, take out a bolt and throw it into the anomaly. When the anomaly clears, sprint across as soon as it passes, and jump across to the next area.
Now this next area will be a bit tricky; you will see that there is a can placed over there with electricity ahead. Carefully jump on the can ahead, and from that can jump over the electricity.
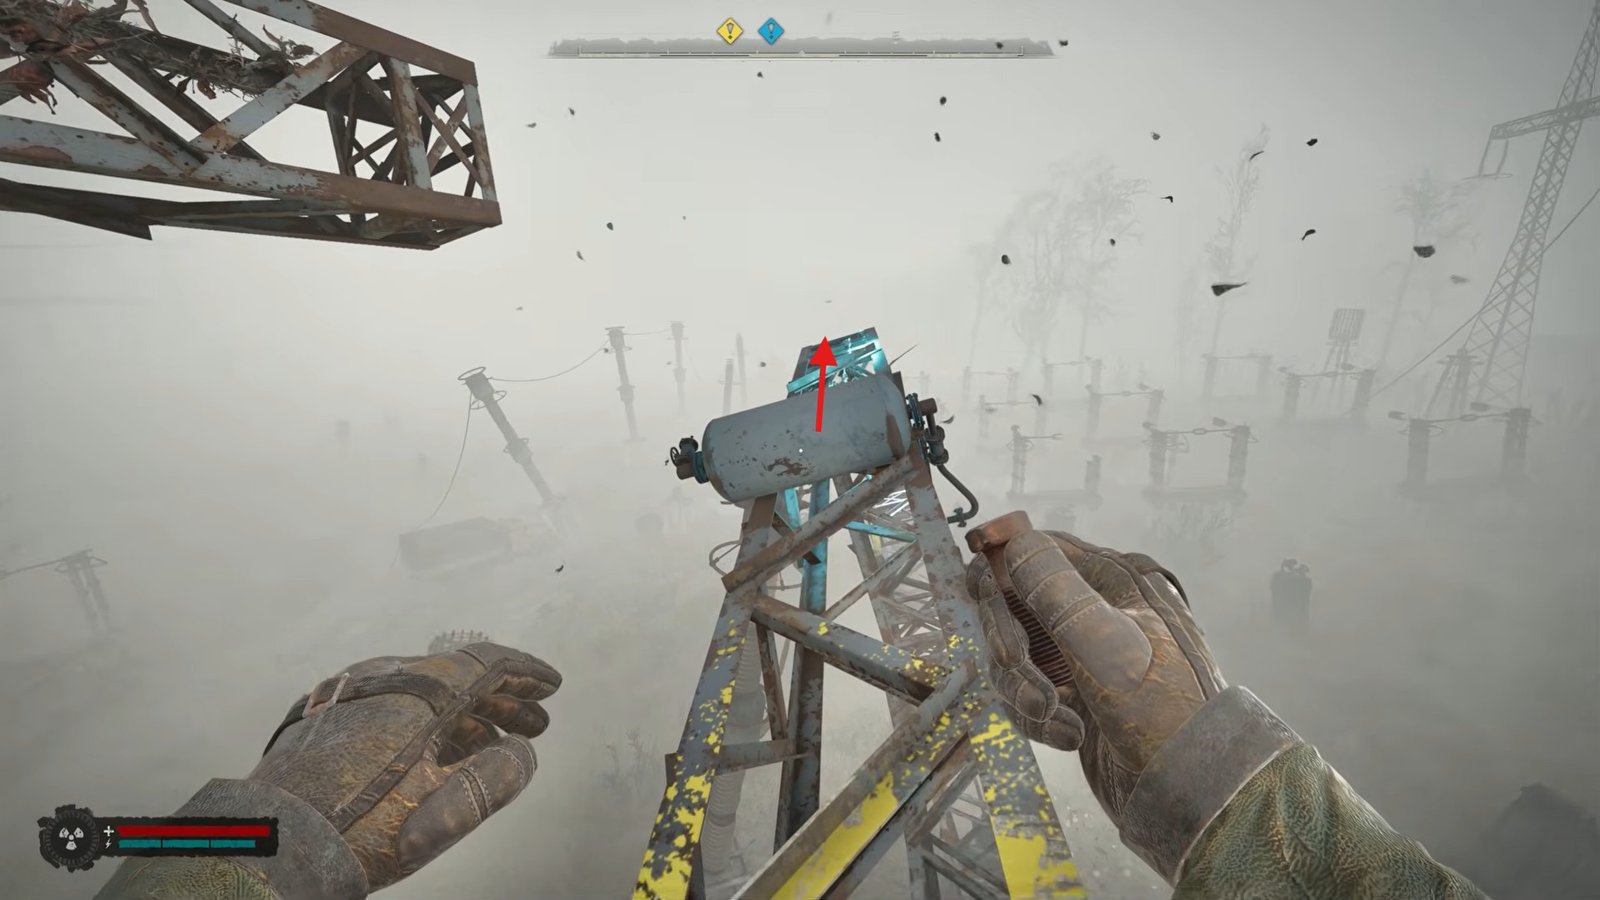
Once you’ve made it through this section, you’ll arrive at the area containing the Flickering Flare Artifact. Close by, there’s also a backpack that can be looted as well.
Flickering Flare Artifact is a piece of metal that contains some type of light source that glows inside. With your gear, it can help ease PSI headaches and ensure that it keeps your thoughts clear. It gives +2 PSI, allowing one to minimize the mental effects, which will clear your character’s head of hallucinations.
That is all for this guide. Additional STALKER 2: Cost of Hope guides are linked below:
- All Door Code Combinations in STALKER 2: Cost of Hope Guide – Shadows of the Past Quest
- How to Get the Generator Room Key in STALKER 2: Cost of Hope
- How to Get the Flare Light Artifact in STALKER 2: Cost of Hope
- How to Get Luftgarde in STALKER 2: Cost of Hope
- How to Get Maximum Sniper Rifle in STALKER 2: Cost of Hope
This concludes our Flickering Flare Artifact Guide for STALKER 2: Cost of Hope. If you want to add something to this guide, feel free to use the comment section below.