This STALKER 2: Cost of Hope Flare Light Artifact Guide details you on how to obtain the valuable Flare Light artifact through the Forgotten side quest. Before you reach the final part of the quest, you first need to collect and equip five other artifacts and travel through the Water Purification Facility to retrieve the main artifact and complete the final objective involving Otter.
Flare Light Artifact Guide – STALKER 2: Cost of Hope
To begin, travel to the CN PPP area and look for the hole in the ground in the area that is marked on the map.
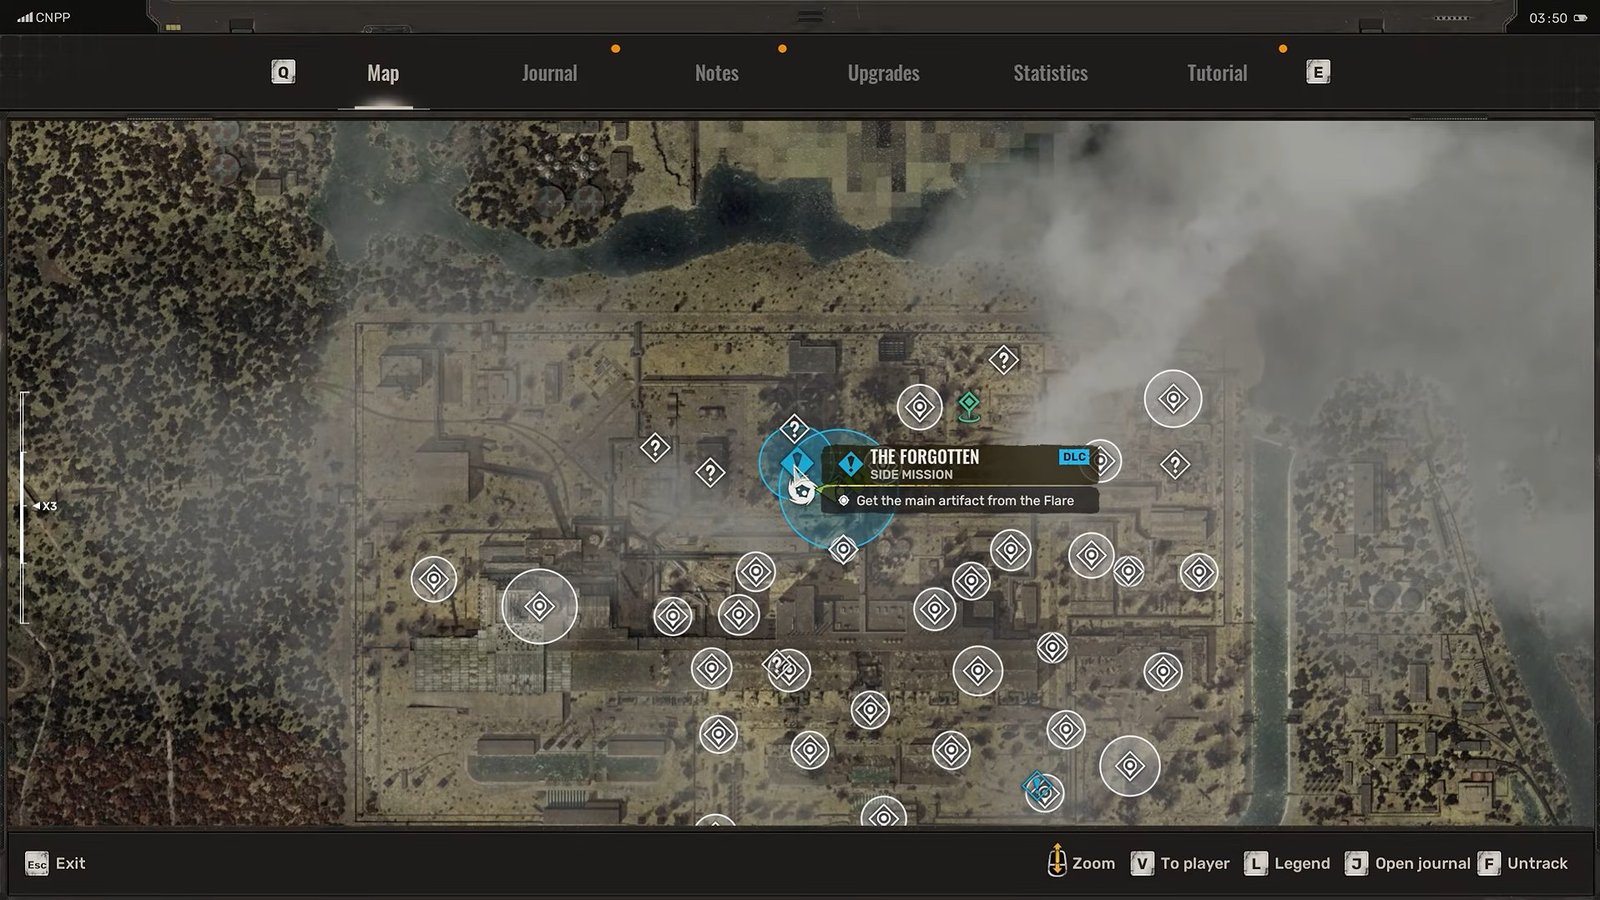
Enter the hole and follow along the path through the underground section.
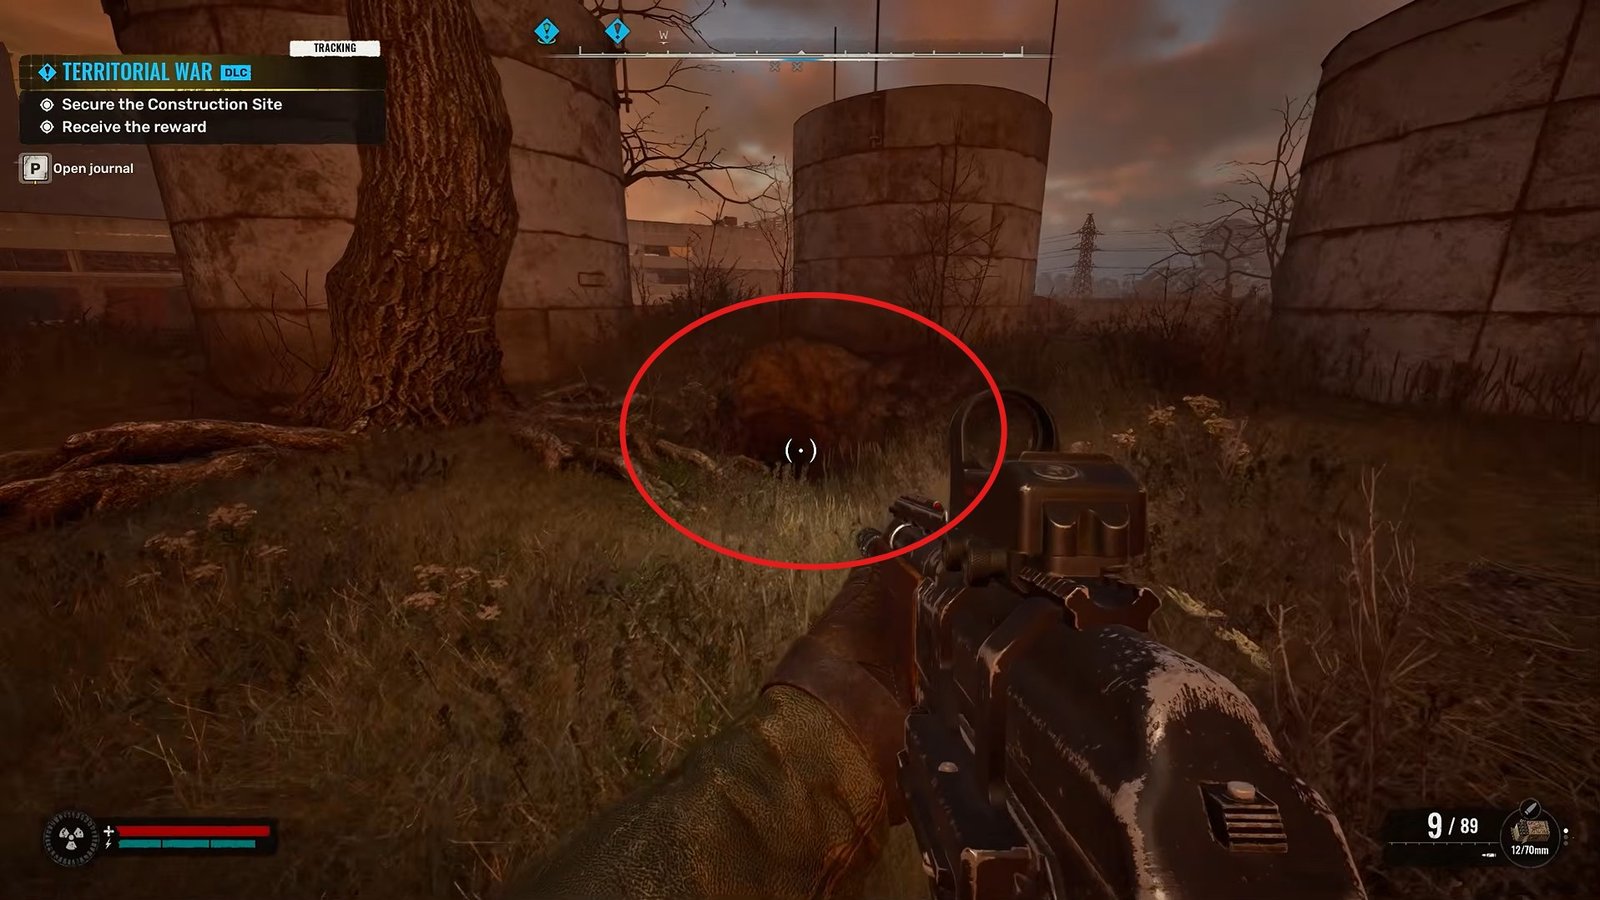
Once you have gone through the entire path, the Forgotten side quest will begin. As you progress through the quest, you need to collect the required artifacts. After you have done so, head over to the technician and upgrade your suit so that you can equip all five artifacts at the same time. Equipping the full set unlocks the final stage of the Forgotten quest, which sends you after the main artifact known as Flare Light.
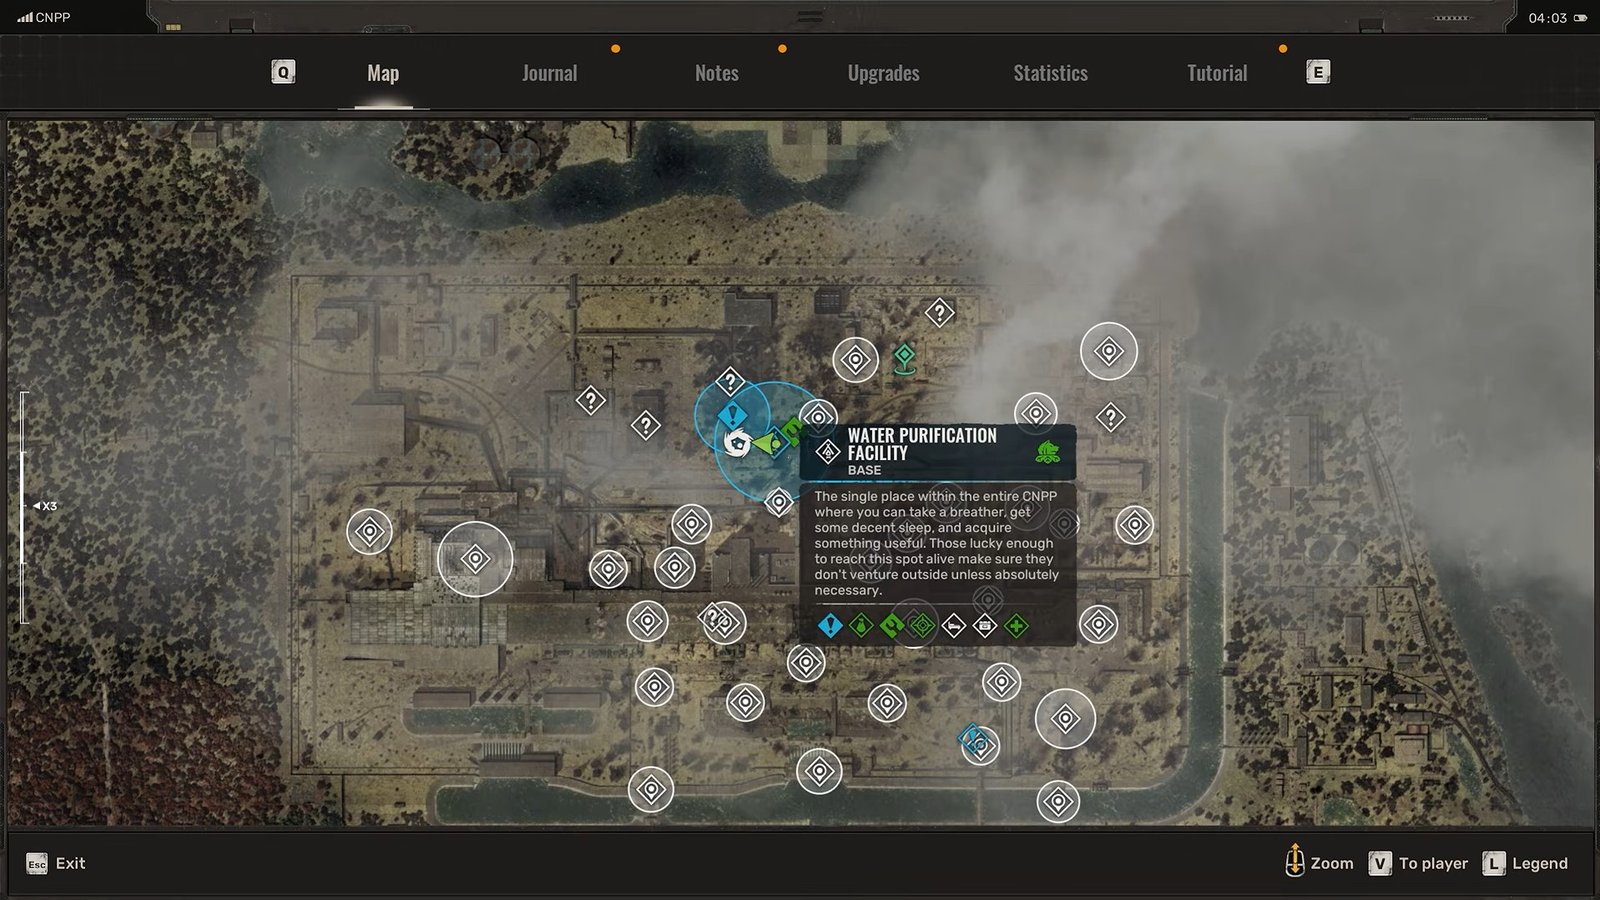
Next, head to the Water Purification Facility, which serves as the main base for the next section. Make sure all five required artifacts are equipped before continuing. From the base, follow the route through the area by making jumps and avoiding the water.
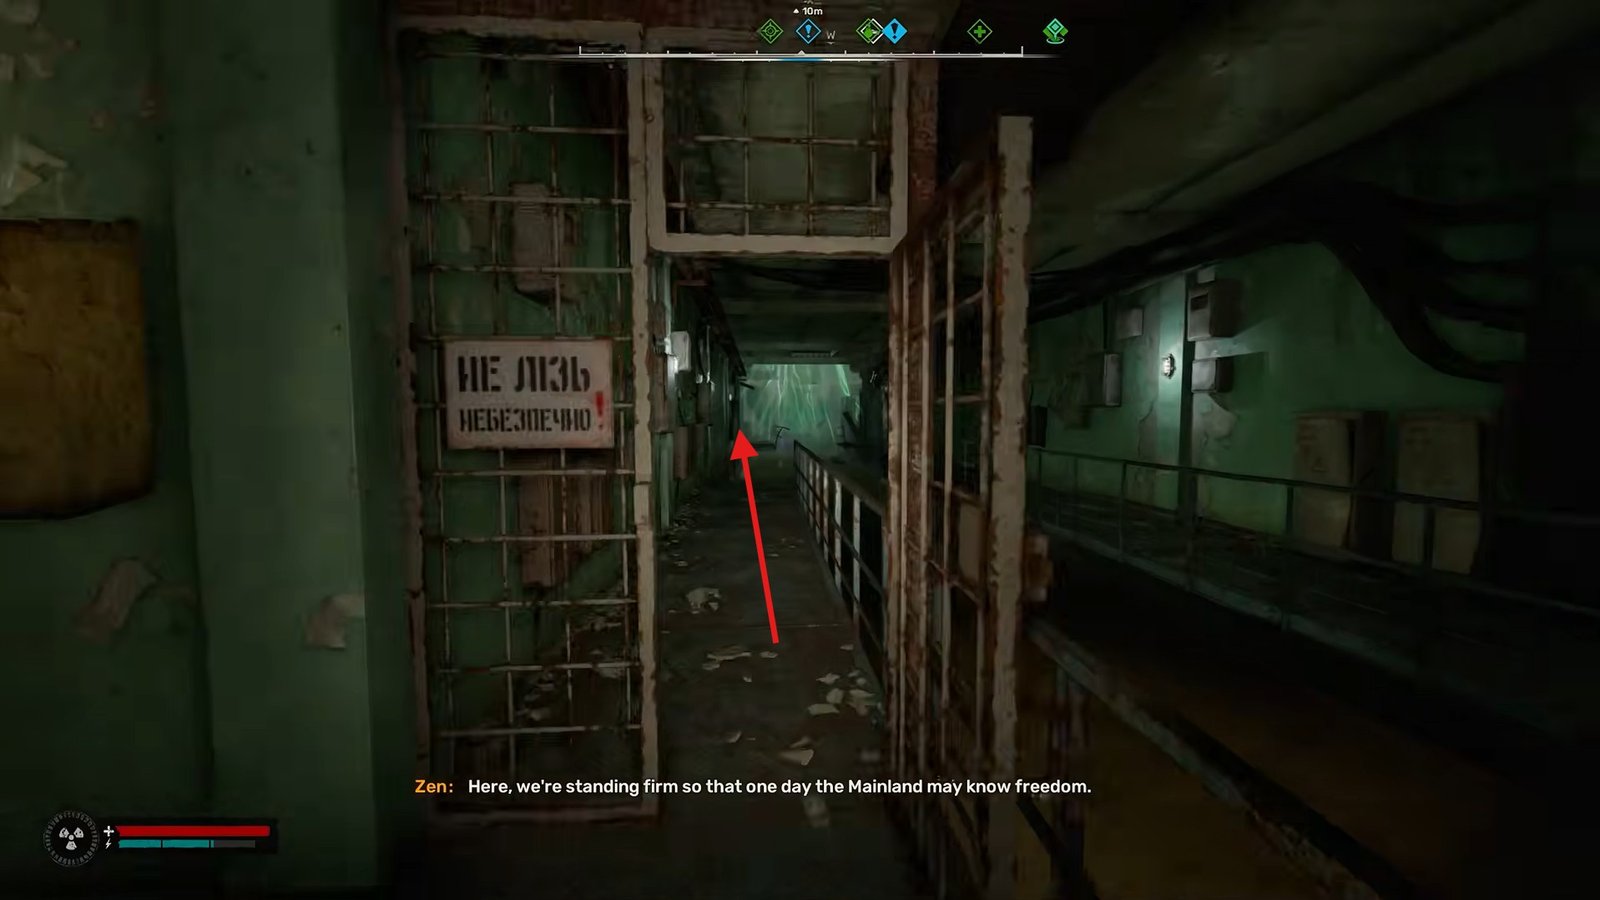
If a jump along the way is too difficult, you can instead move through the water, but the flare can damage you during this section, so it is recommended to keep some healing items ready if you need to take this alternative route.
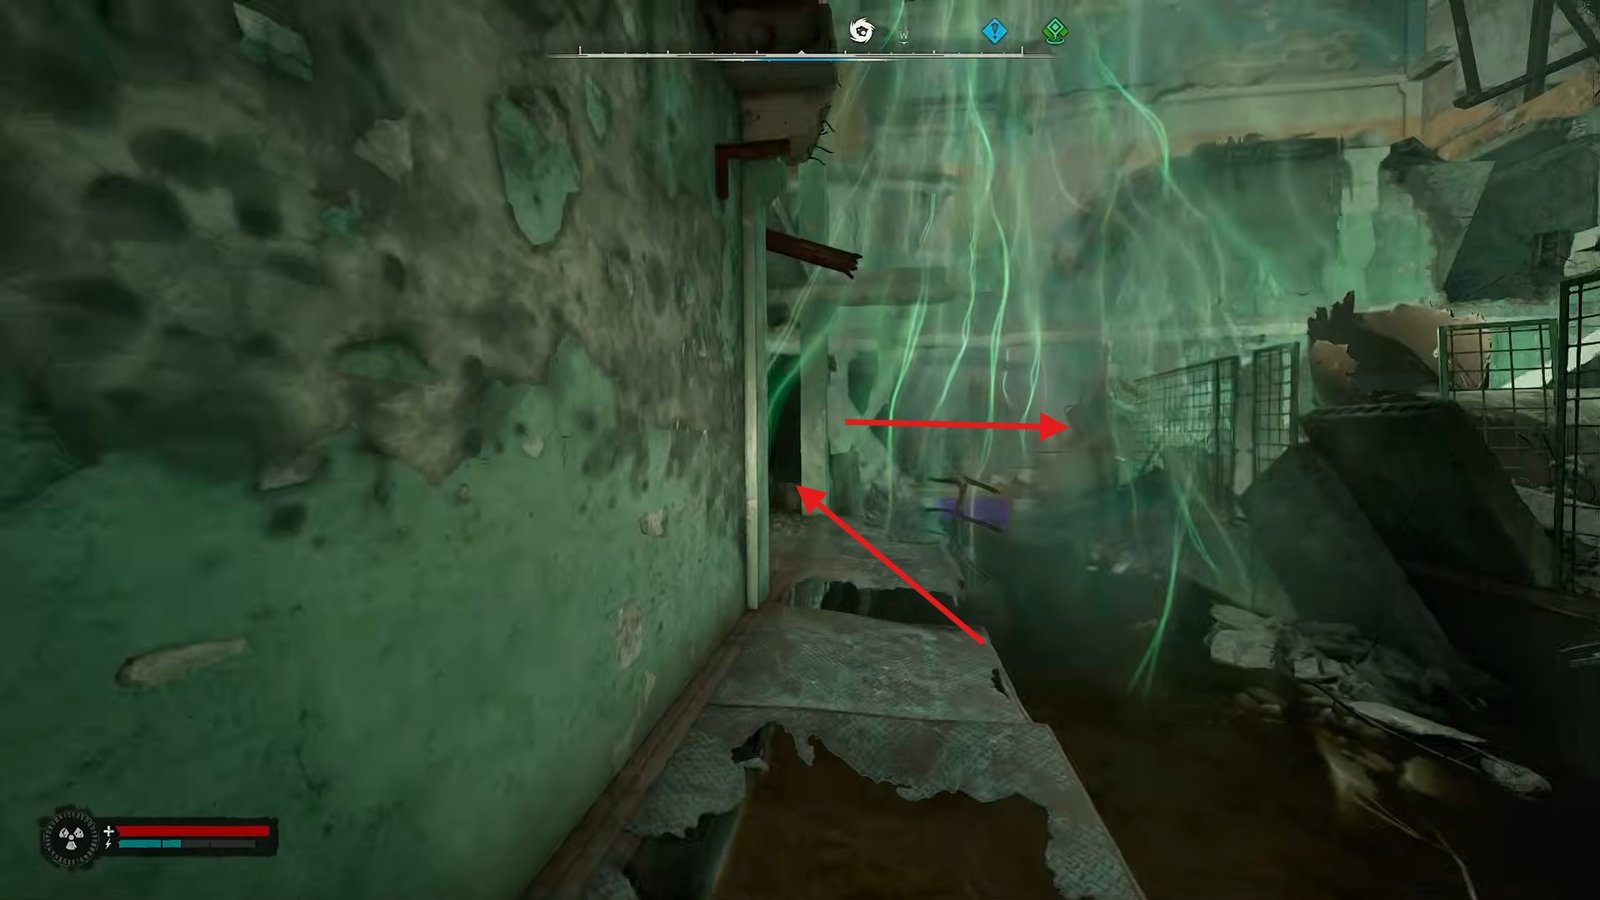
After reaching the upper area, move toward the right side of the wall and continue through.
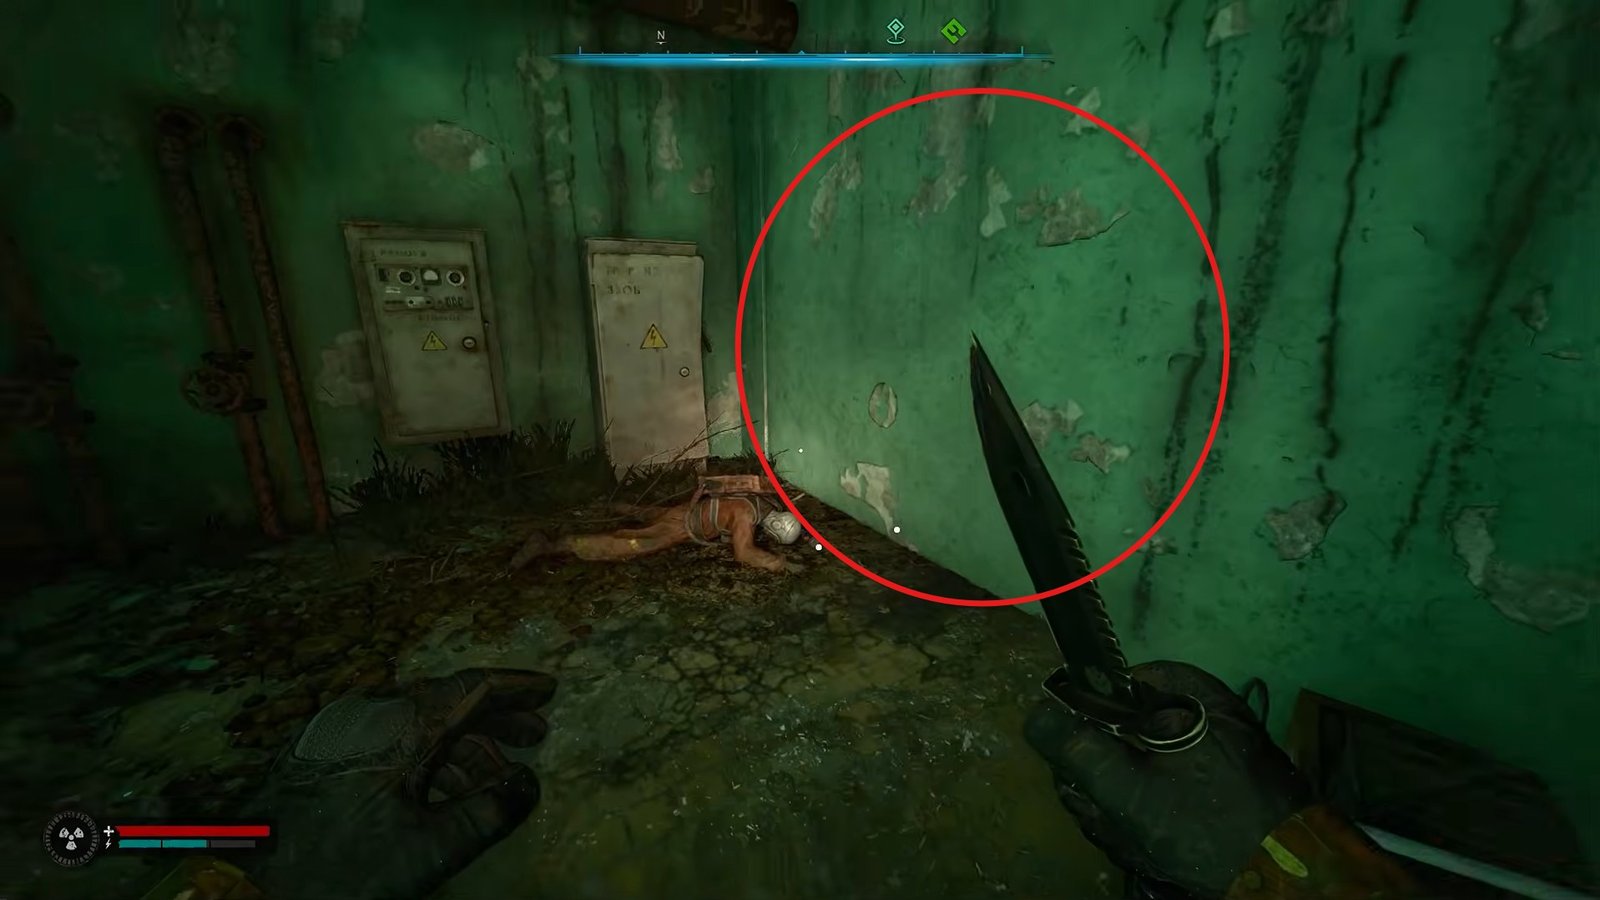
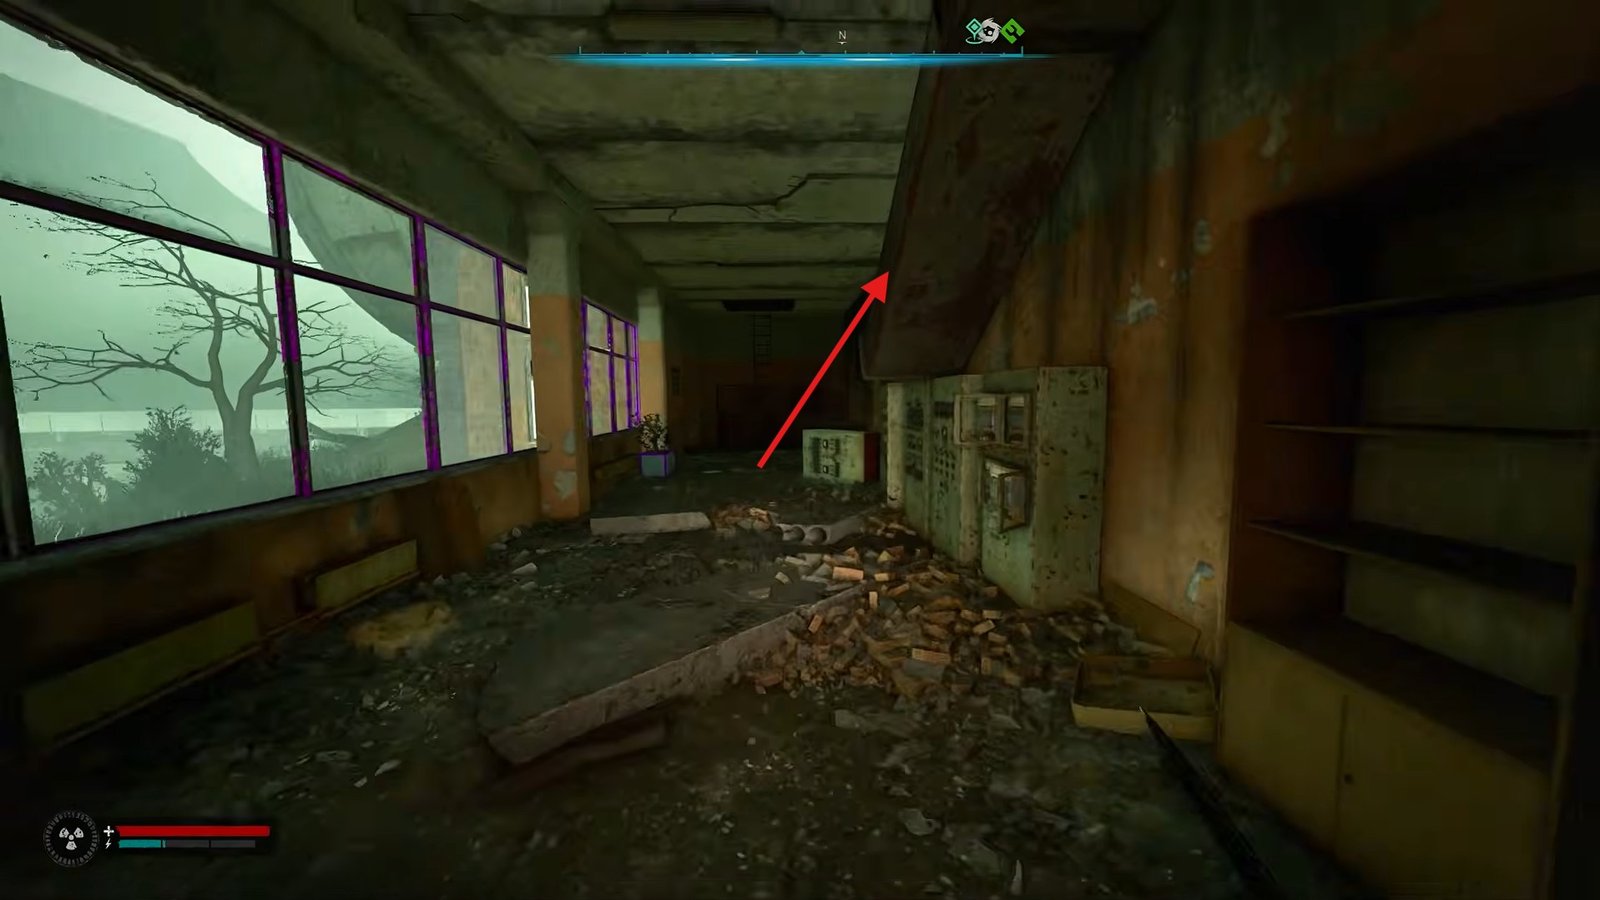
Once you are at the top, you will then come across several spheres, but your goal is to reach the sixth sphere, where the Flare Light will be found.
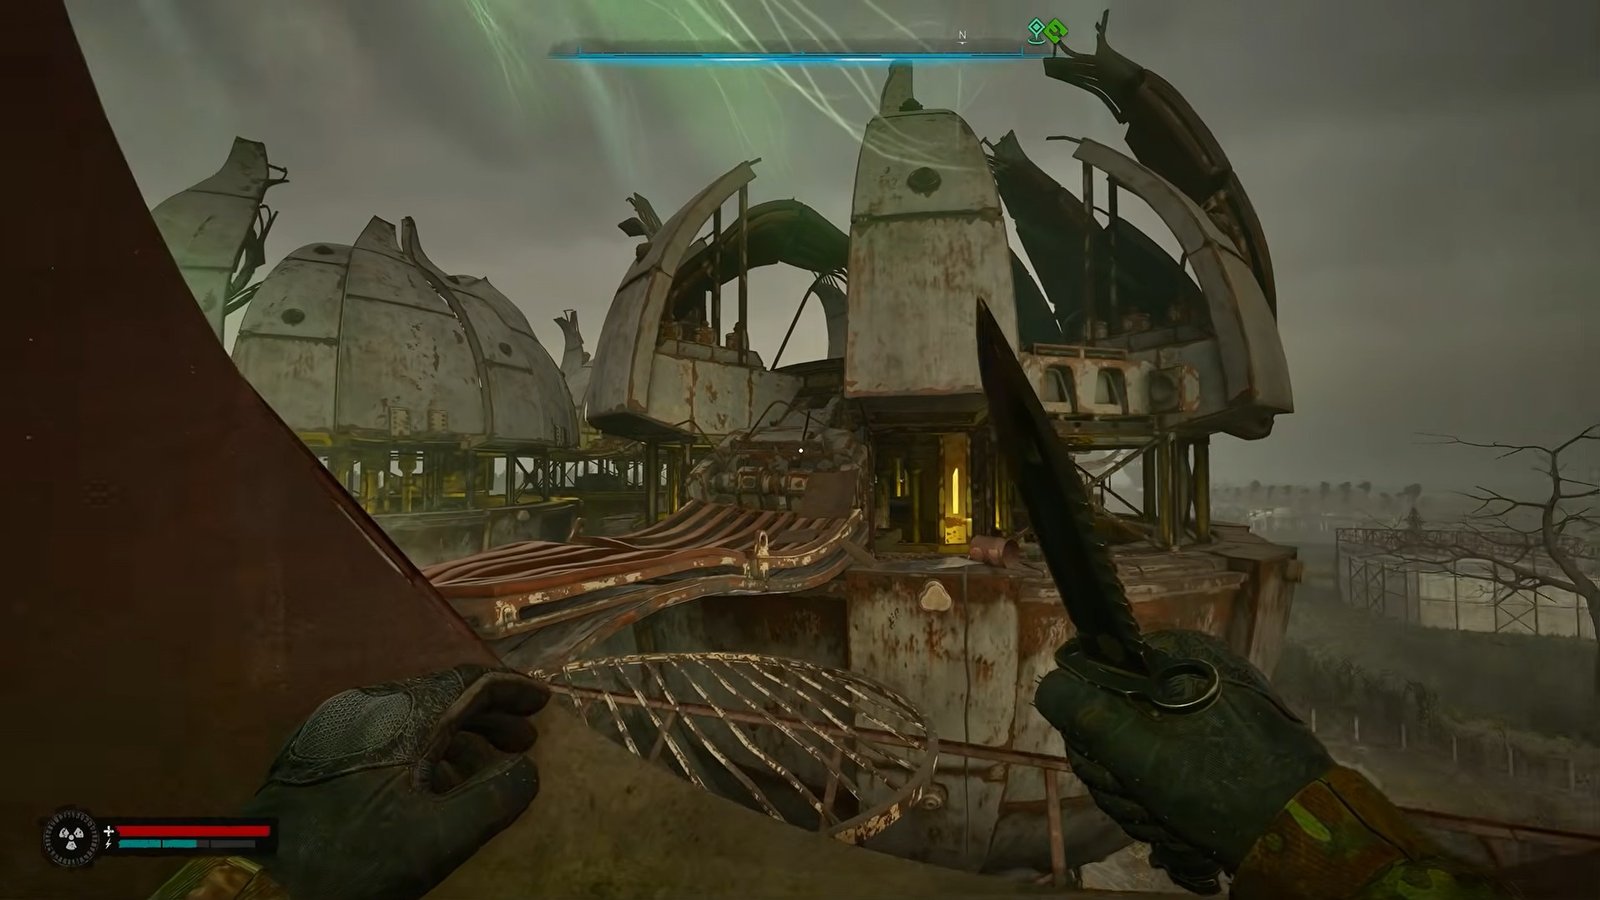
Before continuing further, make sure you equip a bolt, as you will encounter several anomalies while making your way through the area. Use it whenever necessary to get through the dangerous sections and continue towards the final sphere.
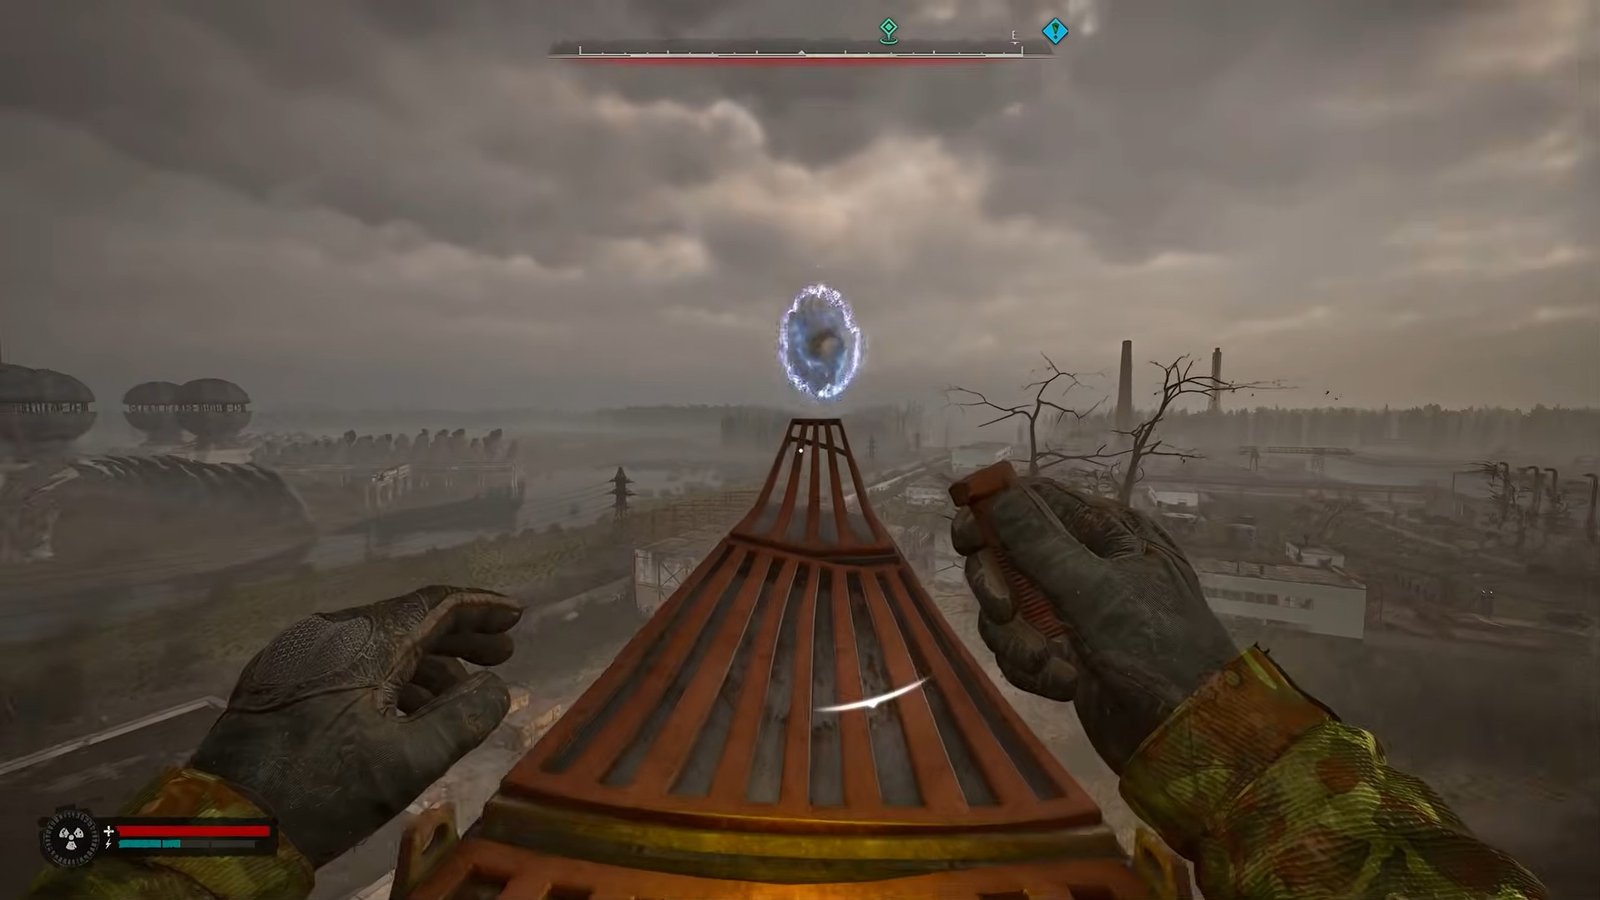
Once you reach the sixth sphere, search the available artifacts until you find the Flare Light, pick it up to complete this part of the quest.
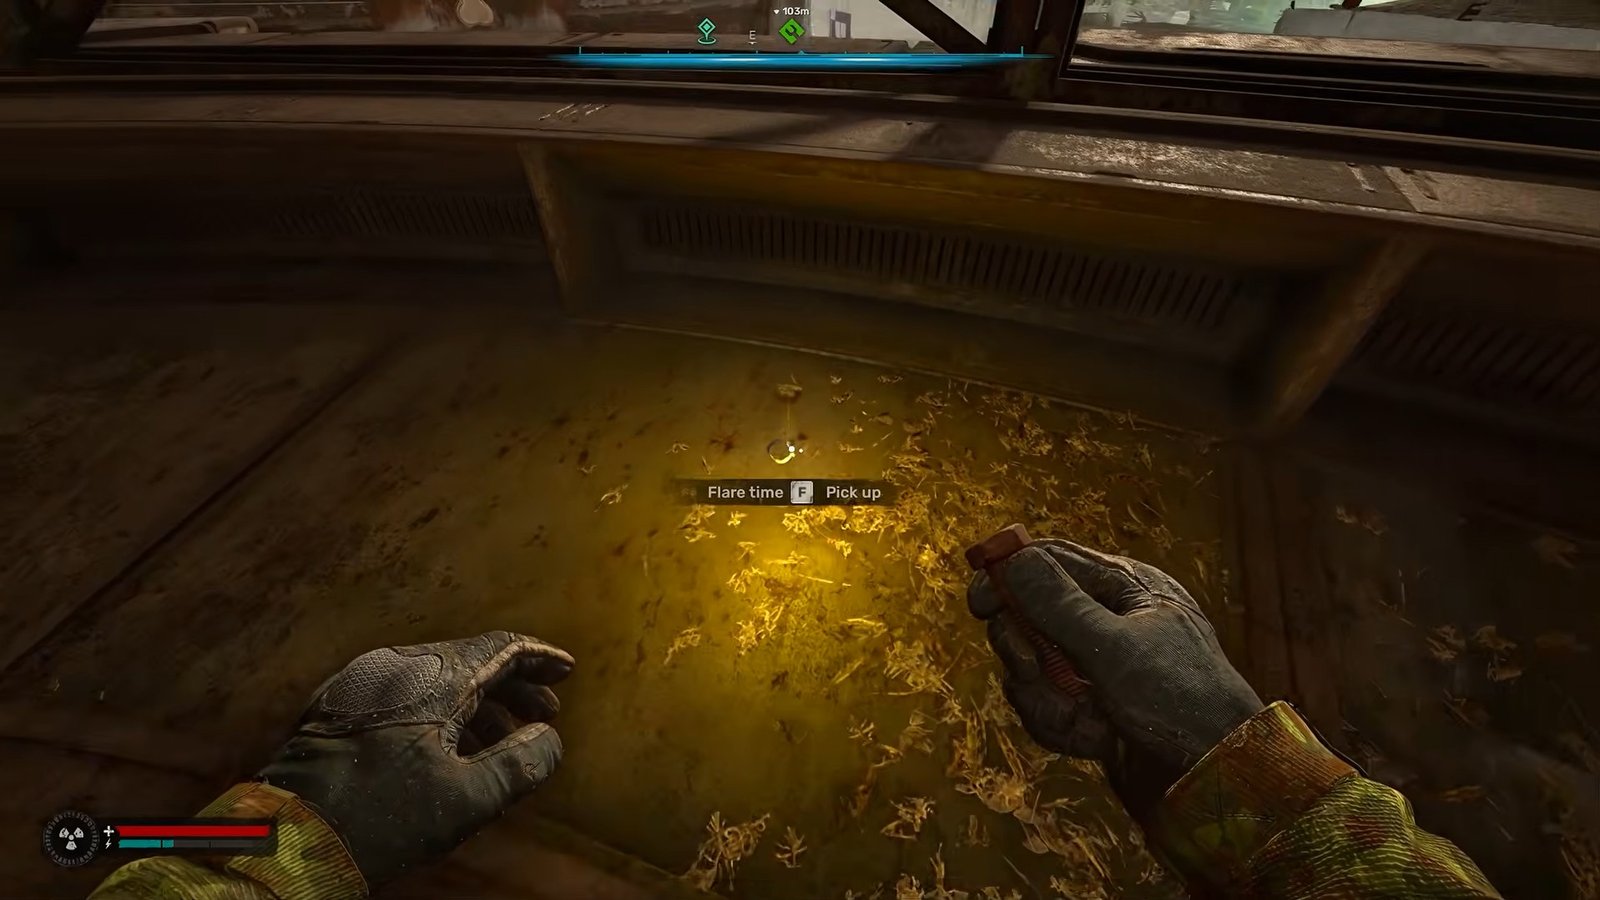
After obtaining the artifact, make your way back toward the base by running across.
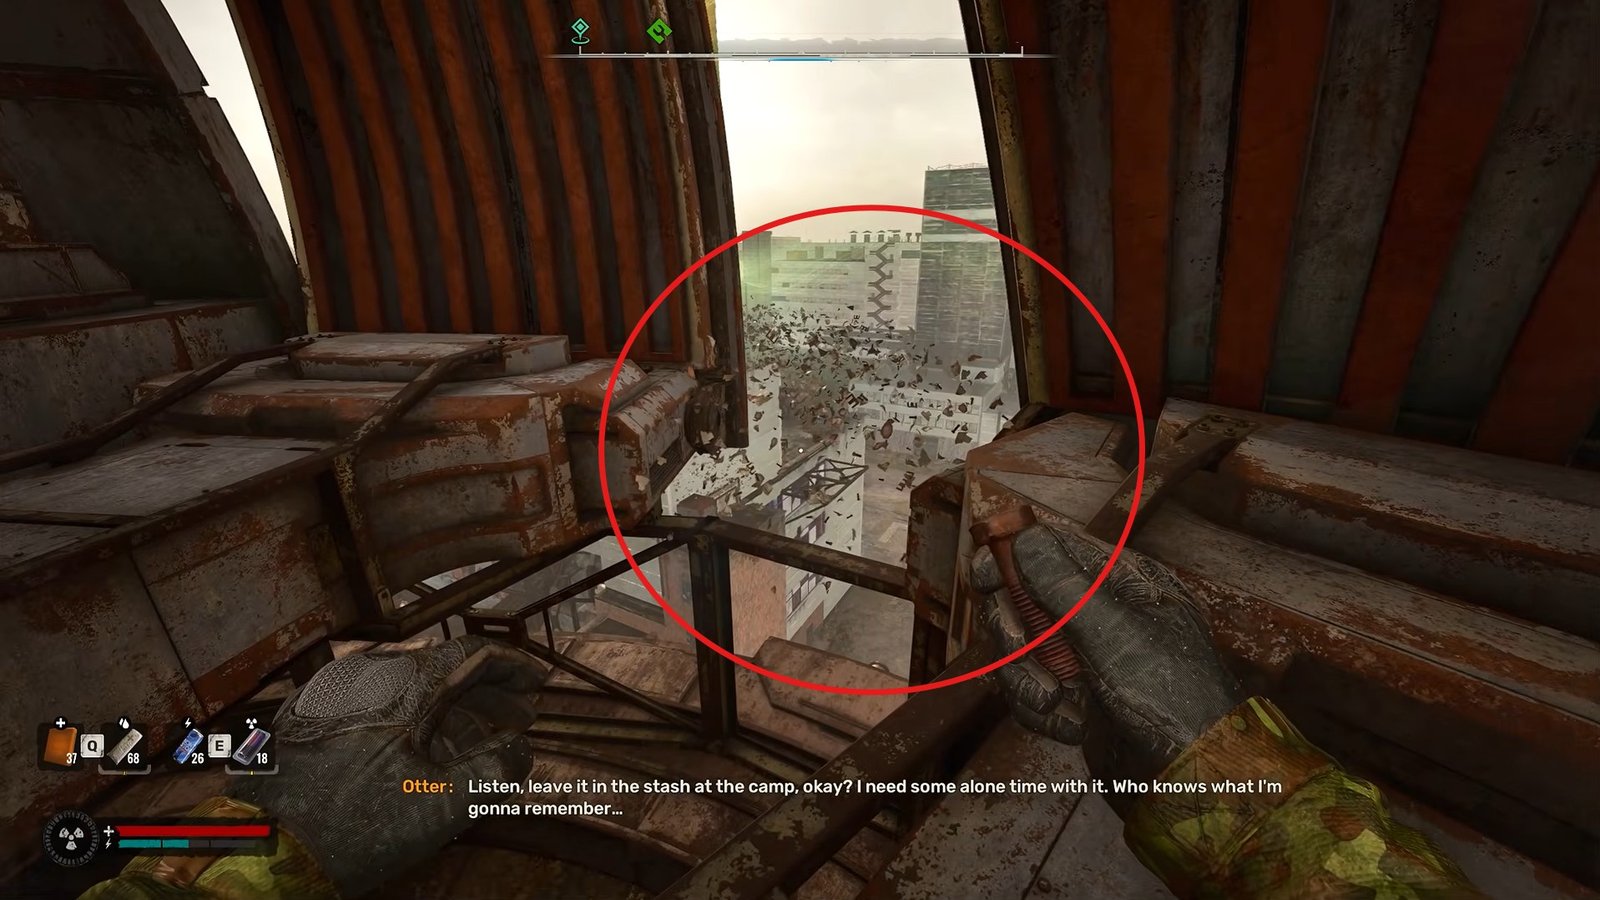
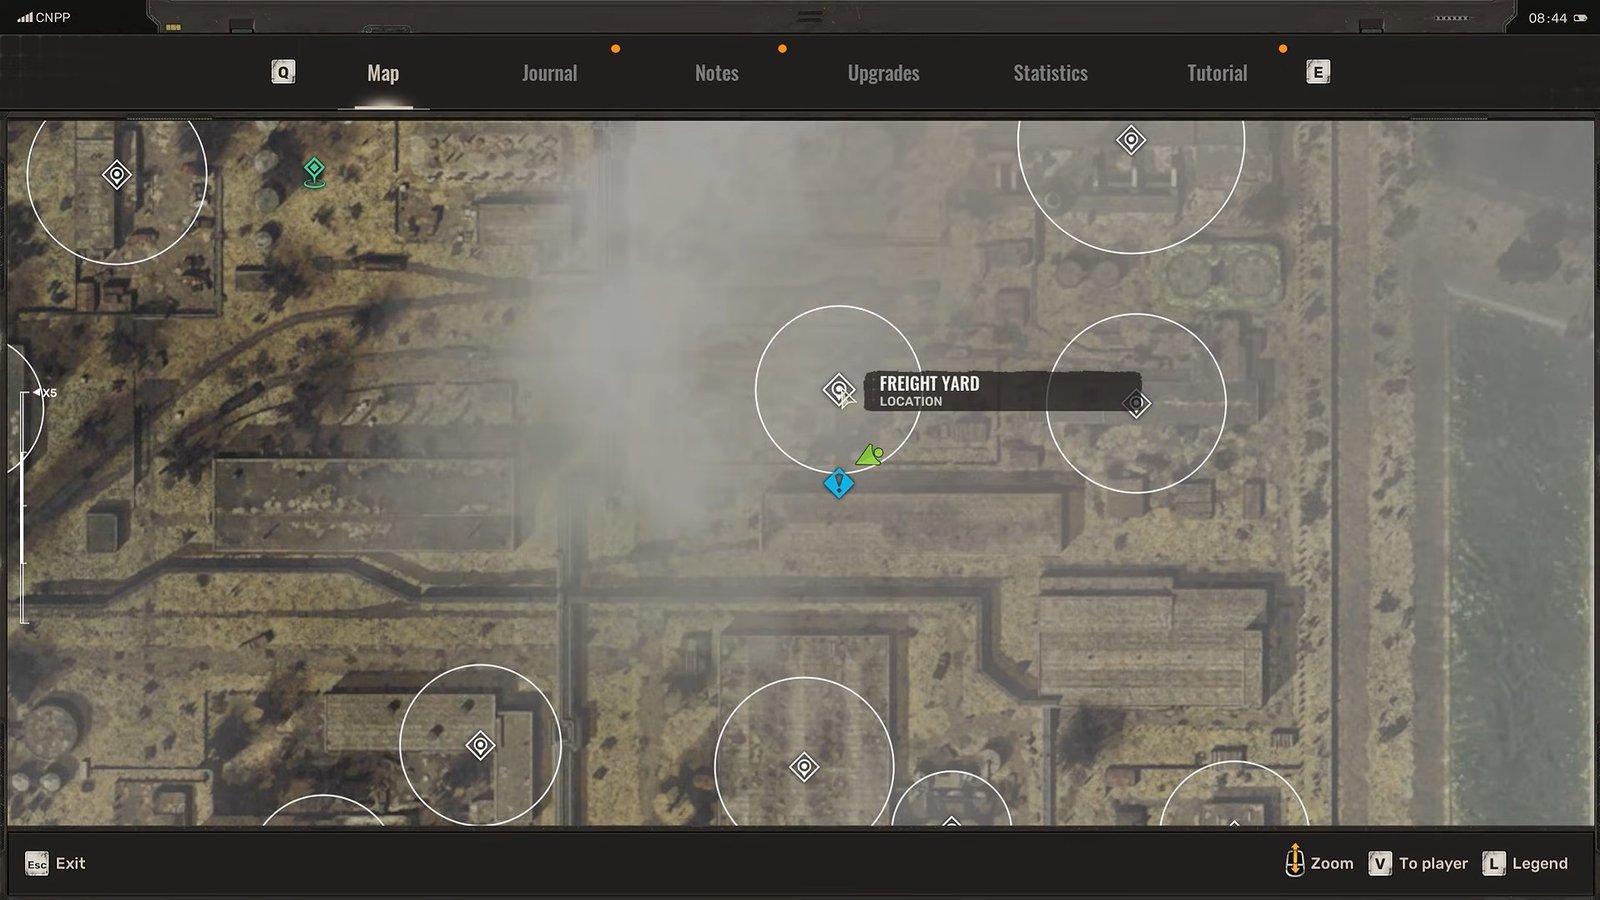
After you have done so, your next objective is to place the artifact inside Otter’s Stash. Once it is deposited there, Otter will call you to get to the treasure. To get to the treasure, head over to the Freight Yard location where you will need to enter another area containing an anomaly.
When you arrive, look upward toward the machinery.
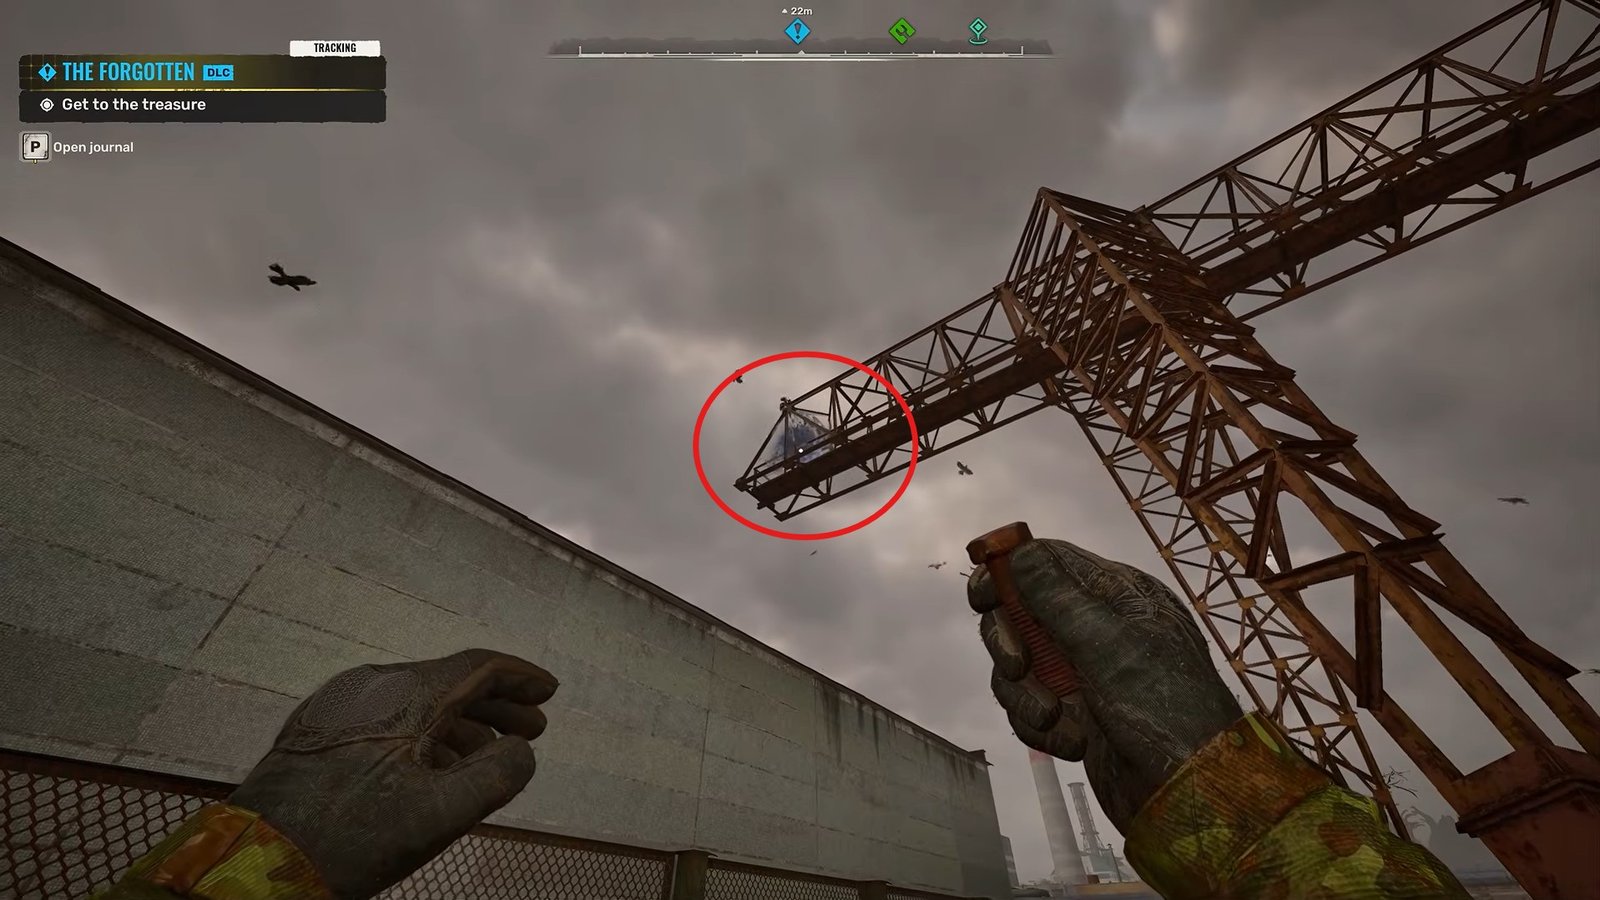
Jump onto the machine and wait for the gas to clear. From there, jump across and climb the ladder. Continue through the anomaly to reach the next section. You’ll encounter several mutants that you need to defeat before moving further into the area.
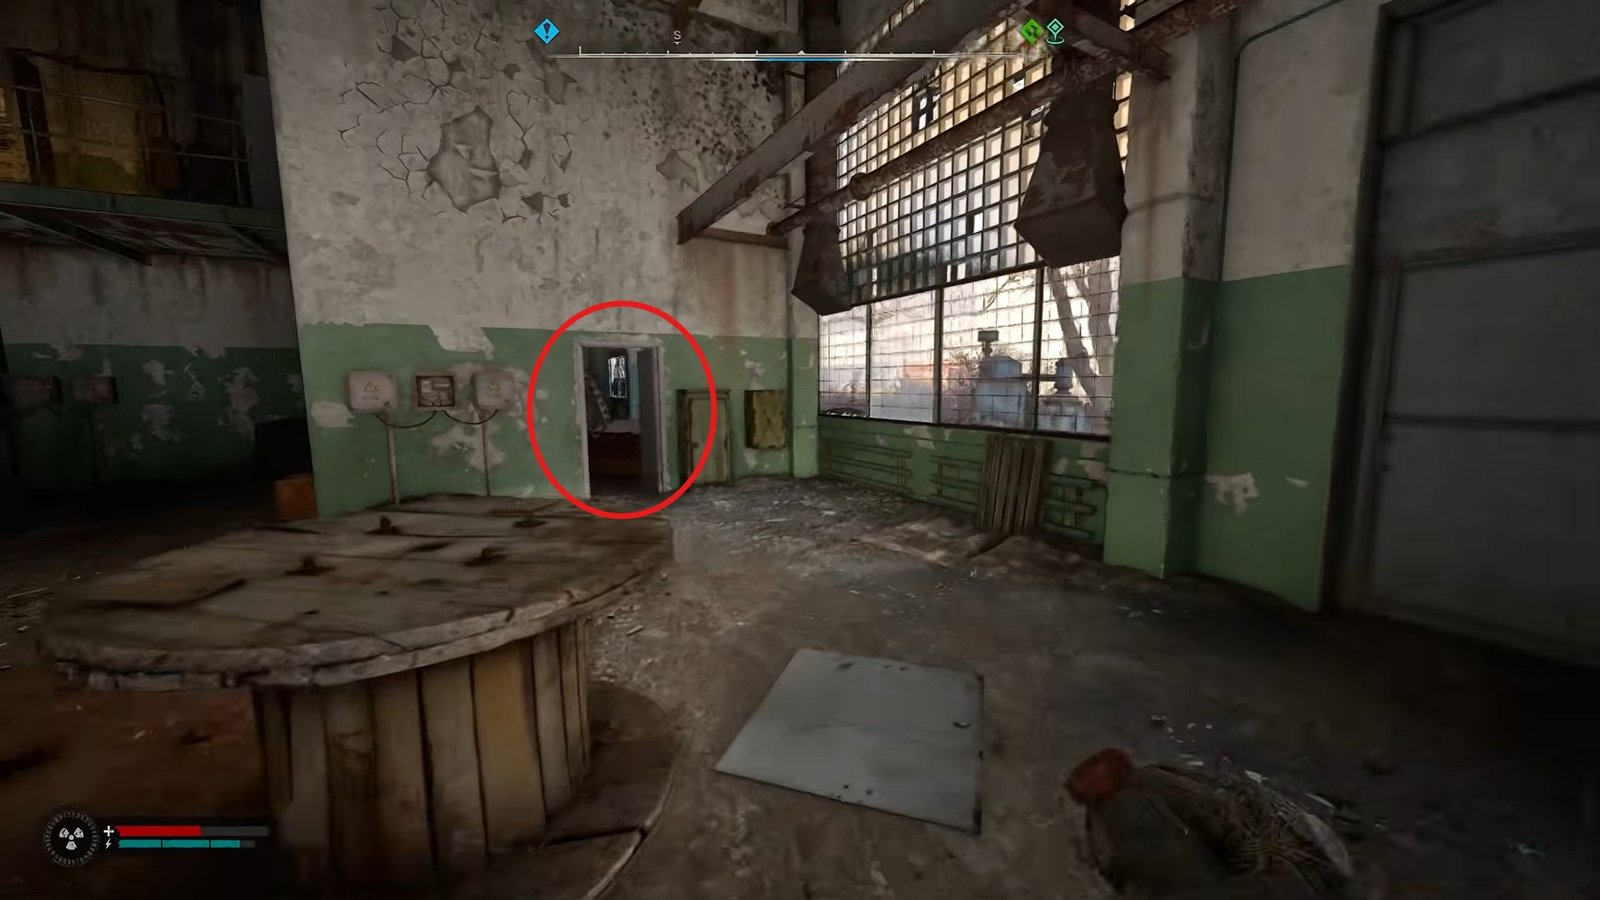
Once the enemies are dealt with, move around to the right side of the building. Use your bolt on the anomaly in this section, then continue upward.
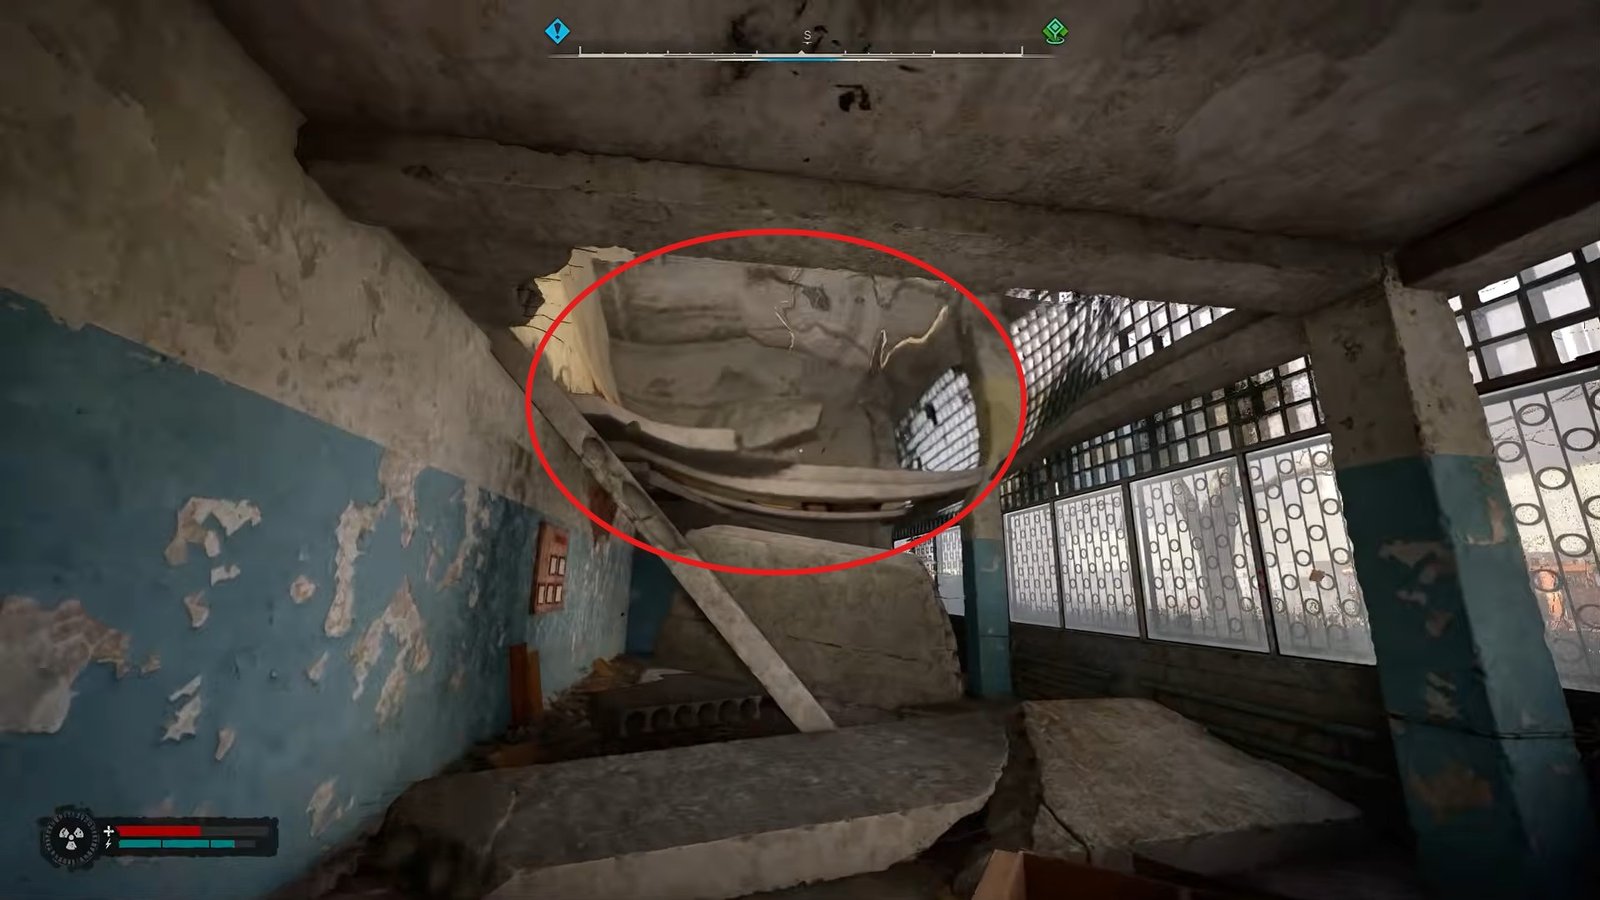
At the top, jump across to the pipes and make your way through the doors.
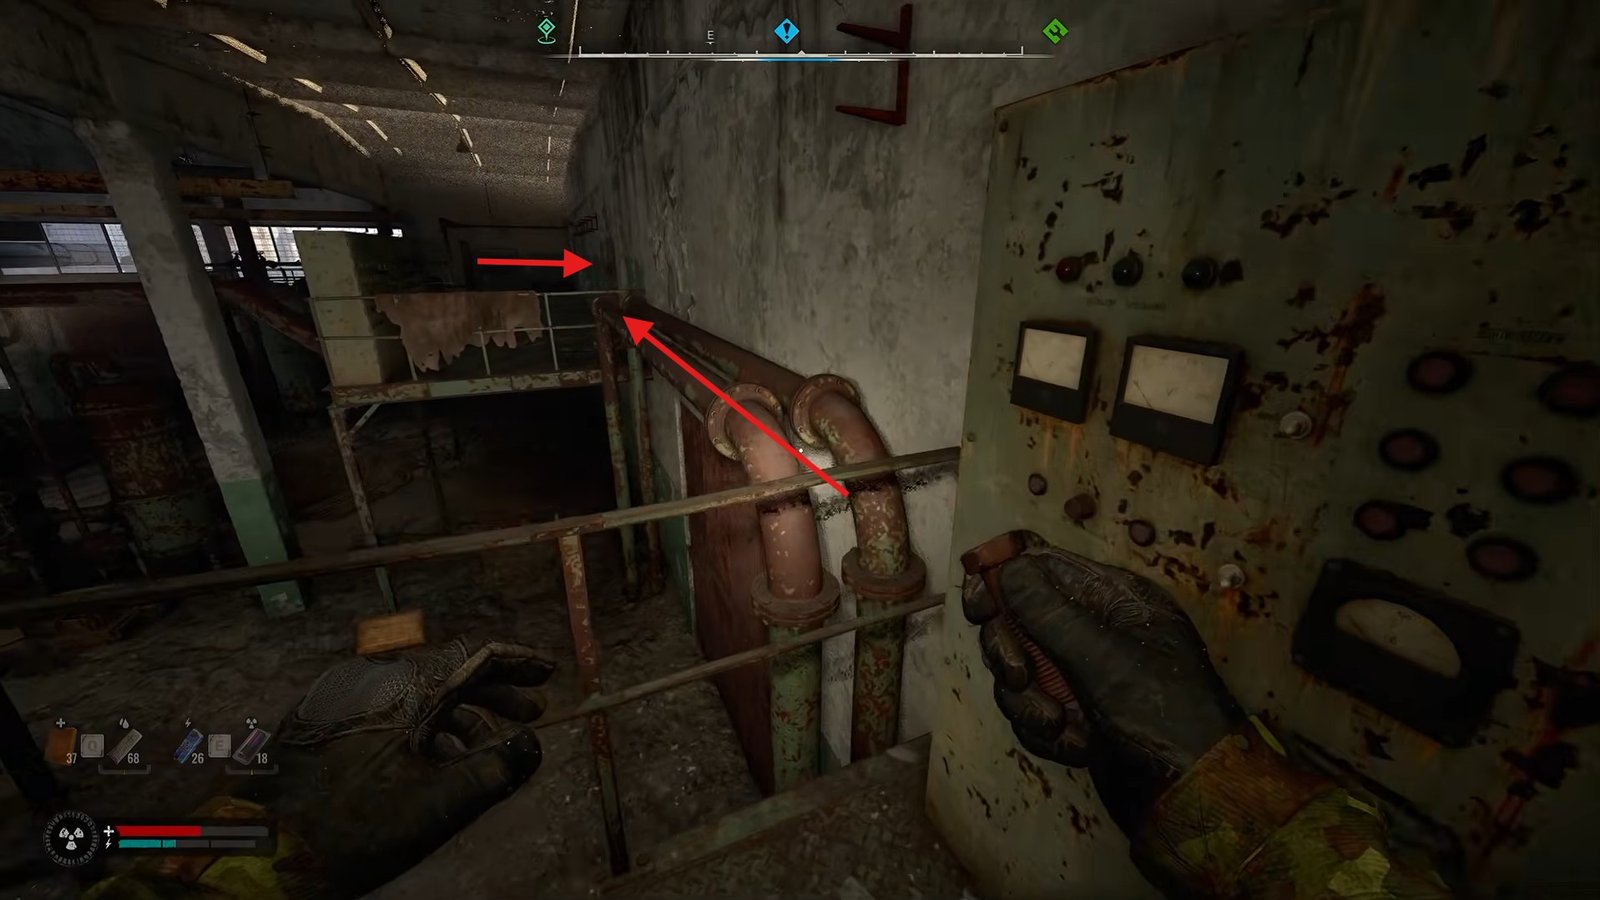
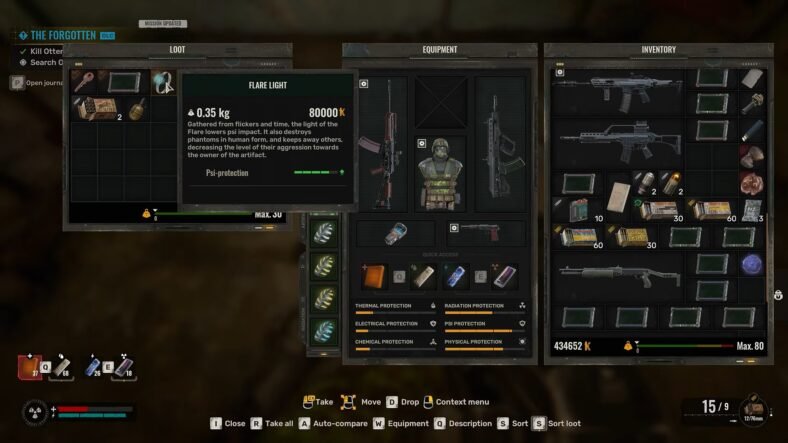
This route will eventually lead you to Otter. After defeating Otter, search his body after the fight. You will find the Flare Light artifact there, completing the final part of the quest. This artifact can be sold for 80,000 currency.
That is all for this guide. Additional STALKER 2: Cost of Hope guides are linked below:
- All Door Code Combinations in STALKER 2: Cost of Hope Guide – Shadows of the Past Quest
- How to Get the Generator Room Key in STALKER 2: Cost of Hope
- How to Get Flickering Flare Artifact in STALKER 2: Cost of Hope
- How to Get Luftgarde in STALKER 2: Cost of Hope
- How to Get Maximum Sniper Rifle in STALKER 2: Cost of Hope
This concludes our Flare Light Artifact Guide. If you want to add something to this guide, feel free to use the comment section below.