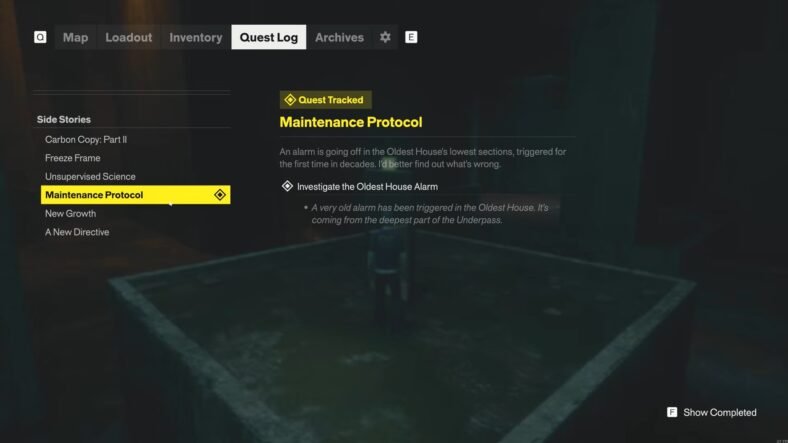
This Control Resonant guide details how you can complete the Maintenance Protocol side quest, where you must investigate the Oldest House alarm and repair three light bulbs in the Underpass. You need to explore different areas, solve each bulb’s repair challenge, and return to the projector room to escape the slides and finish the quest.
Maintenance Protocol Quest Guide – Control Resonant
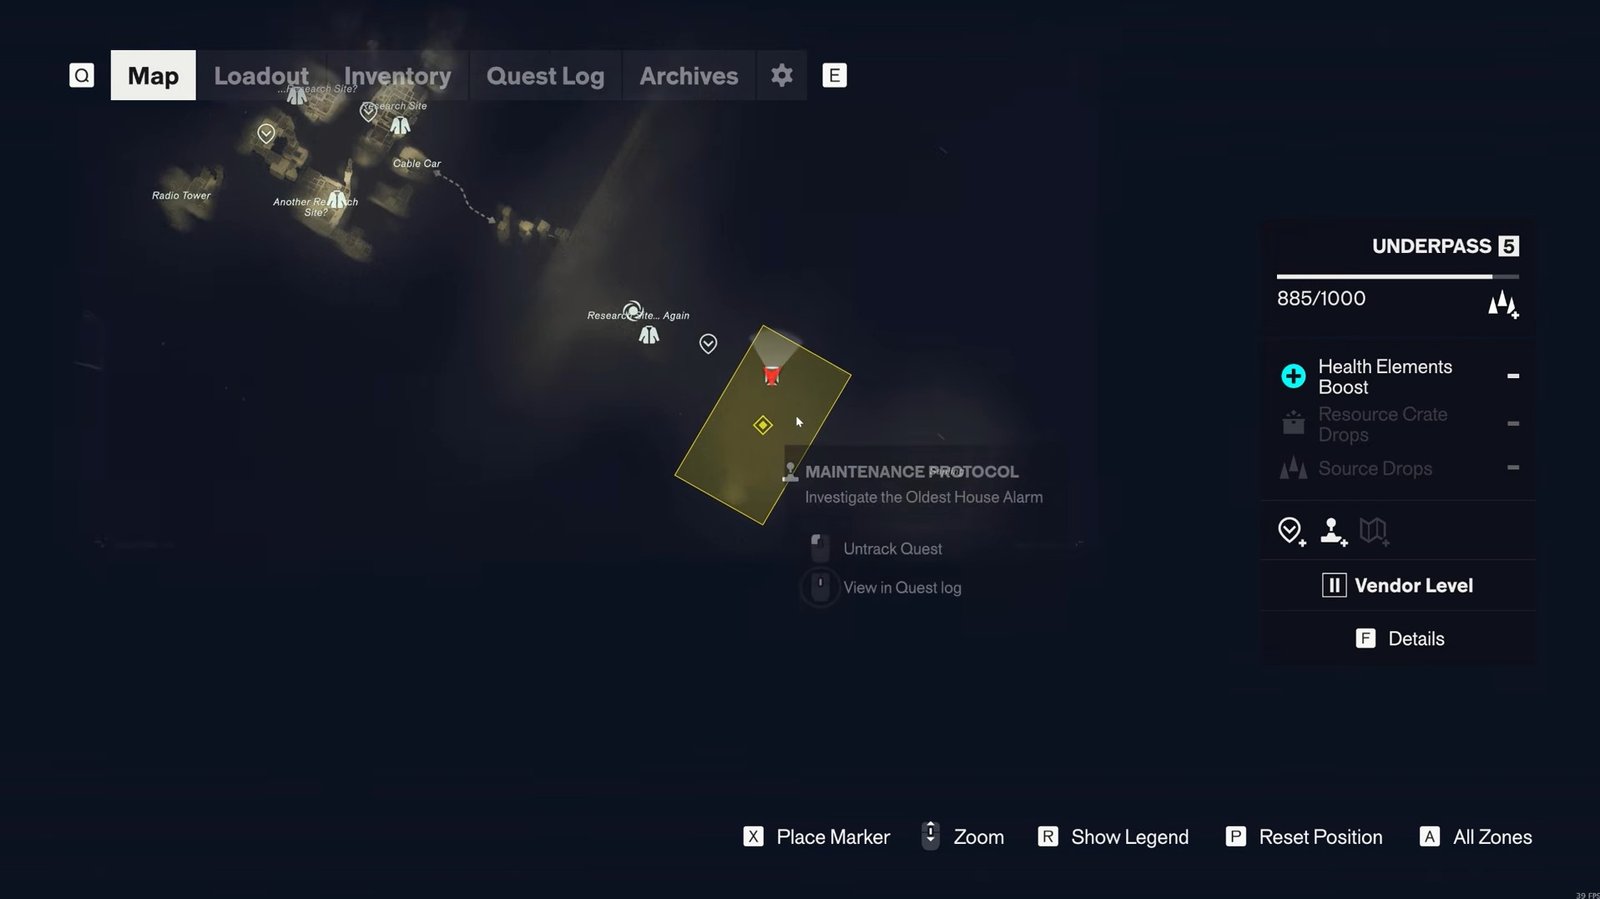
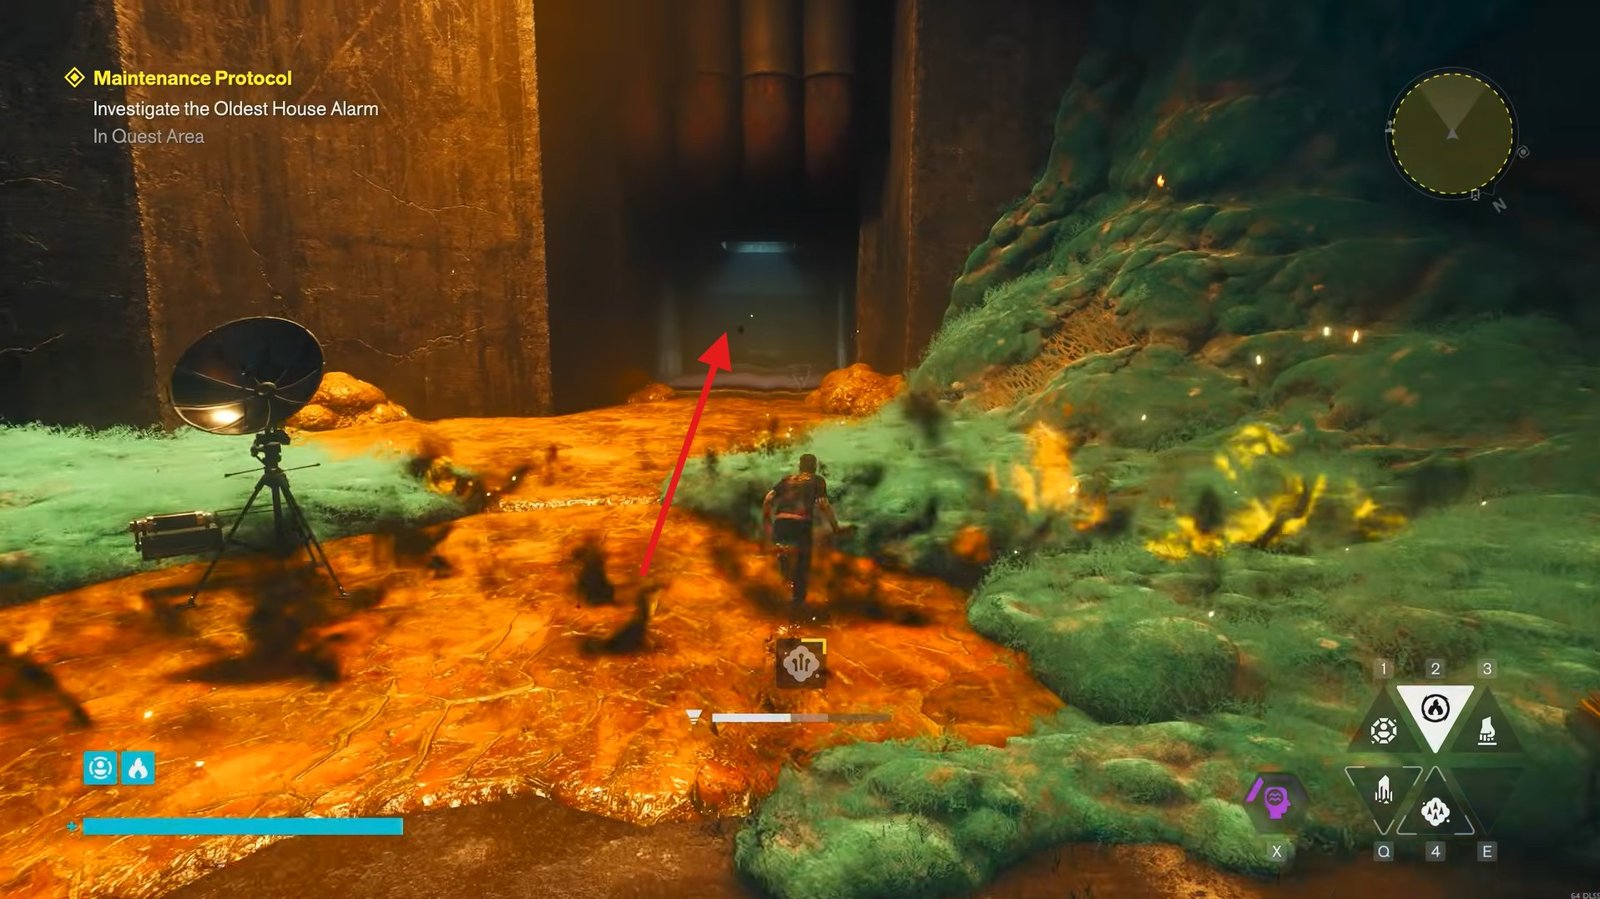
Begin by travelling to the Deepest Underpass fast travel point. From there, follow the route towards the location marked on the map. You will find a raised section leading to a door that you couldn’t open earlier.
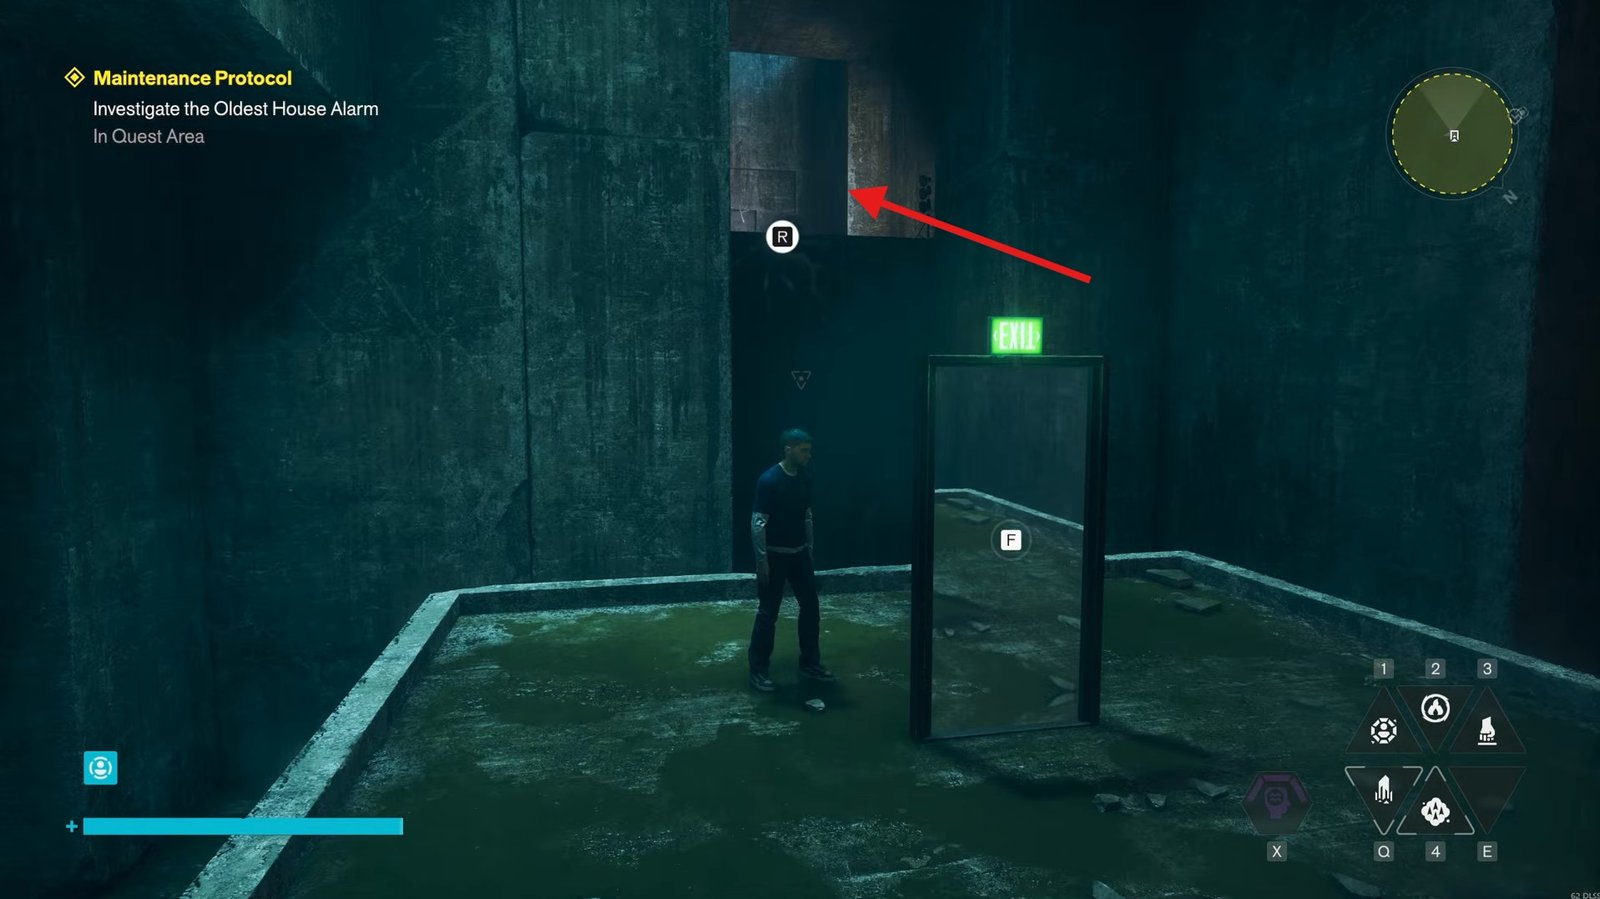
Approach the door and wait for Zoe to explain what you need to do. Once she has finished, interact with the intercom and enter the password to unlock the entrance. Go inside and prepare to fight a group of enemies. Clear the room before moving forward.
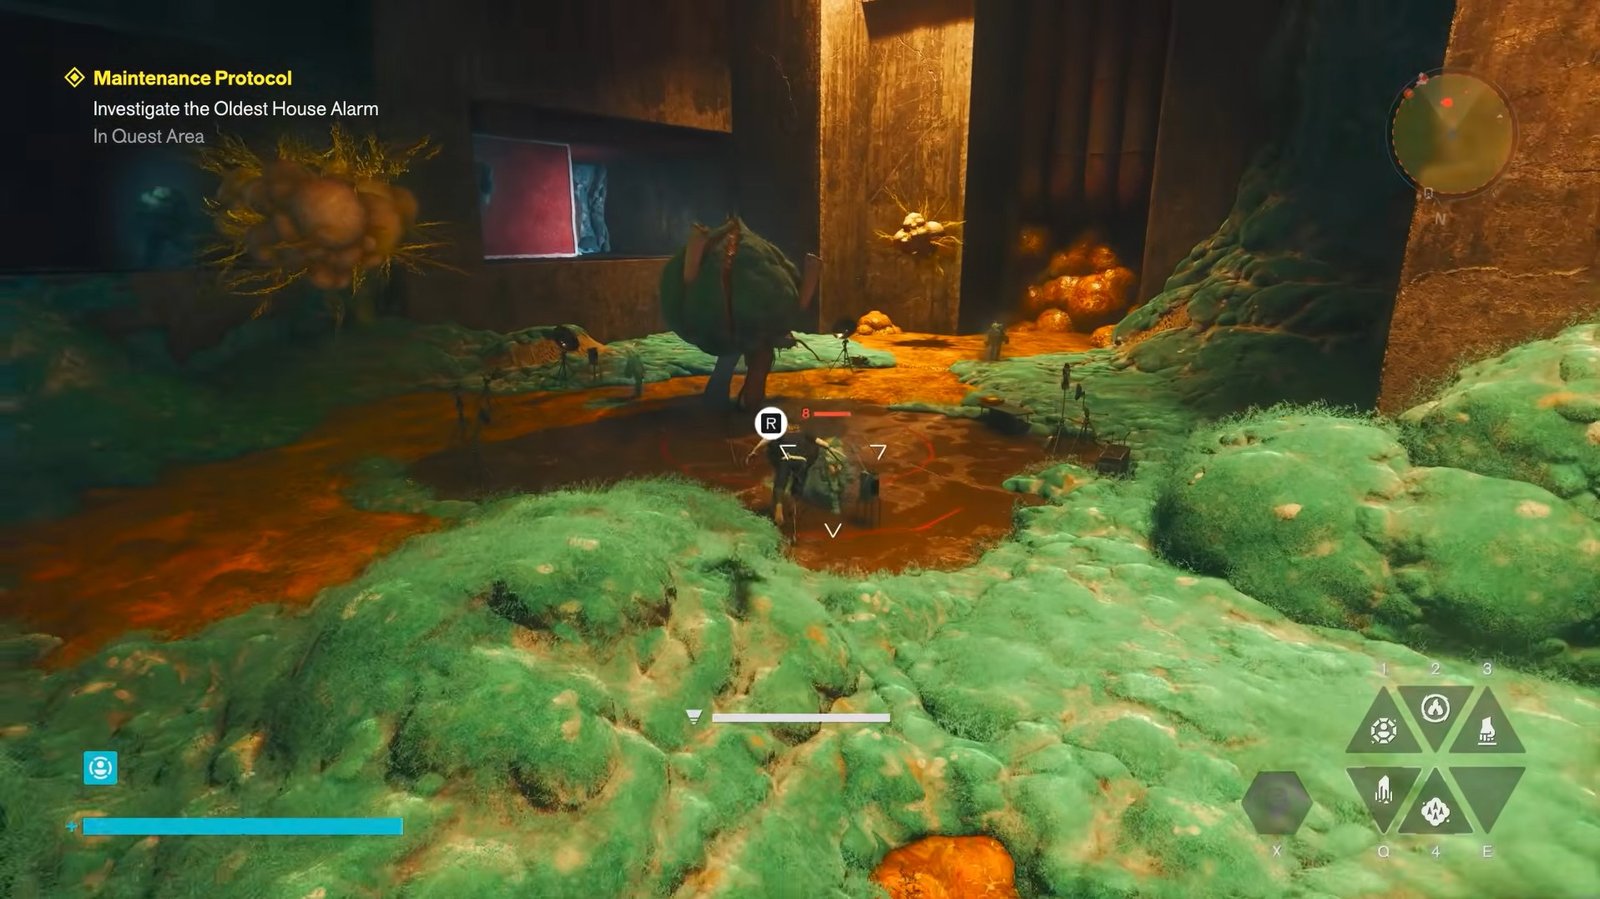
Once the area is safe, look for the newly accessible passage and continue through the door into the next room. You will pass through two doors ahead.
Check the left side for loot, then head upstairs to explore the second floor. Collect anything useful before proceeding past the checkpoint into the room containing a projector and slide.
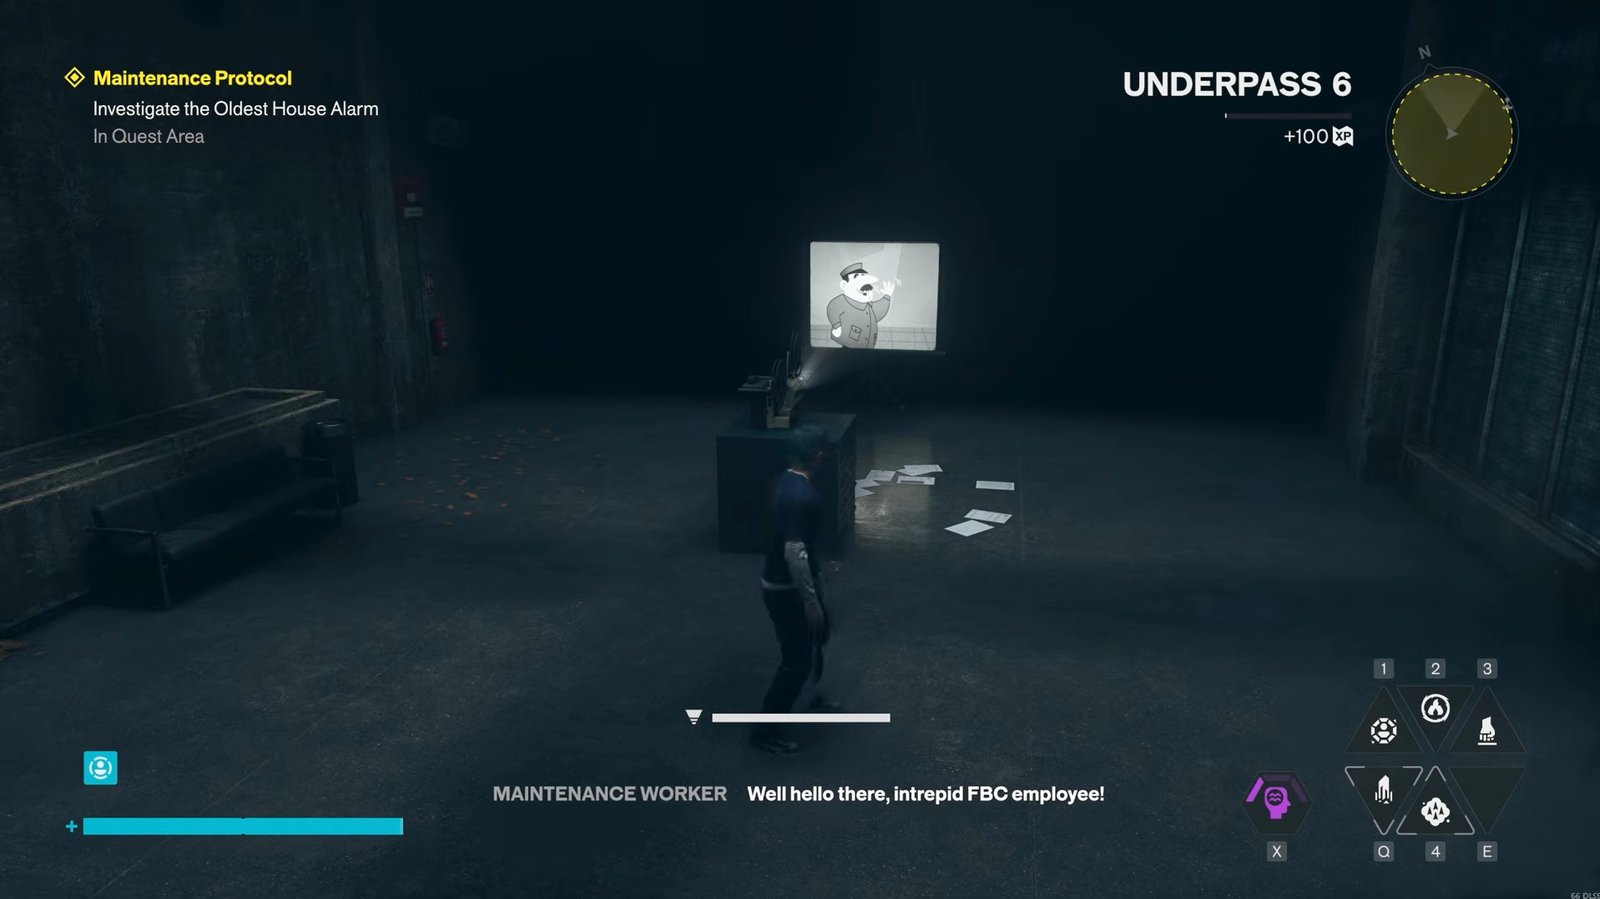
Watch the presentation to advance the quest. Afterward, head to the nearby machine room and interact with the device that reveals the locations of the three light bulbs. All three of the locations are in the Underpass Region on the map.
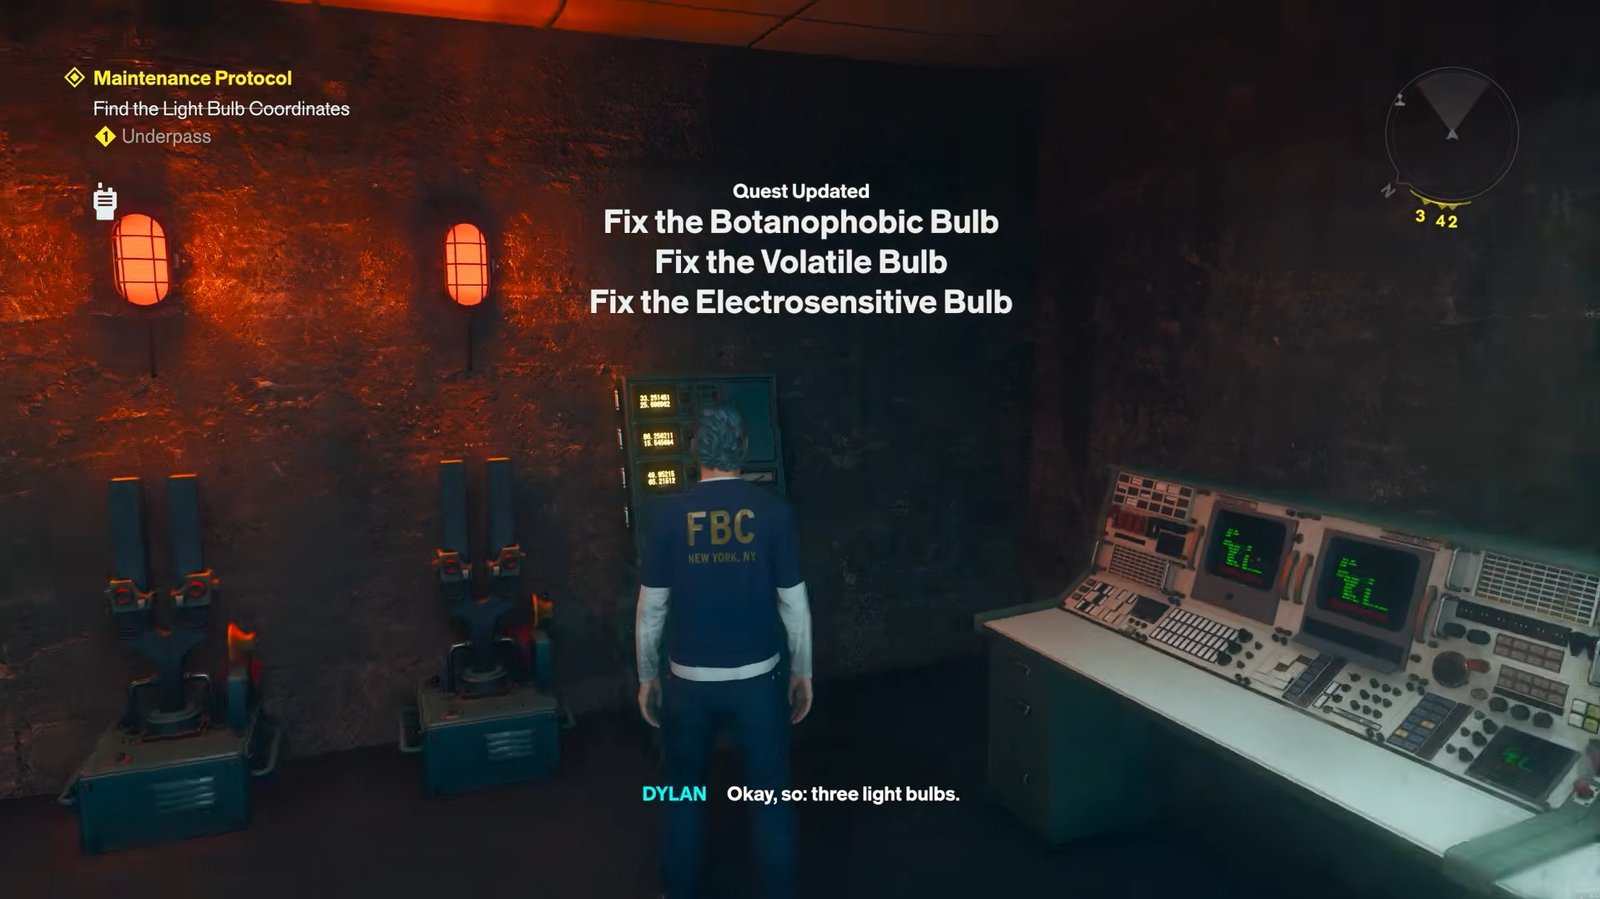
Your objectives will update, allowing you to begin repairing them.
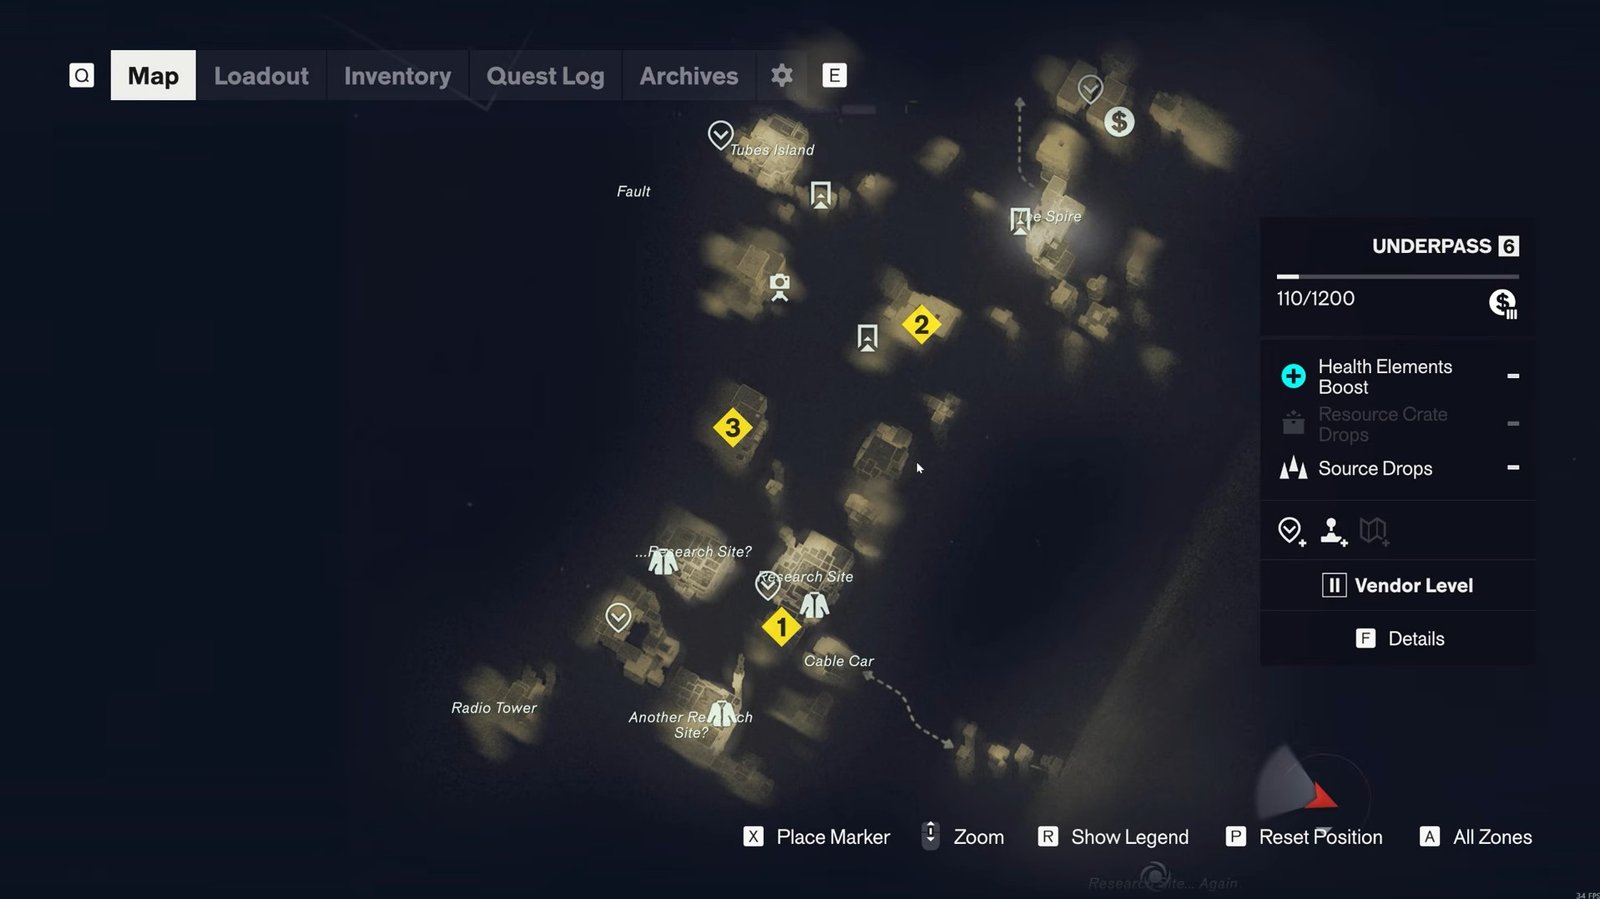
Volatile Bulb
Start with the Volatile Bulb, since the fast travel door is closest to it, by travelling to the Halfway Trail fast travel point.
Once you arrive, turn around and head north, passing the small table along the way. Turn right to find the first bulb.
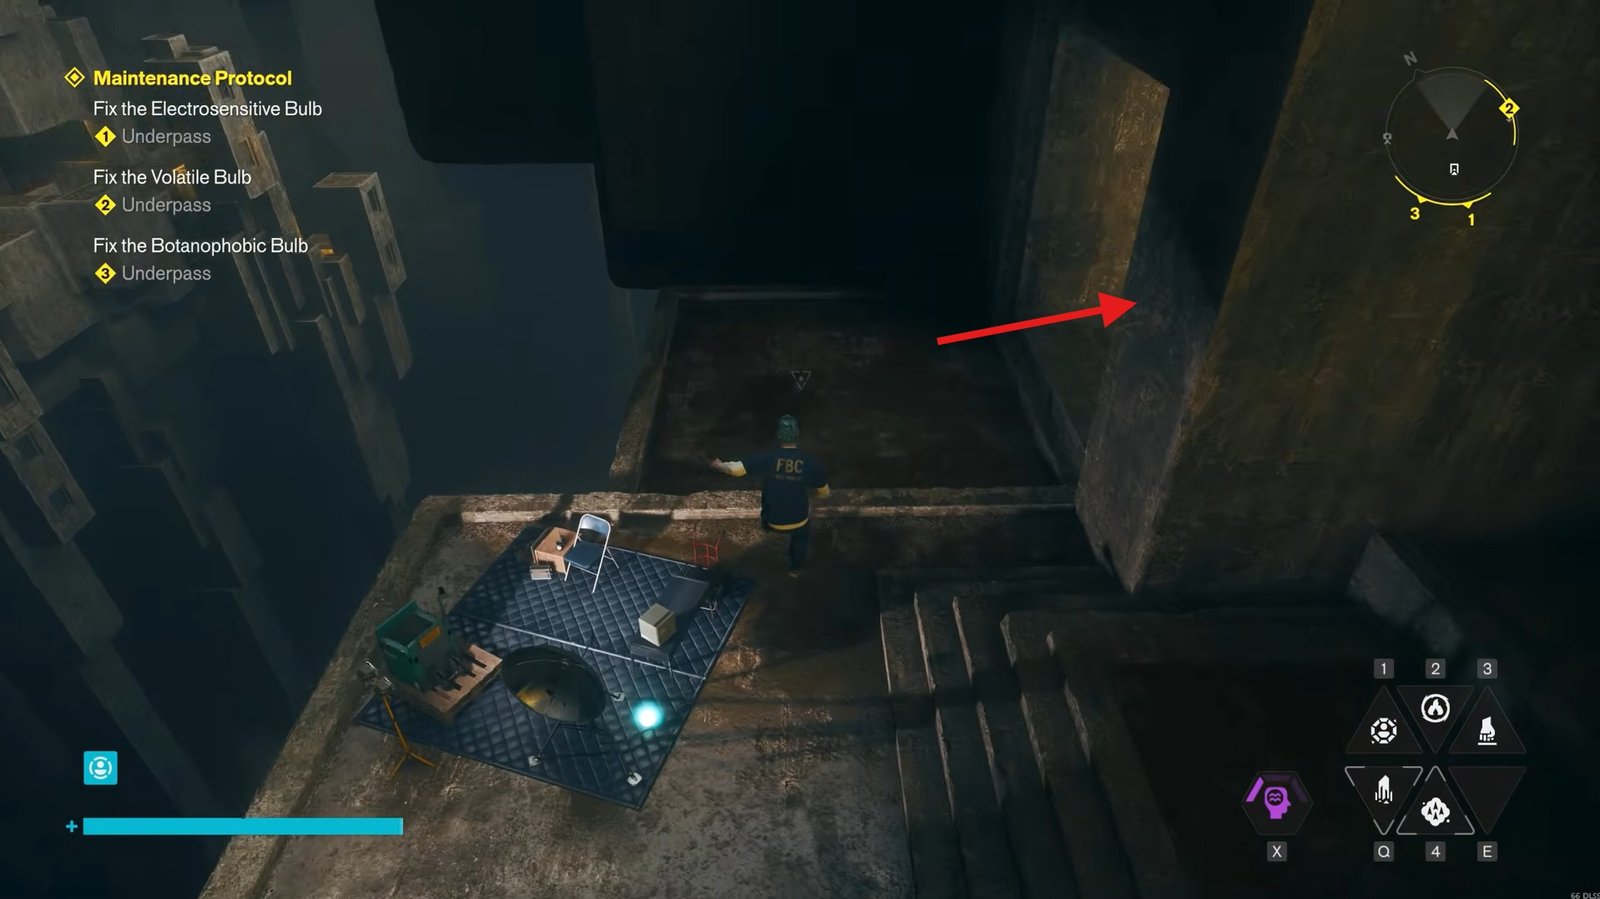
You won’t be able to repair it immediately. Instead, locate the nearby room and watch the slideshow that explains how to handle the bulb.
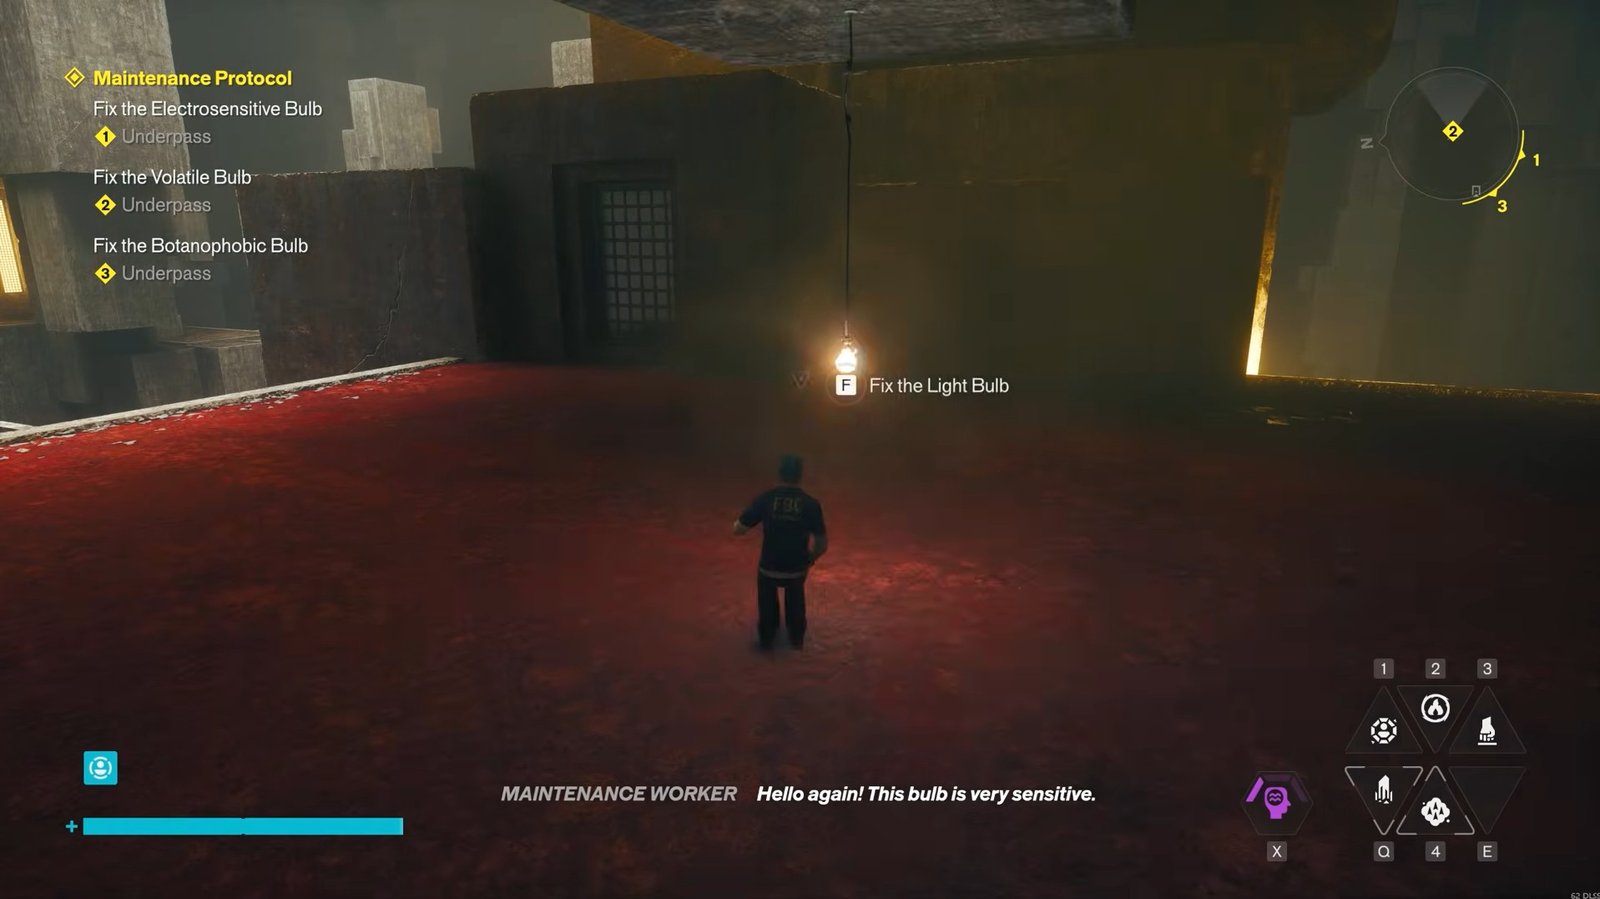
When the presentation ends, approach the bulb and interact with it. You need to speak to it and reassure it using the available dialogue options. While you do this, enemies will appear, so be ready to fight them.
Keep talking to the bulb and choosing reassuring responses while dealing with the enemies. Continue until the option to fix the bulb becomes available. Interact with it to complete the first repair.
Electrosensitive Bulb
The next target is the Electrosensitive Bulb, located near the Research Site. From the first bulb, face towards the research area and use your jumping and climbing abilities to cross the platforms and reach the other side.
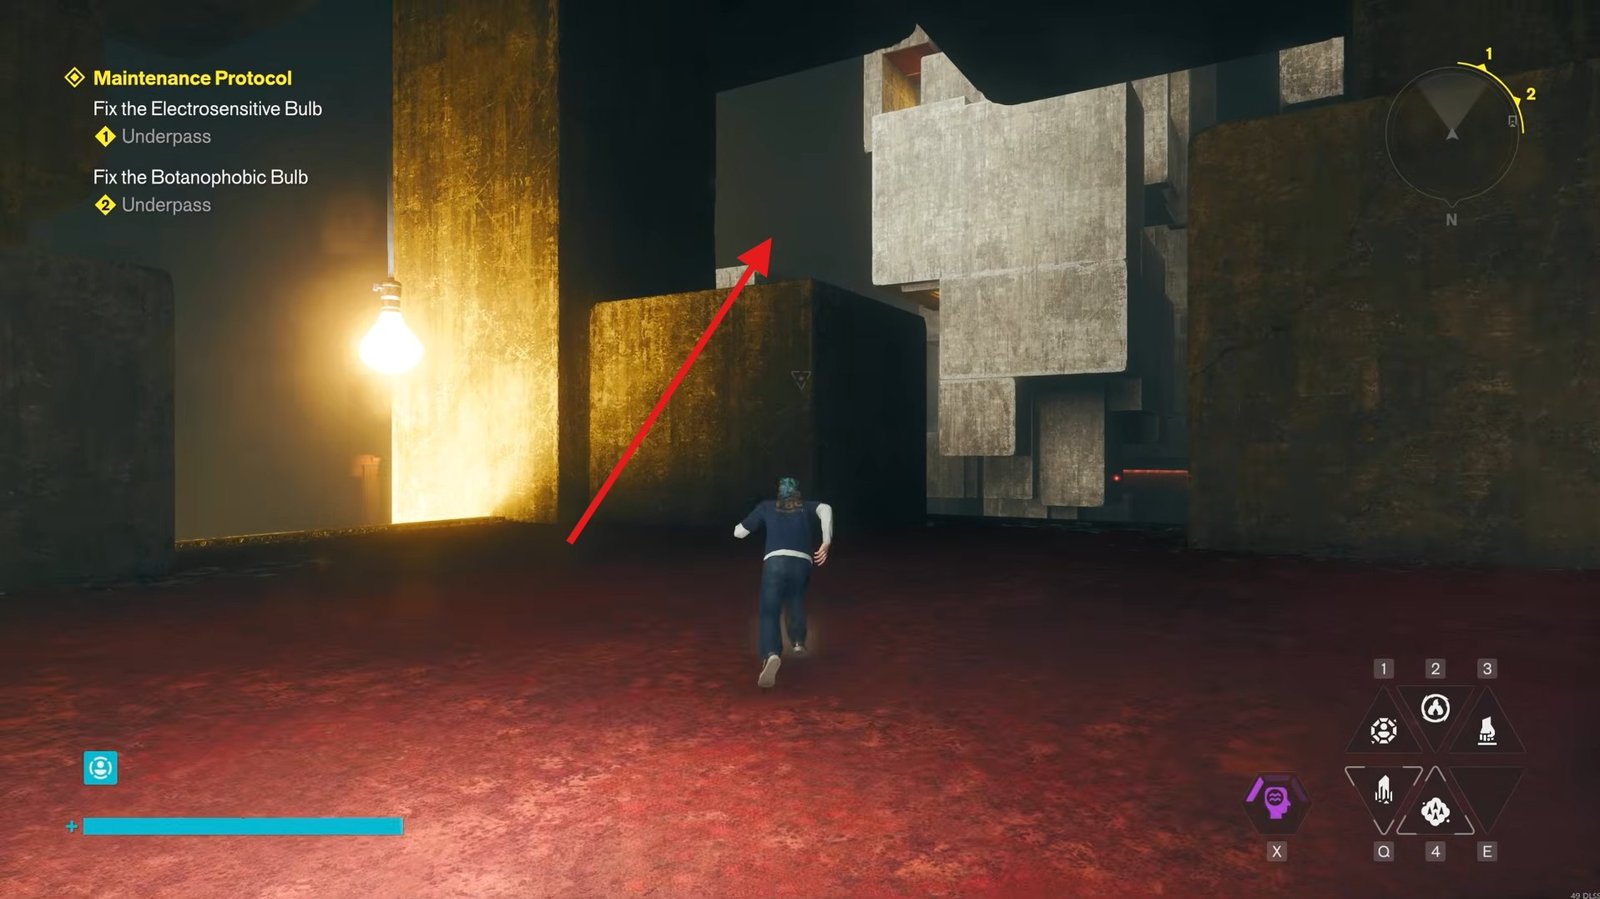
Continue moving forward towards the Research Site, then pass through to its far end. Look for the large machine surrounded by batteries and make your way up the nearby stairs.
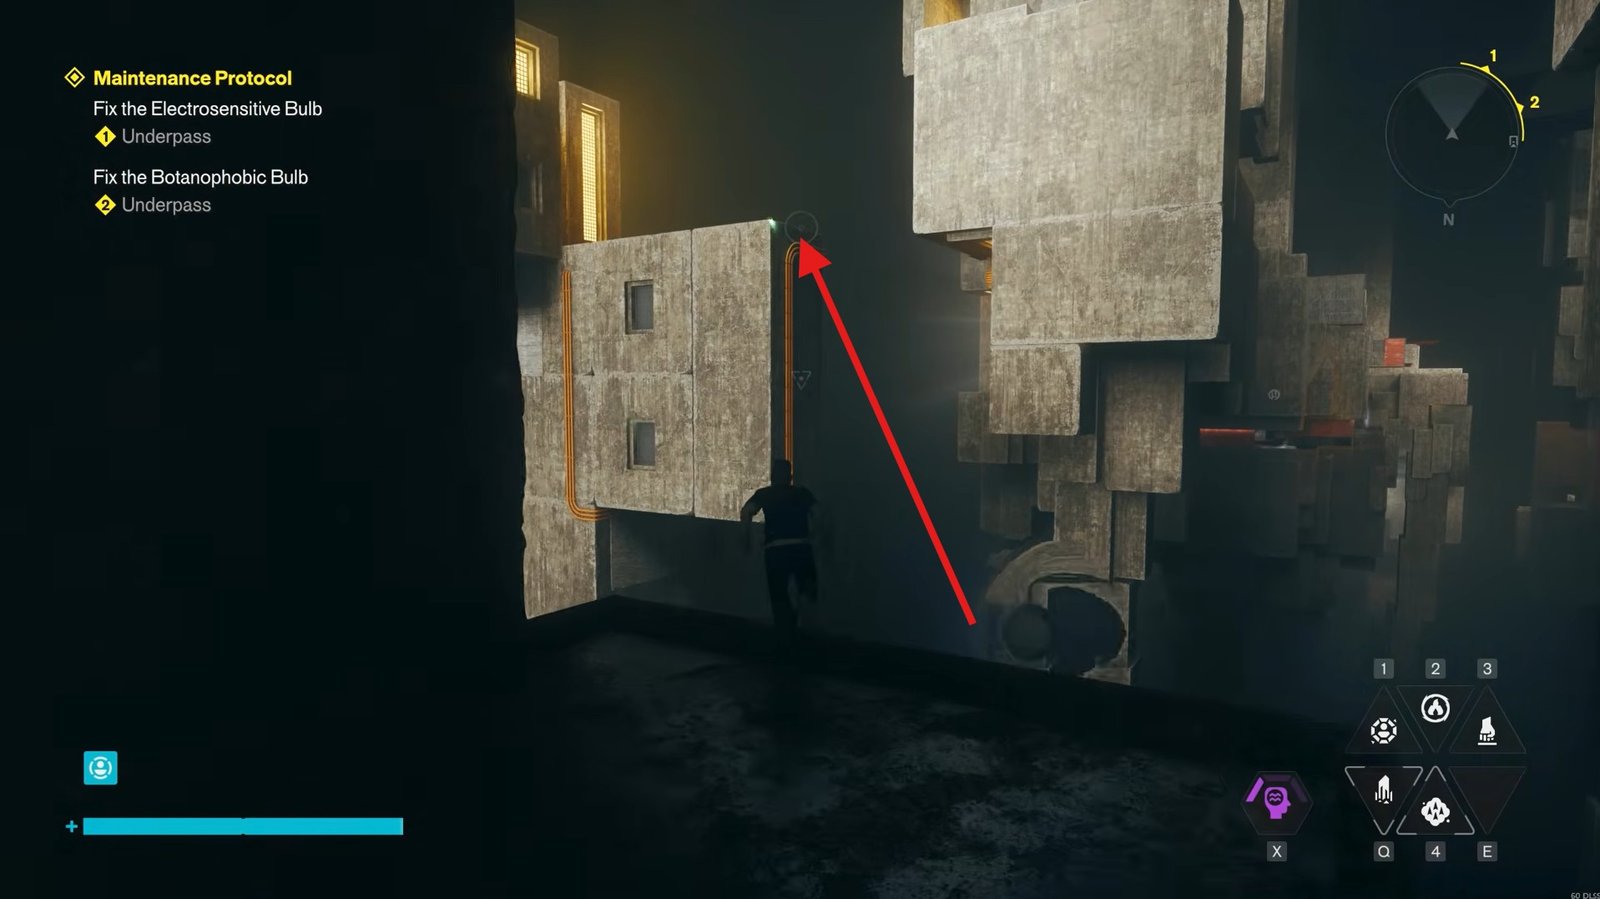
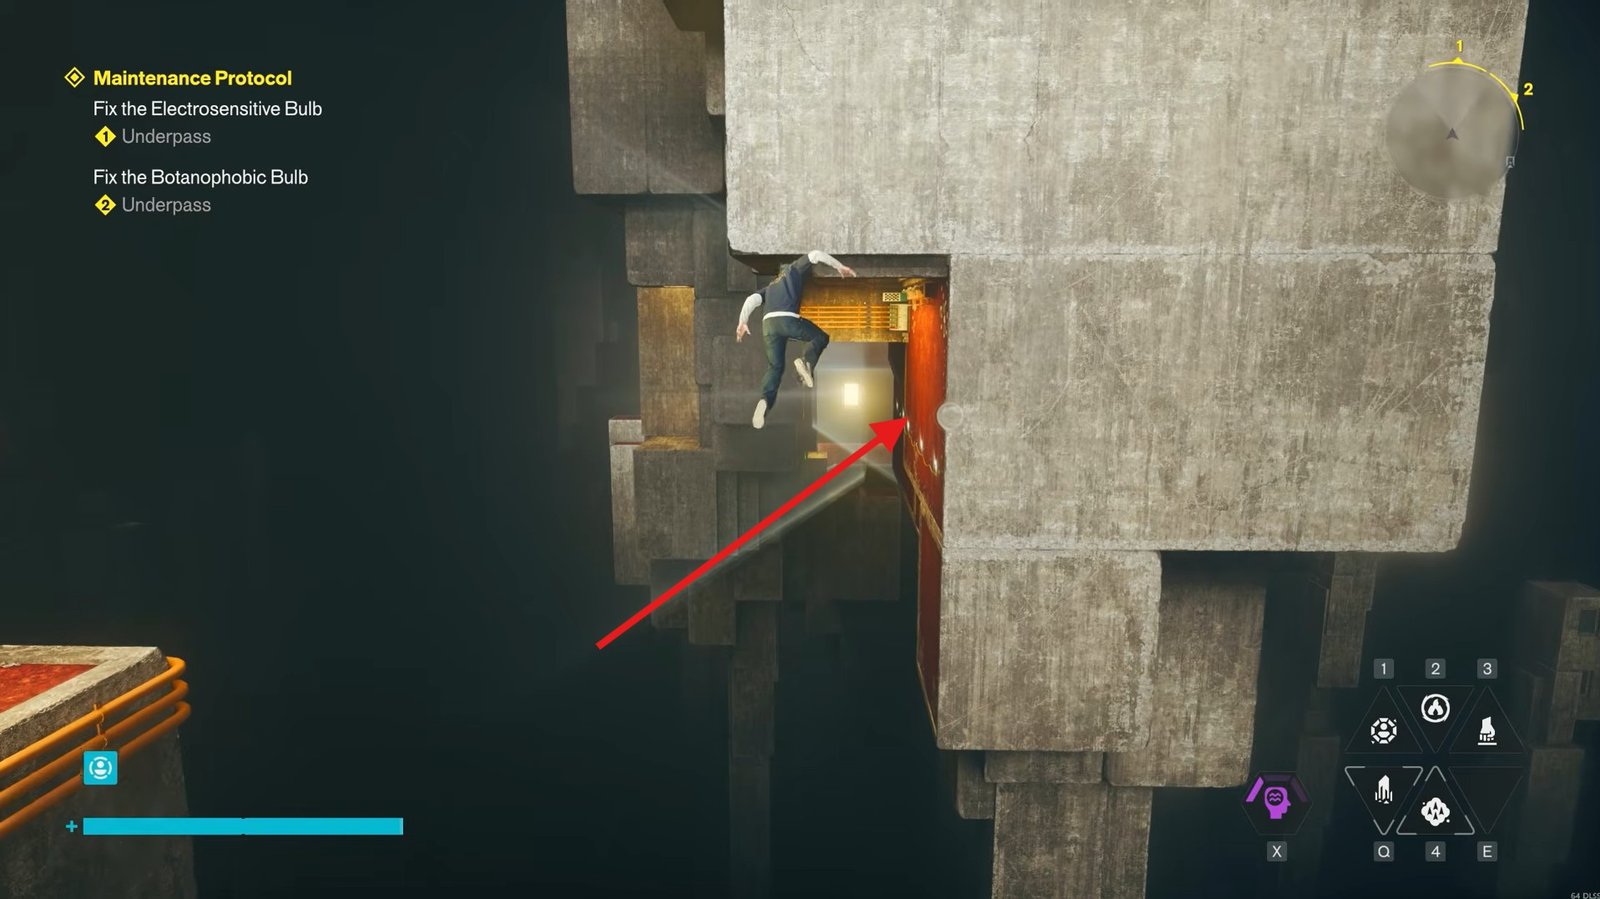
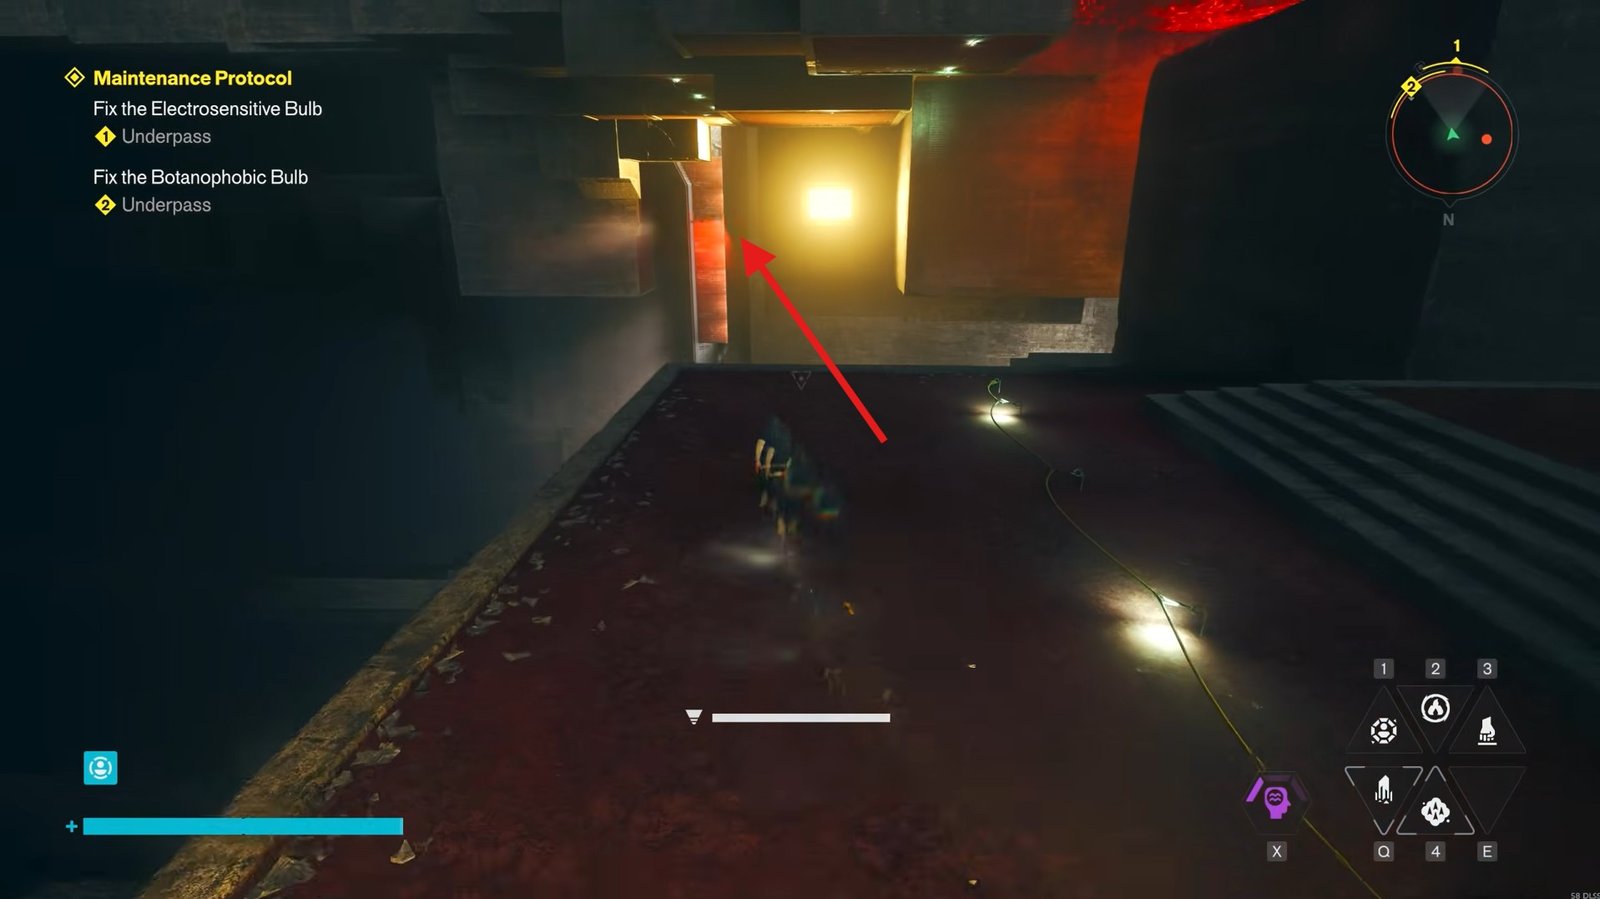
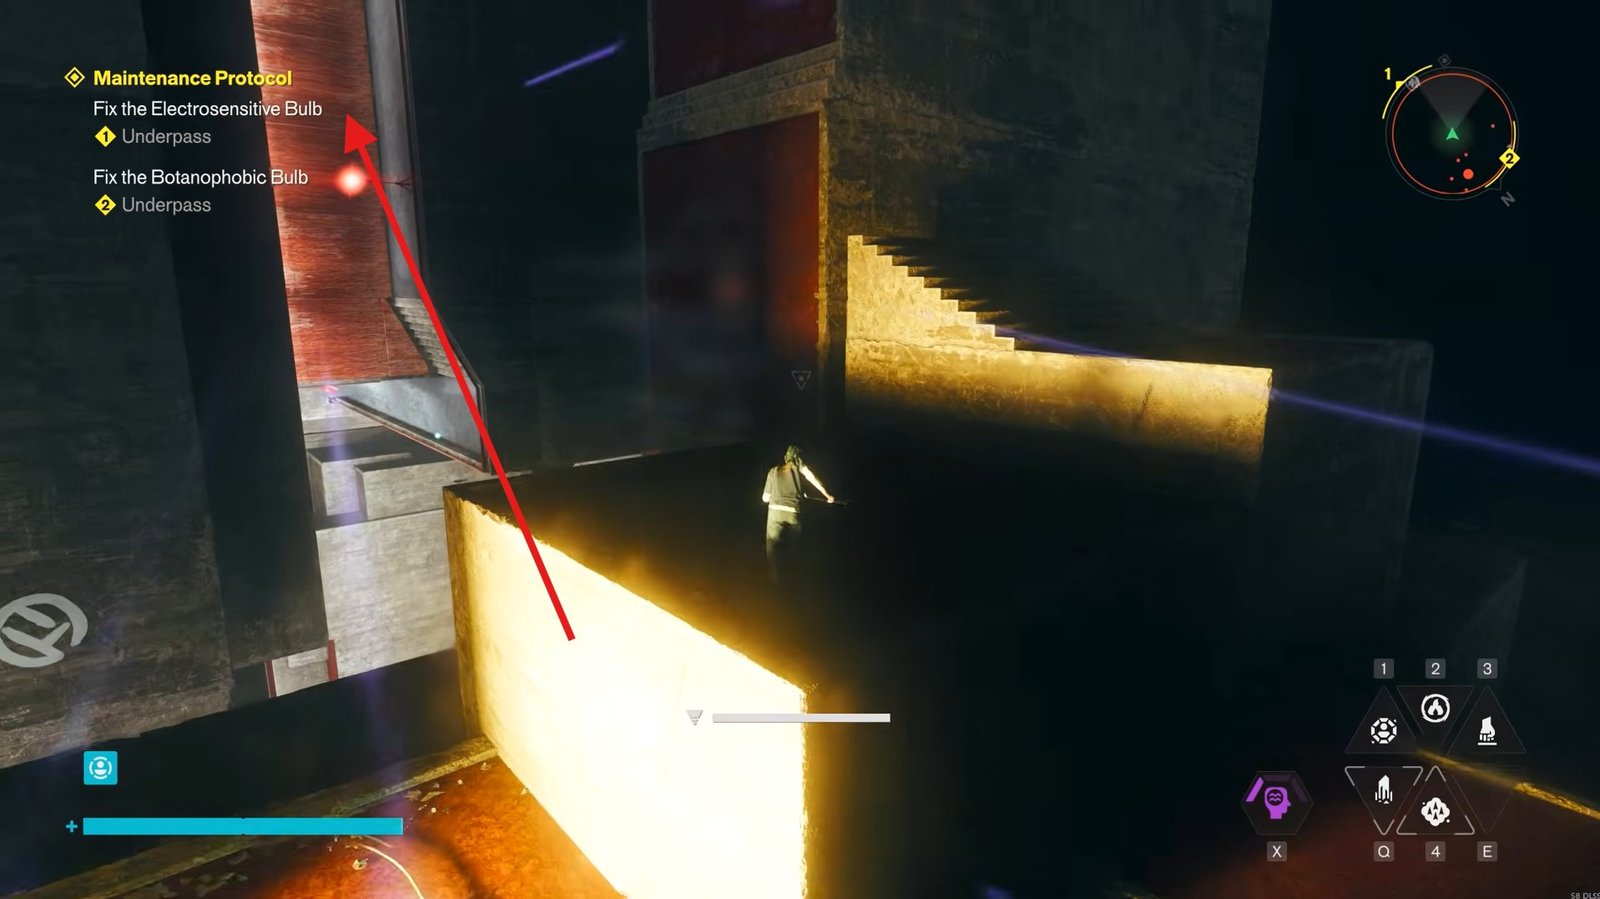
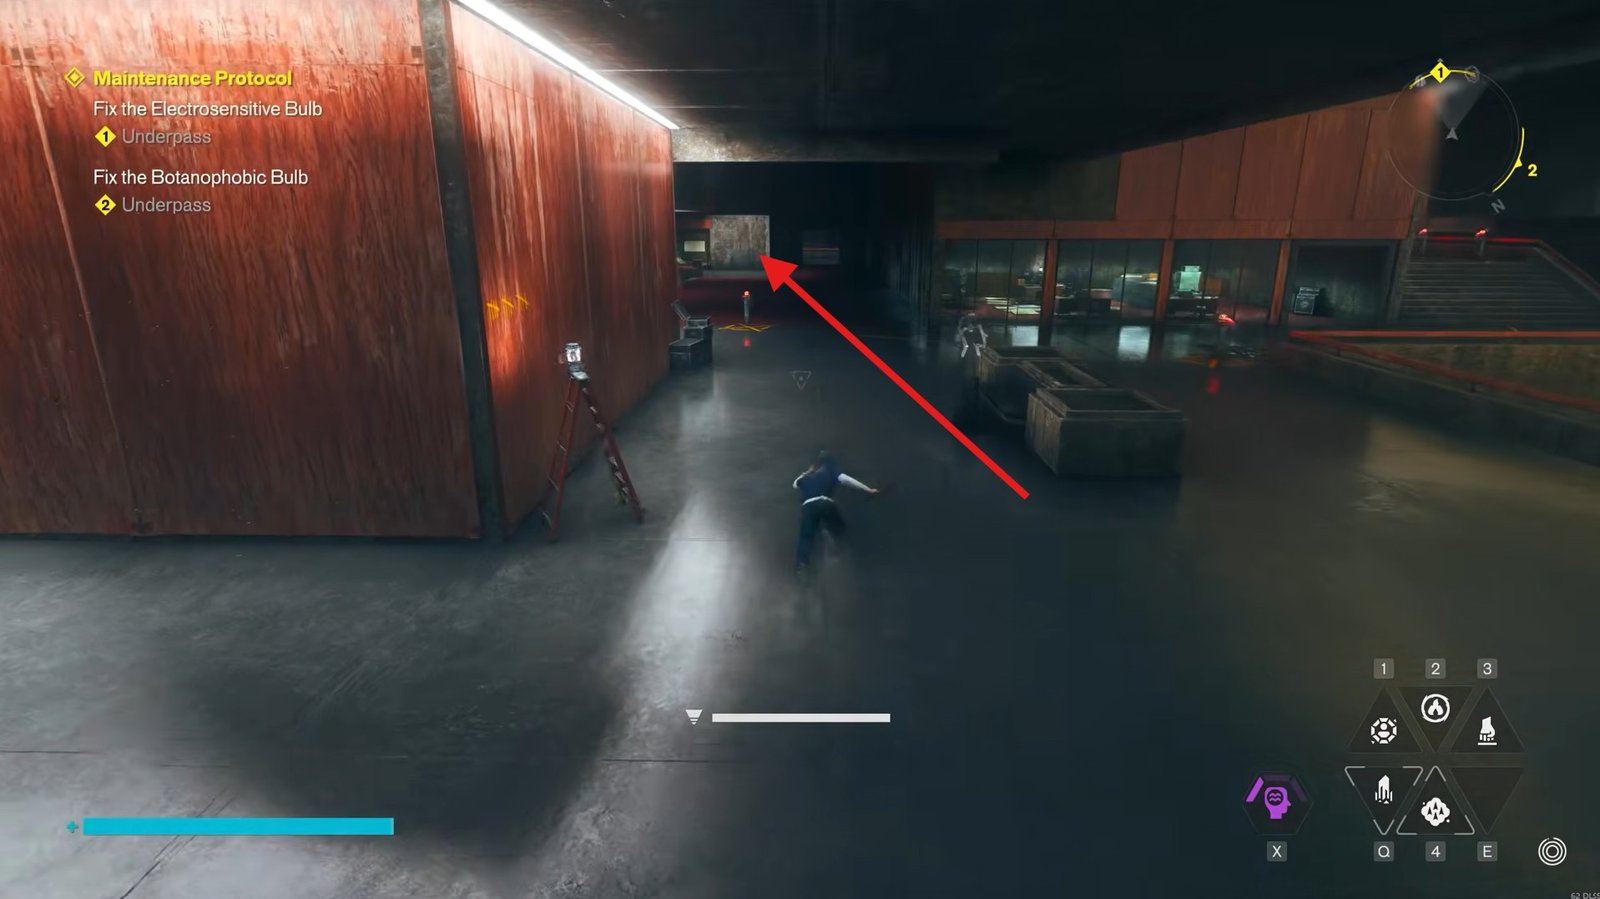
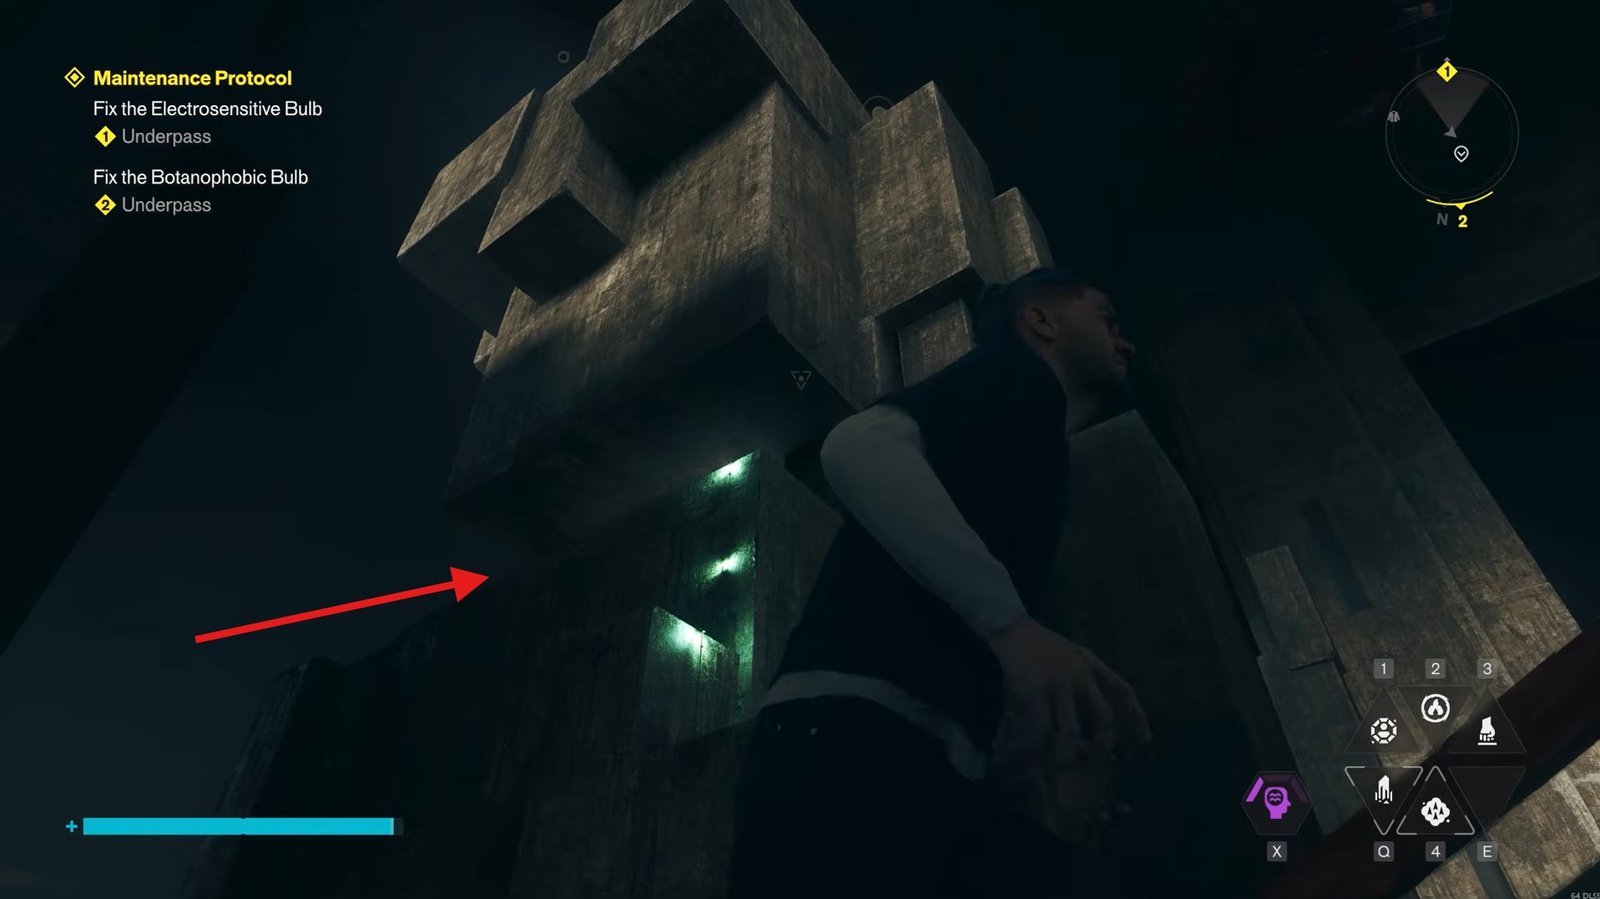
Climb along the left side of the structure, jumping between the available platforms until you reach the room containing the second bulb. There’s another projector inside, so collect any loot in the room and watch the presentation before starting the repair.
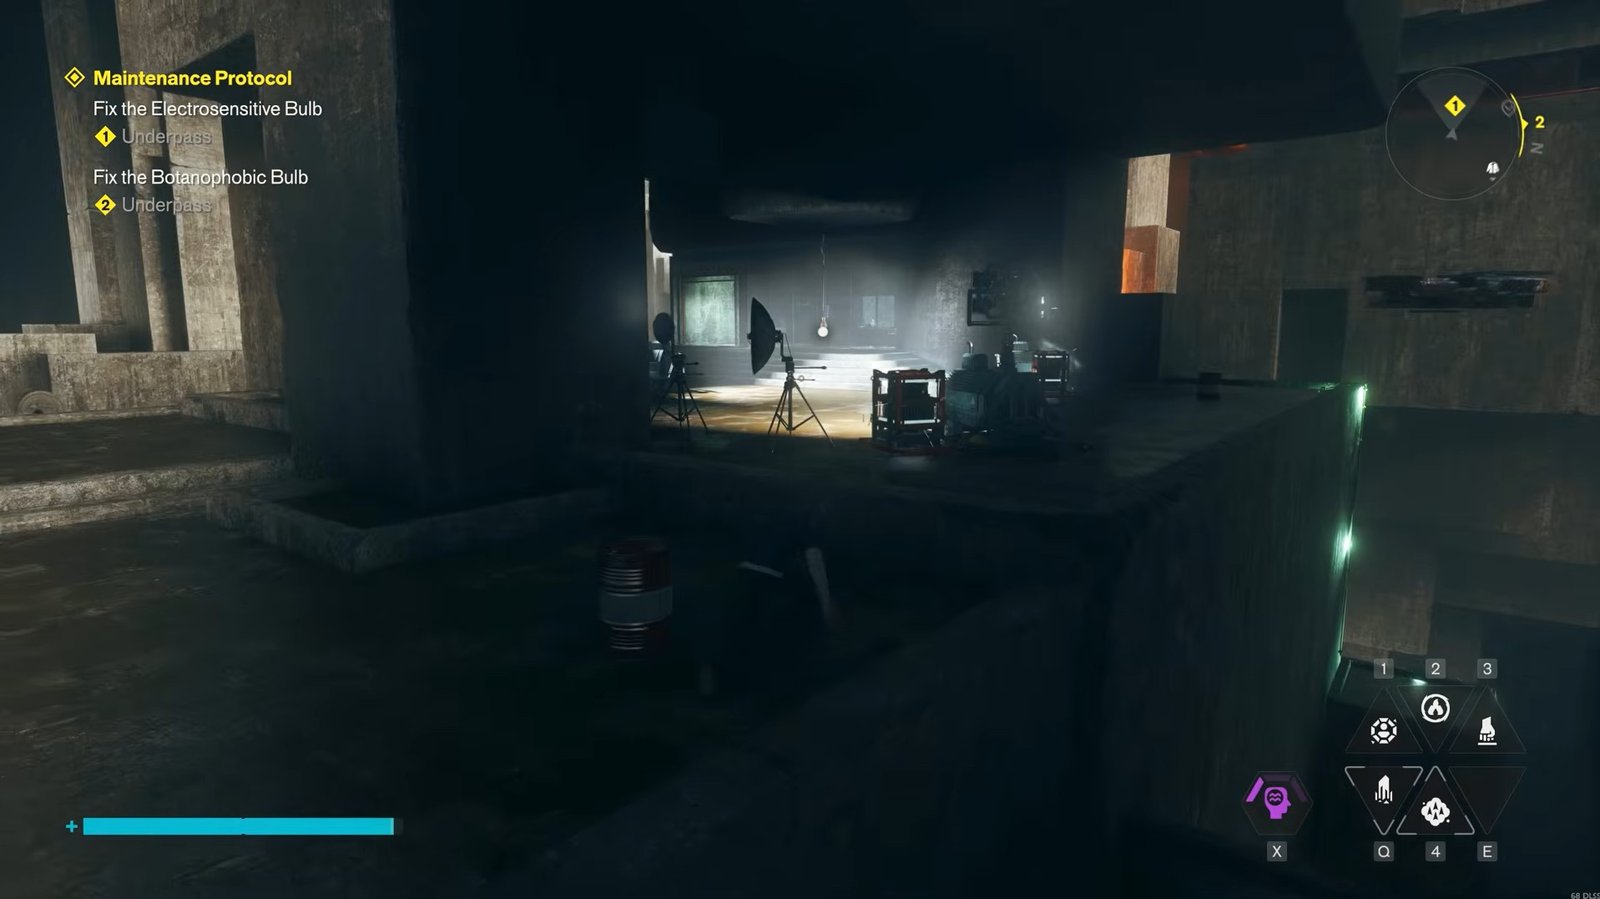
To repair this bulb, you need to remove the power sources from several devices around the structure and transfer them to the appropriate generators.
Pick up a power source and carry it down to the first device that needs power. You then need to repeat the process for the other devices positioned around the structure, including those around the corners and along the outer edge.
Move between the upper platforms and lower sections to collect each power source and place it where required. Keep climbing back up to retrieve the remaining ones until you power all the necessary devices.
Once the power has been restored and the structure no longer has any remaining power sources to move, return to the bulb and interact with it to complete the second repair.
Botanophobic Bulb
The final target is the Botanophobic Bulb. From the previous area, make your way back towards the location marked on the map, which is near the Research Site.
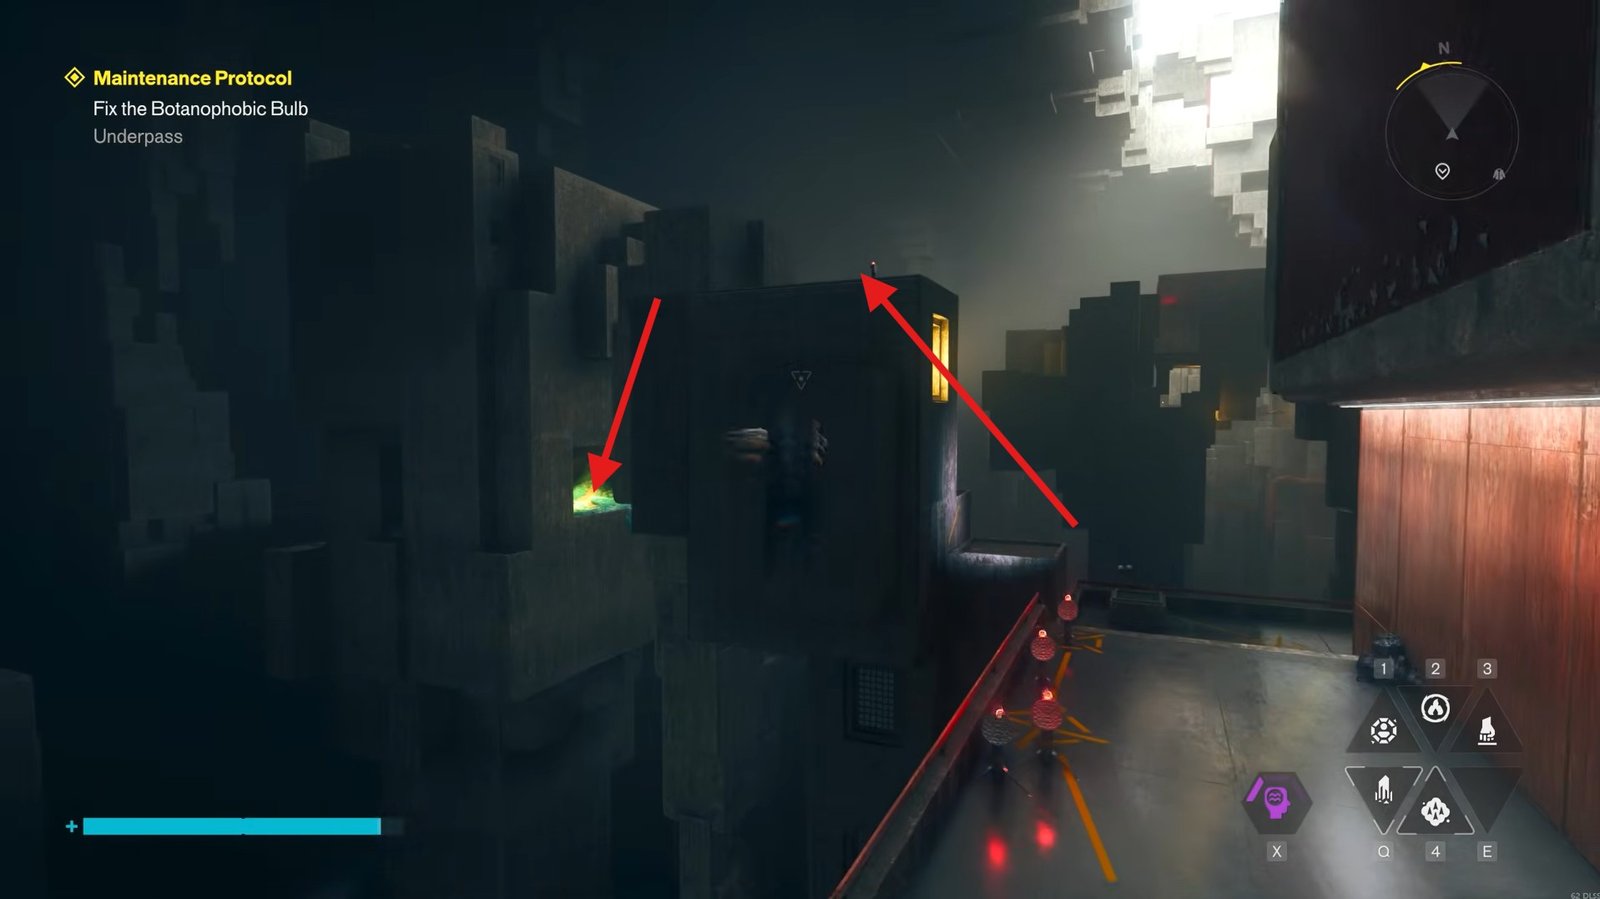
Once you are here, jump down the lower building’s staircase on the right, make a right turn around the corner, and then make your way towards the section ahead by long jumping.
From there, keep jumping and climbing upwards until you can cross towards the area covered in blue mold. You will find the final bulb trapped beneath the growth.
Destroy the mold covering the bulb and clear away the growth surrounding the central section. Once everything has been removed, the projector will activate and play its presentation.
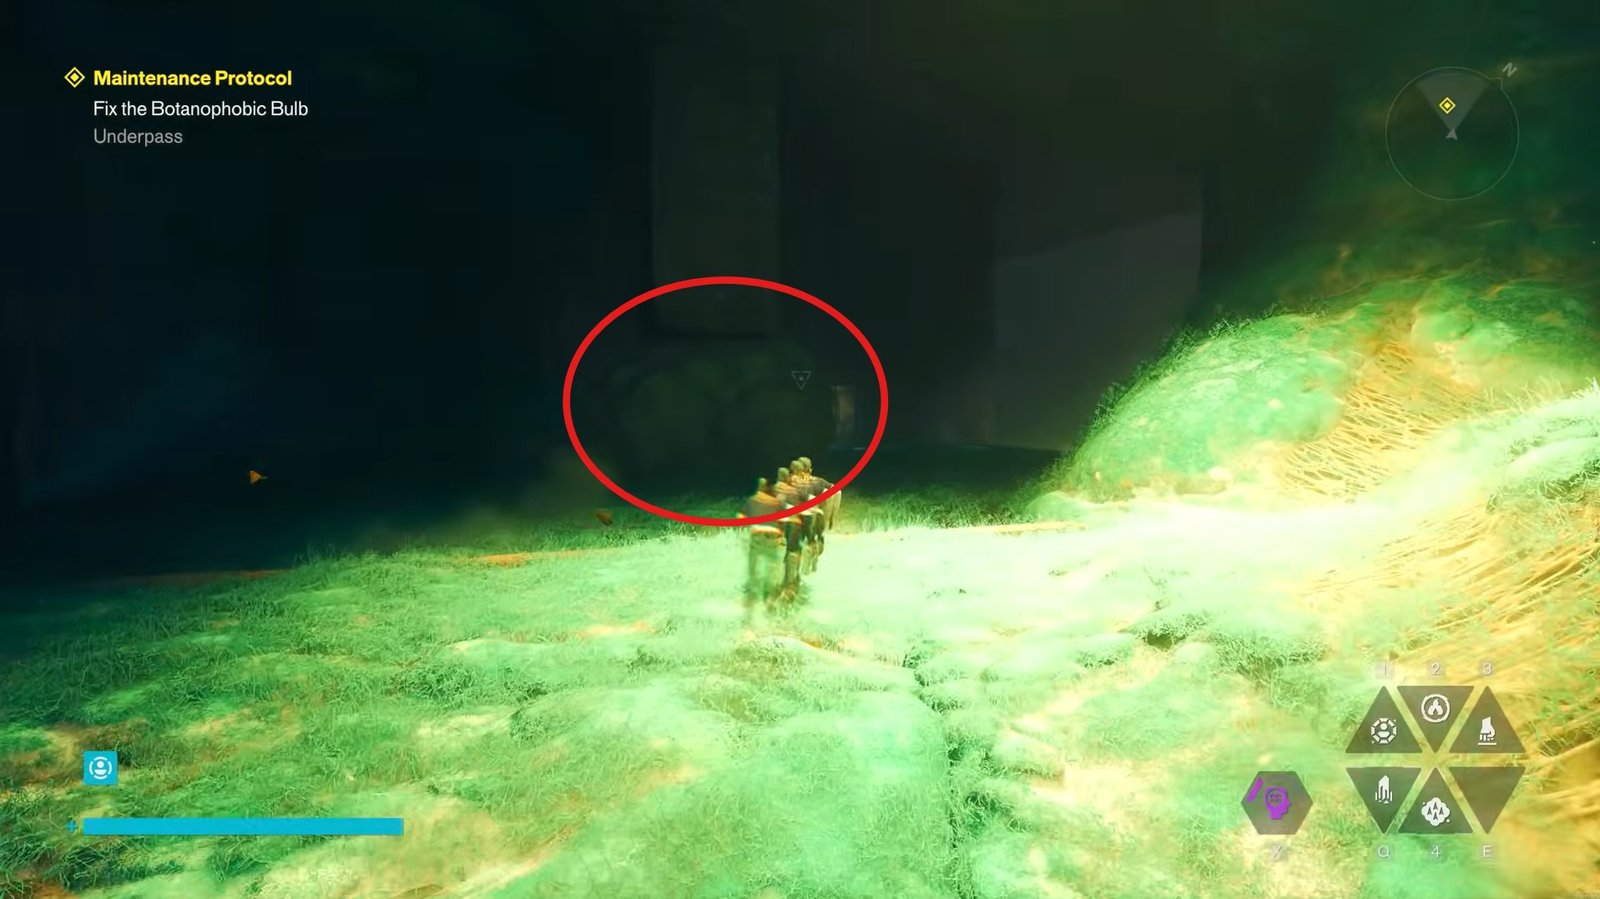
After the presentation finishes, interact with the bulb to repair it. This is the simplest of the three repairs, as you only need to clear the mold before fixing it.
With all three bulbs repaired, head back to the room where you first watched the slideshow.
Retrace your route towards the Research Site and continue back to the nearest fast travel point. You will need to cross the platforms again, use your gravity switching ability where necessary, and make your way back to the door leading to the Deepest Underpass.
Fast travel to the Deepest Underpass, then return to the projector room through the entrance you opened earlier. Once inside, interact with the projection when prompted.
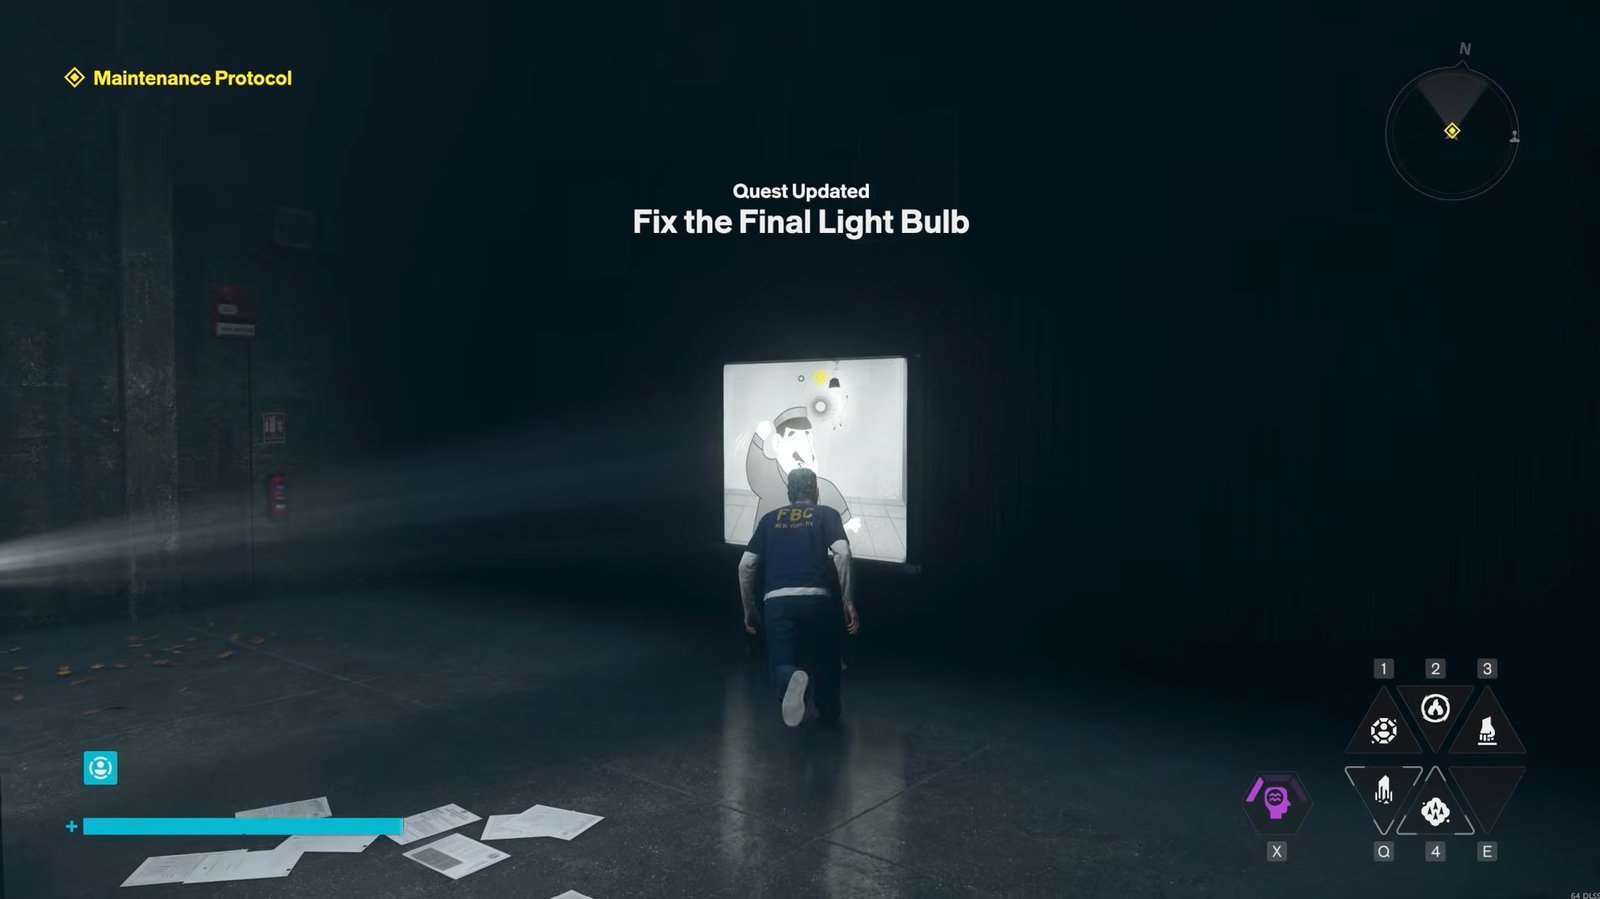
This will trigger another sequence of dialogue and transport you into the slides themselves. Inside the slides, continue through the dialogue and look for the unstable bulb. You will have the opportunity to tighten it before proceeding.
Keep moving through the conversation until you reach the options for escaping the slide sequence. One available choice is to break the bulb, which allows you to escape. Other options include moving towards the gap or stepping out of the slide.
Choose an available option and continue through the remaining dialogue to finish the sequence. Once you have completed this final section, the Maintenance Protocol side quest will be complete.
That is all for this guide. Additional Control Resonant guides are linked below:
- Control Resonant New Growth Quest Guide – How to Complete
- How to Move the Charge to Central Checkpoint in Control Resonant
- How to Repair the Security Terminal in Panopticon Service Request in Control Resonant
- How to Complete Crossing the Threshold Quest in Control Resonant
- How to Complete an FBC Task in Control Resonant – Unlock FBC Recruit Achievement/Trophy
This concludes our Control Resonant guide on how you can complete the Maintenance Protocol side quest in the game easily. If you want to add anything to this guide, feel free to use the comment section below.