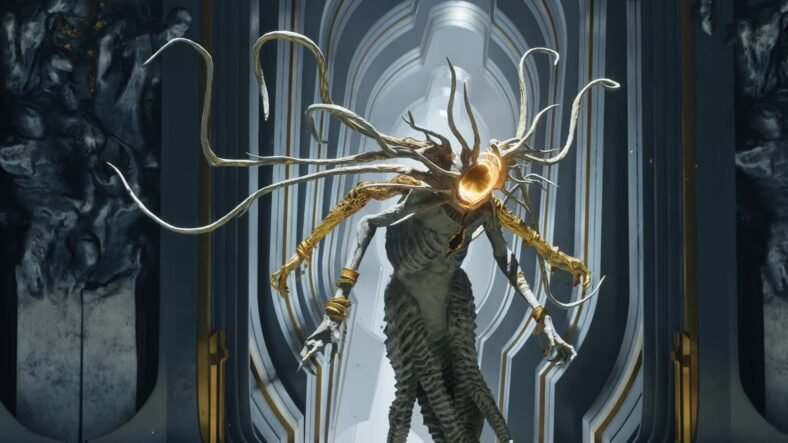
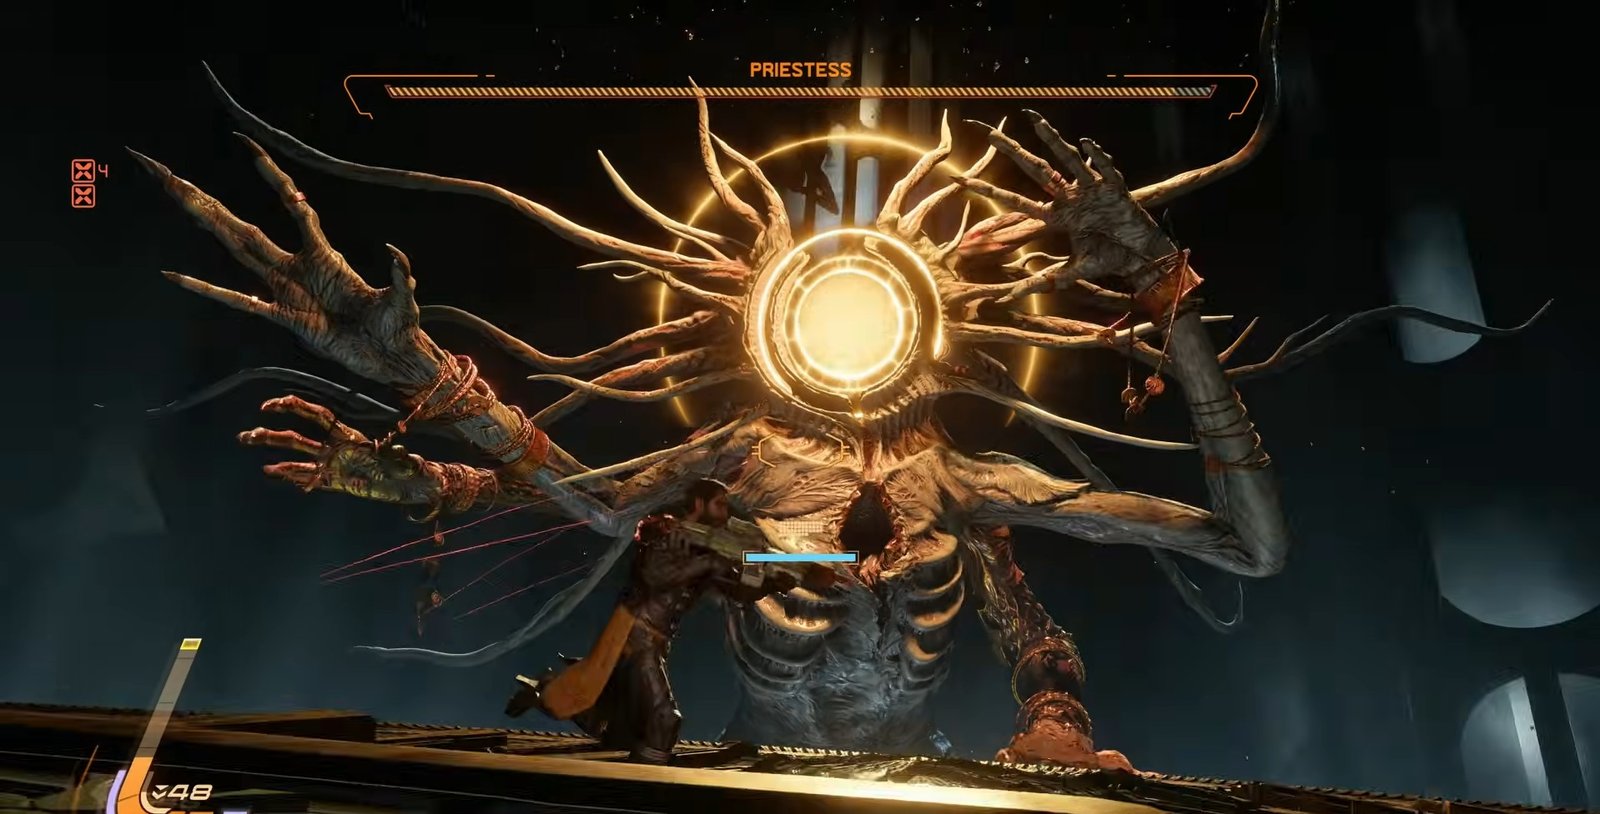
This Saros Priestess Boss Battle Guide details all the tips and tricks needed to defeat the Priestess. Priestess is one of the more complex boss fights in Saros, found at the end of the Cathedral biome. The battle can feel overwhelming because of multiple enemies, constant projectiles, and changing arenas. However, once you understand the flow, especially when to attack and when to focus on mechanics, it becomes much more manageable.
Priestess Boss Battle Guide – Saros
During the fight, if you hit Priestess with your Power Weapon or Overdrive while it is attacking, you can interrupt its sequence for a short moment. This gives you a chance to breathe, reposition, or prepare your next move.
Phase 1 – Dealing with Multiple Copies
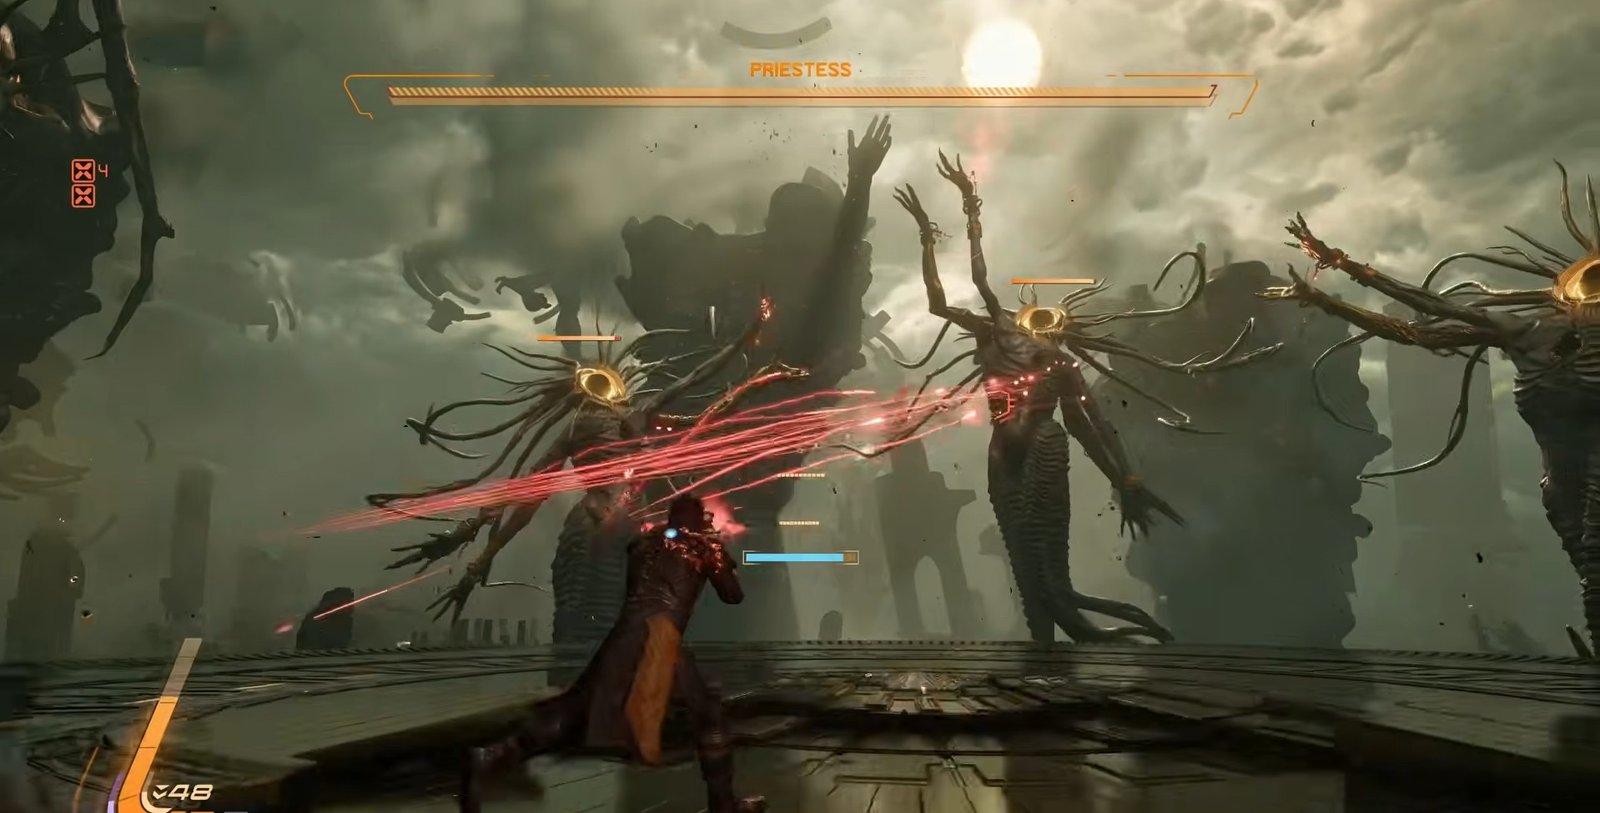
At the start, Priestess splits into three versions of itself. All of them can attack, and they can also teleport together to different parts of the arena. This means you need to stay alert and constantly track where they appear.

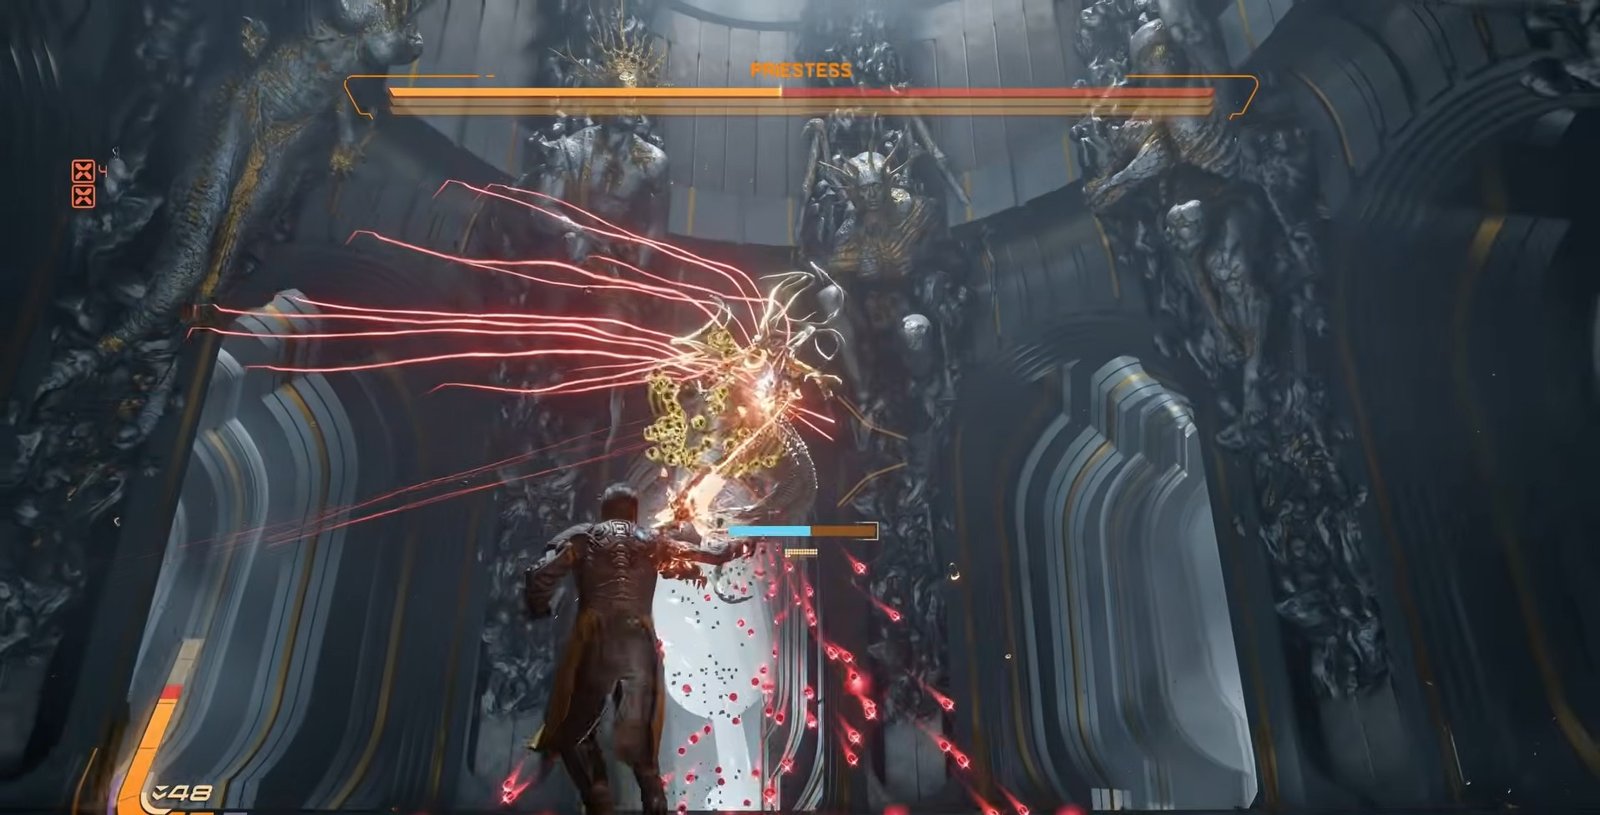
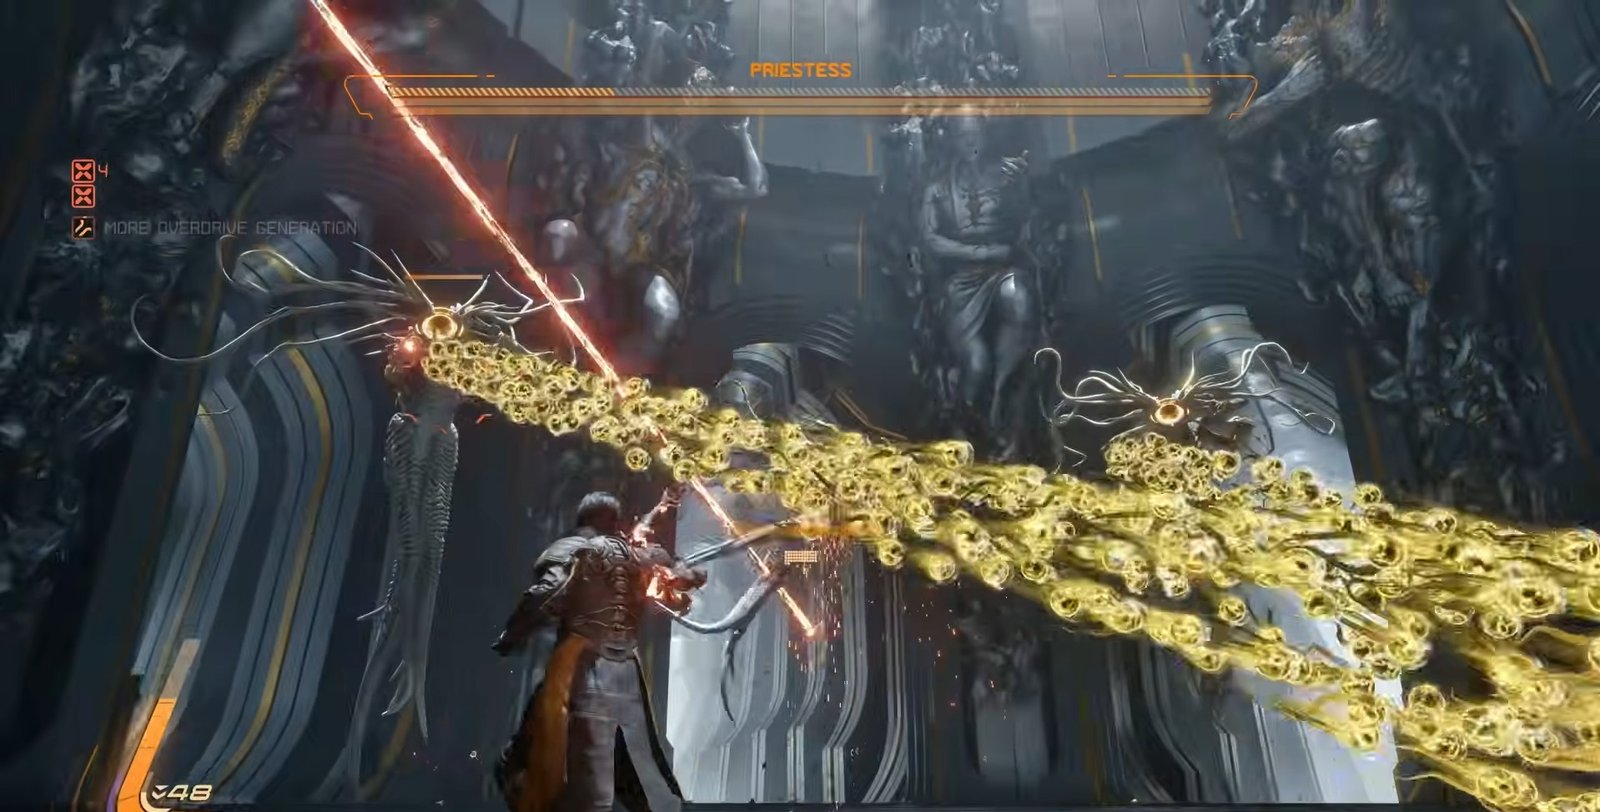
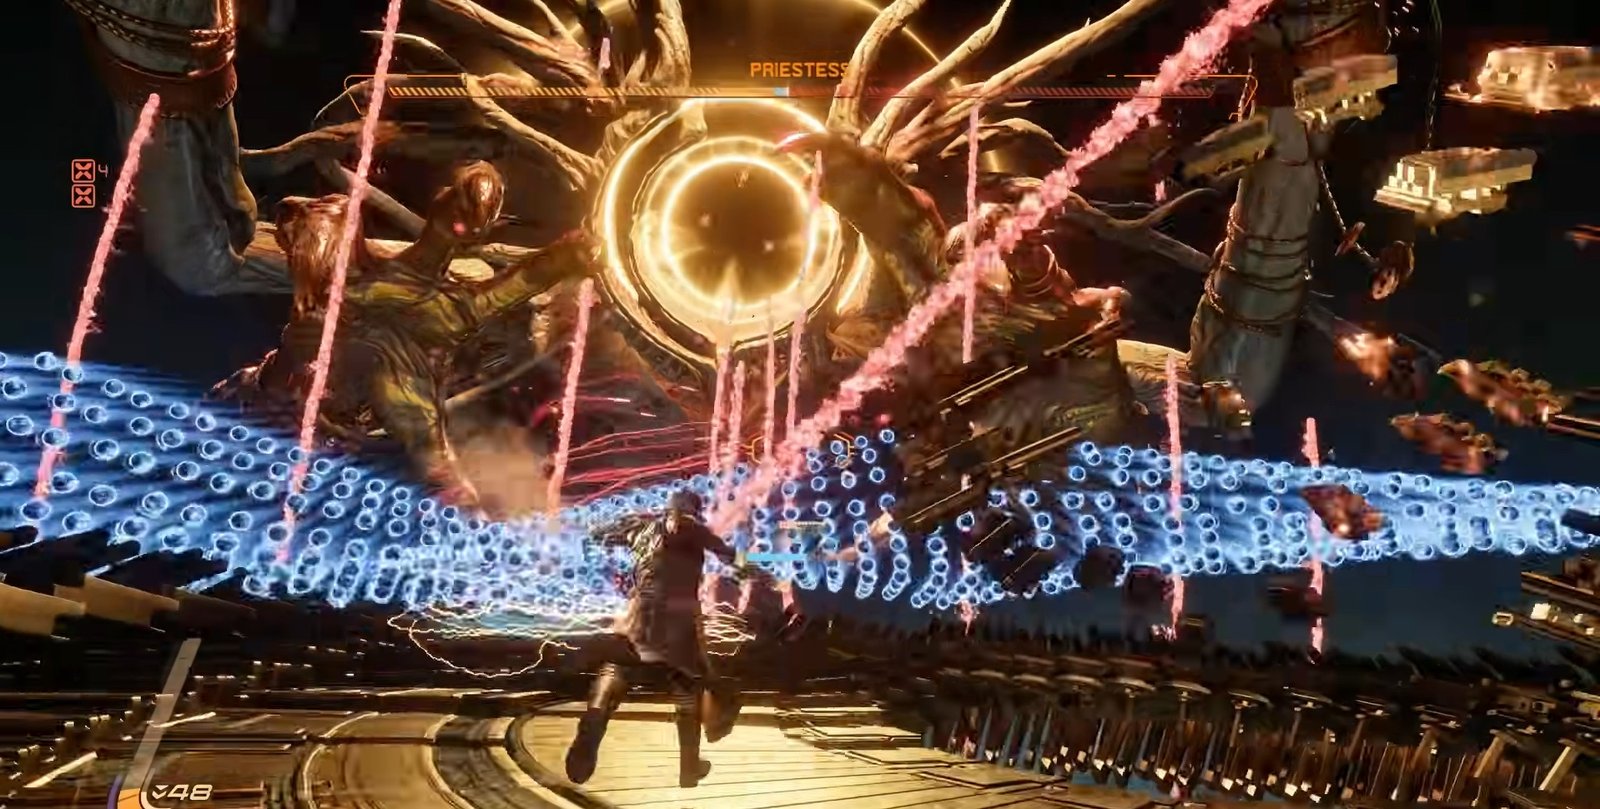
They often release red shockwaves together, forcing you to carefully jump or dash so you land safely between them. Another common attack is a wide tunnel of yellow projectiles. The best way to handle this is to position yourself inside the tunnel early, then jump and dash through the opening at the end.
They may follow this with thin streams of yellow projectiles aimed directly at you. These are easier to avoid by jumping over or dashing under them.
To progress, you need to defeat two of the three copies. Once that happens, the real Priestess appears in the center, and this is your chance to deal actual damage.
When the real one appears, it may send vertical walls of yellow projectiles and create red shockwaves on the ground. Stand between two walls, focus on jumping over the shockwaves, and use this time to attack safely.
It can also track you with narrow streams of projectiles while slowly filling the ground below with nova projectiles. Keeping some distance here helps you avoid getting trapped.
Another variation includes diagonal waves forming an X shape, combined with ground shockwaves. You can jump the shockwaves while using your shield to absorb some projectiles and recharge your abilities.
At times, it will send large tunnels of projectiles again, but now mixed with blue shots. You will need to time your movement, either dodging or absorbing midair, carefully.
Throughout this phase, Priestess may summon its copies again. When that happens, you must repeat the process of defeating them before you can damage the main body again.
Phase 2 – Arena Changes and New Mechanic
Once the first health bar is gone, the arena changes, and several large versions of Priestess appear around you. While they can technically take damage, it is not effective to focus on them directly.
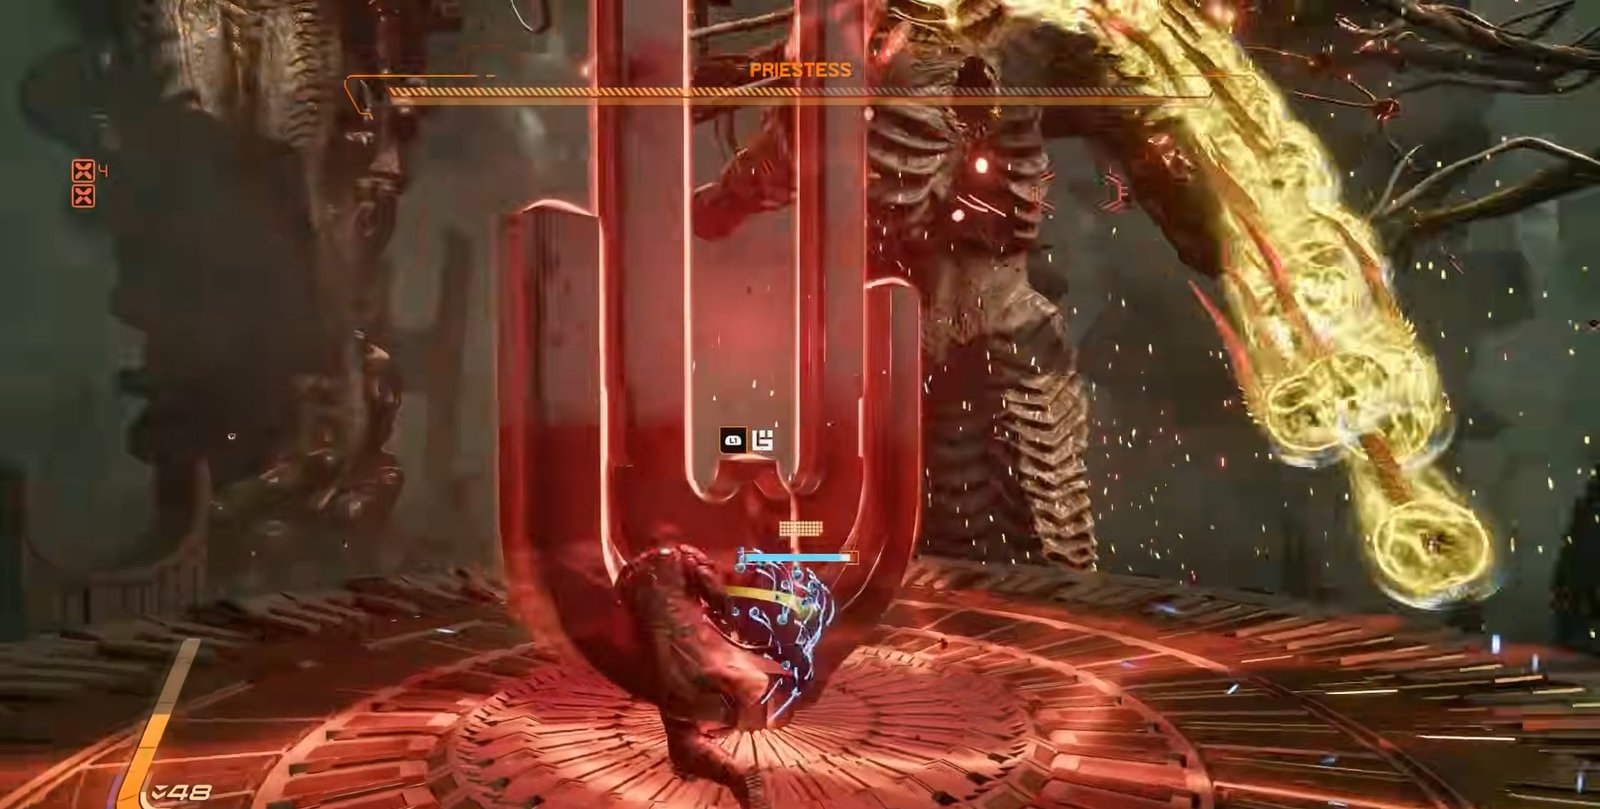
Instead, you will notice special structures, tuning forks, placed on smaller platforms around the arena. You need to quickly move to these and strike them. Doing this clears nearby projectiles, briefly stuns the Priestesses, and after activating all of them, the boss reforms into a single target again.
During this phase, you will also have to deal with continuous projectile patterns, including waves that move across the arena and require constant jumping, absorbing, and awareness.
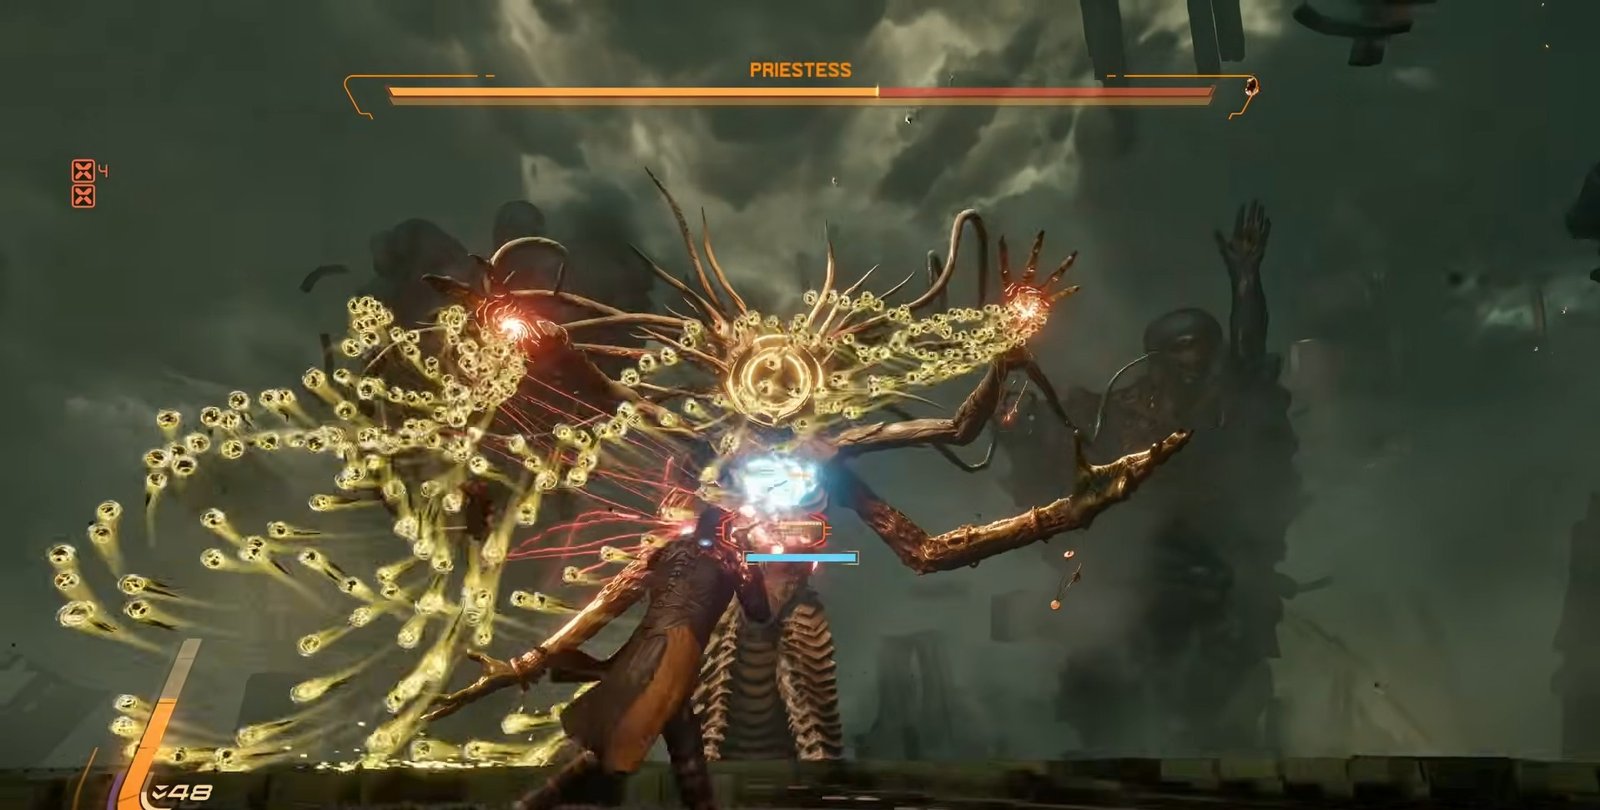
Once Priestess returns to a single form, a clear weak point appears on its chest. This is where you should focus your attacks.
It can trap you inside a circular wall of projectiles that closes in. If the projectiles are blue, this is actually a good chance to absorb them and recharge. If they are different, you can simply jump over them if timed correctly.
Other attacks include diamond-shaped projectile clusters fired in pairs, as well as scattered yellow projectiles that fall toward the ground. These require simple movement and positioning to avoid.
When you reduce its health further, it will split again, and you will need to repeat the tuning fork mechanic to continue damaging it.
You may also see tracking vortex attacks from its hands. These follow you briefly but disappear quickly, so a simple dodge and slight movement is enough to avoid them.
Phase 3 – Final Form and Platform Changes
In the last phase, the arena shifts again, and you fall onto multiple platforms. A larger version of Priestess appears and starts placing orbs on platforms that generate more projectiles.
Just like before, you need to locate and activate the tuning forks on nearby platforms. Once you do that, Priestess becomes vulnerable again.
During this phase, you will face more intense versions of earlier attacks. Diamond-shaped projectiles now come with added red waves, meaning you will need to carefully position yourself between them.
Large swirling tunnels of projectiles will also return, but if you stay centered on your platform, they are easier to avoid than they look.
Sometimes, the platform you are standing on will begin to break. If you notice early, you can jump to another platform. If not, a new one will appear beneath you, so you won’t fall out of the fight.
As the fight continues, Priestess may again become immune and require you to activate more tuning forks to continue.
New attacks include spiral-like projectile patterns and fast homing shots. Some of these may come from outside your immediate view, so it helps to stay aware of your surroundings after each attack.
There are also moments where it fires multiple blue homing projectiles from its hands. These are actually helpful, as you can absorb them to fully recharge your Power Weapon. Stay patient, focus on what the fight is asking you to do in each moment, and don’t rush.
That is all for this guide. Additional Saros guides are linked below:
- Saros Prophet Boss Battle Guide – How to Defeat, Tips & Tricks
- Saros Bastion Boss Battle Guide – How to Defeat, Tips & Tricks
- Saros Rhabdom Boss Battle Guide – How to Defeat, Tips & Tricks
- Saros Legion Boss Battle Guide – How to Defeat, Tips & Tricks
- Saros Architect Boss Battle Guide – How to Defeat, Tips & Tricks
- Saros Shepherd Boss Battle Guide – How to Defeat, Tips & Tricks
- Saros King Boss Battle Guide – How to Defeat, Tips & Tricks
This concludes our Saros Priestess Boss Battle Guide. If you want to add anything to this guide, feel free to use the comments section below.