This Saros Rhabdom Boss Battle Guide details all the tips and tricks you need to defeat Rhabdom. Rhabdom is the third major boss you will face in Saros, waiting for you at the end of the Shattered Descent. This fight is all about movement, timing, and staying calm under pressure. The arena, combined with Rhabdom’s speed and attack variety, makes this a challenging encounter.
Rhabdom Boss Battle Guide – Saros
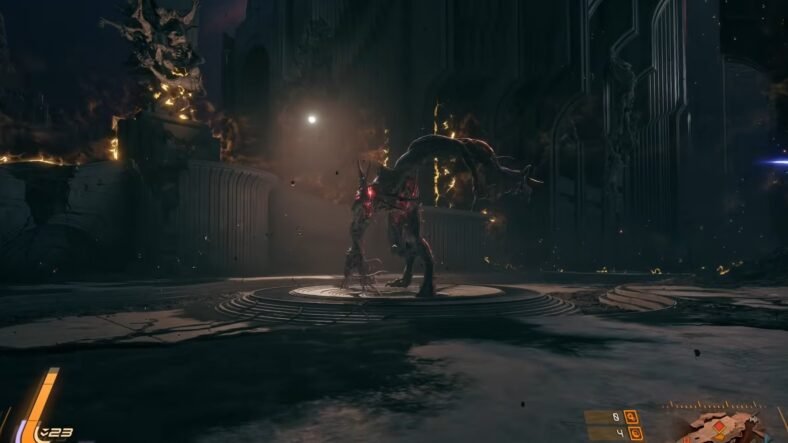
As soon as you enter the arena, a Solar Cage activates, and Rhabdom appears. It is a fast, aggressive enemy with a large health pool, so expect a longer fight and stay alert the entire time. Standing still for too long is a mistake here. Constant movement is key to surviving.
A useful trick to remember is that if you hit Rhabdom with your Power Weapon or Overdrive right as it is attacking, you can interrupt its flow. This gives you a short break to reposition or reset yourself, which can be very helpful in tight situations.
First Phase
One of Rhabdom’s common moves is launching a glowing blob into the air. After a moment, it splits into many smaller projectiles that track your movement. These can overwhelm you quickly if ignored, so you will need to either dodge carefully or absorb them when possible.
Rhabdom often jumps across the arena, usually three times in a row. Each landing creates an explosion of red projectiles spreading outward. The first two are manageable, but the third jump is much bigger and harder to avoid.
A good way to deal with this is to stay on the lower level at first, then just before the final jump, use your grapple to move up to a higher platform. This lets you avoid the largest burst entirely and gives you a safer position.
During the fight, you will often see the boss standing on a platform while attacking. In these moments, it is usually safer for you to stay on the ground. If the situation is reversed and you are above, adjust accordingly and move in the opposite direction from the boss. This back-and-forth positioning helps you avoid a lot of unnecessary damage.
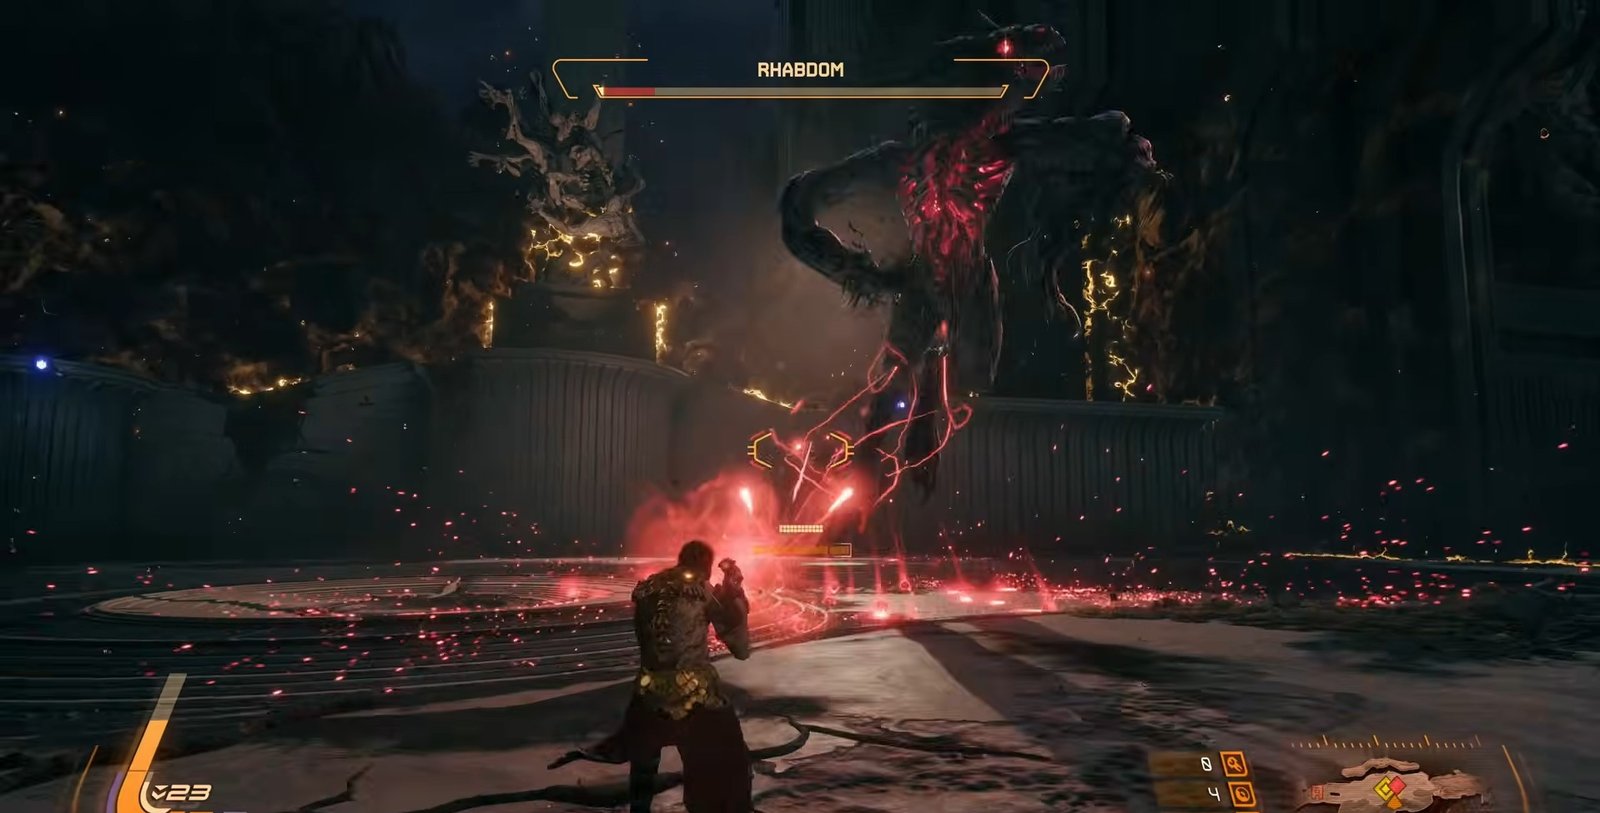
Sometimes Rhabdom will stay in one spot and stomp repeatedly, sending out circular shockwaves. At first, you can jump over them, but as the attack continues, the waves get taller and harder to avoid.
By the end, you will likely need to dash through or absorb them instead of jumping. Some of these attacks also leave behind yellow projectiles that sit on the ground briefly before floating upward, so watch your positioning.
Rhabdom can also swing its claws and release multiple waves in different directions. These come quickly, but if you keep moving and time your jumps and dodges well, you can avoid most of them.
If things get too hectic, you can use your shield or quickly grapple to a higher area and use the environment to block incoming waves. While the boss is attacking, you should also make use of your shield. Not just for protection, but to recharge your alternative fire. This is very important because your alternative fire will be one of your primary sources of damage throughout the fight.
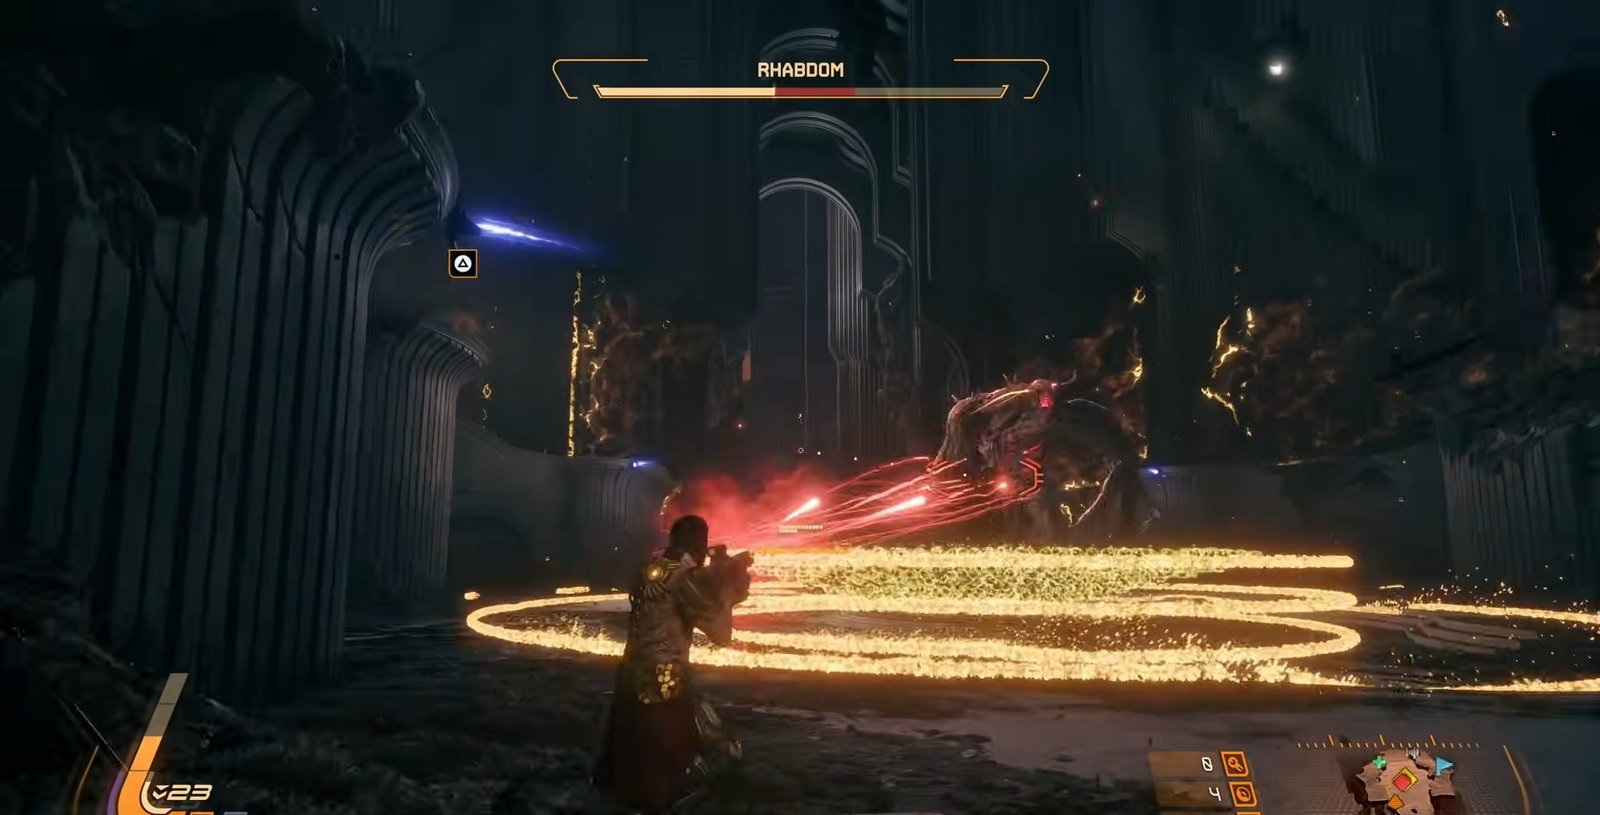
At times, Rhabdom will aggressively chase you while continuously firing yellow projectiles. It moves very quickly during this phase, making it dangerous to stay on one level.
The safest approach is to keep moving between upper and lower platforms, circling the arena until the attack ends. Don’t try to fight too much during this.
The biggest advantage you have in this fight is your ability to move using grapple points. Instead of staying in one place or running around normally, keep swinging from one grapple point to the next. Think of it like constantly circling the arena in the air.
One important detail here is how you move between grapple points. Always go to the next one in sequence. Don’t jump across randomly or move diagonally, because that breaks your flow and makes it easier for the boss to hit you. If you keep this smooth movement going, the boss will struggle to keep up with you.
When the boss creates circular wave attacks, that is your chance to deal damage. You can either shoot with your normal weapon or use your alternative fire if it is ready.
Also, pay attention to the boss’s behavior. You can often hear when it stops jumping or changes its pattern. When that happens, quickly turn and attack because it is usually a safe opening.
If the boss fires blue projectiles, you can absorb them to charge your alternative fire faster. This helps you stay consistent with your damage without taking big risks.
Second Phase Changes
In the latter part of the fight, the projectiles change from blue to yellow. This means you can’t rely on your shield to deal with them anymore. Instead, you will need to focus more on dodging and using your regular attacks.
The overall strategy, however, stays the same. Keep moving through the grapple points in a smooth loop around the arena. Staying near the edges where the grapple points are located makes this much easier. You can even combine dashing and grappling to maintain speed and stay out of danger.
Reward for Defeating Rhabdom
Once you finally bring Rhabdom down, you will earn around 950 Lucenite without any bonuses.
That is all for this guide. Additional Saros guides are linked below:
- Saros Prophet Boss Battle Guide – How to Defeat, Tips & Tricks
- Saros Bastion Boss Battle Guide – How to Defeat, Tips & Tricks
- Saros Legion Boss Battle Guide – How to Defeat, Tips & Tricks
- Saros Architect Boss Battle Guide – How to Defeat, Tips & Tricks
- Saros Shepherd Boss Battle Guide – How to Defeat, Tips & Tricks
- Saros Priestess Boss Battle Guide – How to Defeat, Tips & Tricks
- Saros King Boss Battle Guide – How to Defeat, Tips & Tricks
This concludes our Saros Rhabdom Boss Battle Guide. If you want to add anything to this guide, feel free to use the comments section below.