This Saros Shepherd Boss Battle Guide details all the tips and tricks needed to defeat Shepherd. This boss might look chaotic at first, with tentacles and projectiles everywhere, but once you understand the pattern, it becomes much easier to control. The fight is more about awareness and positioning than anything else.
Shepherd Boss Battle Guide – Saros
At the start, you are mainly fighting tentacles rather than the boss itself. The safest position is near the middle of the platform, slightly toward the back. This helps you react better to sweeping attacks that move across the arena, which can be hard to notice at first.
These sweeping attacks don’t always give clear warnings, so staying centered at the back gives you more time to react. When they come, just jump over them, no need to overcomplicate it.
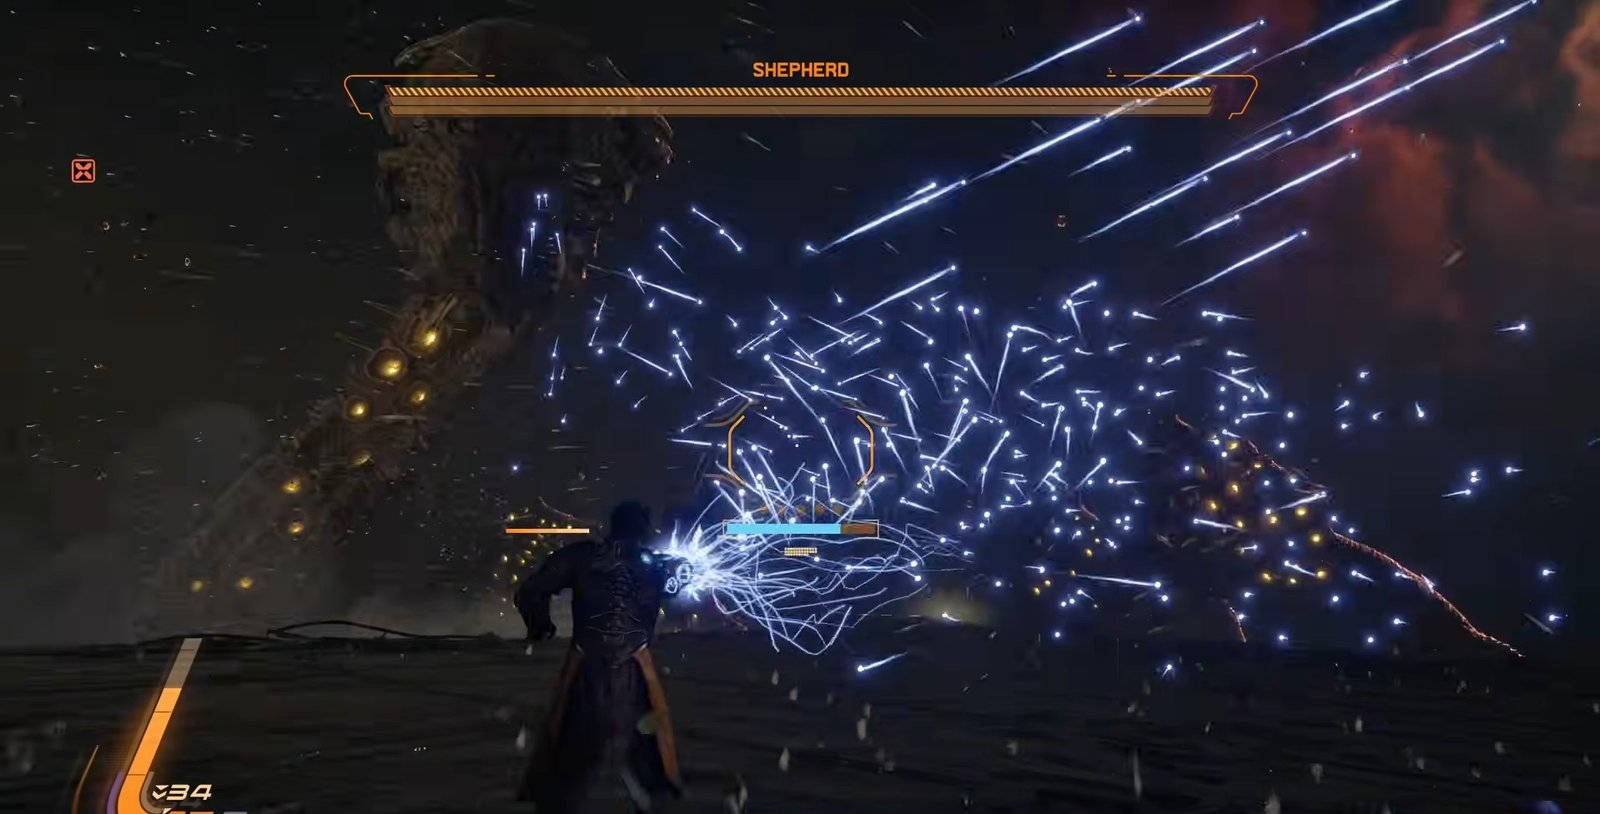
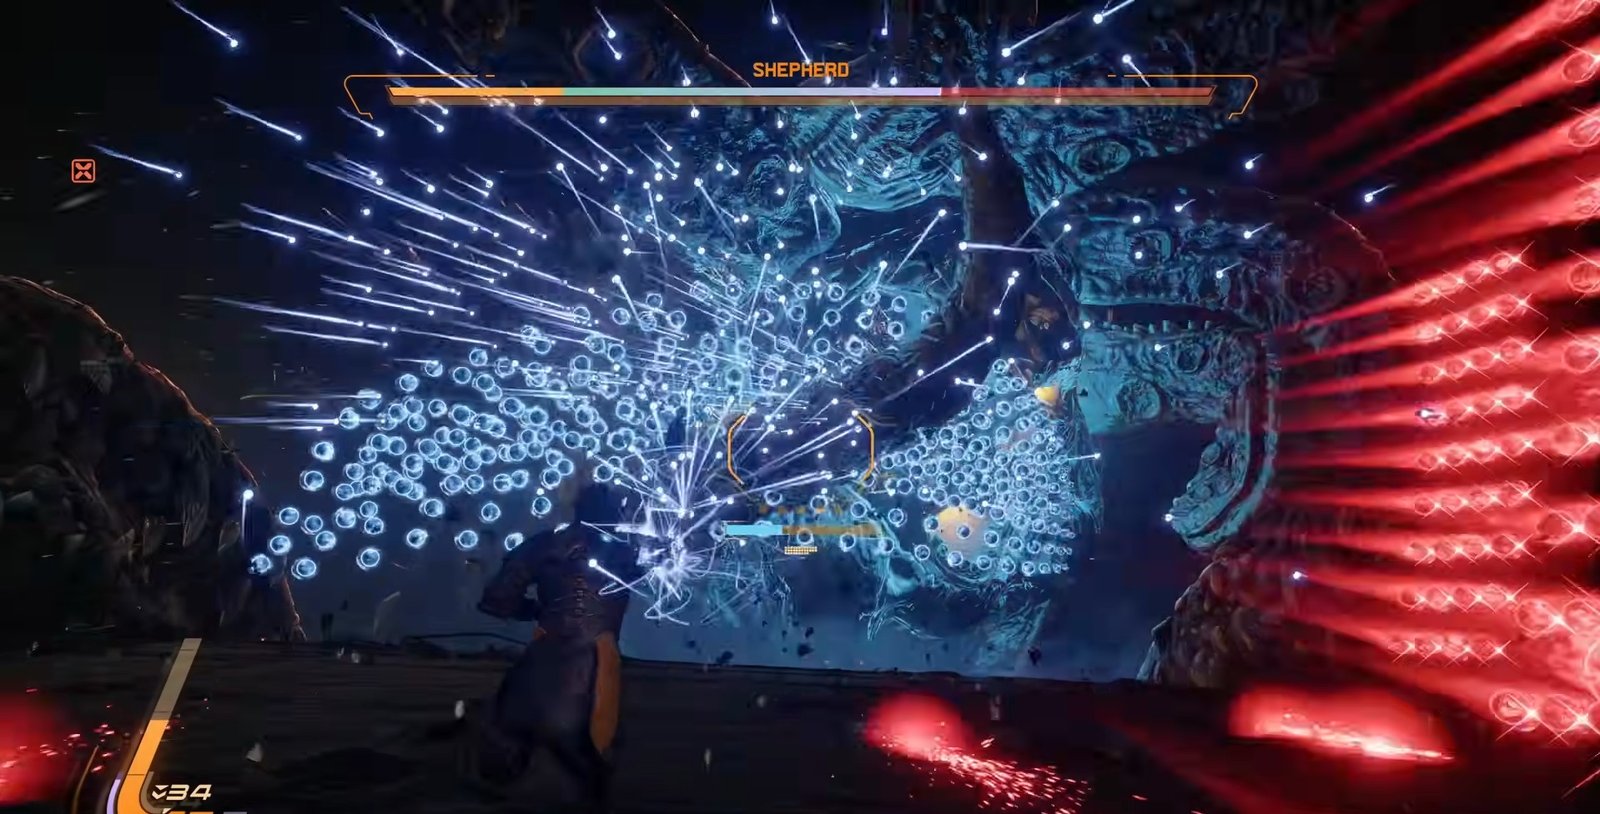
You will also see blue orbs appearing during this phase. These are very important. Try to collect or absorb as many as you can because they recharge your alternative fire, which will be your main source of damage throughout the fight.
Phase 1 – Learning the Pattern
Once the main boss becomes active, the fight still feels similar. Many of the tentacle attacks continue, so nothing is completely new here.
The only move that can be tricky is the red projectile attack. The key thing to remember is that you should react when the projectiles flash, not when they start moving. As soon as you see that flash, move to the side immediately. Waiting any longer makes it much harder to avoid.
There is one attack in which the boss fires vertical lines of red and blue orbs that have spaces between them to move between. You should absorb the blue ones to power up your weapon.
Aside from that, keep doing what you have already learned. Jump over sweeping attacks, stay mobile, and keep collecting blue orbs to build up your alternative fire. This phase is mostly about repeating these basics.
Phase 2 – Prioritize the Tentacles
In the second phase, things get a bit more intense. The most important thing here is to pay attention to the two main tentacles on either side of the arena.
These tentacles are more dangerous than the boss’s projectiles because they reach you faster. So, your main focus should always be avoiding them first. The boss’s other attacks take longer to reach you, giving you more time to react.
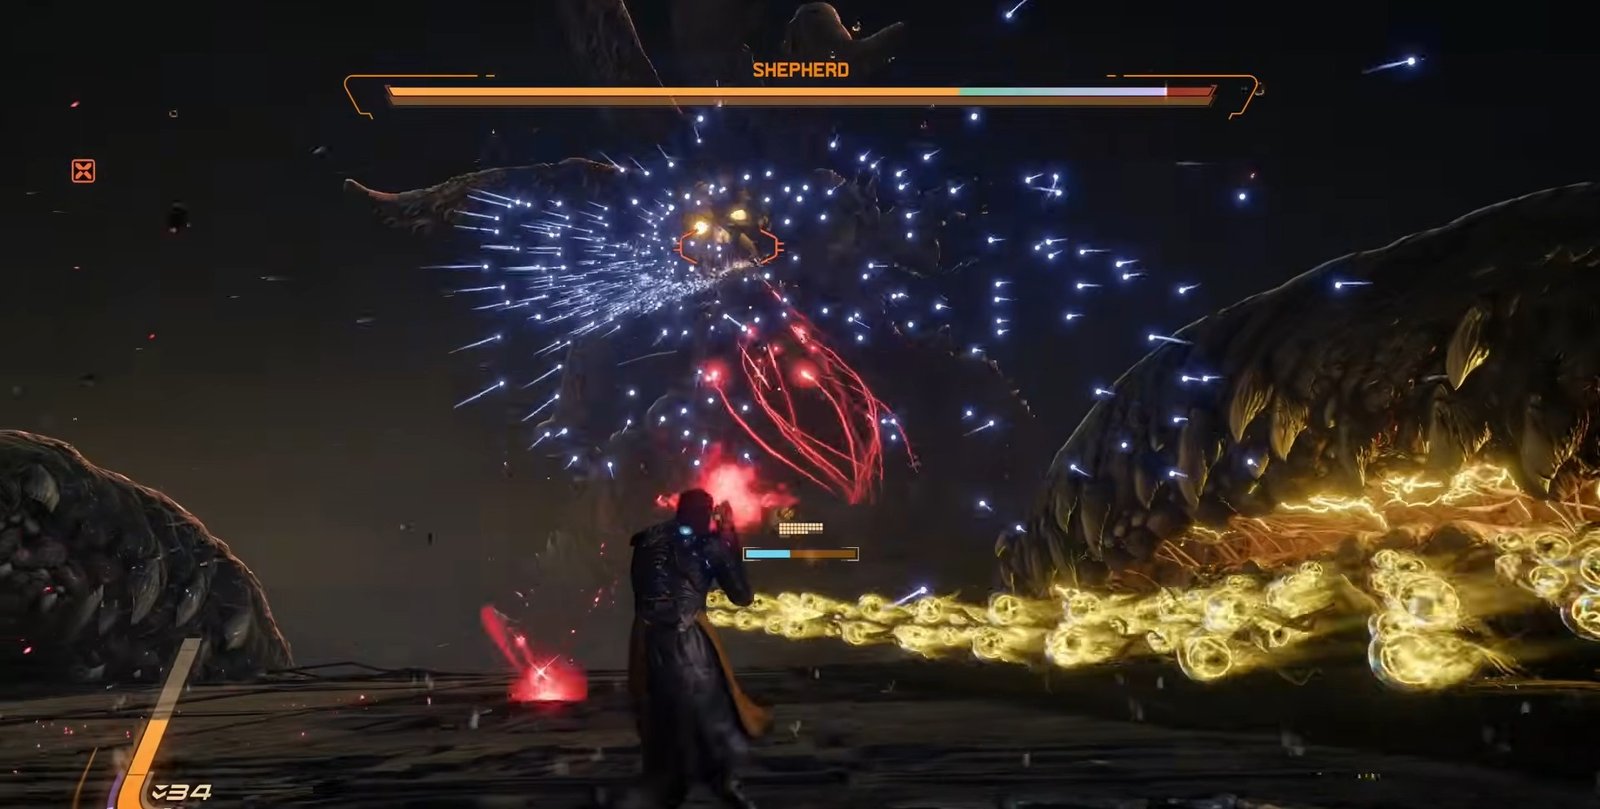
You will also see the red projectile attack again, and it works the same way. Move as soon as it flashes.
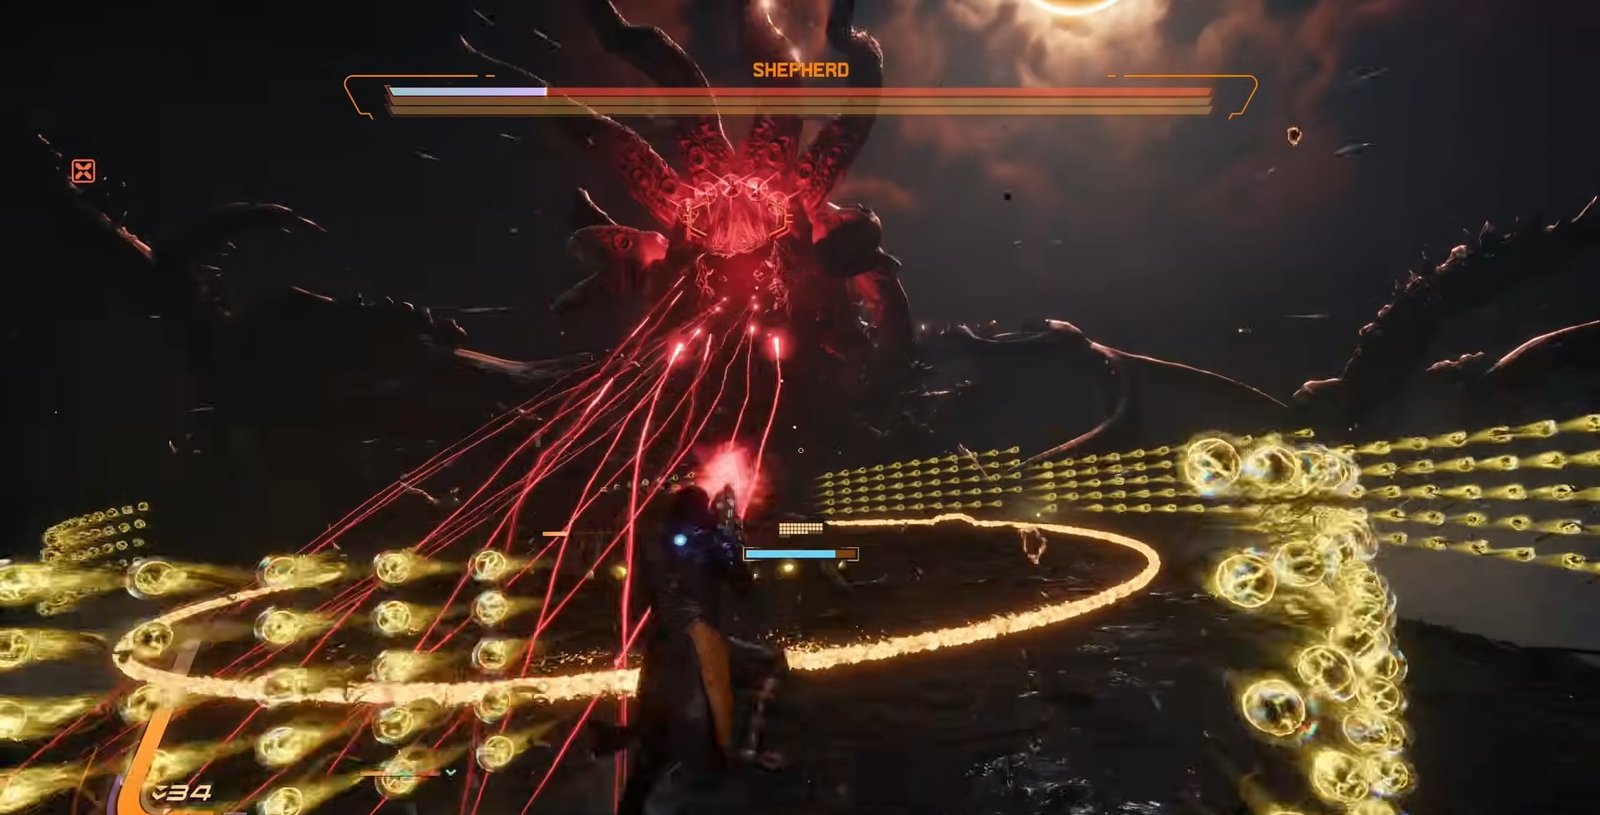
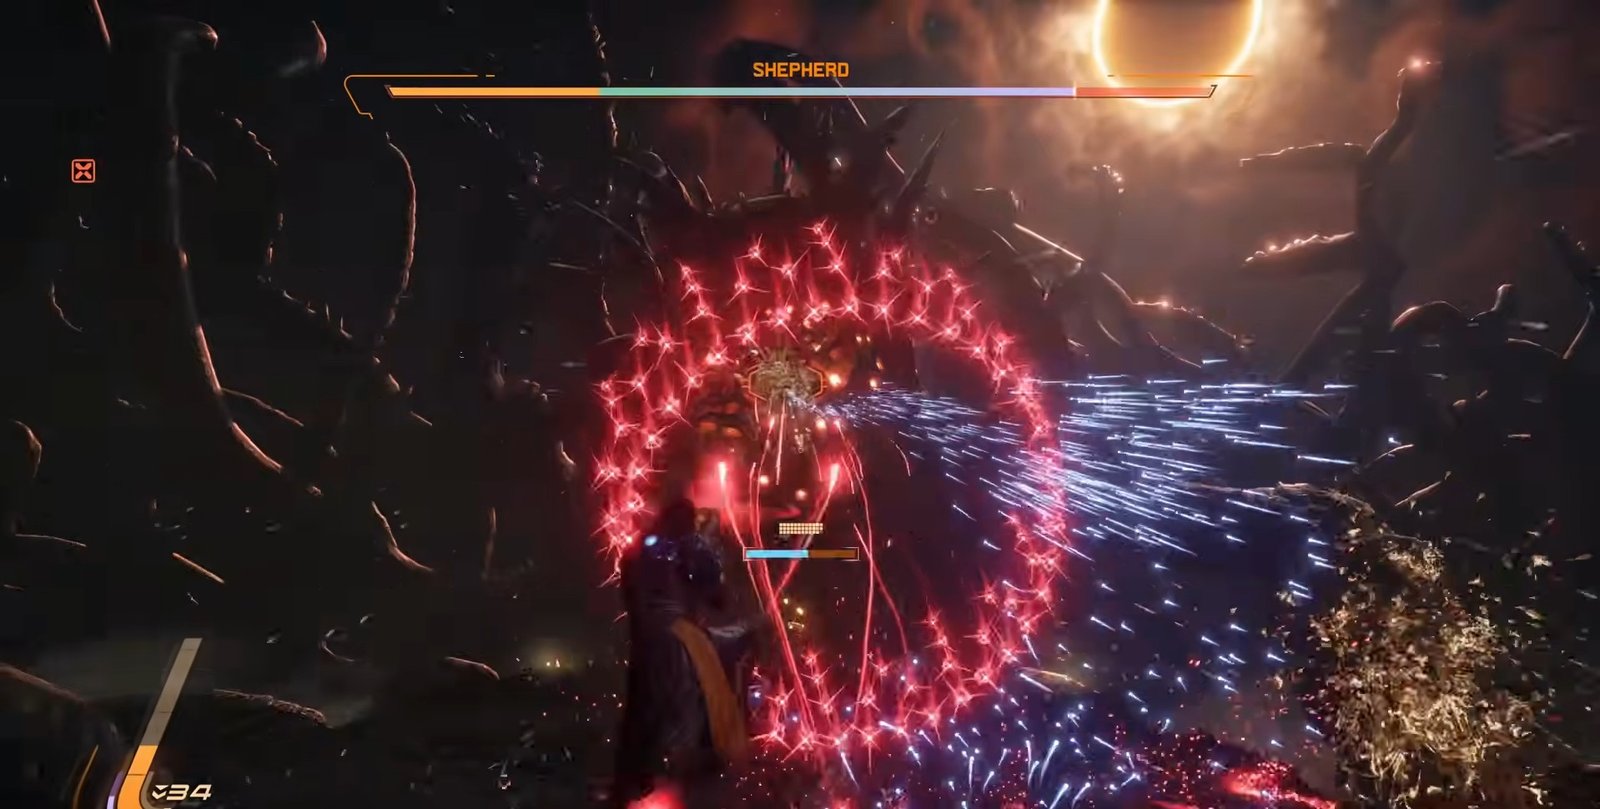
There is another move where the boss opens up its center and fires a spiral-like attack. This can be avoided by moving side to side and either jumping over it or staying low, depending on its height. You will need to judge this in the moment, but once you get used to it, it becomes predictable.
The main idea in this phase is to stay aware of both the boss and the tentacles at the same time. Handle the tentacles first, then deal with everything else.
Phase 3 – Faster Paced
The final phase may look overwhelming, but it follows a structured pattern. Attacks usually come in a sequence rather than all at once, so you always have space to react if you stay focused.
You will start seeing combinations of old and slightly adjusted attacks. The red projectiles still behave the same. Move as soon as they flash. The spiral attack from the center is also unchanged, so you already know how to deal with it.
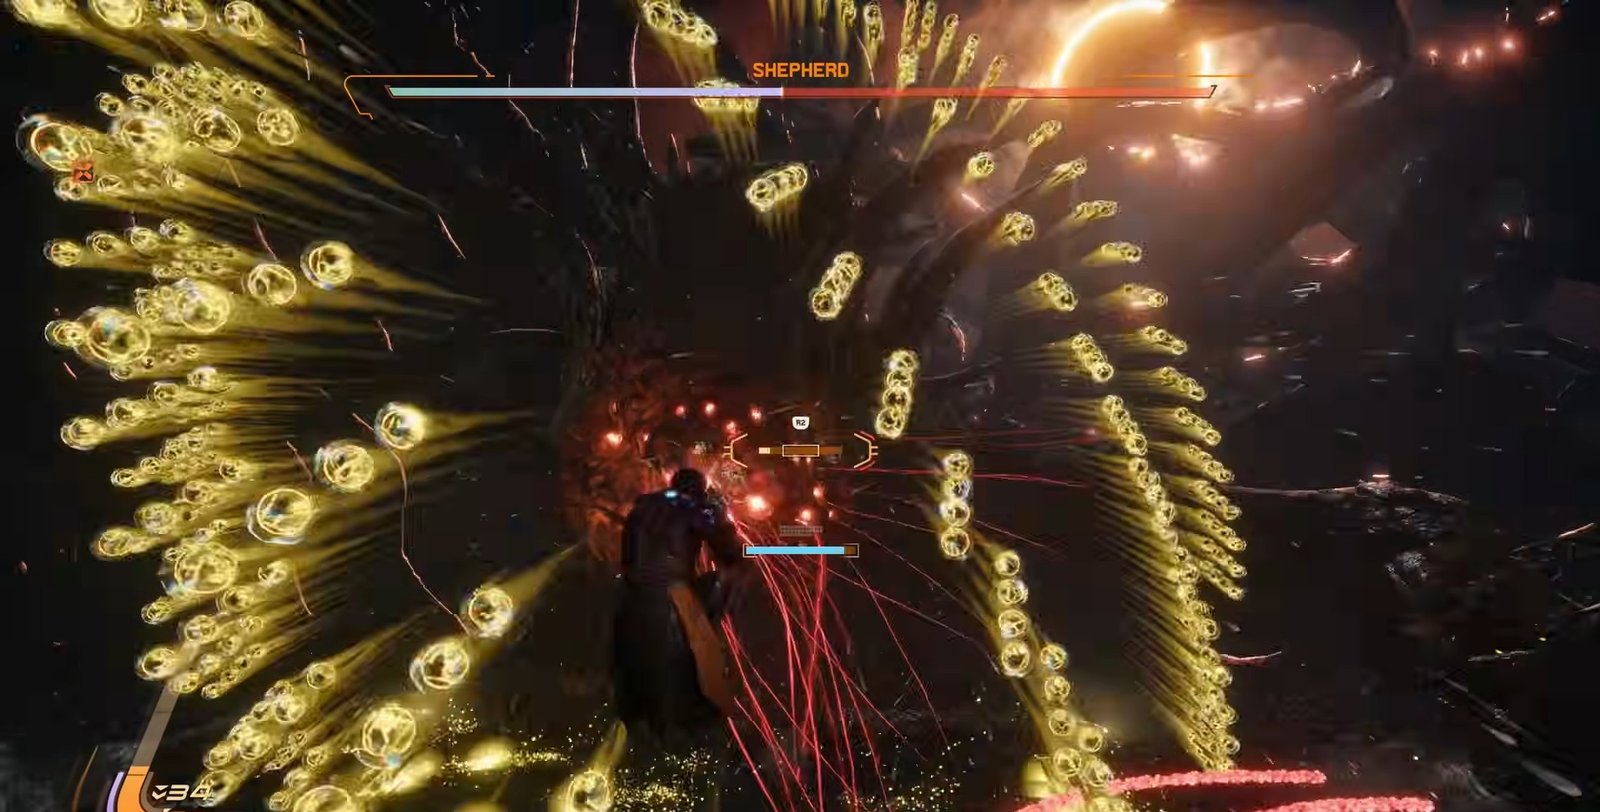
Some attacks will mix red projectiles in the middle with blue ones on the sides. In these moments, you can use your shield to absorb either the center or the outer projectiles. This helps recharge your alternative fire again, which remains very important for dealing damage.
When dealing with cross-shaped blue projectiles, try to position yourself at the center where they intersect. This lets you absorb more of them at once and quickly build up your charge.
Even though the visuals become more complex, your reactions don’t need to change. Stick to what you have learned, and the fight will stay under control.
For this fight, it is best to use a weapon that works well at range and allows consistent damage. Weapons that require you to be too close or limit your movement can make things harder. Some weapons deal damage over time, which can be helpful since they let you focus more on dodging while still hurting the boss.
This boss may seem overwhelming because of how busy the screen gets, but the mechanics are actually quite simple once you break them down.
That is all for this guide. Additional Saros guides are linked below:
- Saros Prophet Boss Battle Guide – How to Defeat, Tips & Tricks
- Saros Bastion Boss Battle Guide – How to Defeat, Tips & Tricks
- Saros Rhabdom Boss Battle Guide – How to Defeat, Tips & Tricks
- Saros Legion Boss Battle Guide – How to Defeat, Tips & Tricks
- Saros Architect Boss Battle Guide – How to Defeat, Tips & Tricks
- Saros Priestess Boss Battle Guide – How to Defeat, Tips & Tricks
- Saros King Boss Battle Guide – How to Defeat, Tips & Tricks
This concludes our Saros Shepherd Boss Battle Guide. If you want to add anything to this guide, feel free to use the comments section below.