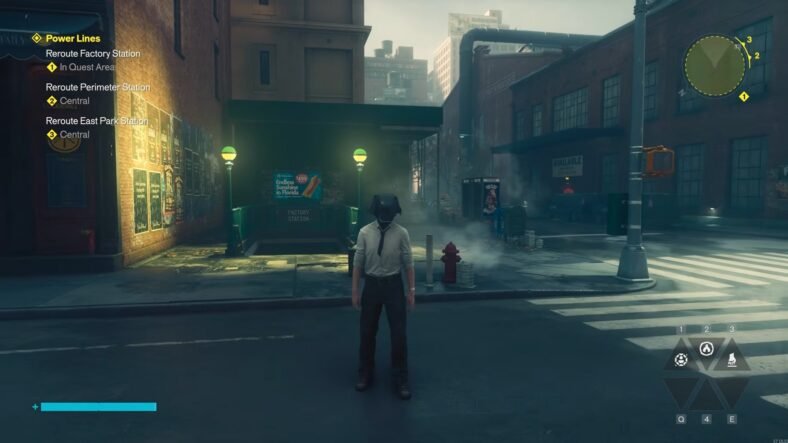
This Control Resonant guide details how you can complete the Power Lines quest in the game easily. This quest requires you to restore three stations in the Central area, reroute the Vanished Station, and rescue trapped survivors. You need to move power nodes between specific slots, operate calibration machines, and deal with enemies along the way.
Power Lines Quest Guide – Resonant Control
This quest is in the Central Zone and requires you to travel to three different stations which are Factory, Perimeter, and East Park Stations.
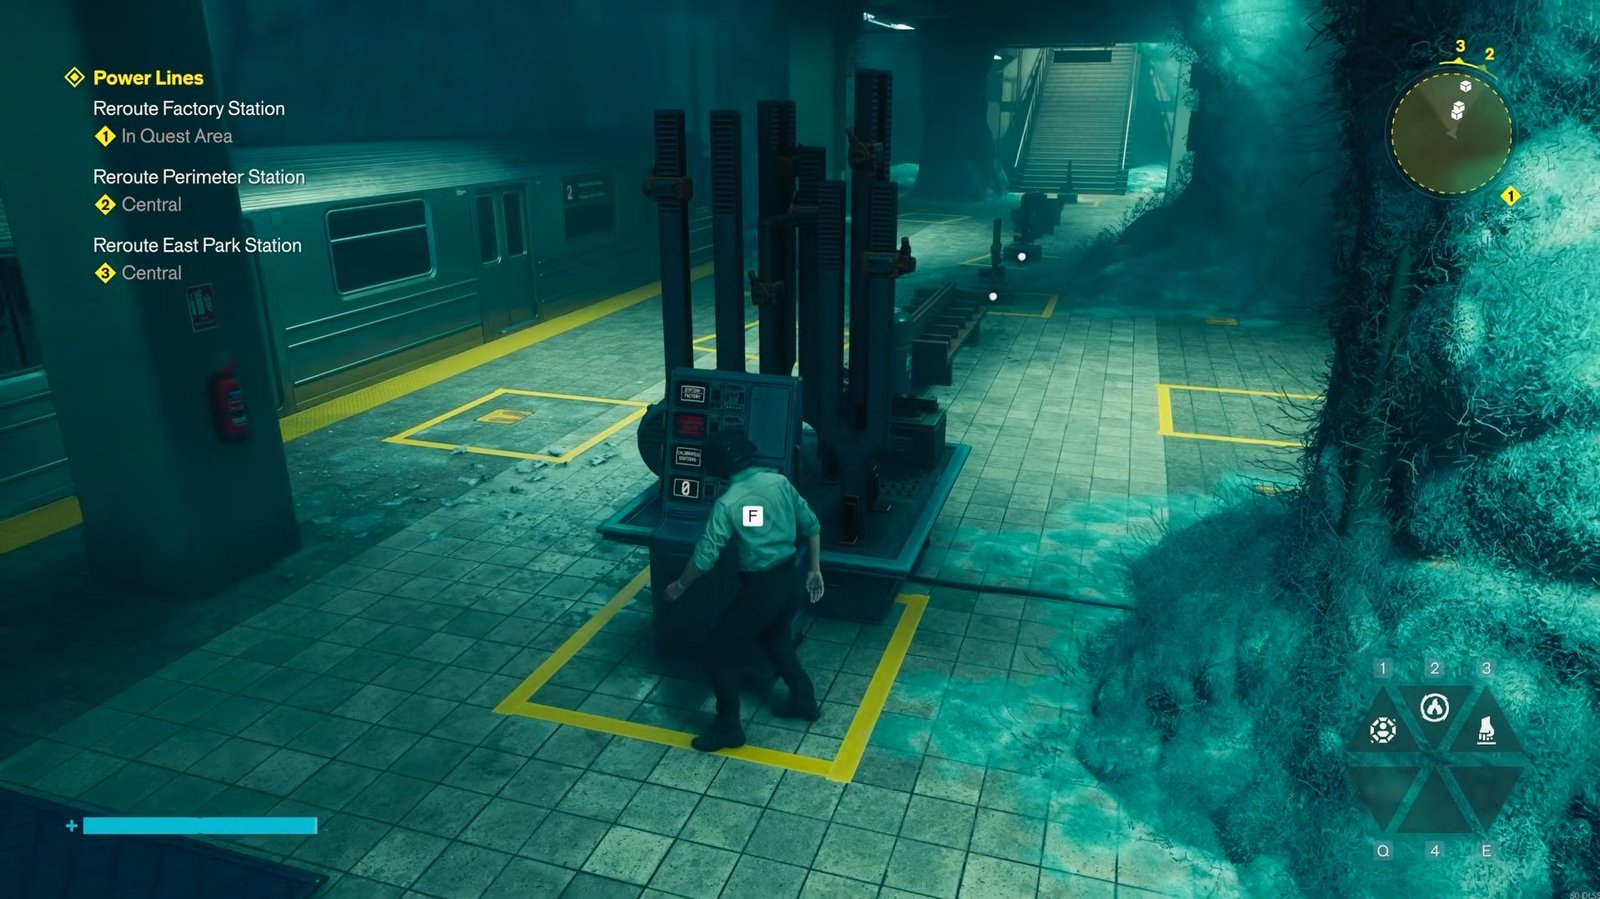
Factory Station
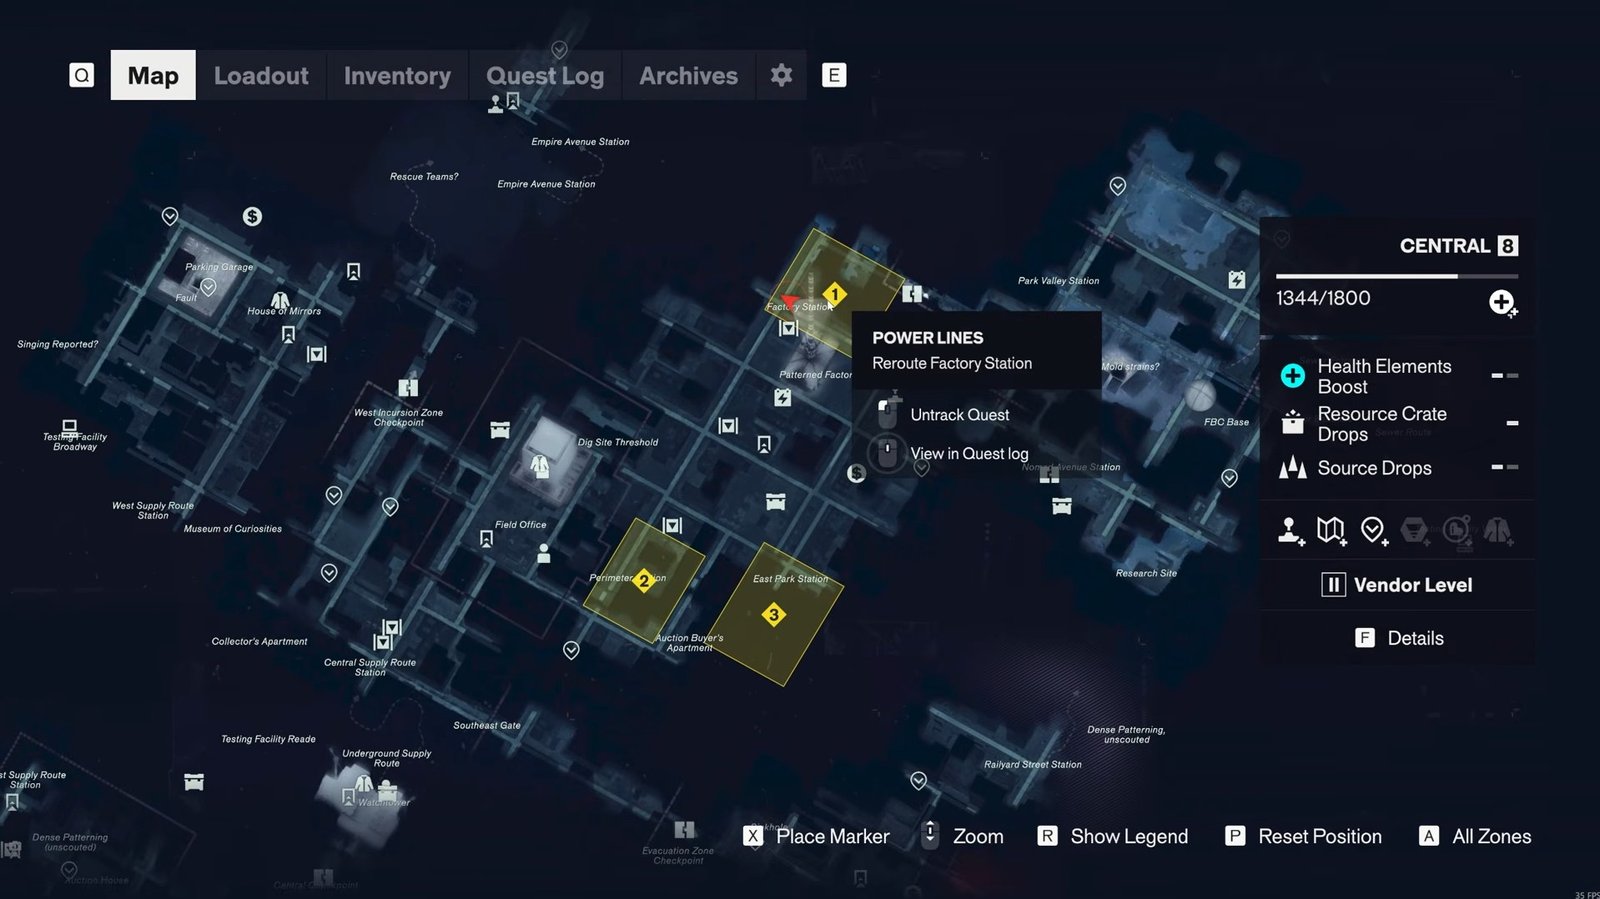
Head to the Factory Station entrance marked on the map. Head down the stairs to enter the station, pass the checkpoint and security gate.
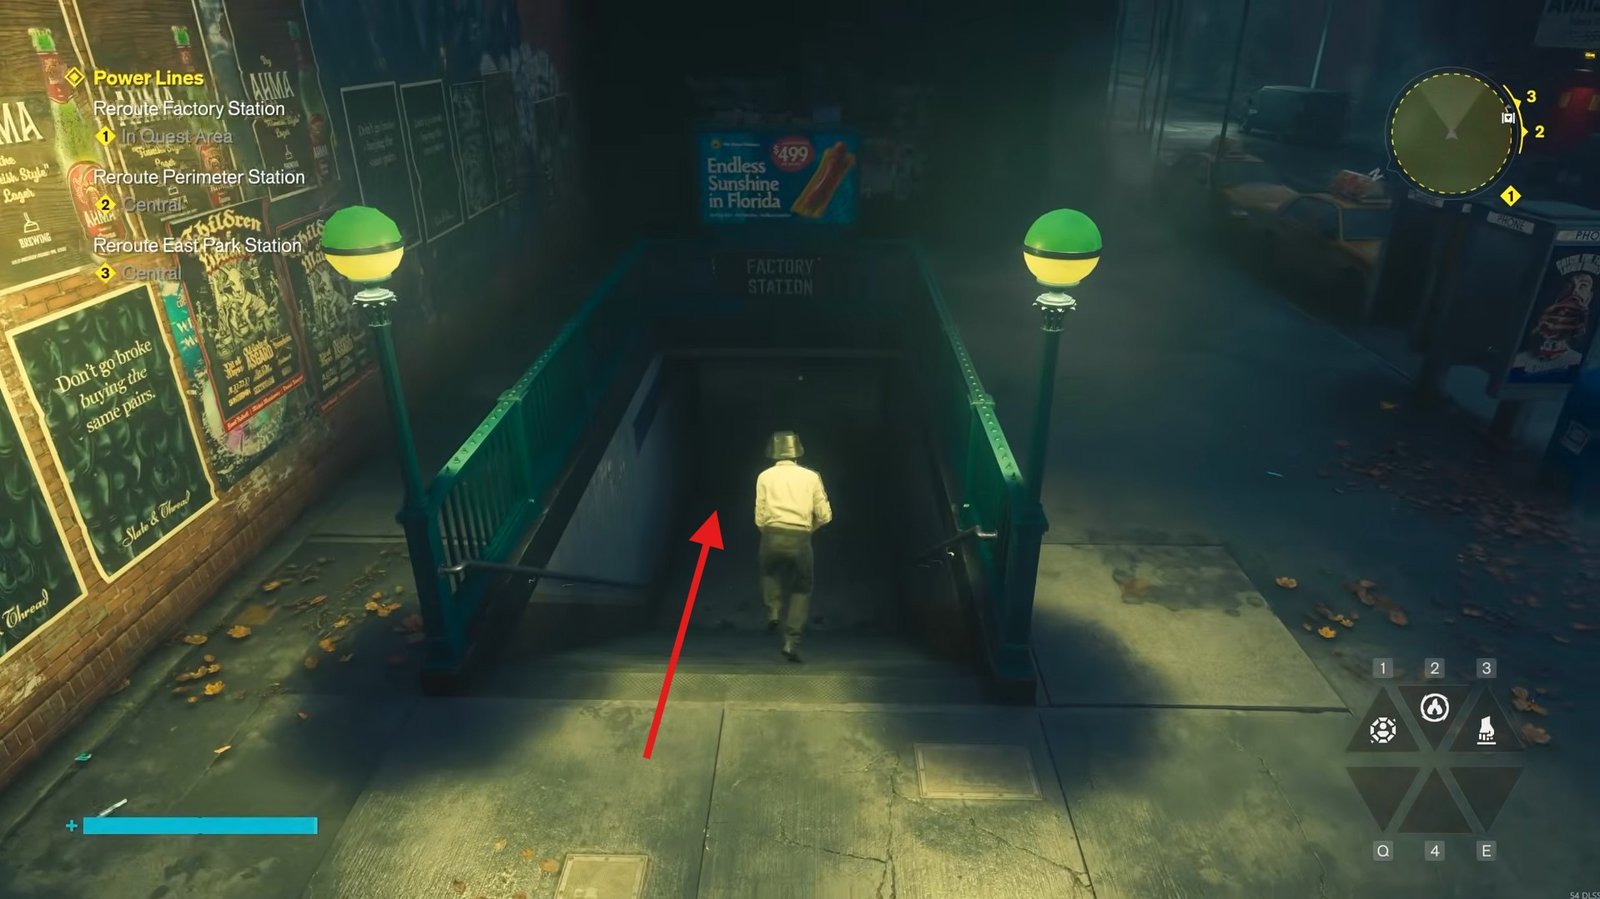
Pick up the power device in the room ahead.
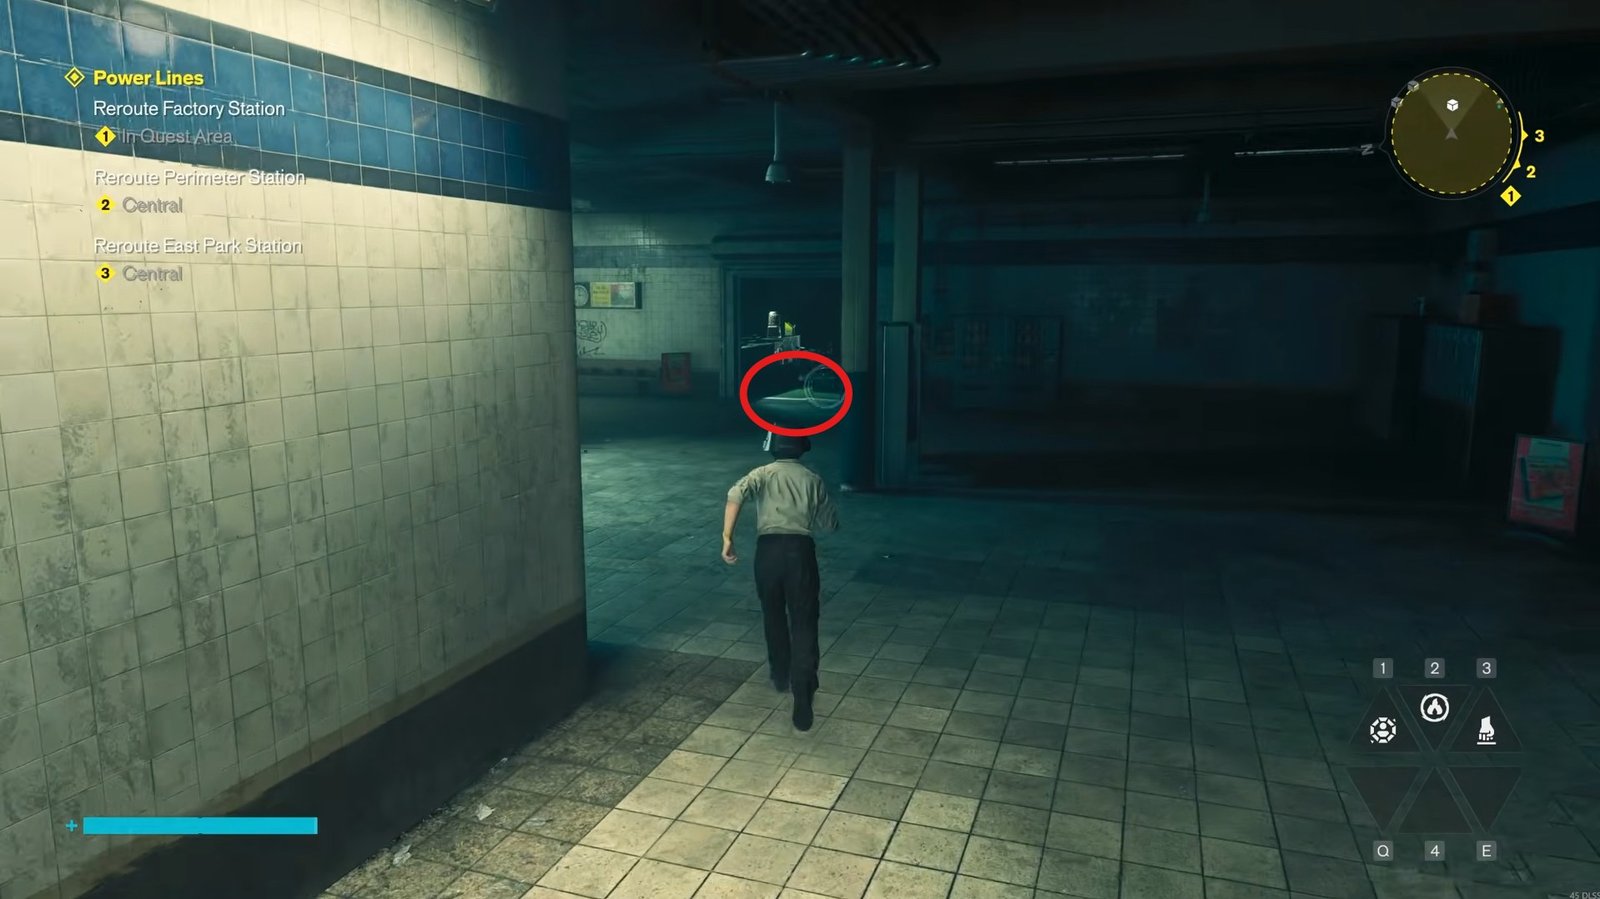
Carry it down the two sets of stairs and place it in the first yellow square.
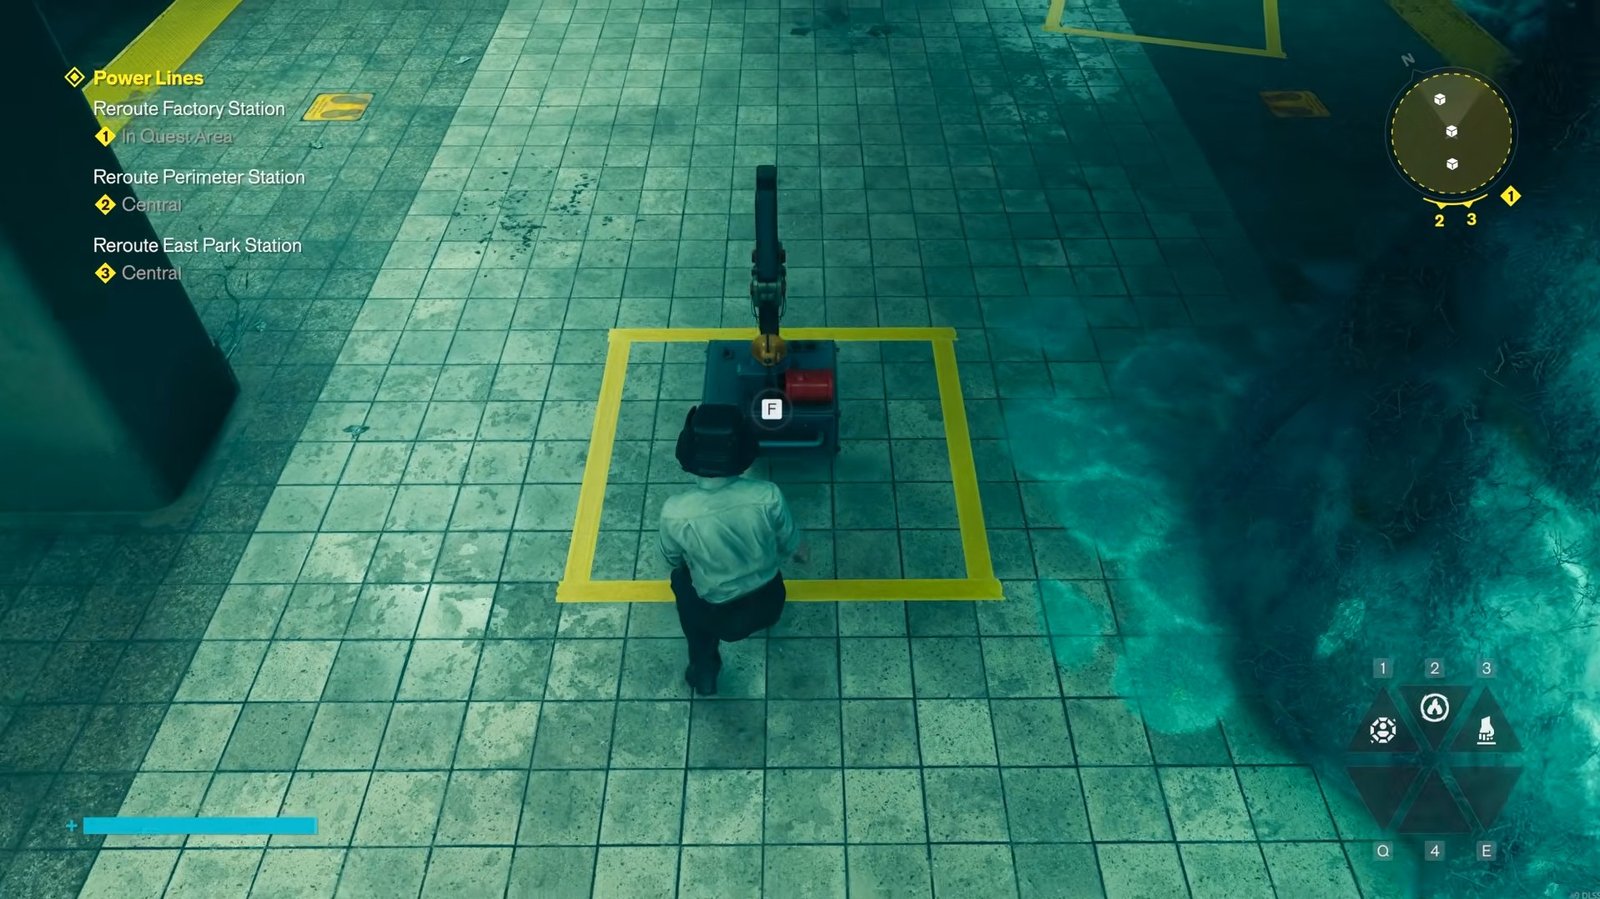
Next, take a left turn to the back, collect the device around the corner, and set it beside the bench in the middle of the area.
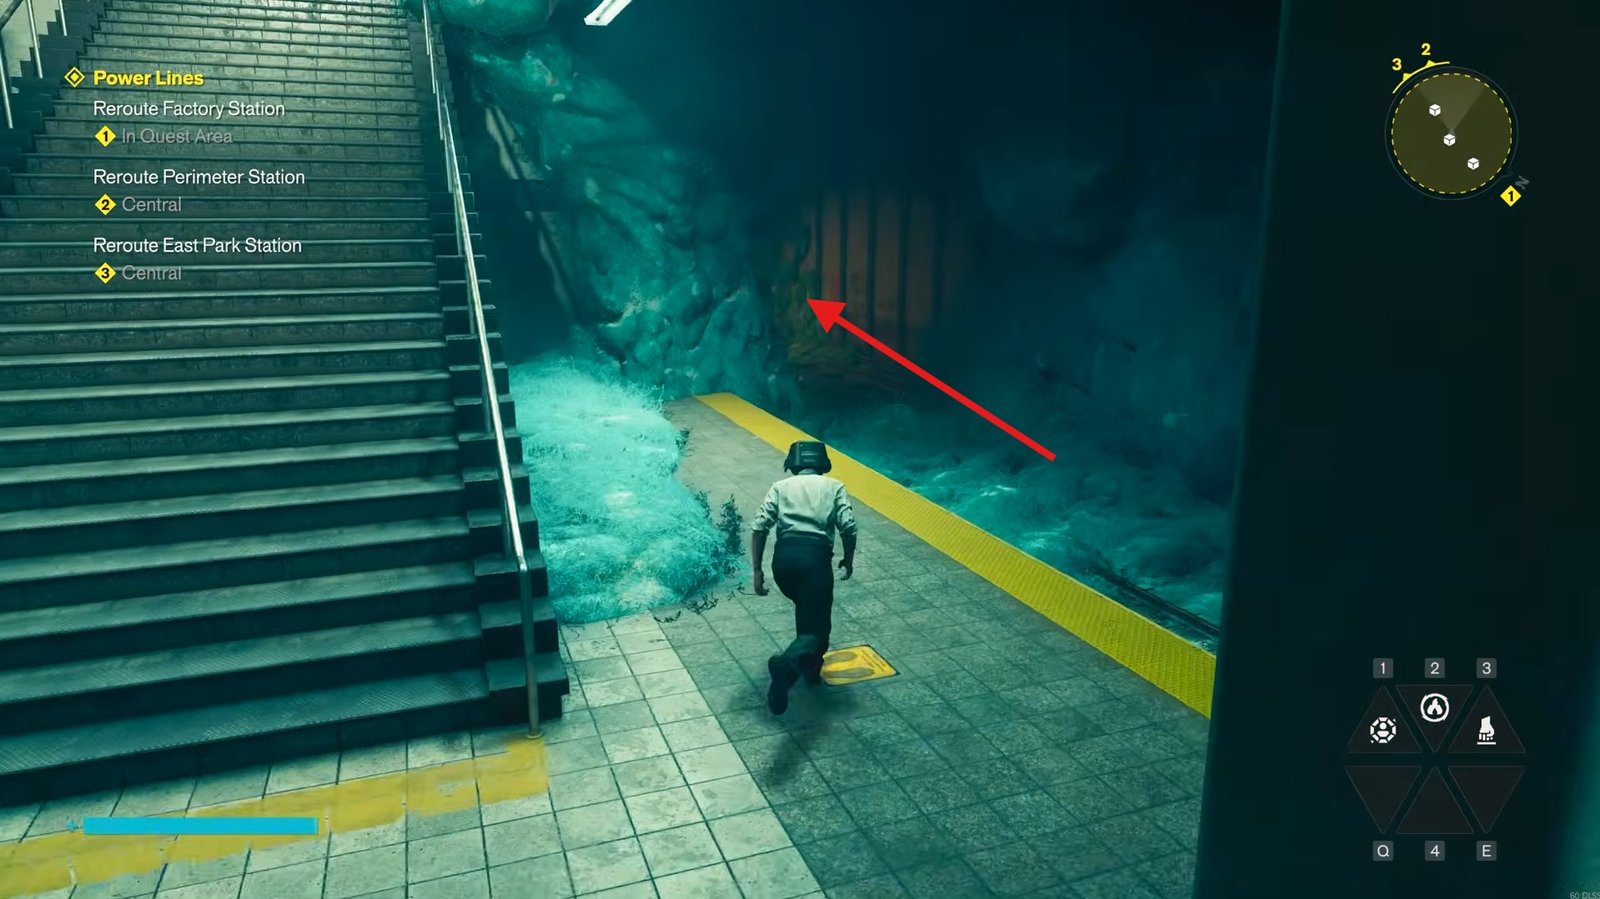
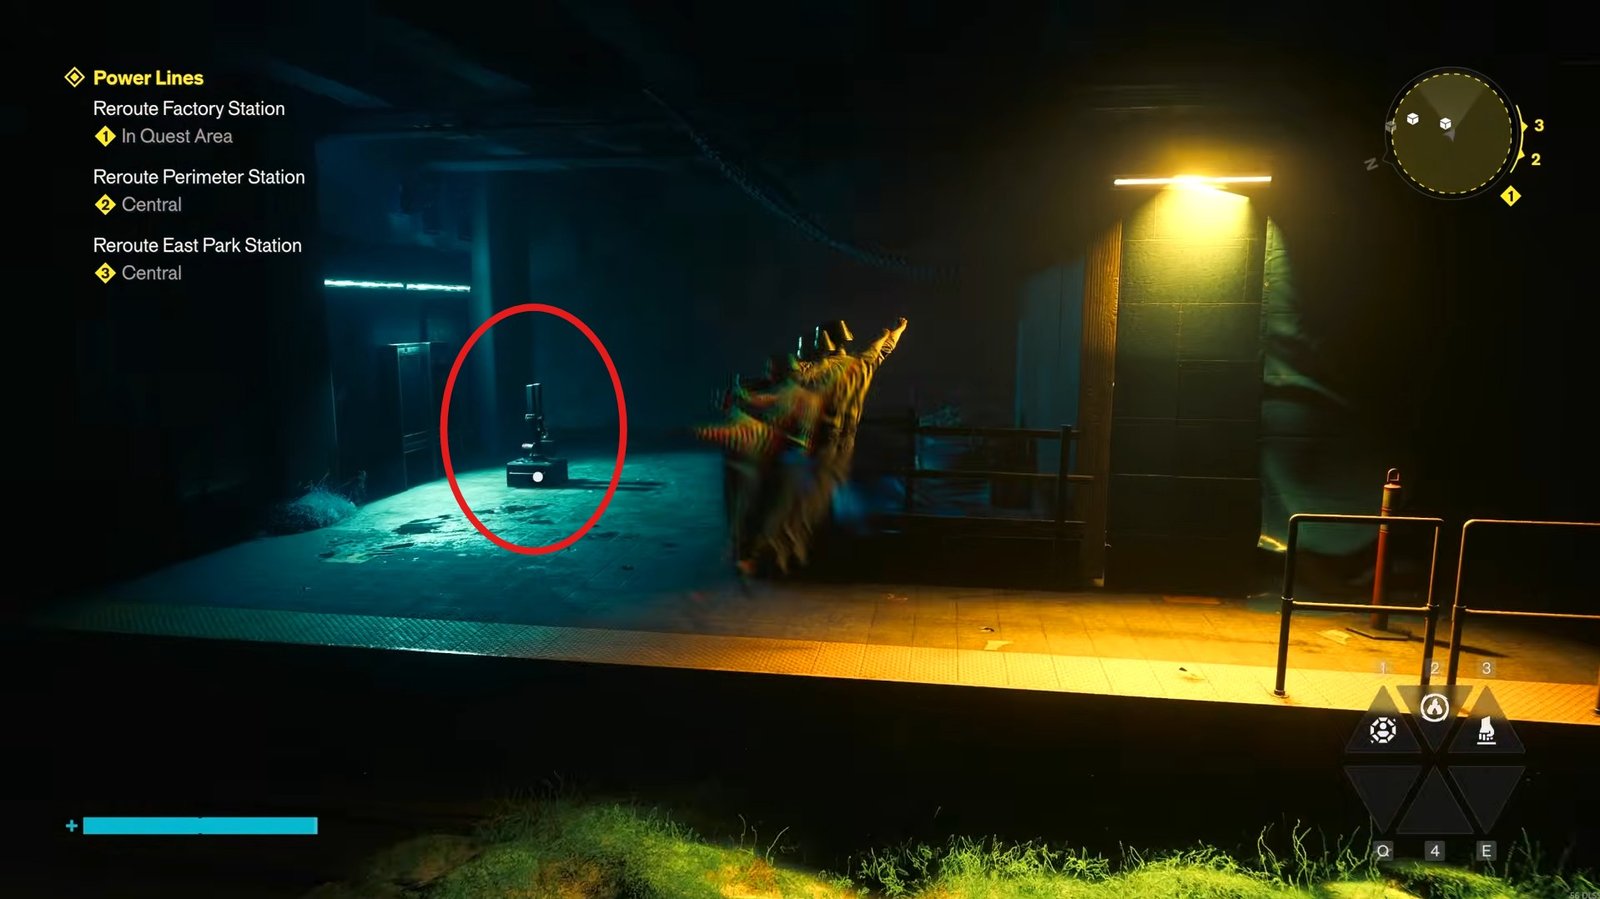
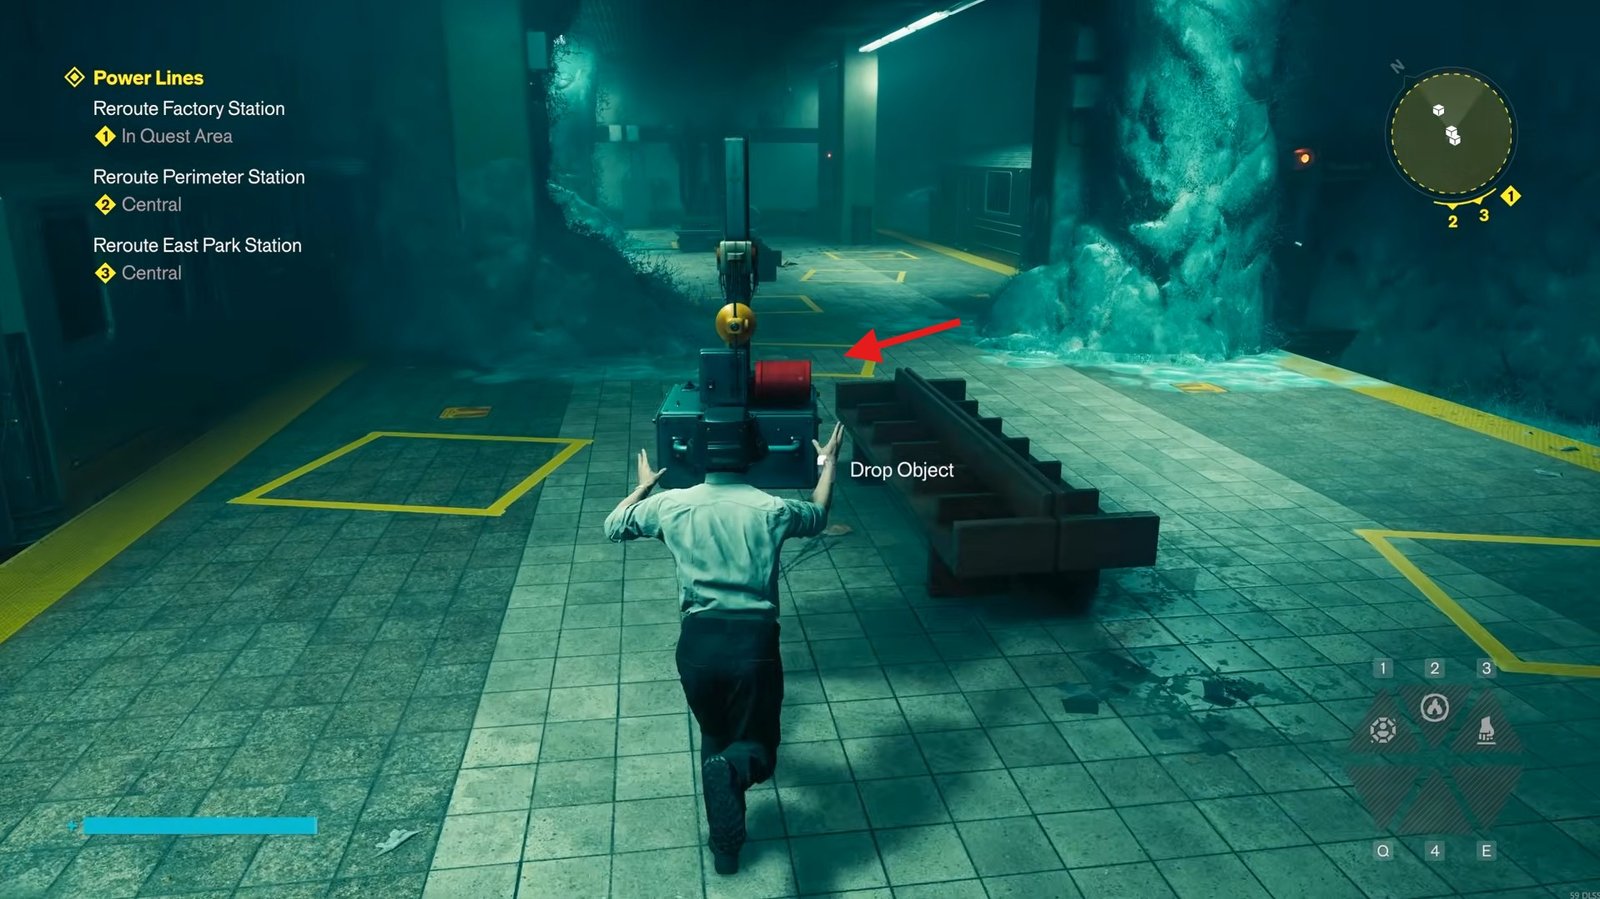
Find the final device on top of the train on the left and position it beside the previous one, in the middle.
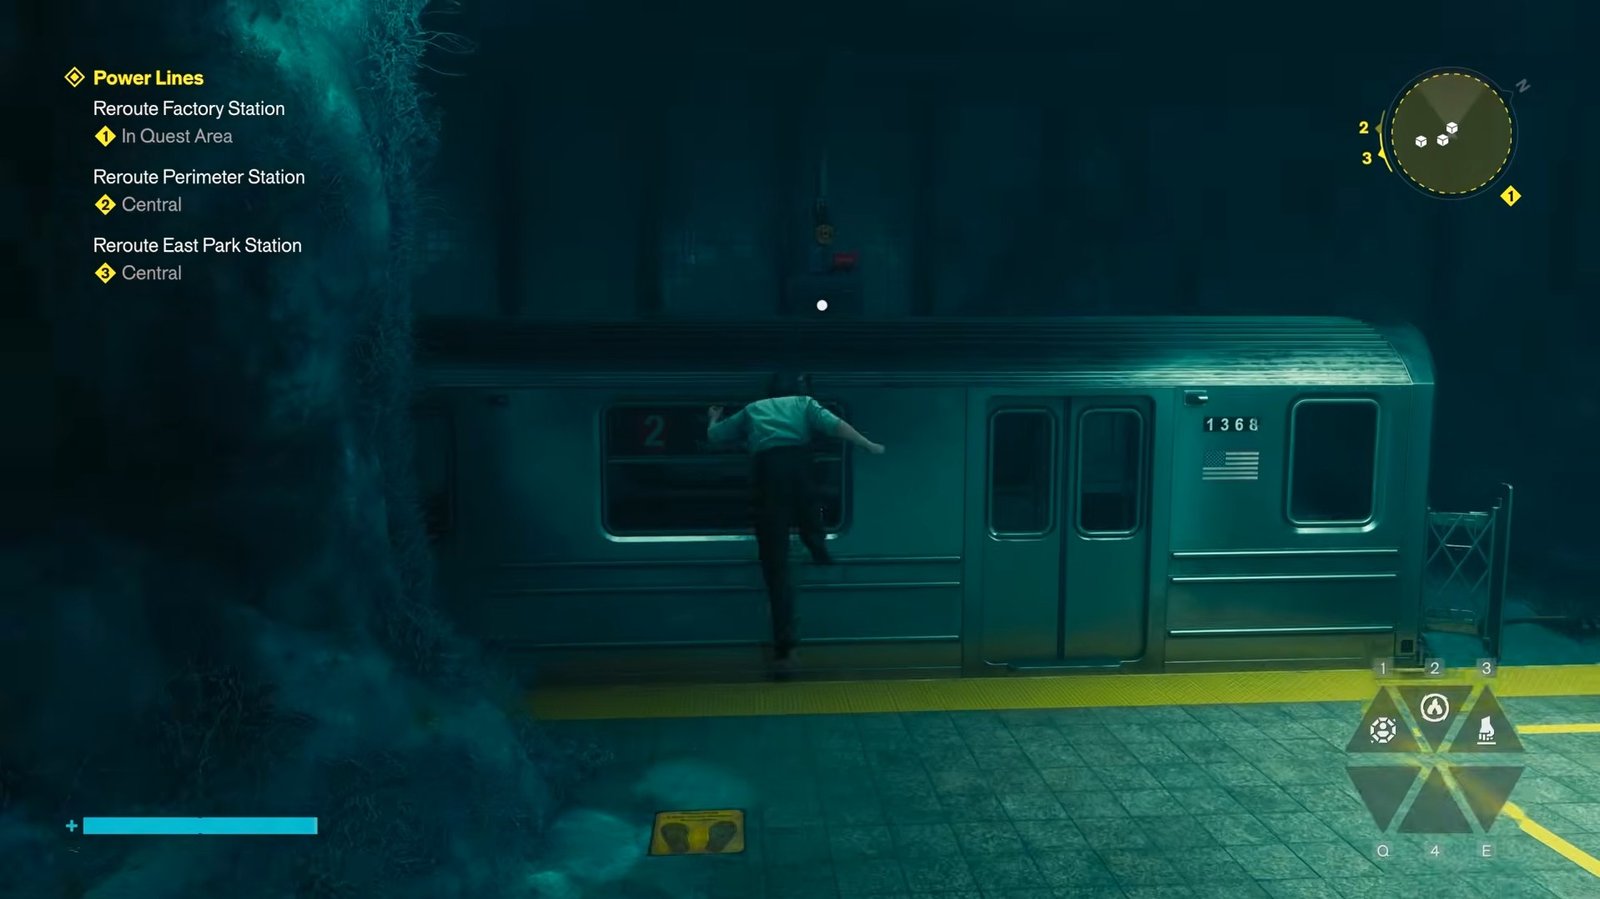
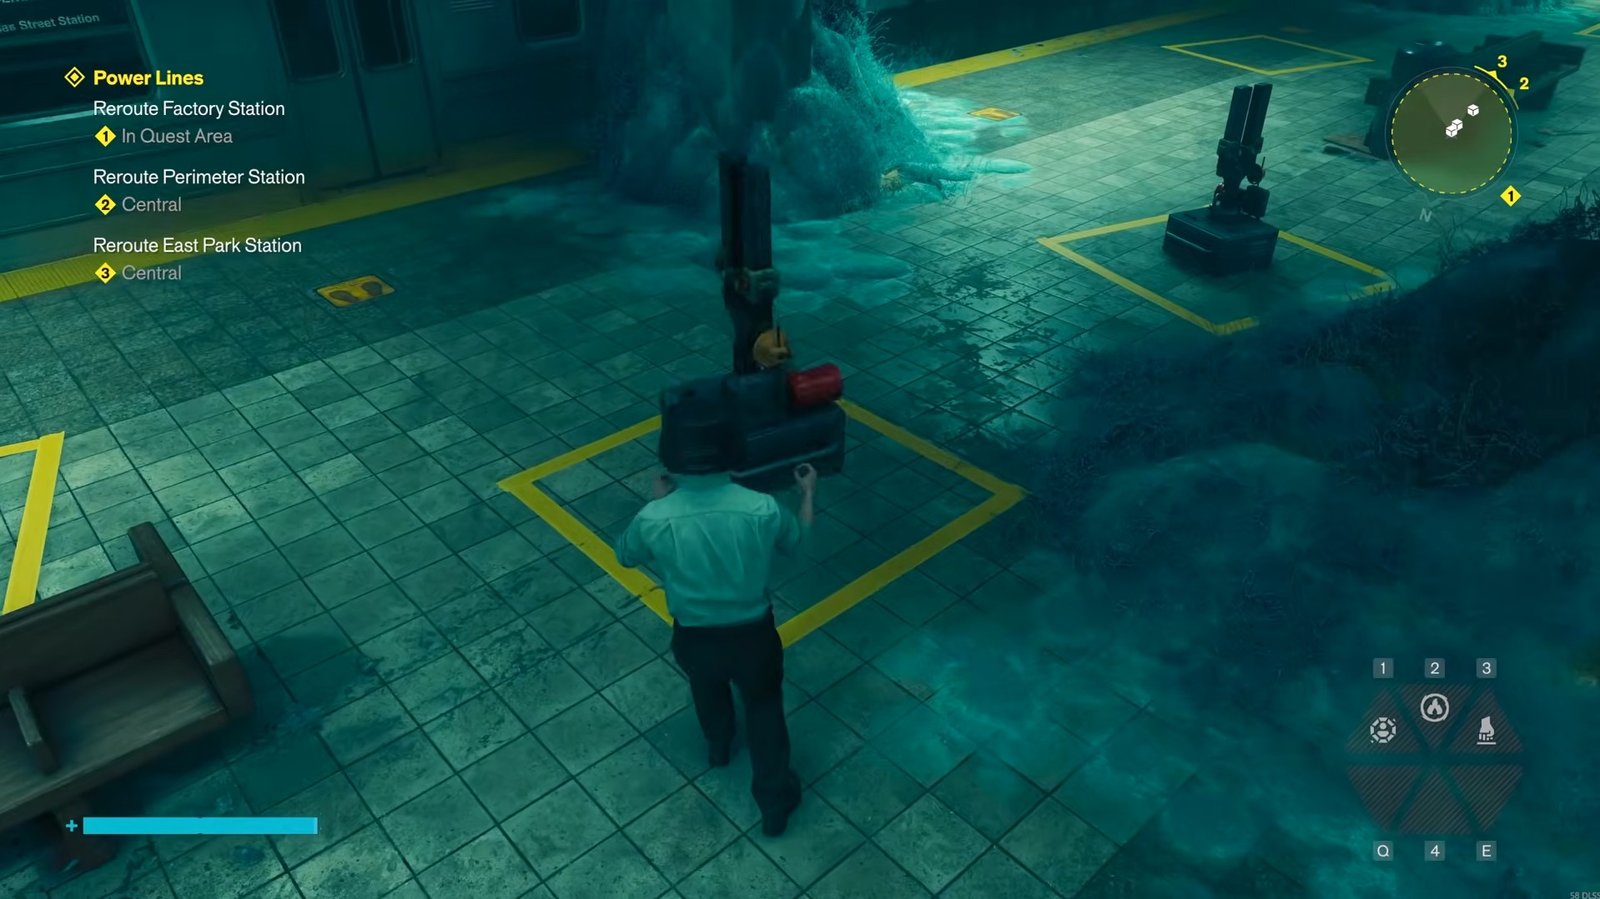
Once all three devices are in their designated positions, activate the calibration machine. A green light and a successful calibration message confirm that the station is complete.
Perimeter Station
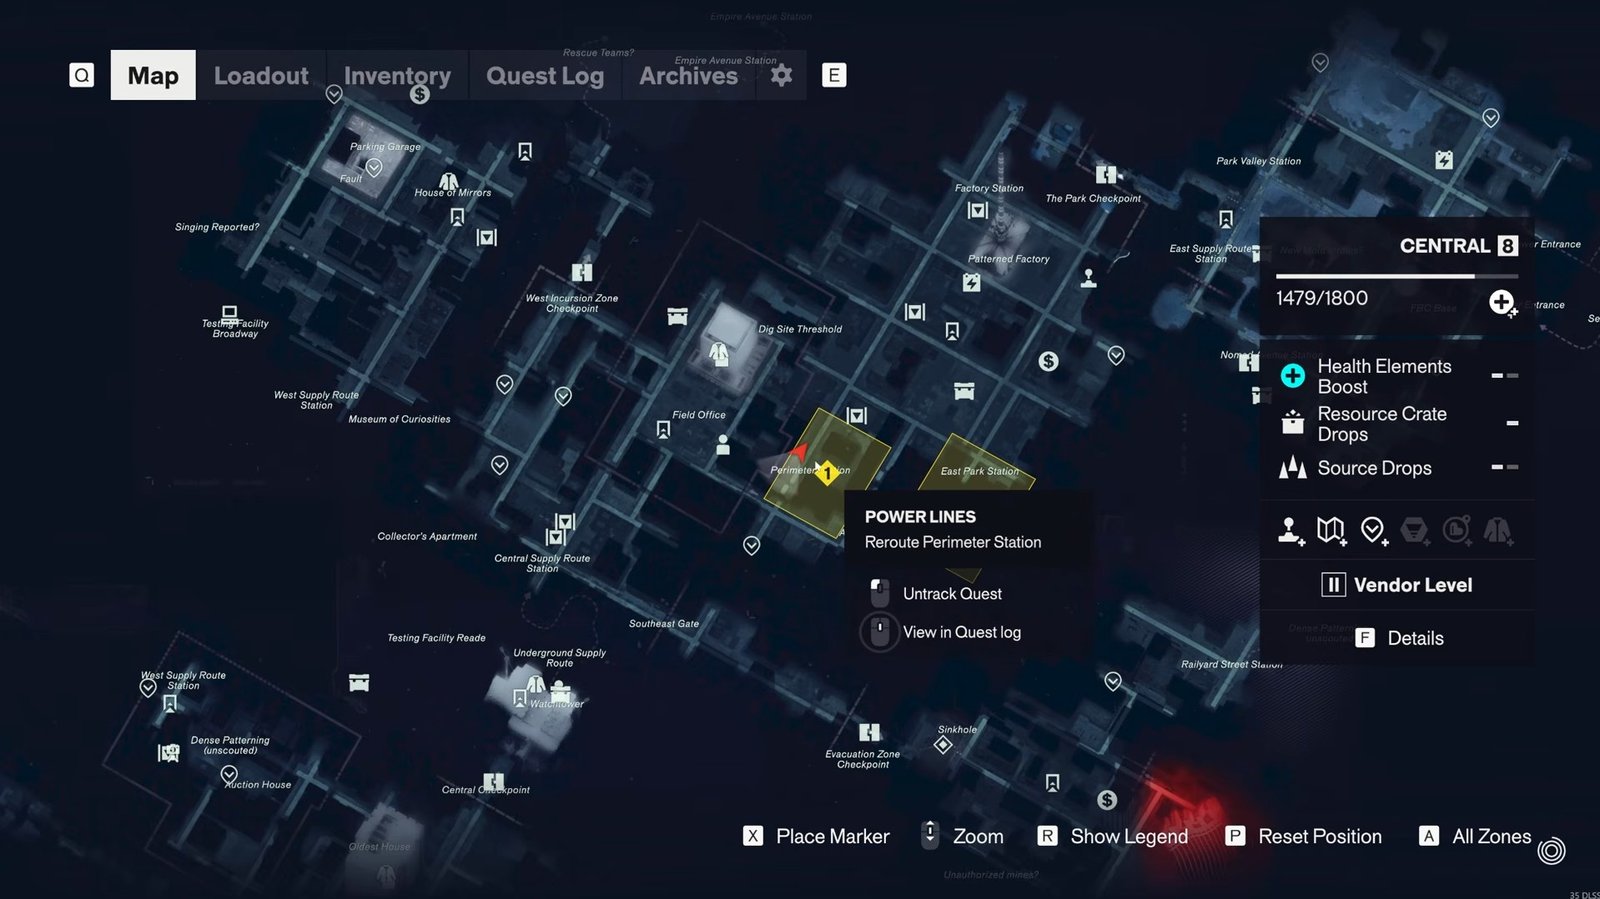
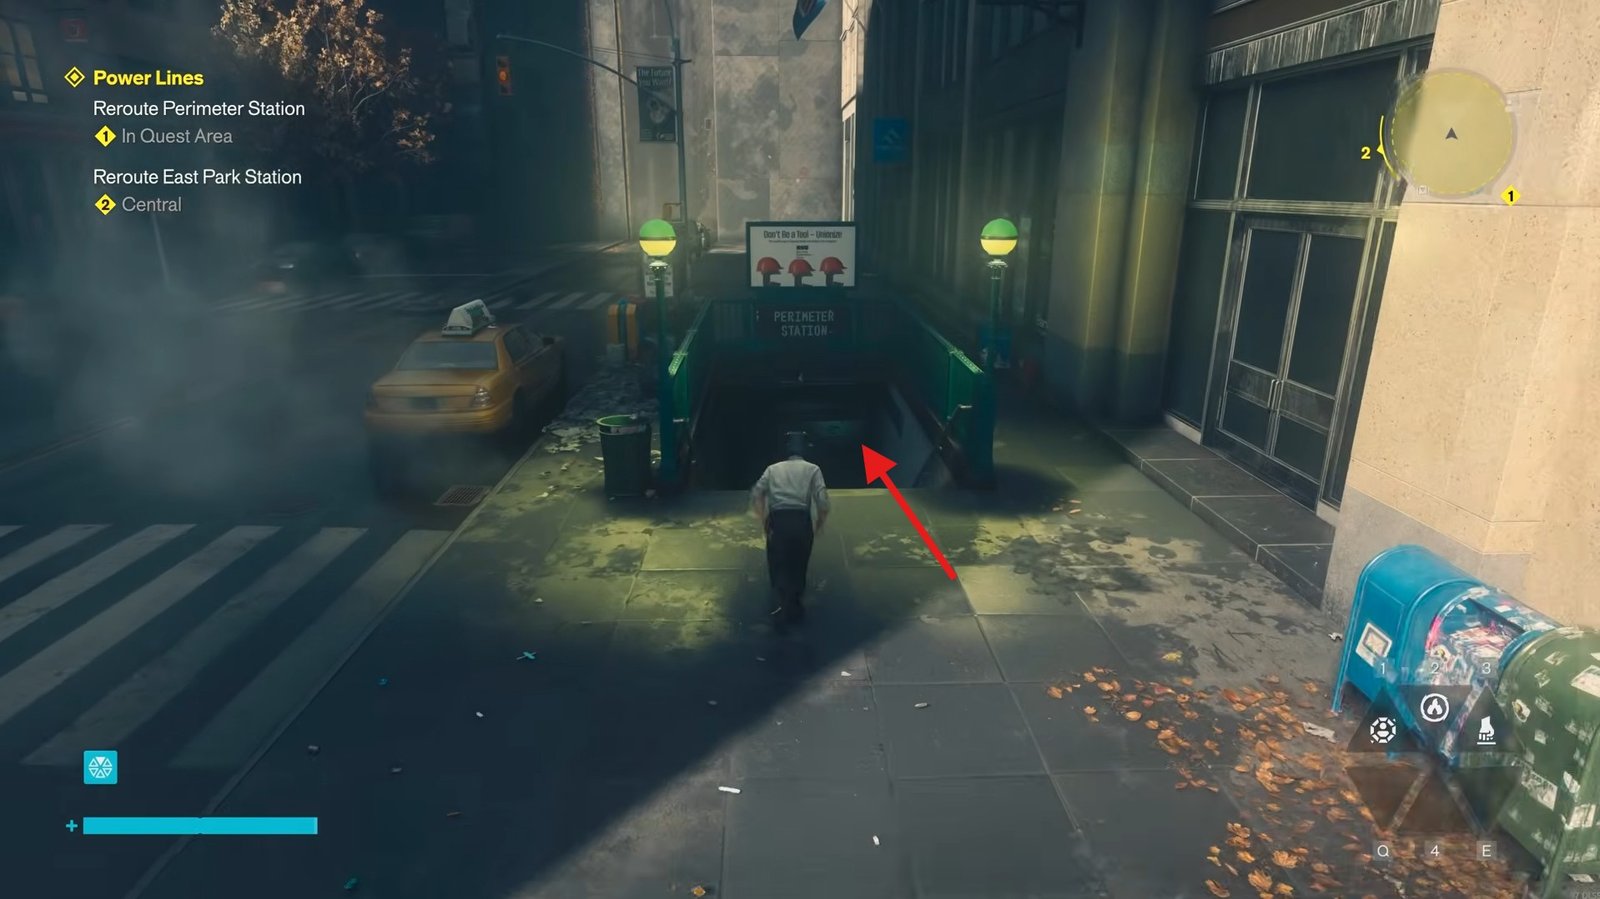
Travel to the Perimeter Station’s entrance marked on the map, which is on the left side of the street. You may encounter enemies outside, so defeat them before heading inside.
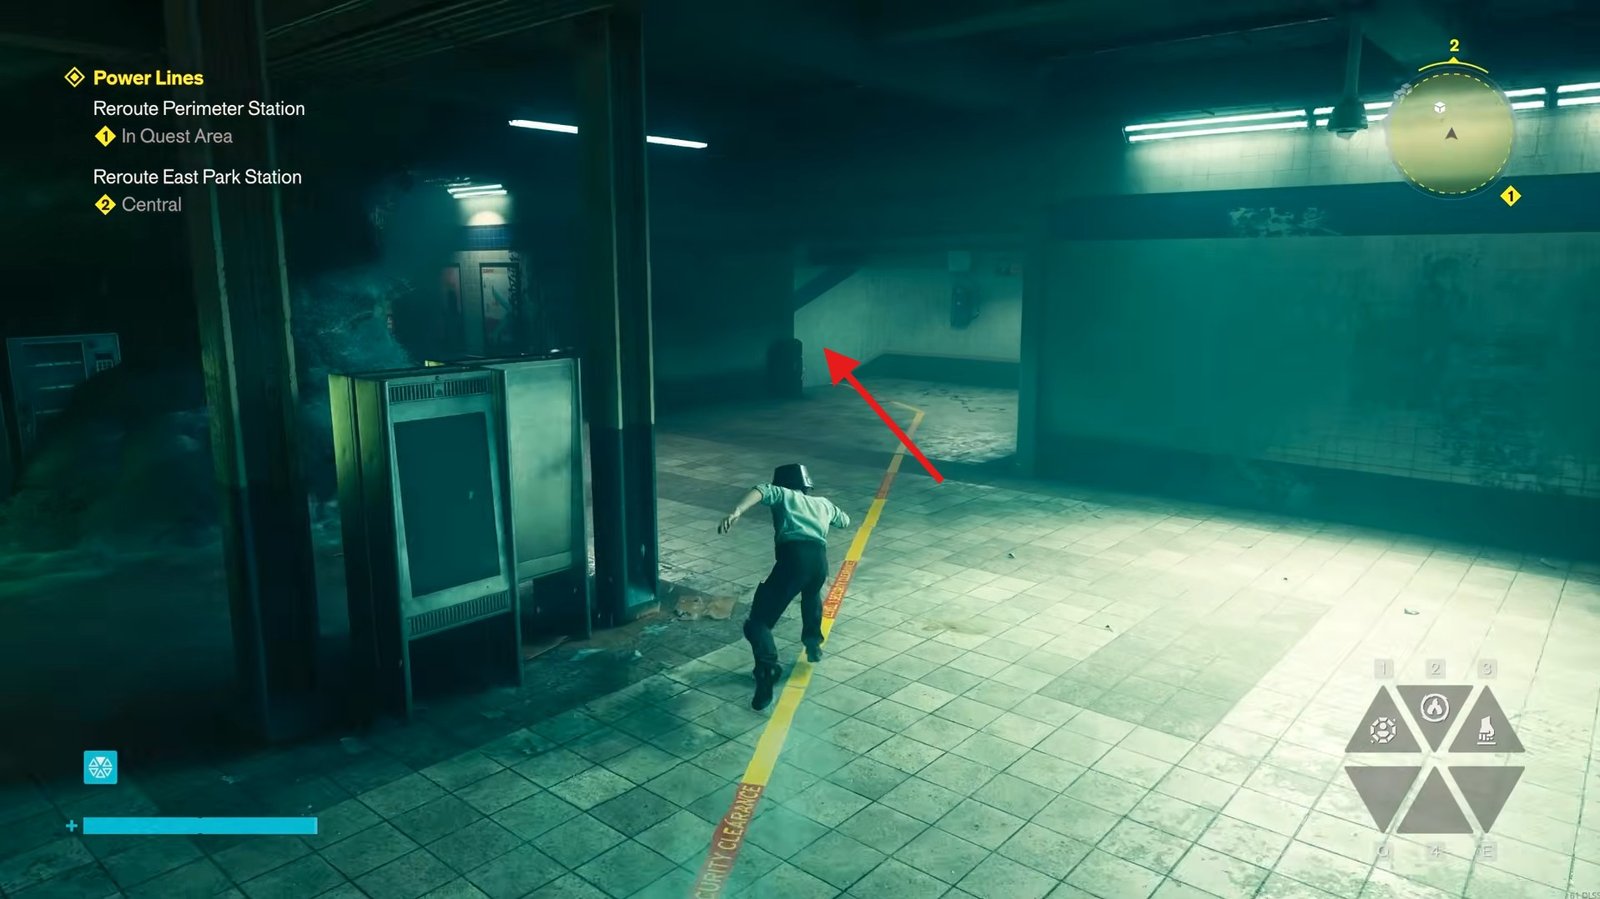
Head down the stairs to enter, pass the checkpoint, and locate the battery power source next to a doorway. Keep the power available for the doorway, as you will need to revisit it later. Follow the yellow line downstairs, turn left, and pick up the first device.
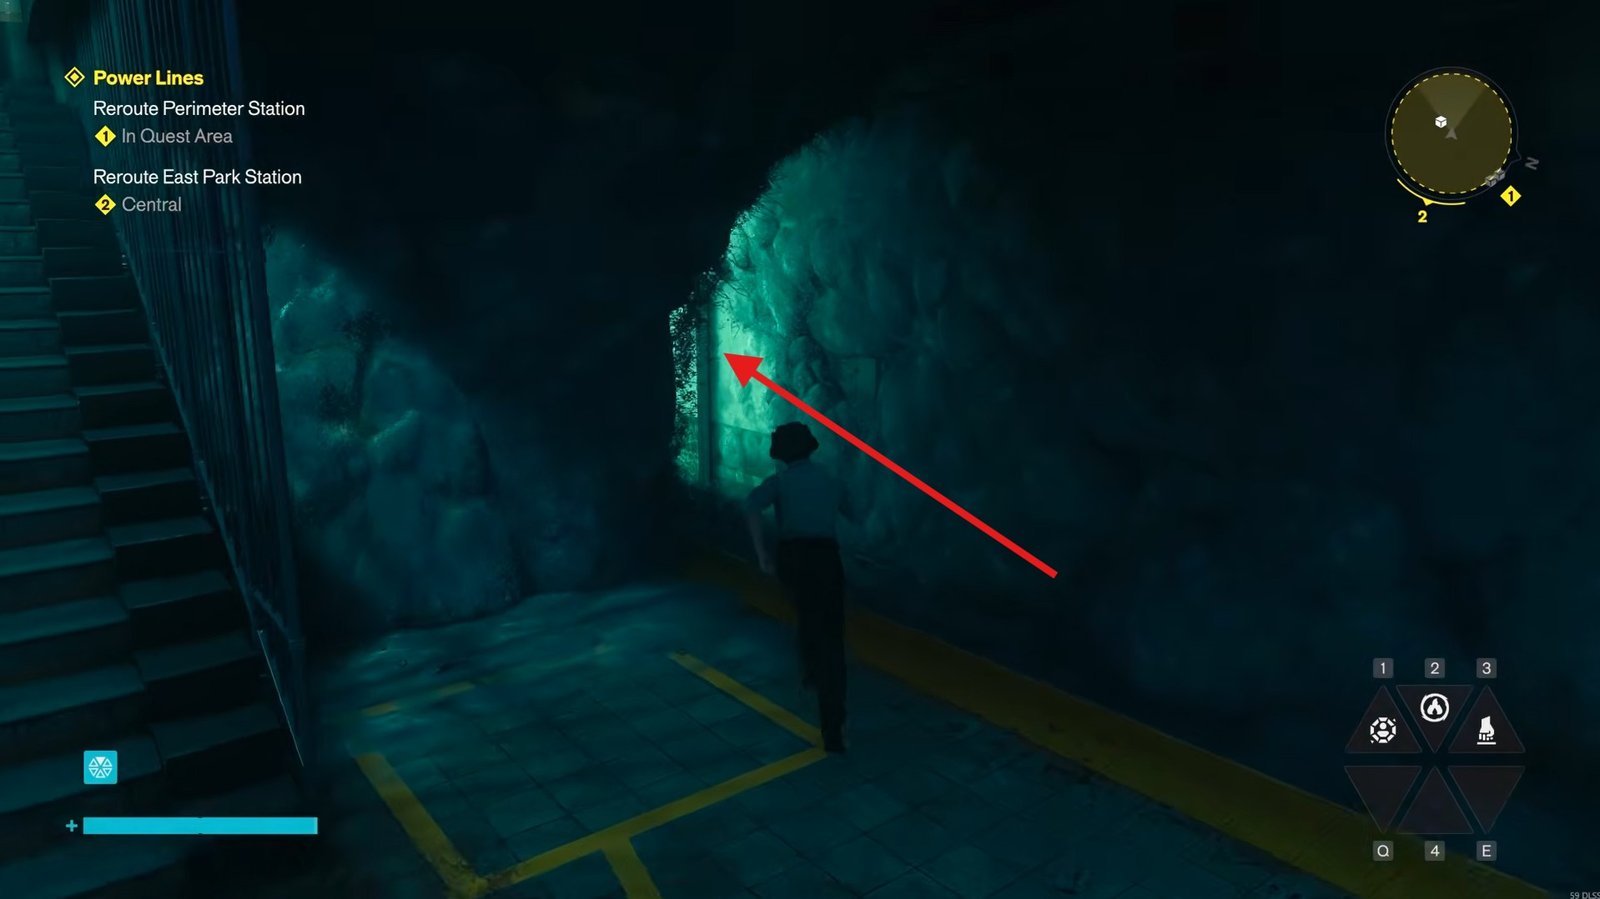
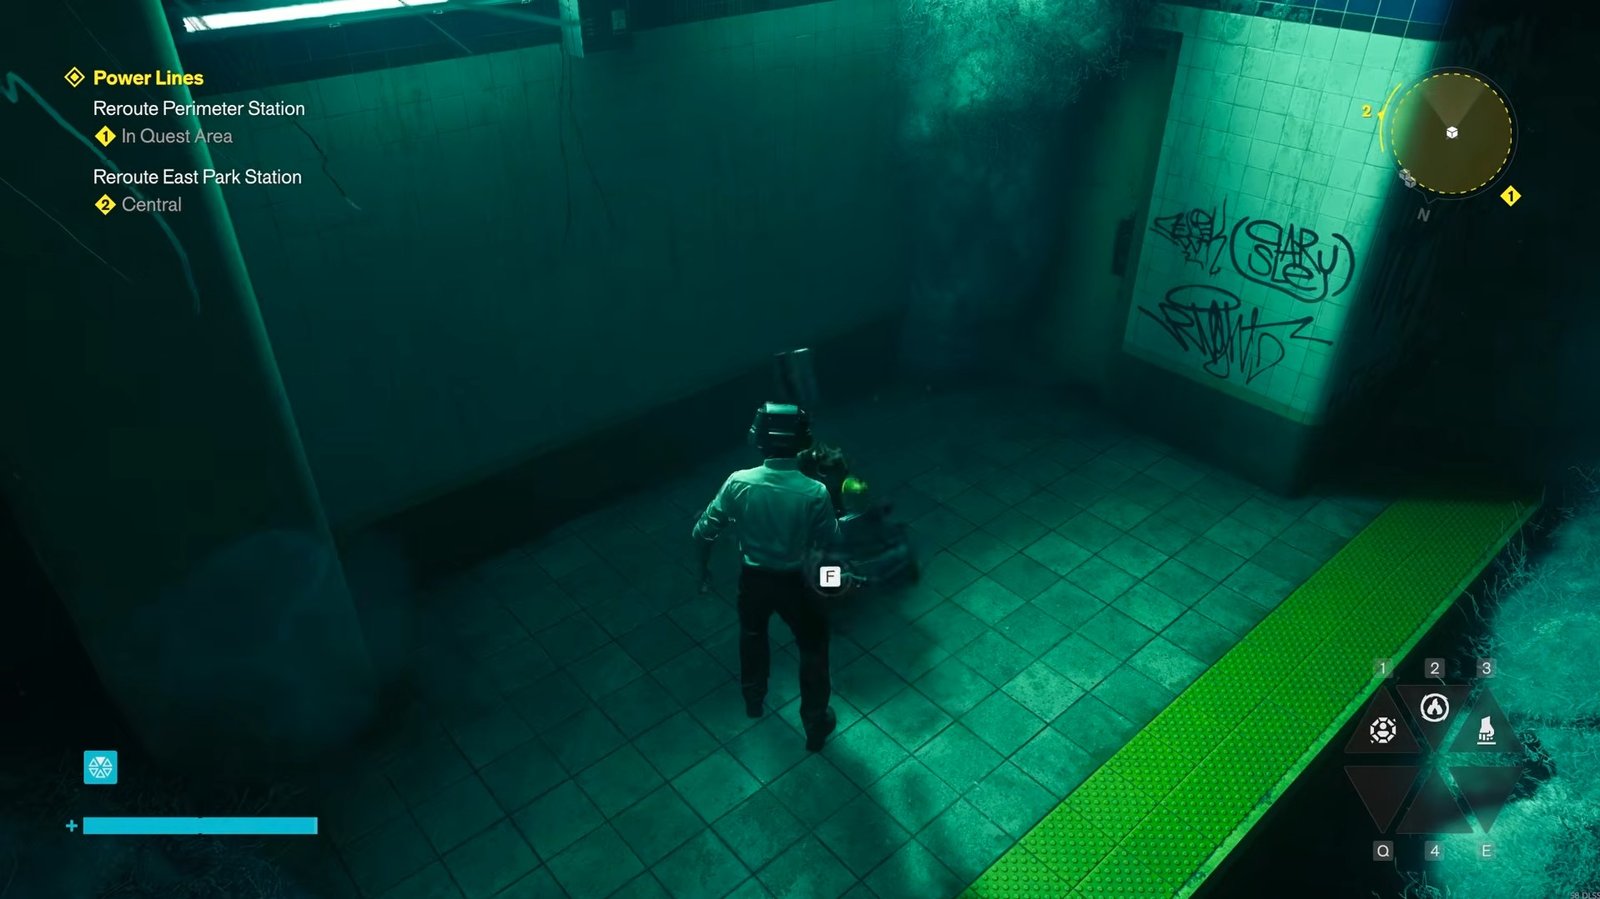
Carry it back upstairs and place it inside the room opened by the battery.
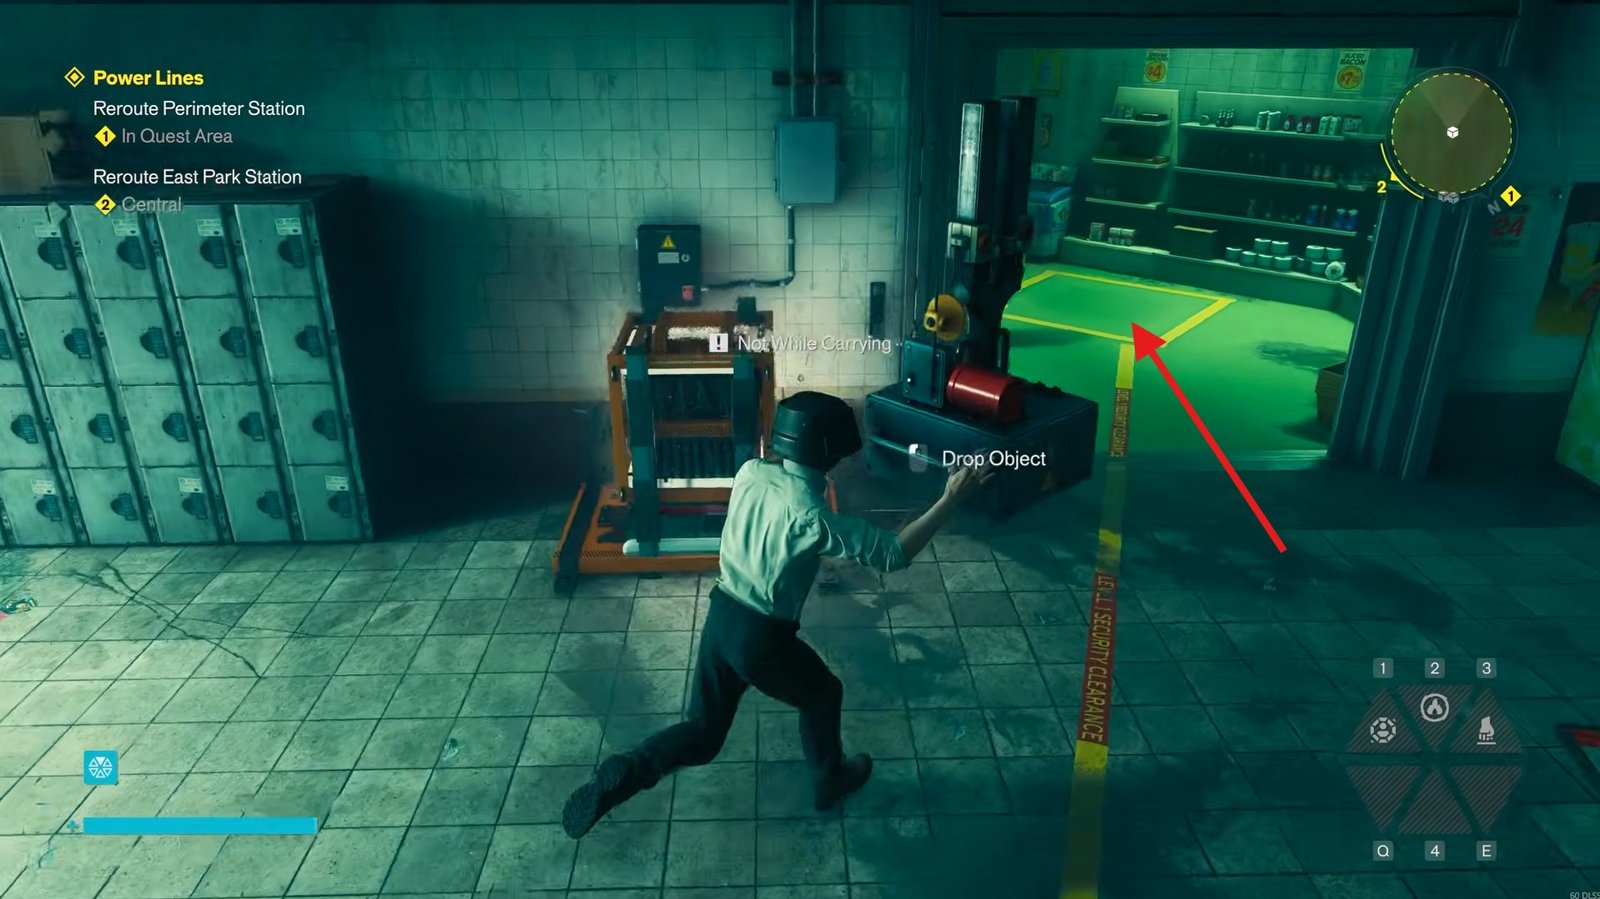
Next, take the battery power source and carry it down toward the railway tracks. Follow the route to the far-left side and use the battery to unlock another room that is just beside where you placed the battery.
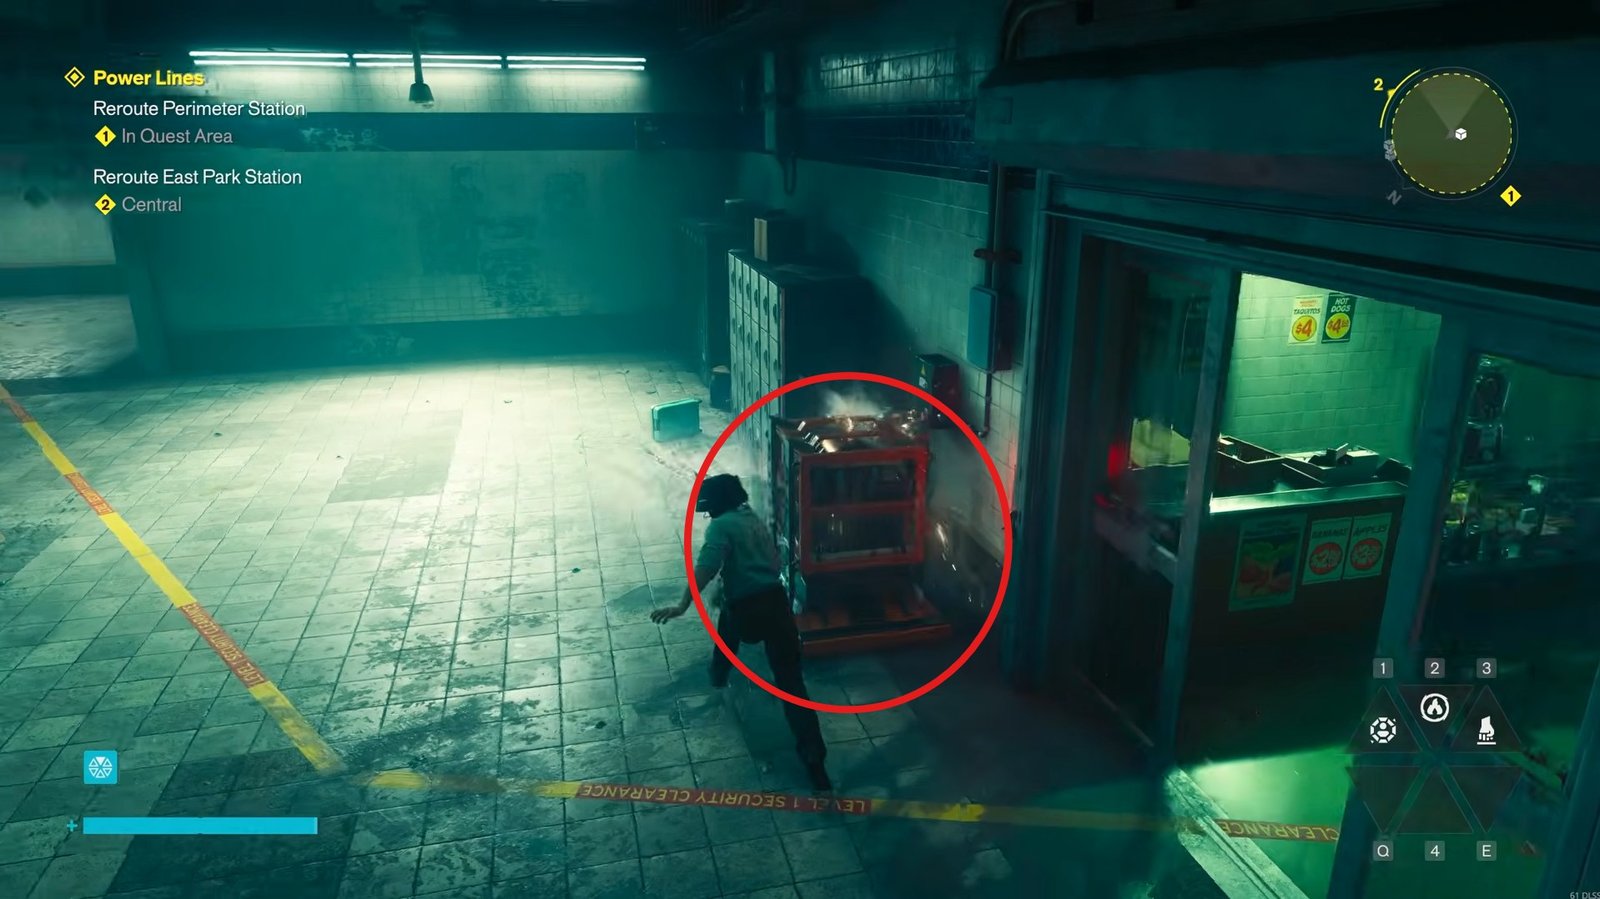
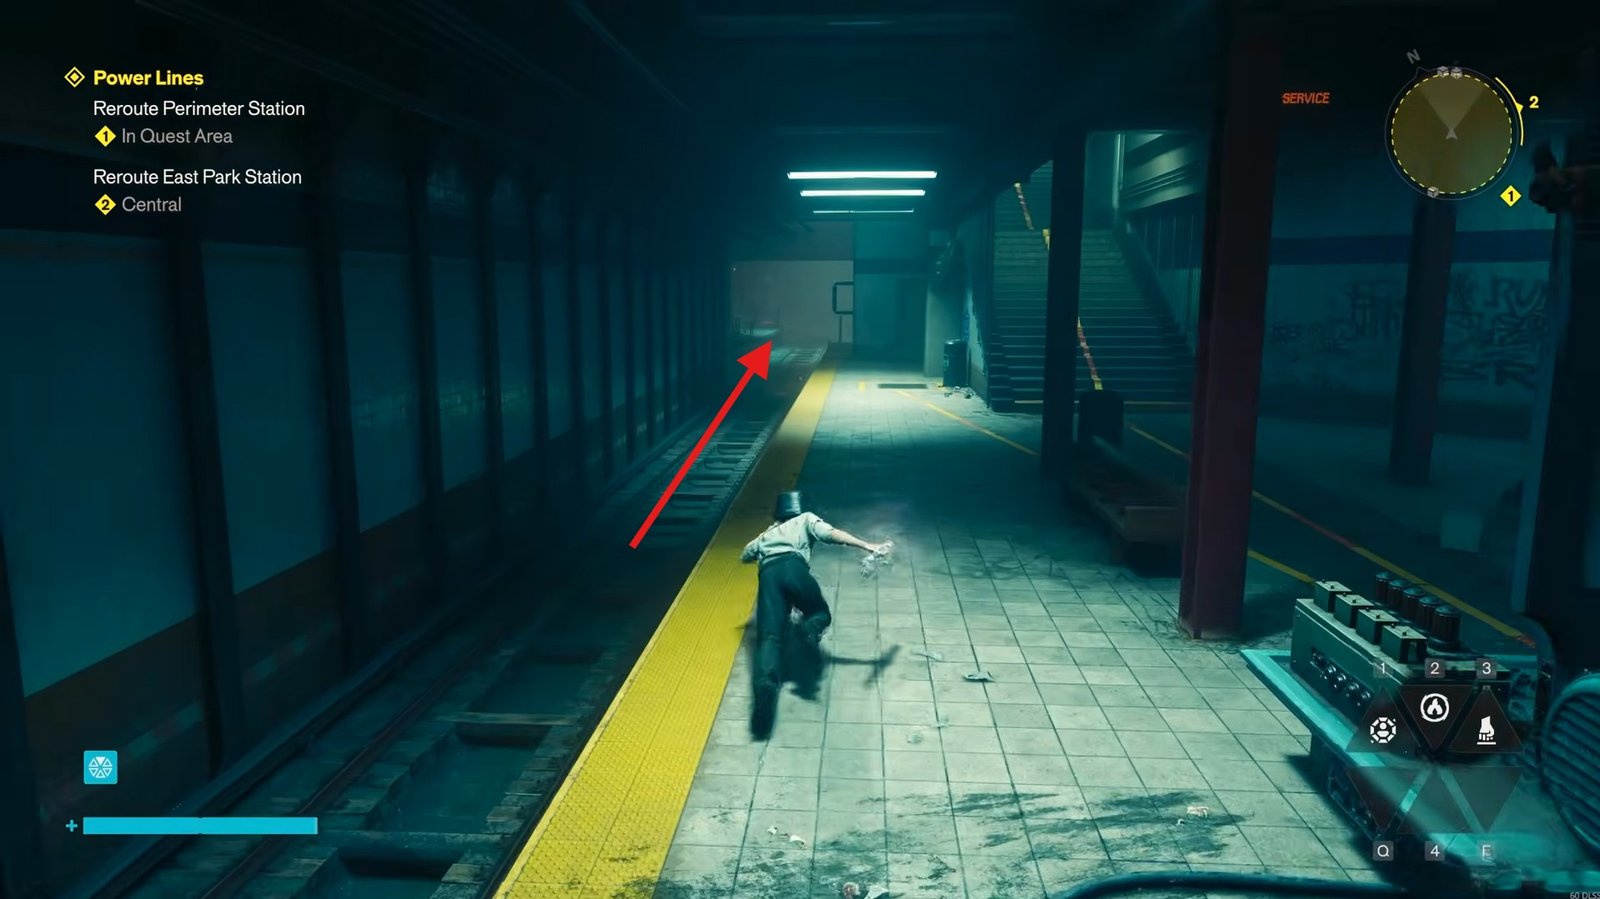
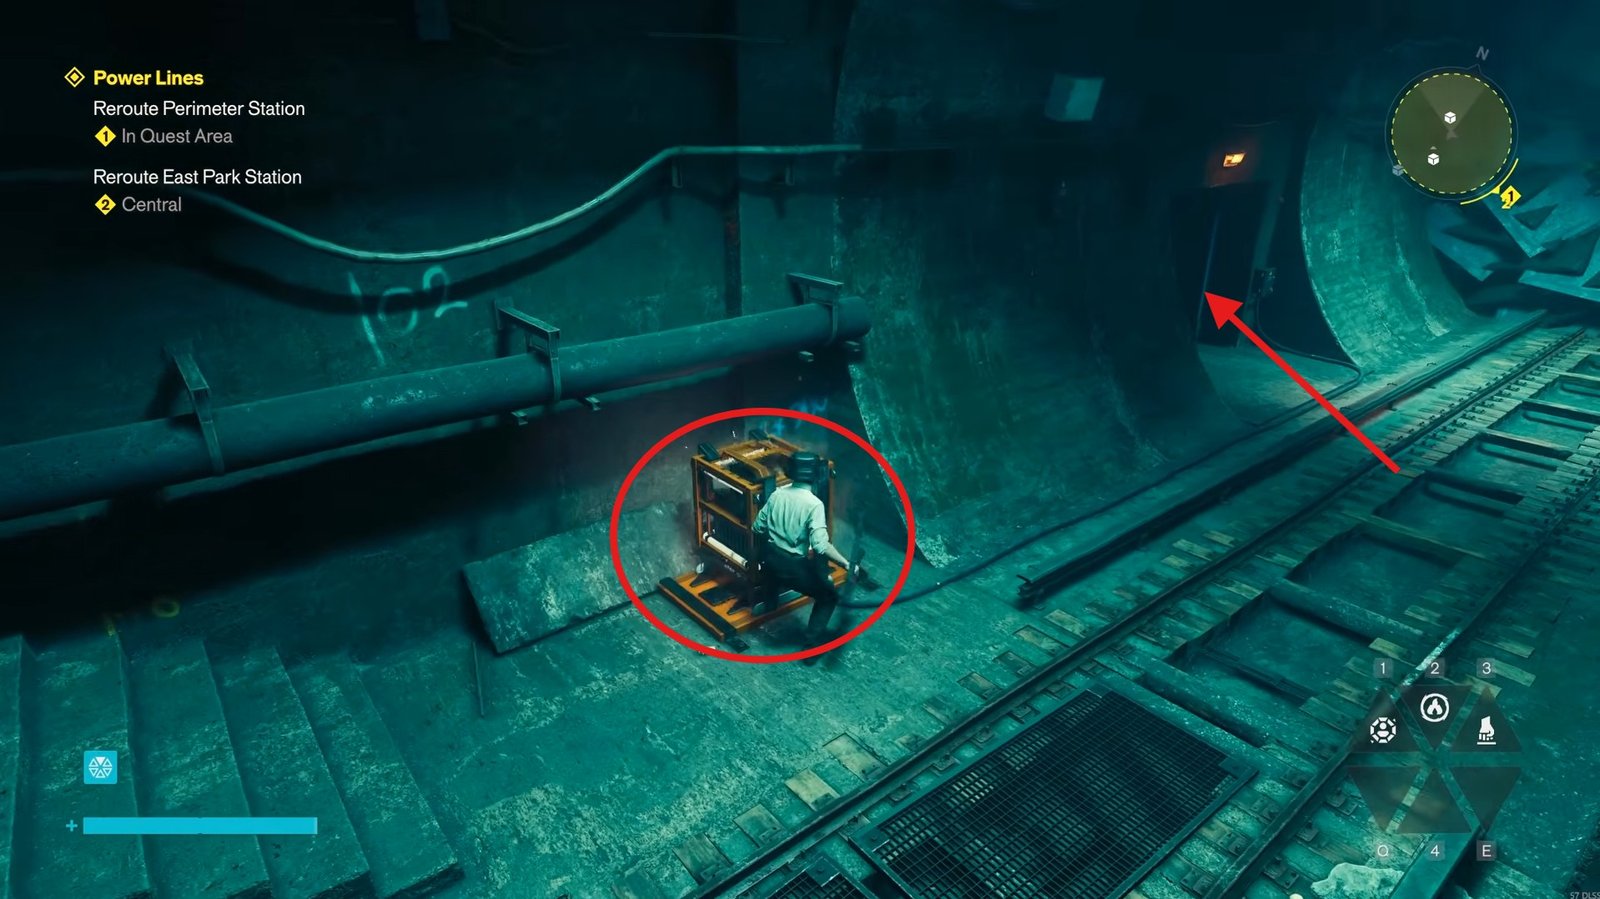
Collect the device inside and bring it to the calibration area. Place it in the slot closest to the machine.
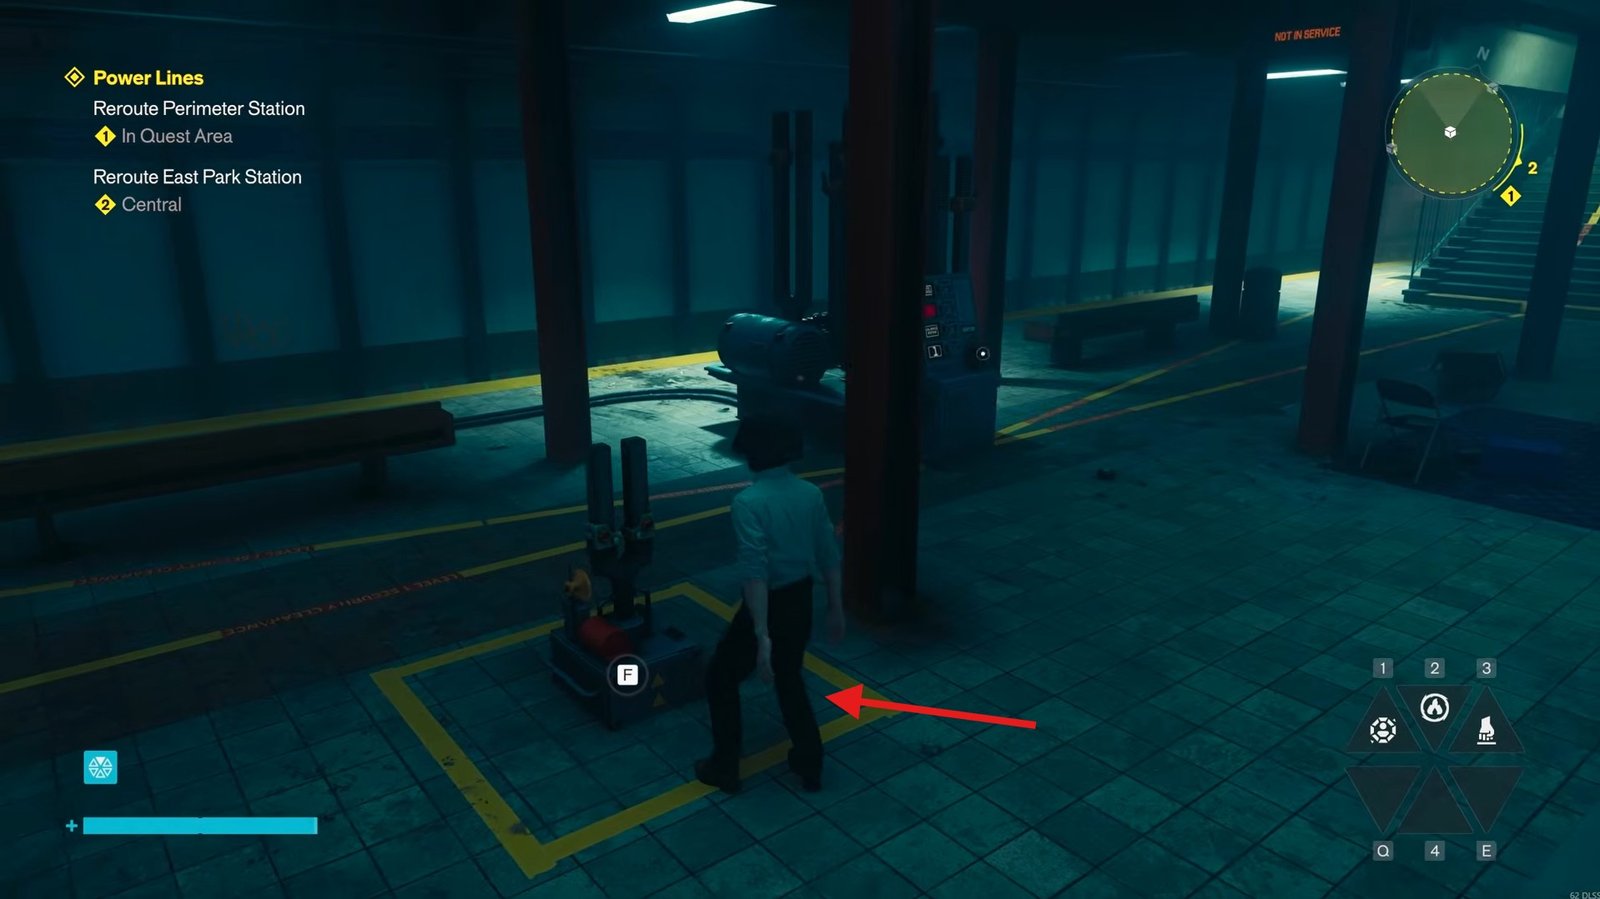
Go up the nearby staircase to the right, where you will find another device, then put it into the yellow square right next to it.
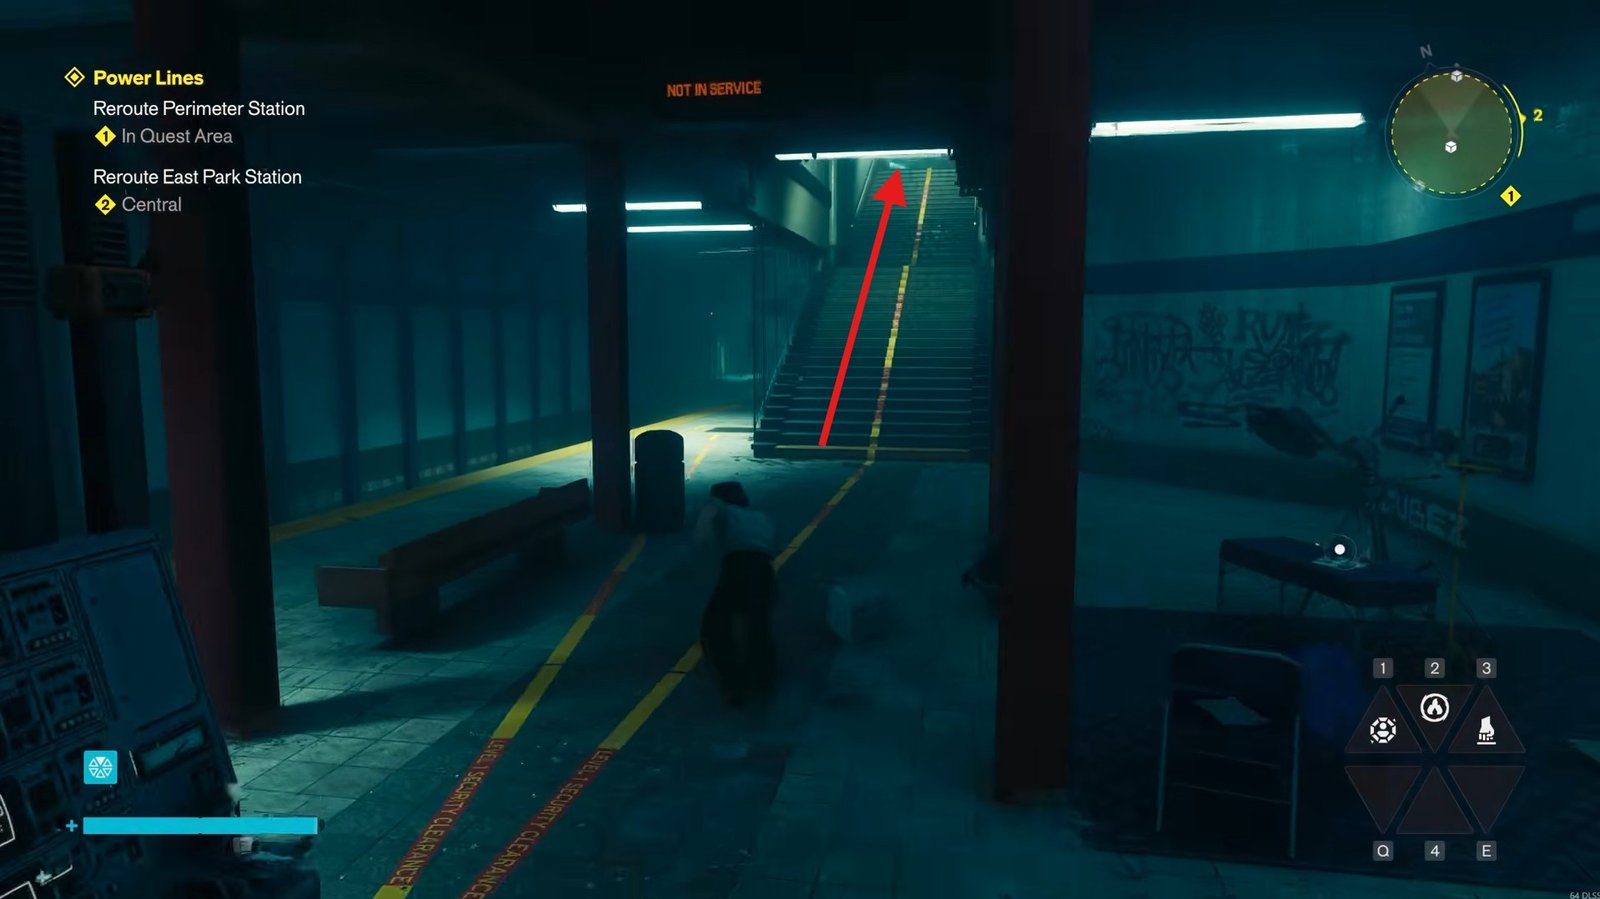
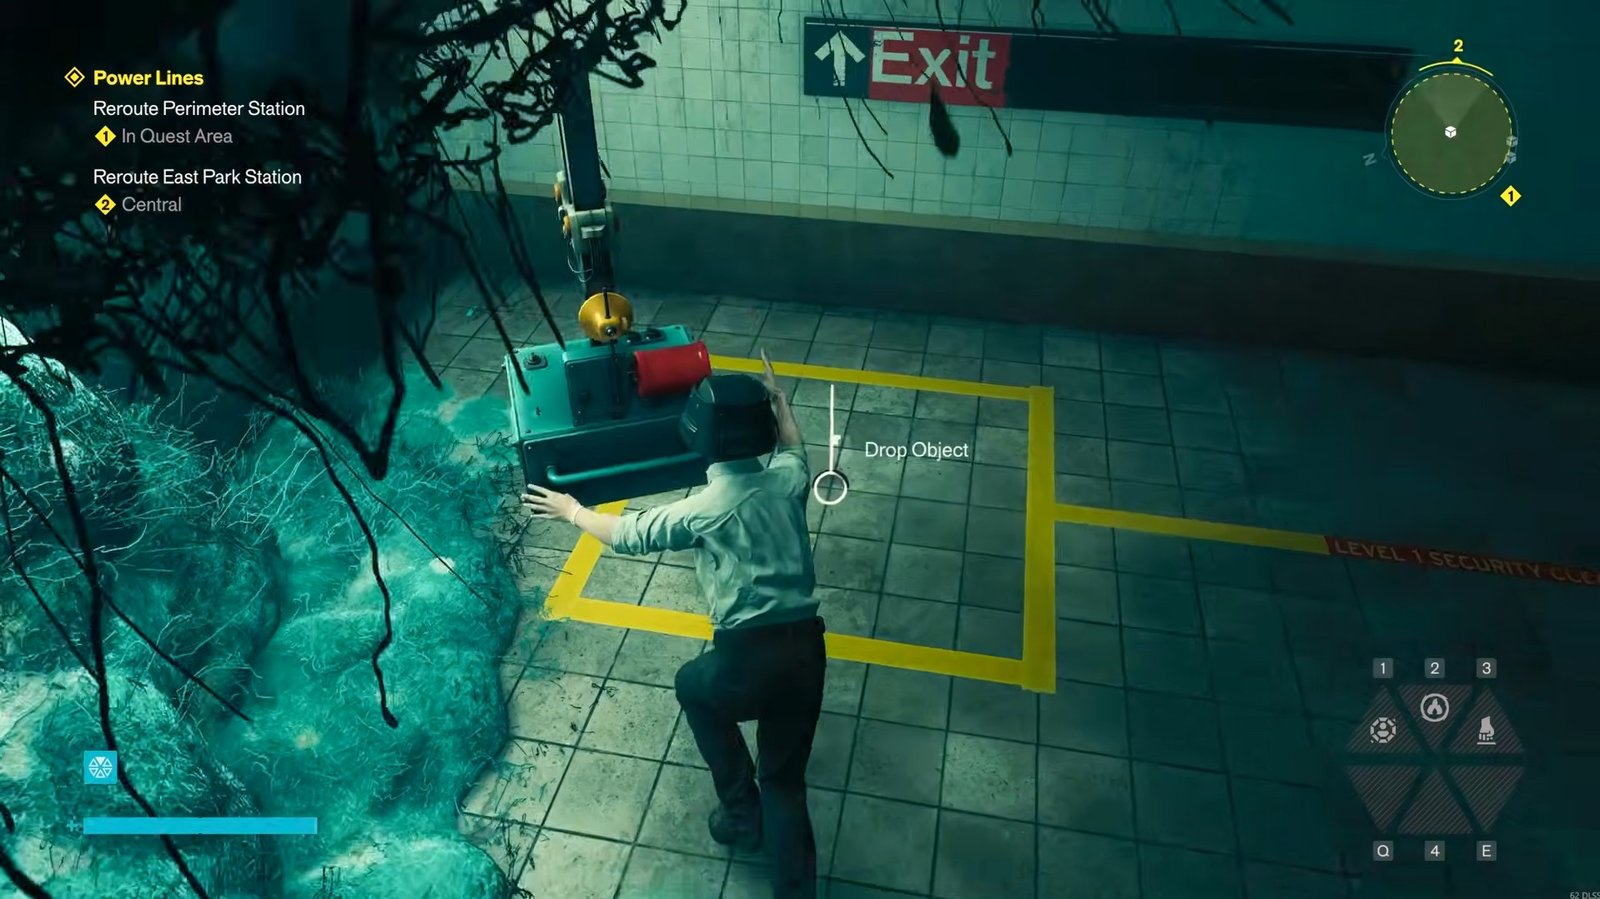
With the devices correctly positioned, go back down to activate the machine to calibrate the Perimeter Station.
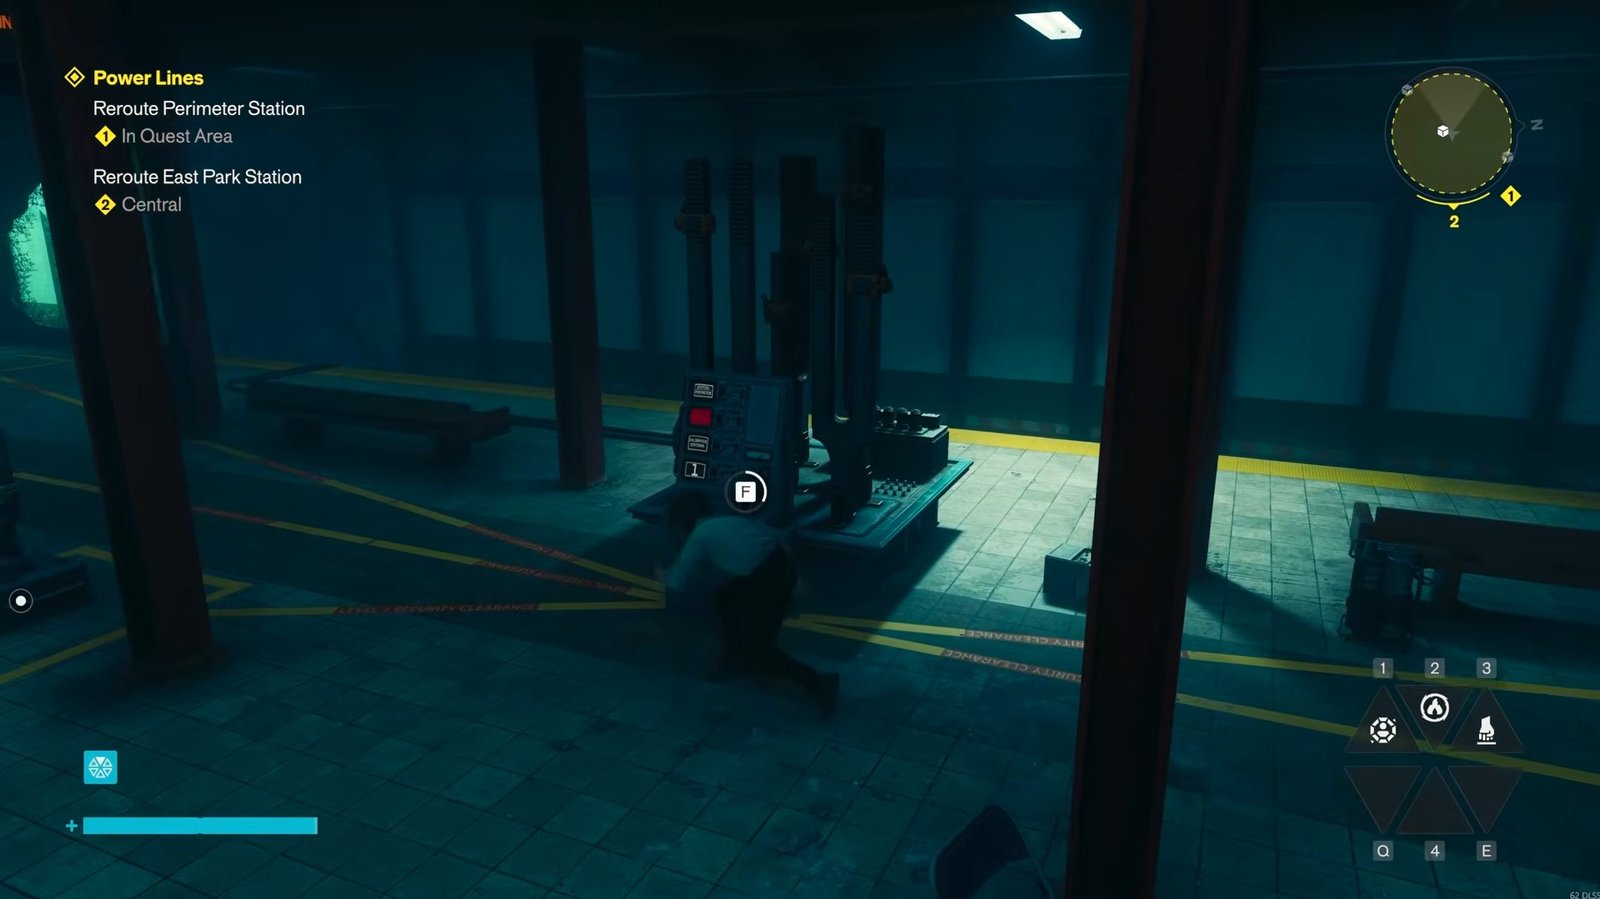
Before leaving the station, head up the staircase to the left that you first came down through and look for a radio there; interact with it to receive the objective to help the survivors. You can then continue toward East Park Station.
East Park Station
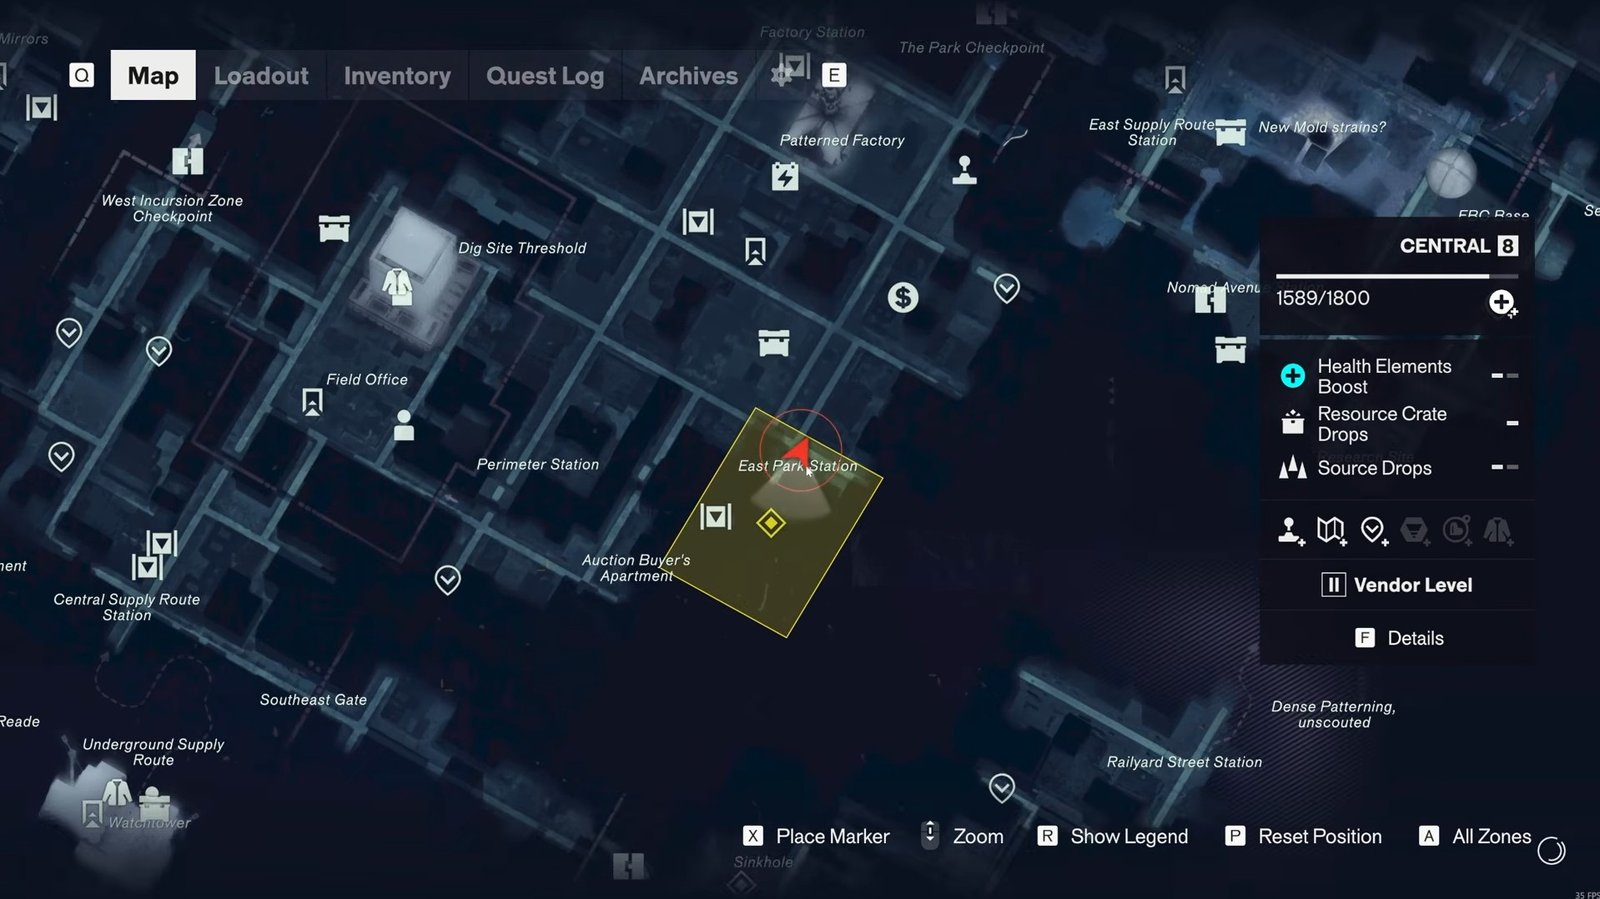
Approach the East Park Station from the location marked on the map. Clear the enemies in the area and enter the station through the stairs. Take a right turn, go past the checkpoint, move ahead, and then go downstairs all the way to the bottom.
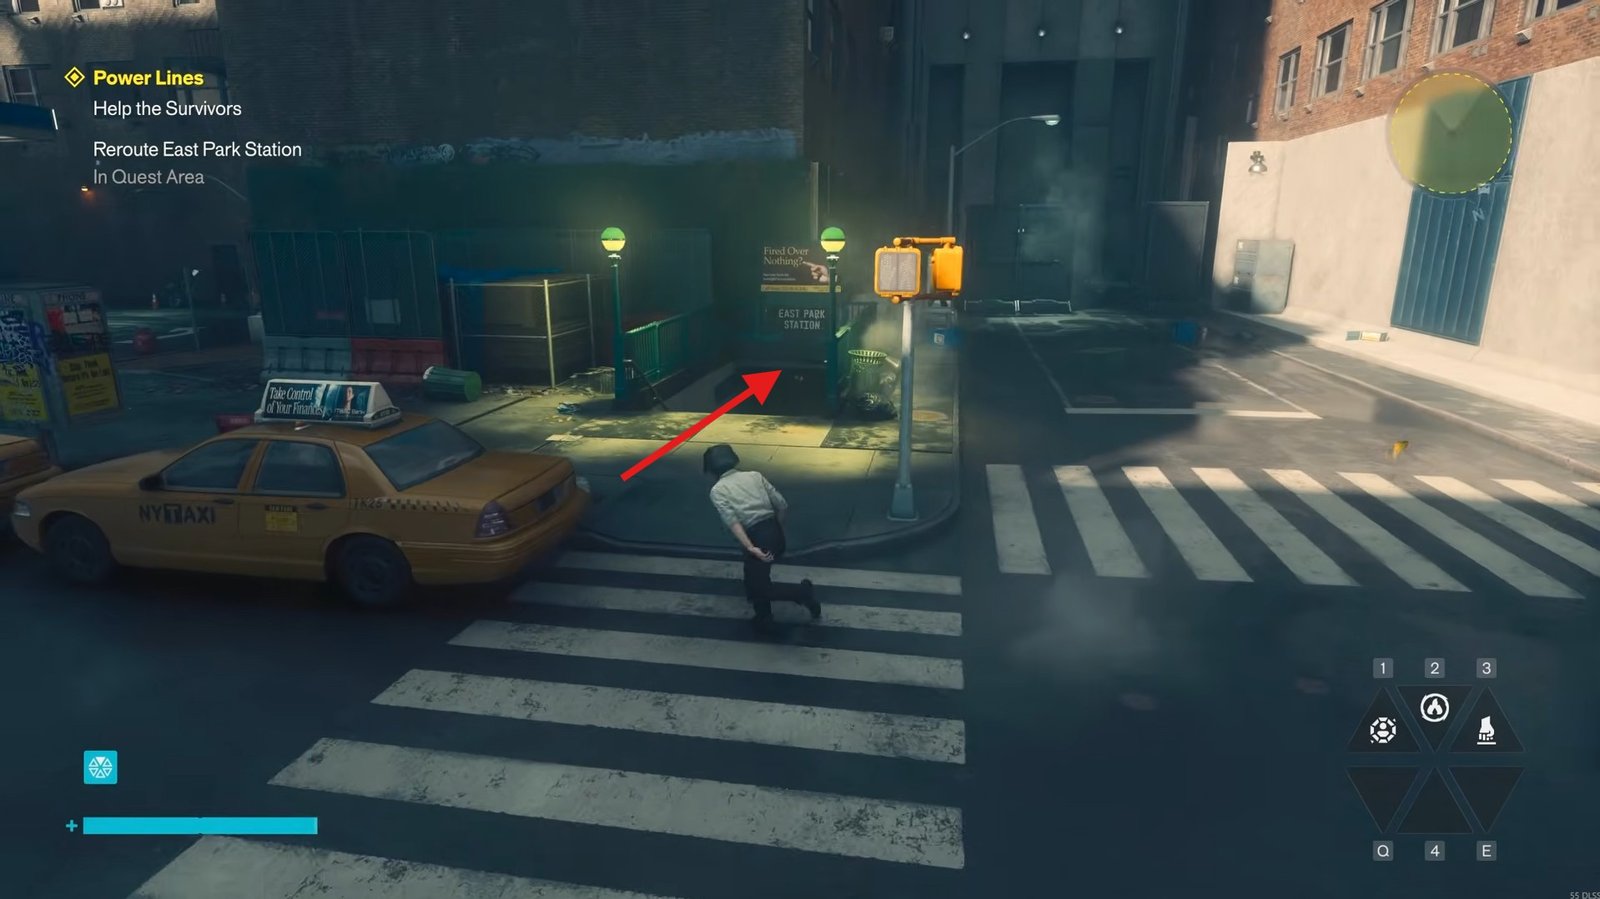
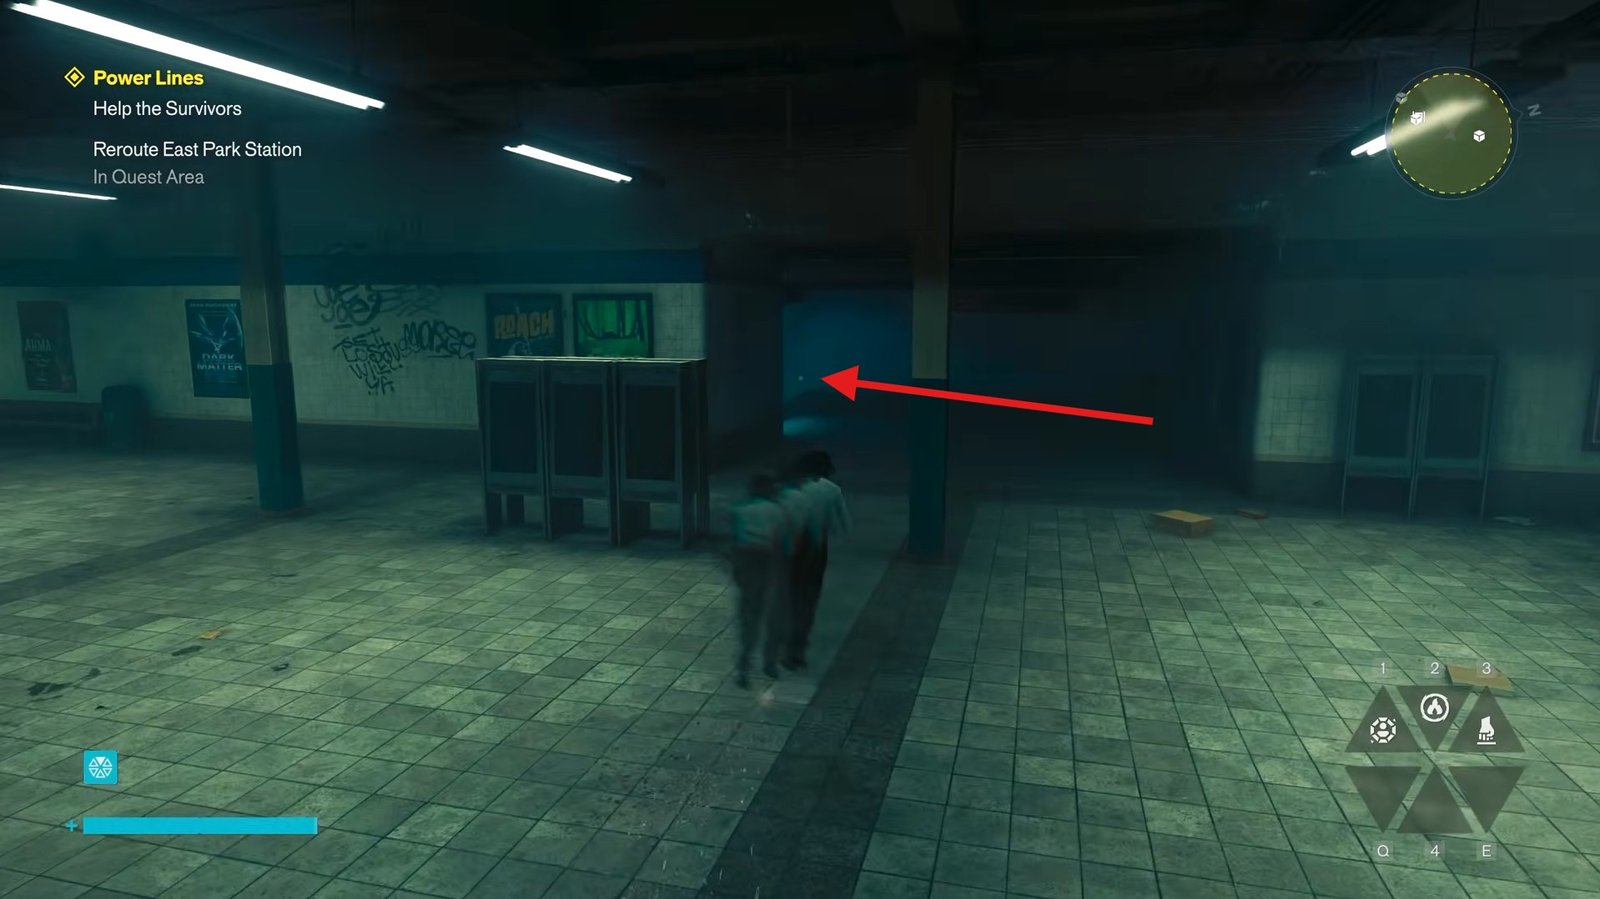
On the bottom floor, you’ll find a machine with a button that moves you between different platforms.
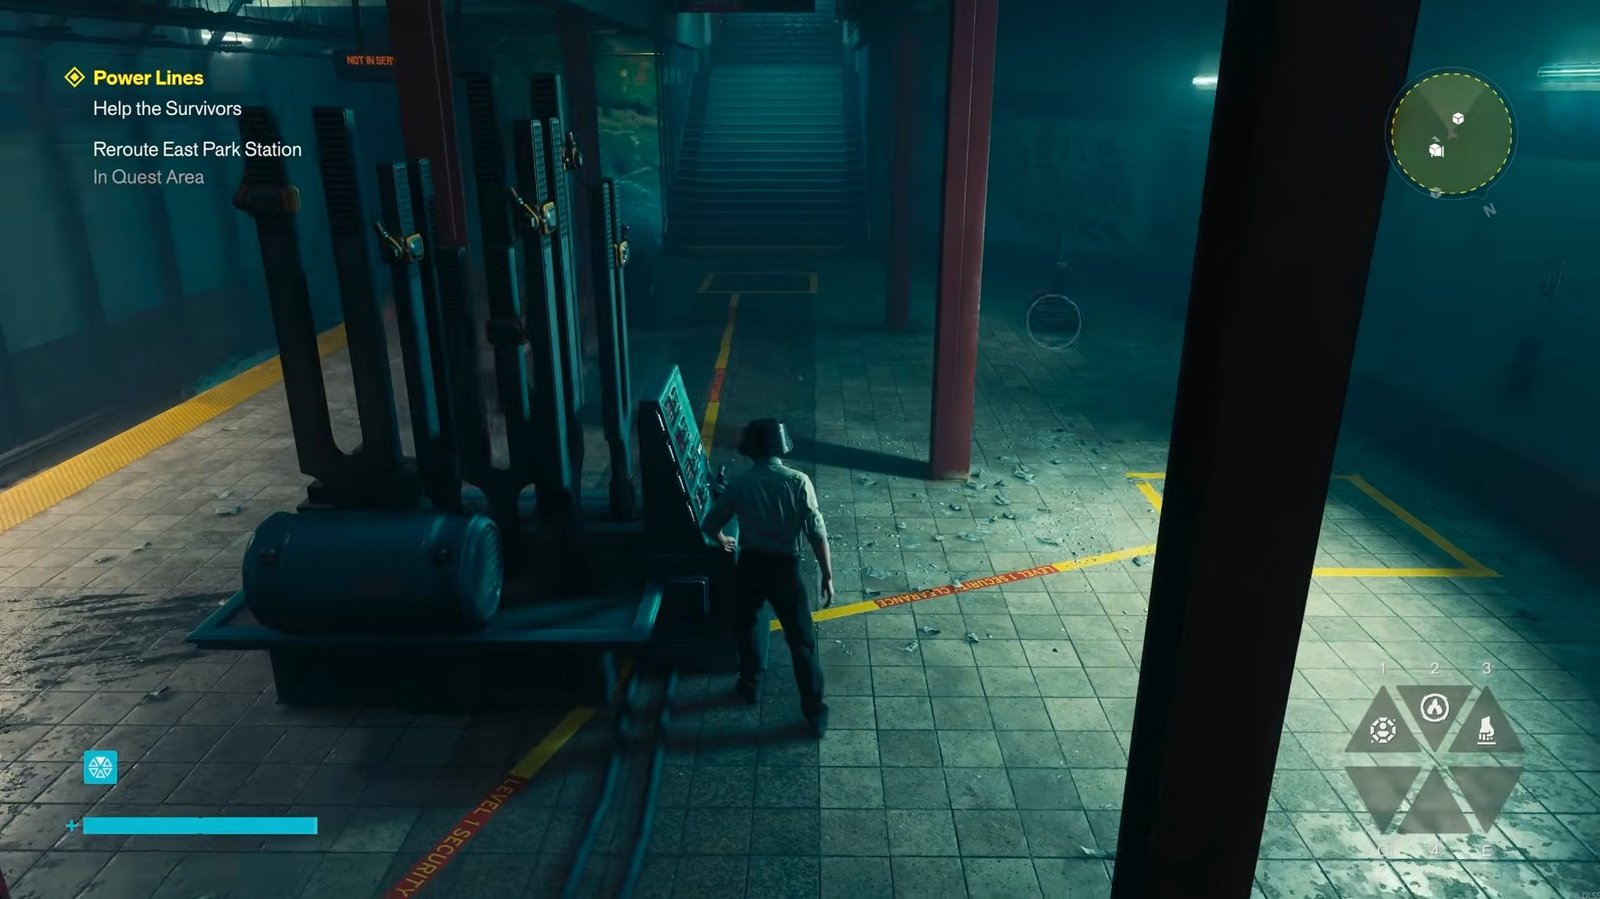
Use it to reach the first device; you will teleport to the start of a staircase, head down, pick up the first node, and place it in the nearby yellow square. If large blue clouds are blocking your way, destroy them before continuing.
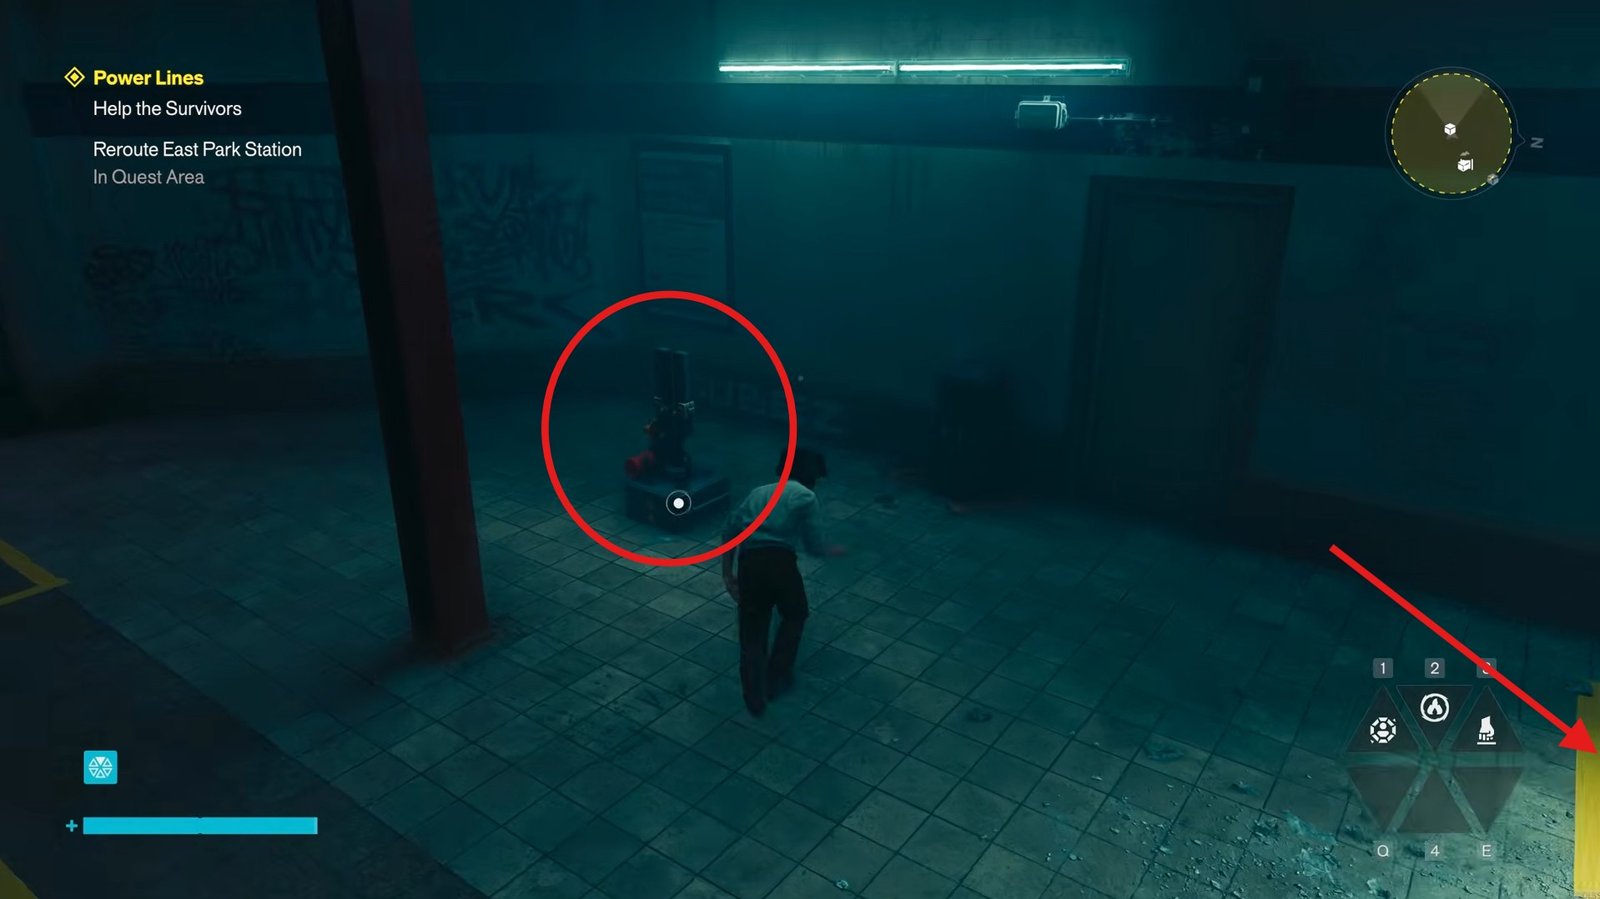
Press the platform button once, which will take you back to the first machine’s location, then activate it again to reach a locked room upstairs.
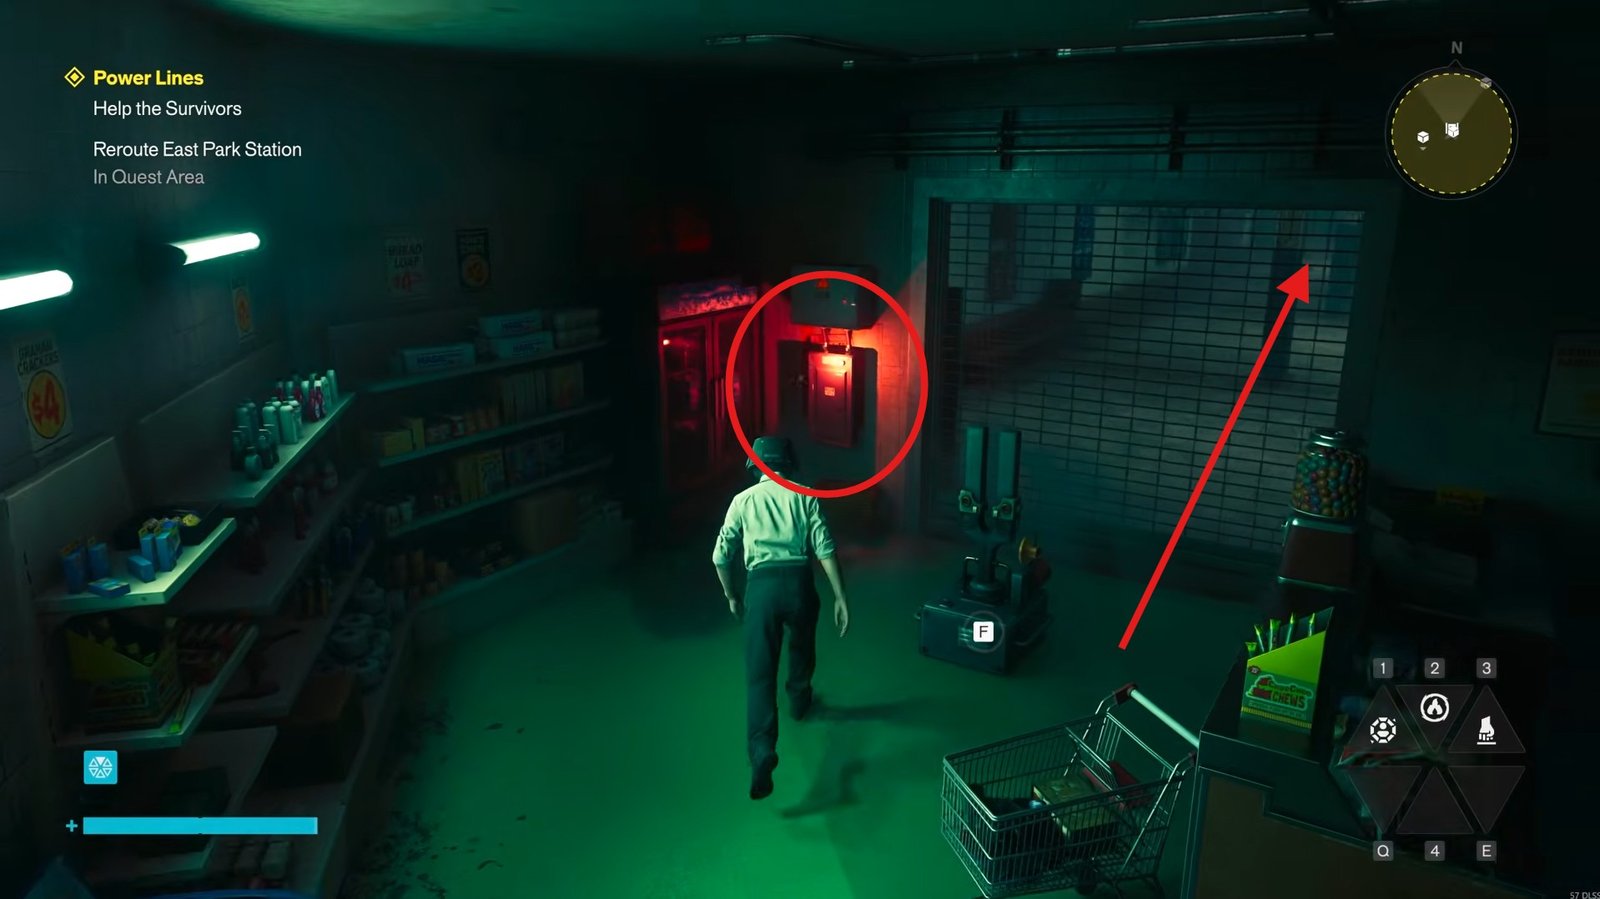
Break the obstruction to open the way and collect the device inside. Carry it downstairs and place it in the next square, where the other device is visible across the area.
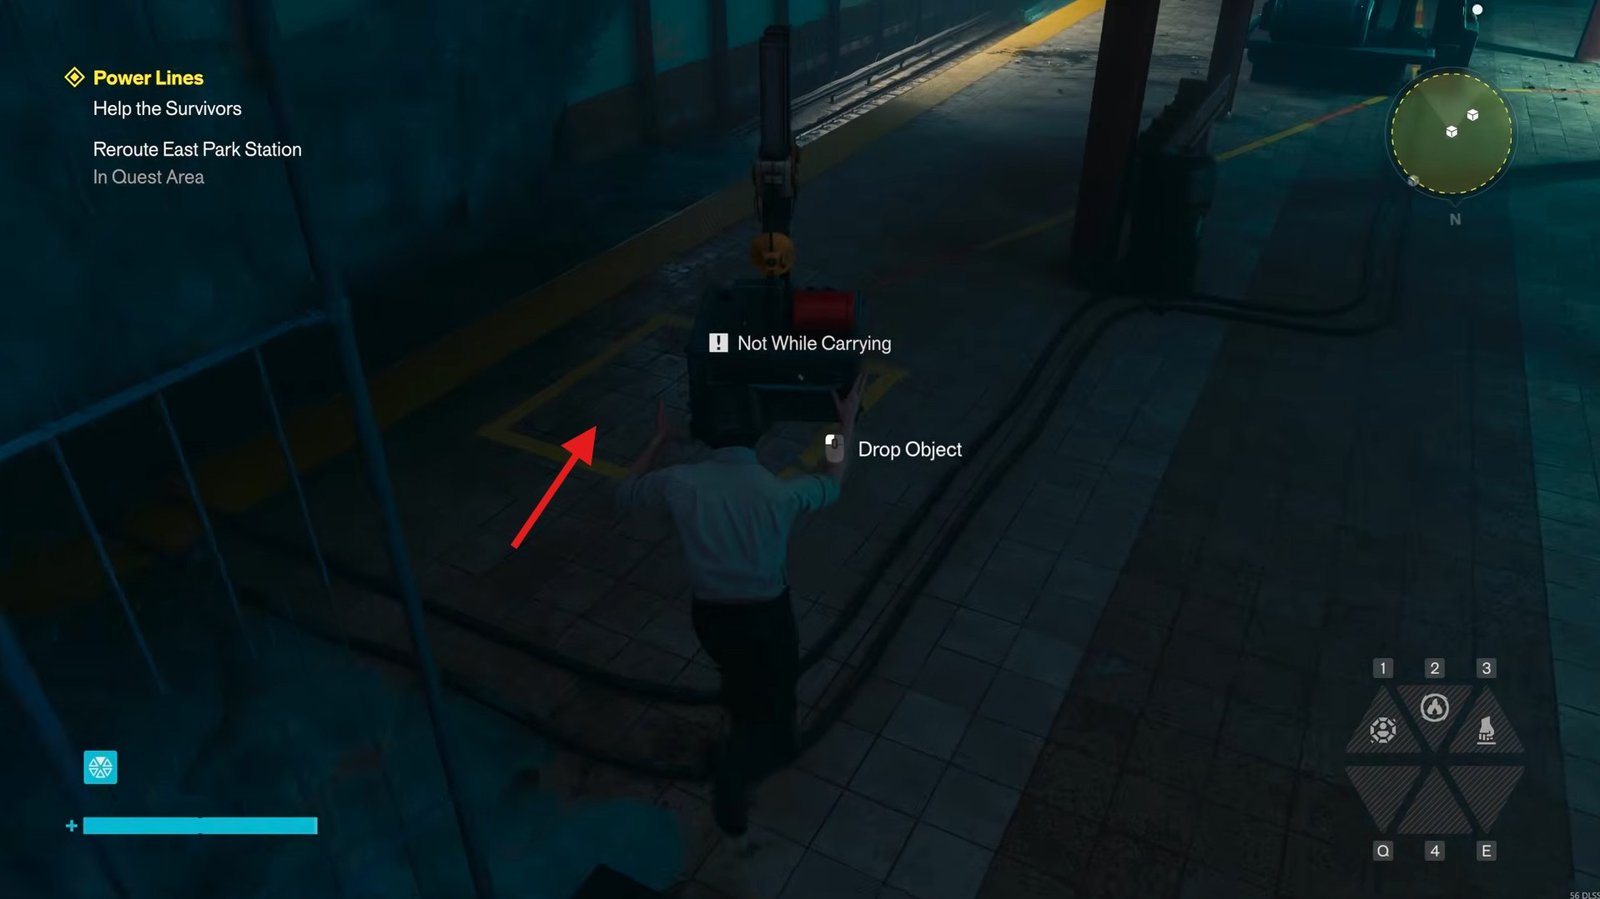
Return upstairs to retrieve the remaining device that you will find in the room, then bring it down and position it on the far side, just before the staircase.
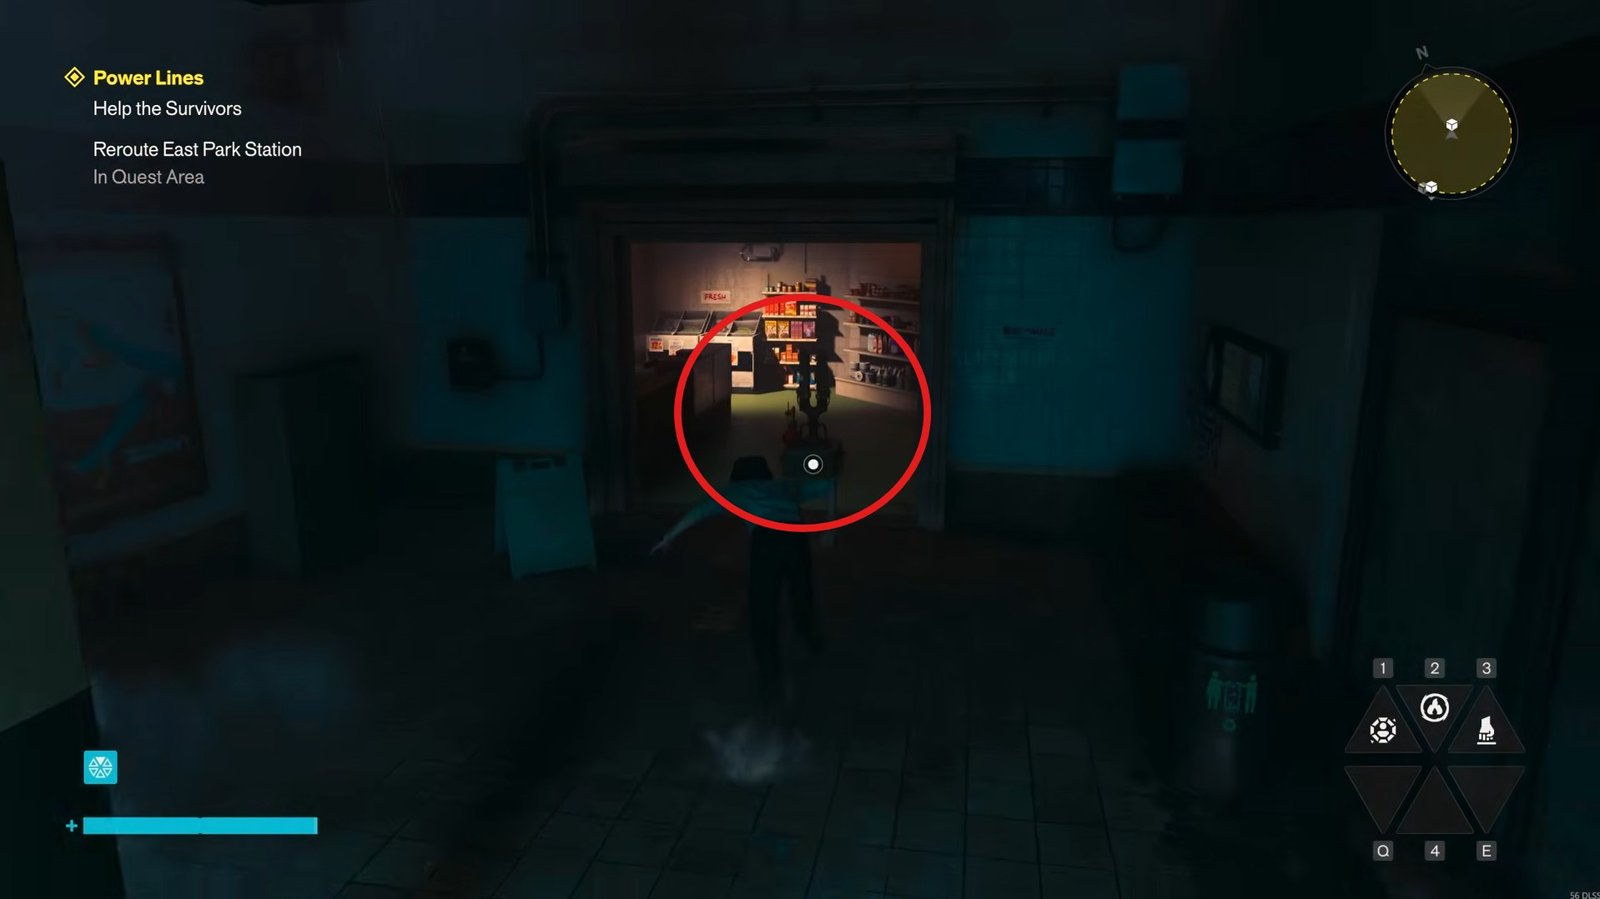
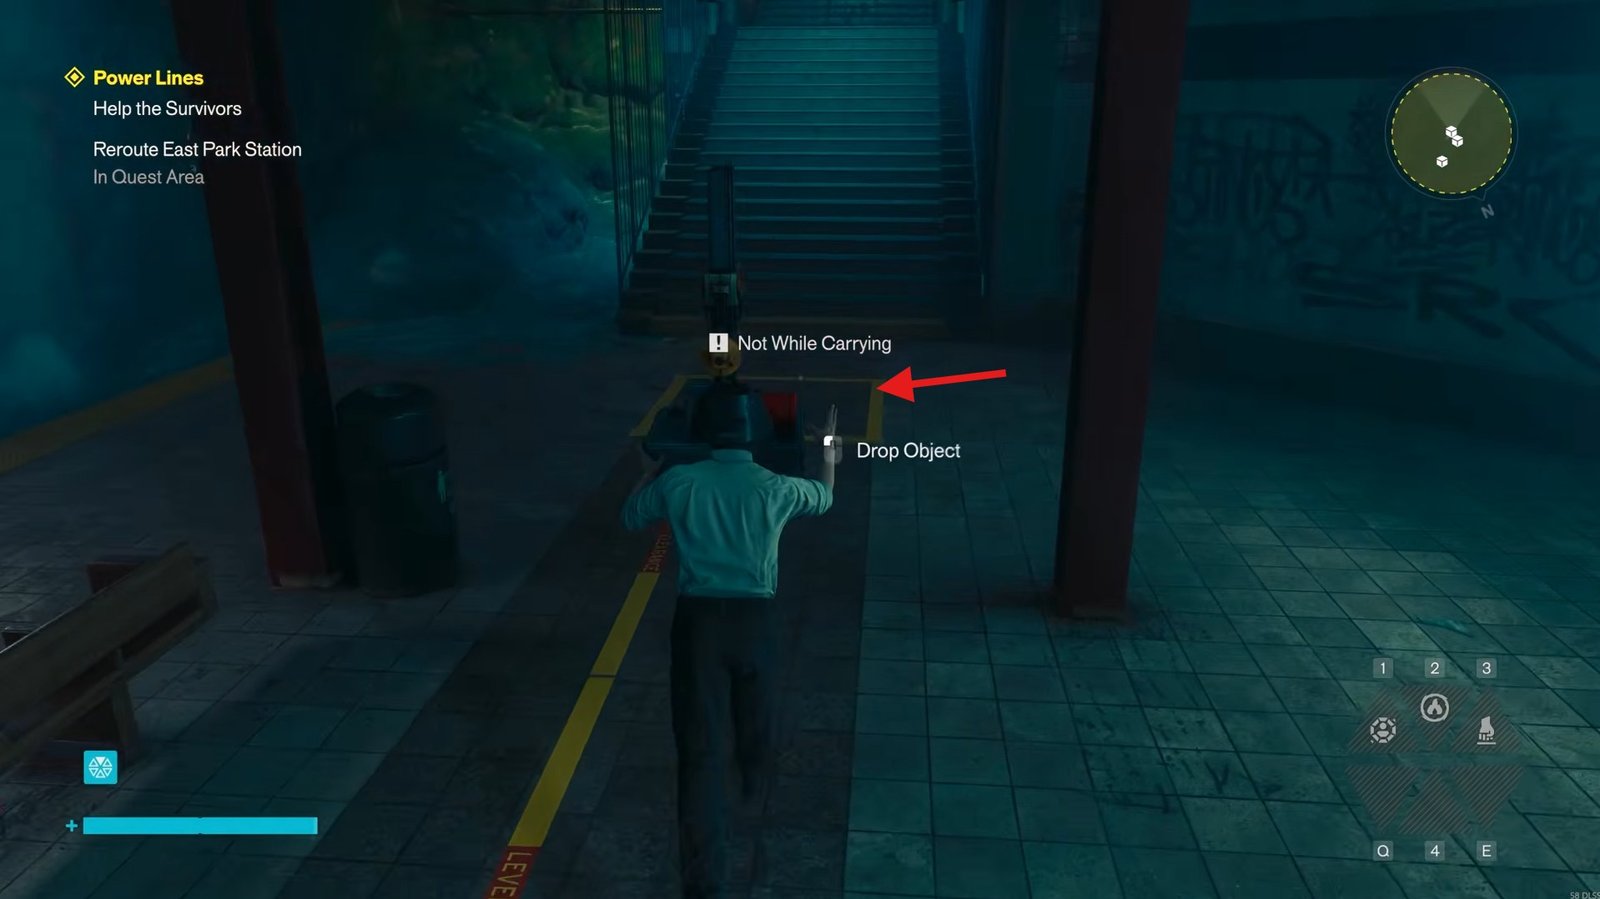
Activate the calibration machine once everything is in place. A successful calibration completes the three initial station reroutes.
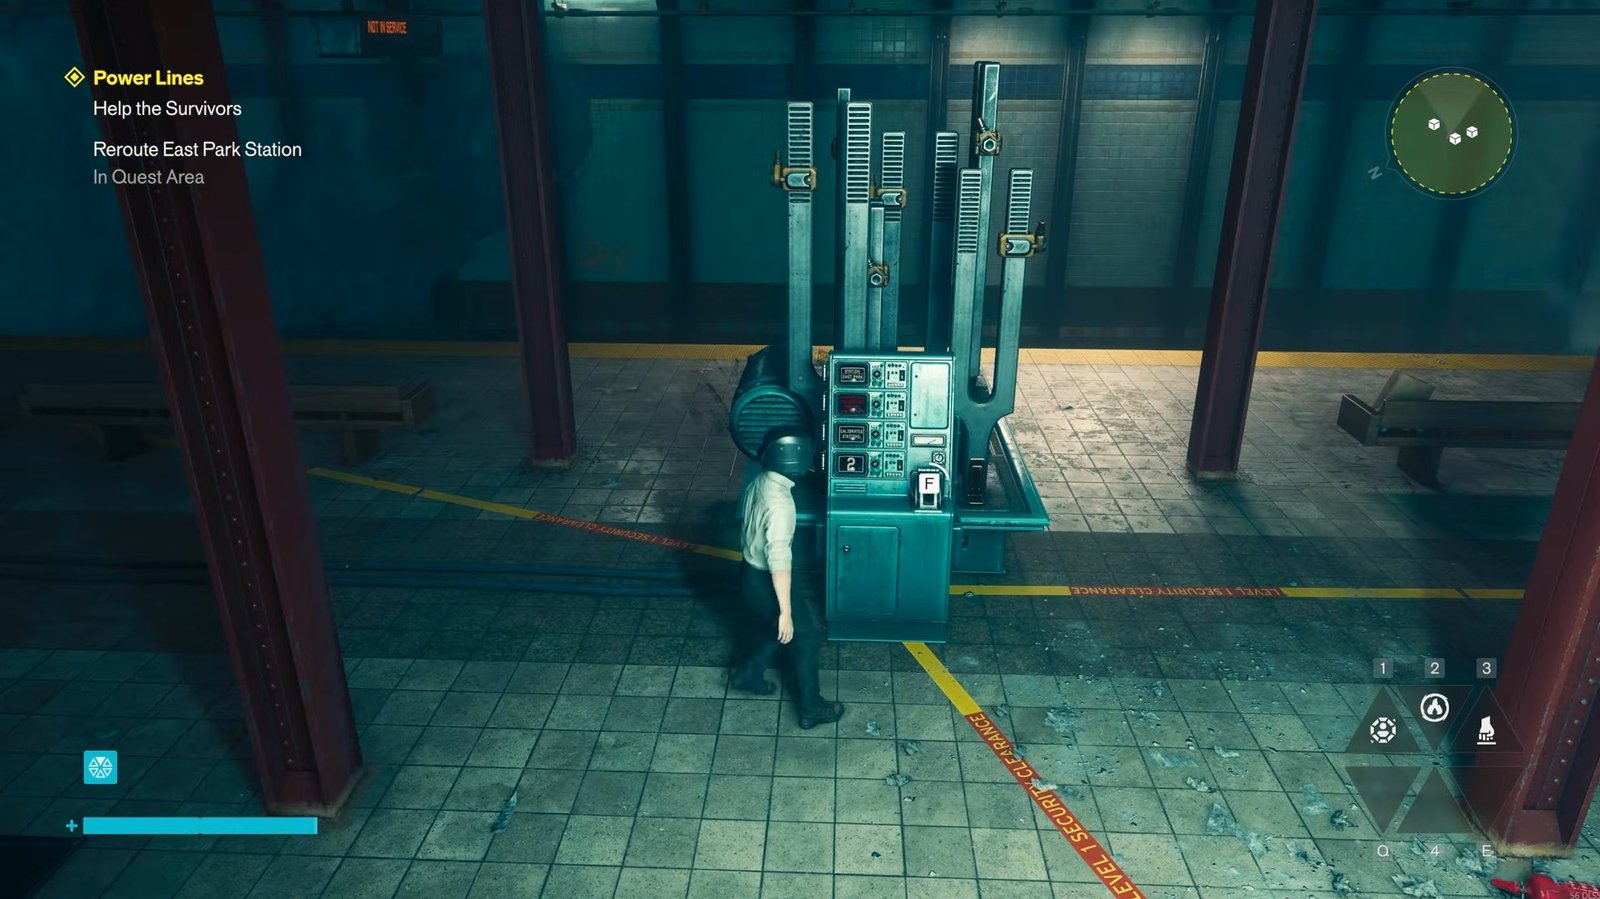
After calibrating East Park Station, you may experience a strange visual effect. Head up the stairs and return to the radio to continue the conversation with the survivors.
You will notice that the usual exit route is no longer available. Instead, look at the train tracks and find the path to the left that now branches off in a different direction. Follow this route through the station. Be ready for combat, as enemies appear near the end. The path eventually leads to another station, which is the Vanished Station and is the next objective.
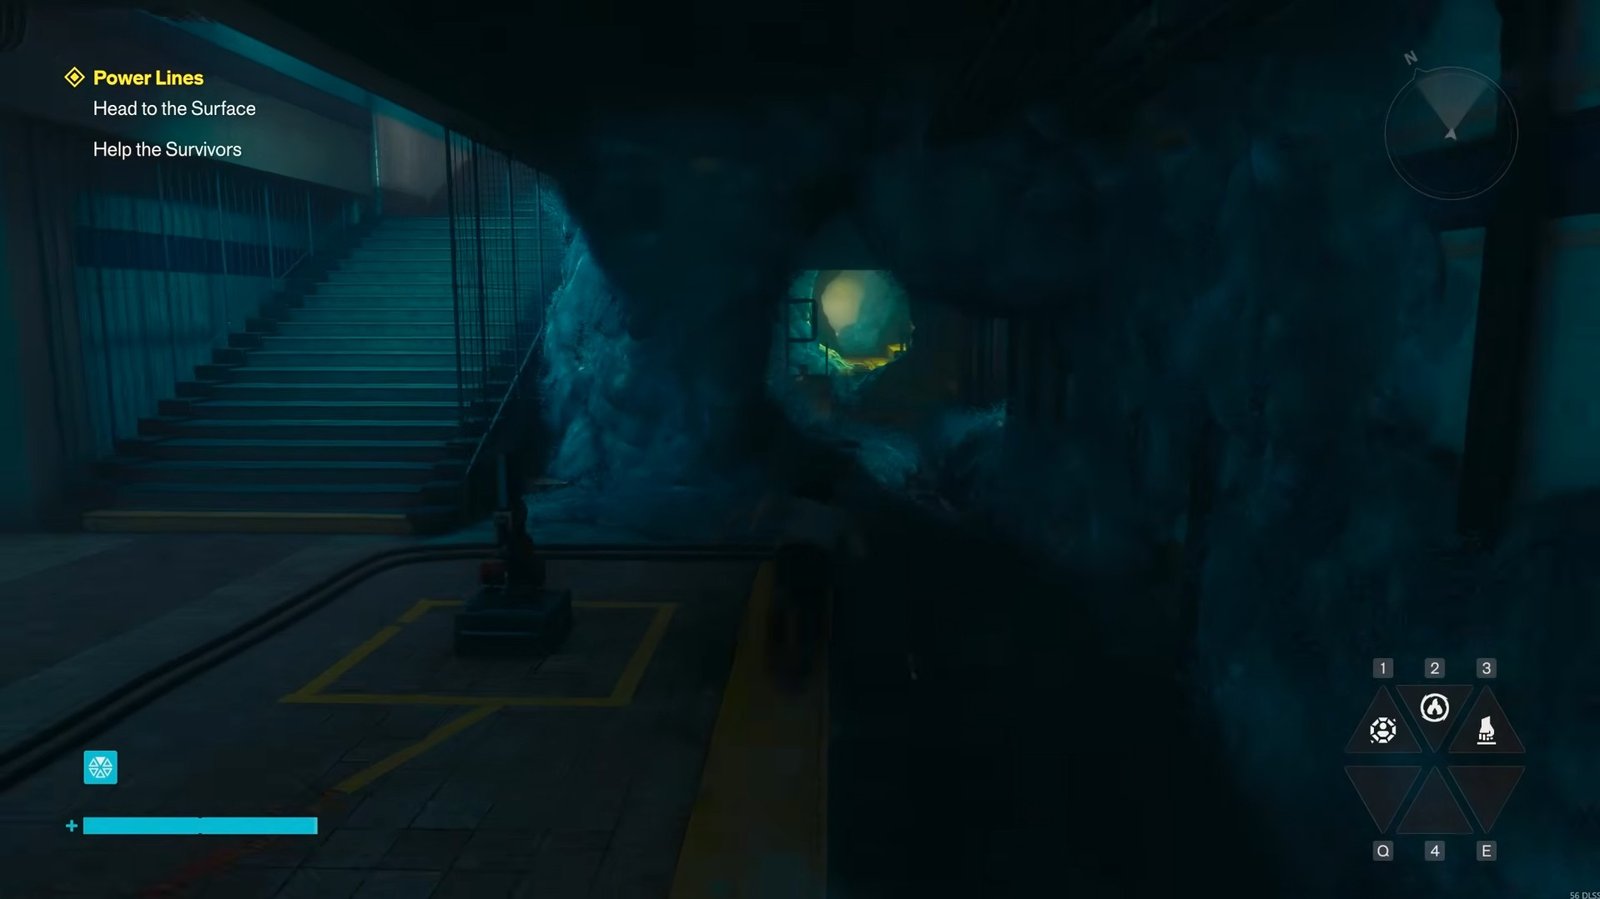
Reroute the Vanished Station
Before starting the puzzle, turn around, go up the exit ramp, take a right turn, and go to the radio beside the vending machine.
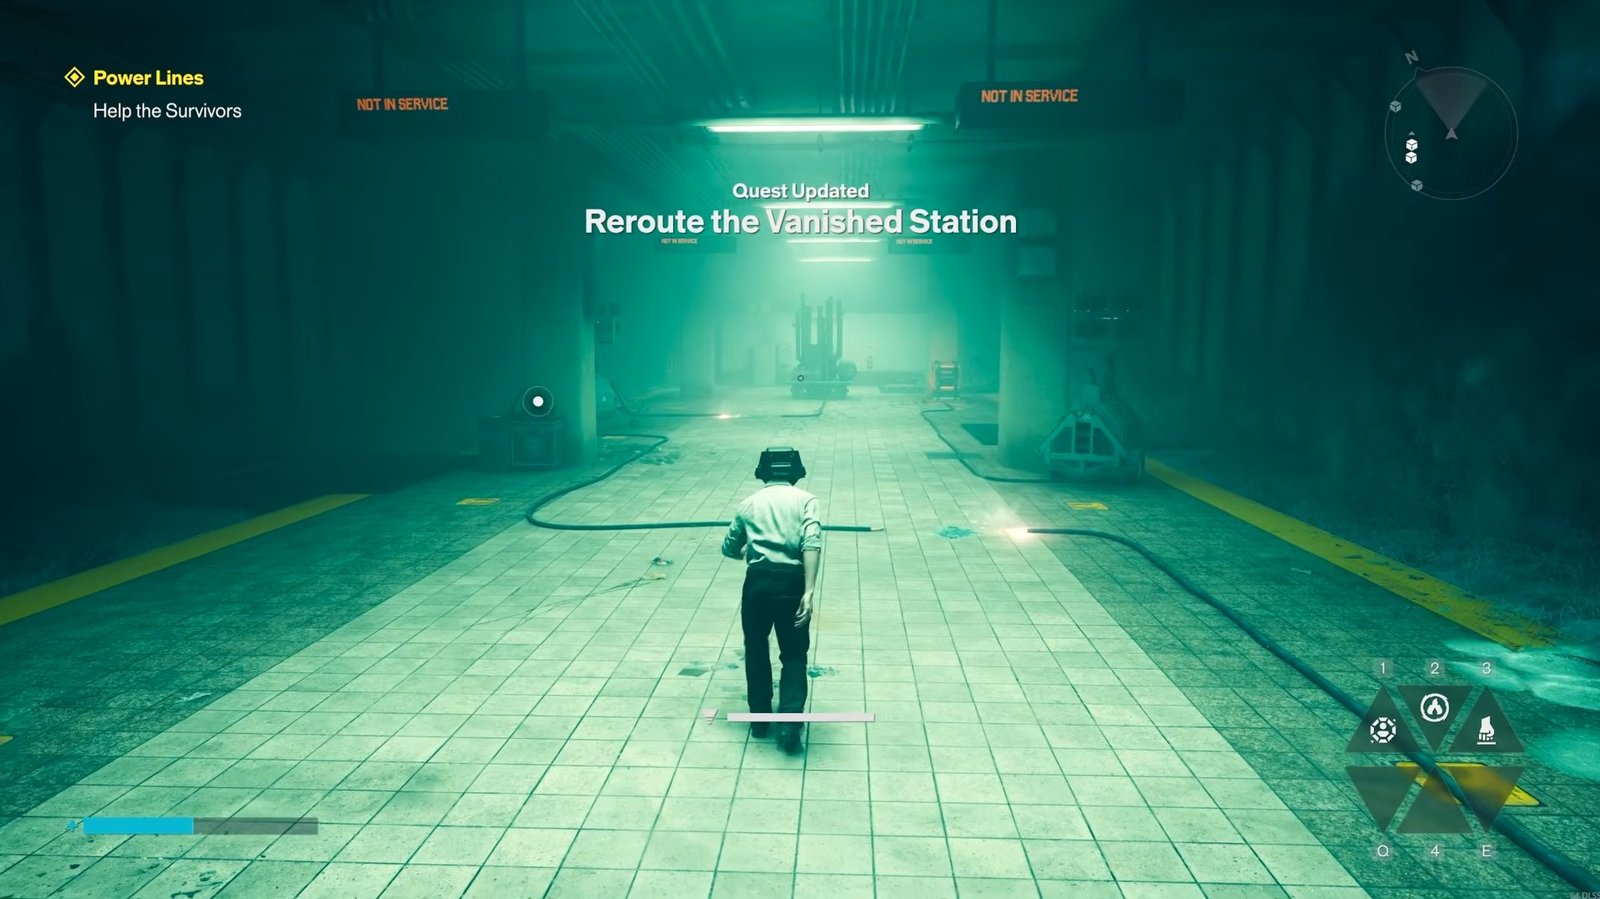
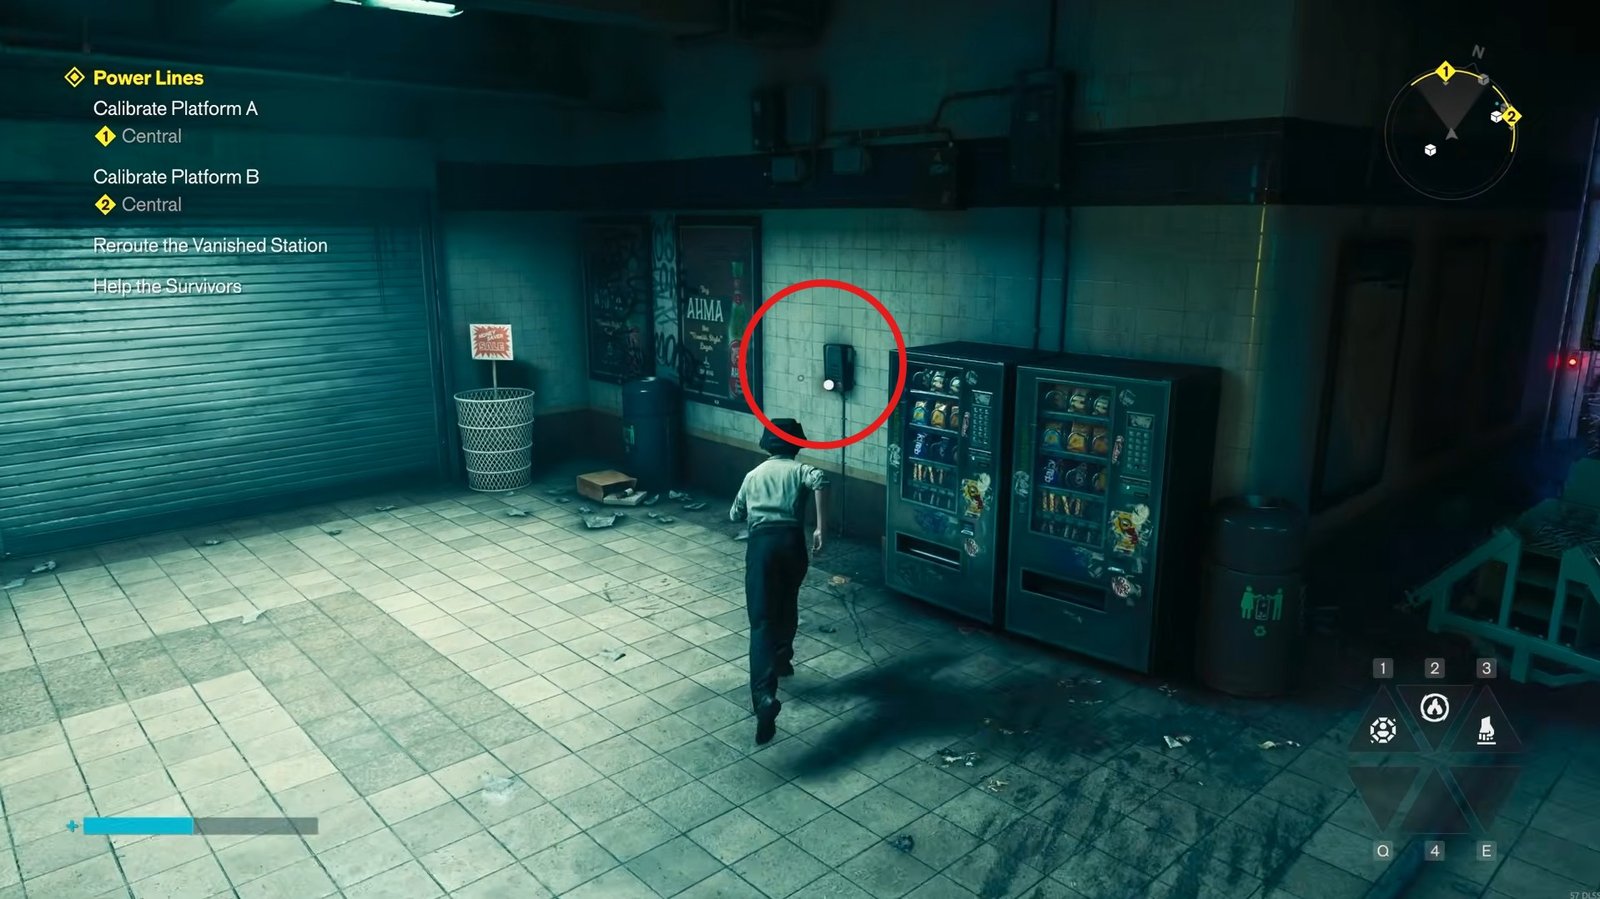
Interact with it to hear the message, then return downstairs to work on the power connections. The main challenge here is to use power nodes to connect the broken cables. You must also open the required doors and grow moulds over the correct section so electricity can pass through.
Turn around again, go upstairs toward the exit, take a right, and you will find a power node near the top.
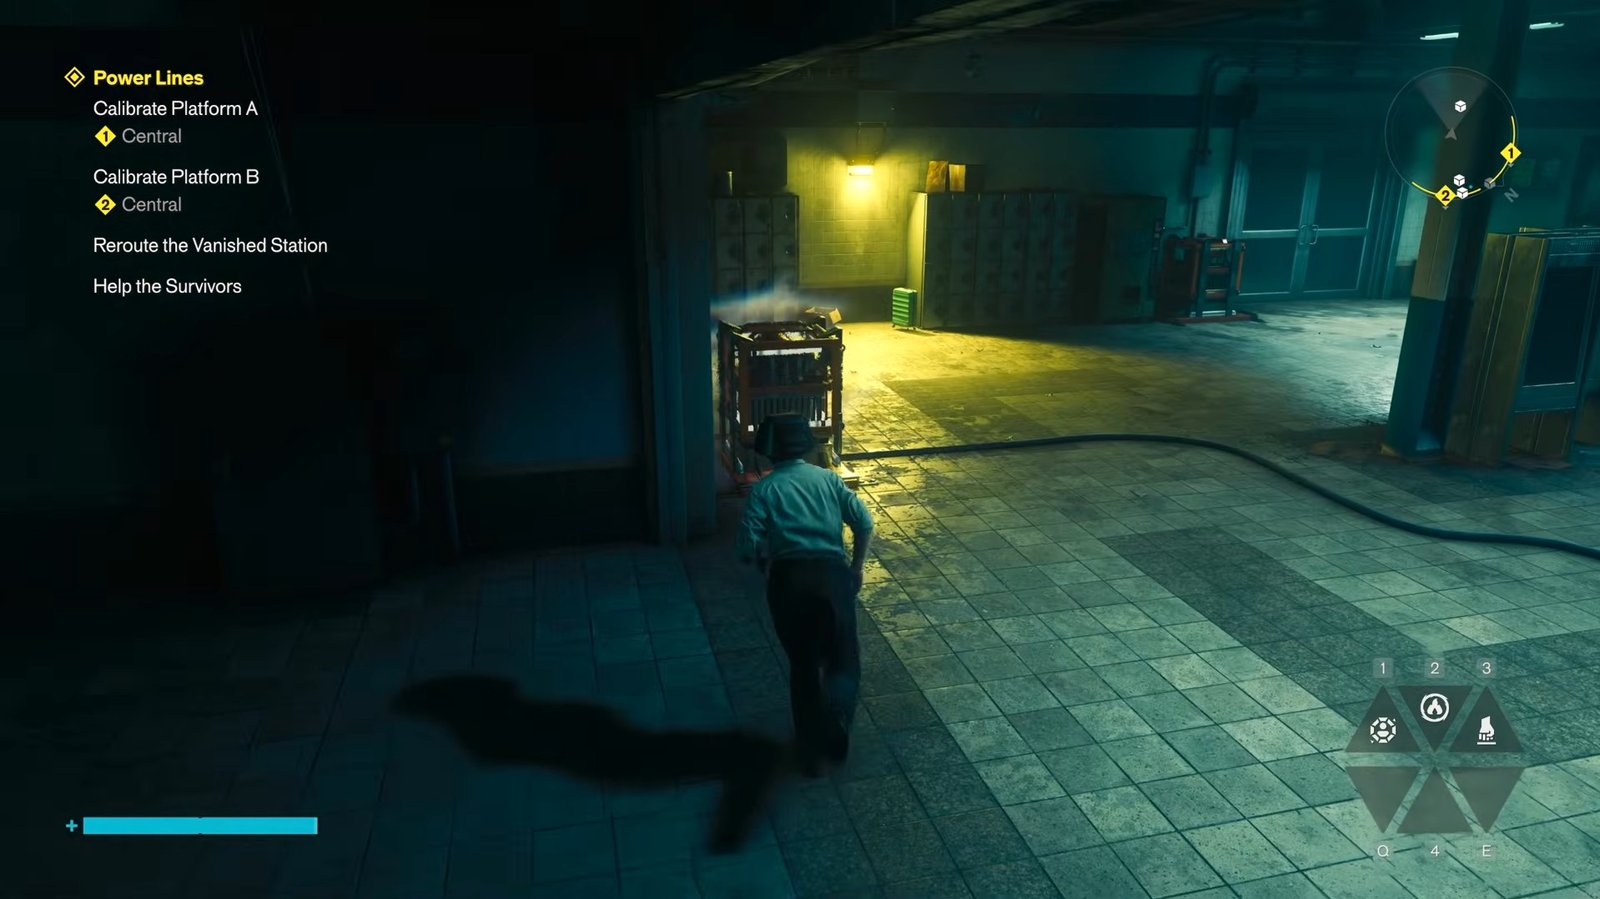
Pick it up and carry it back downstairs and use it to power the one right in front of the pillar on the right side towards the end; it is important that you power the appropriate connection point.
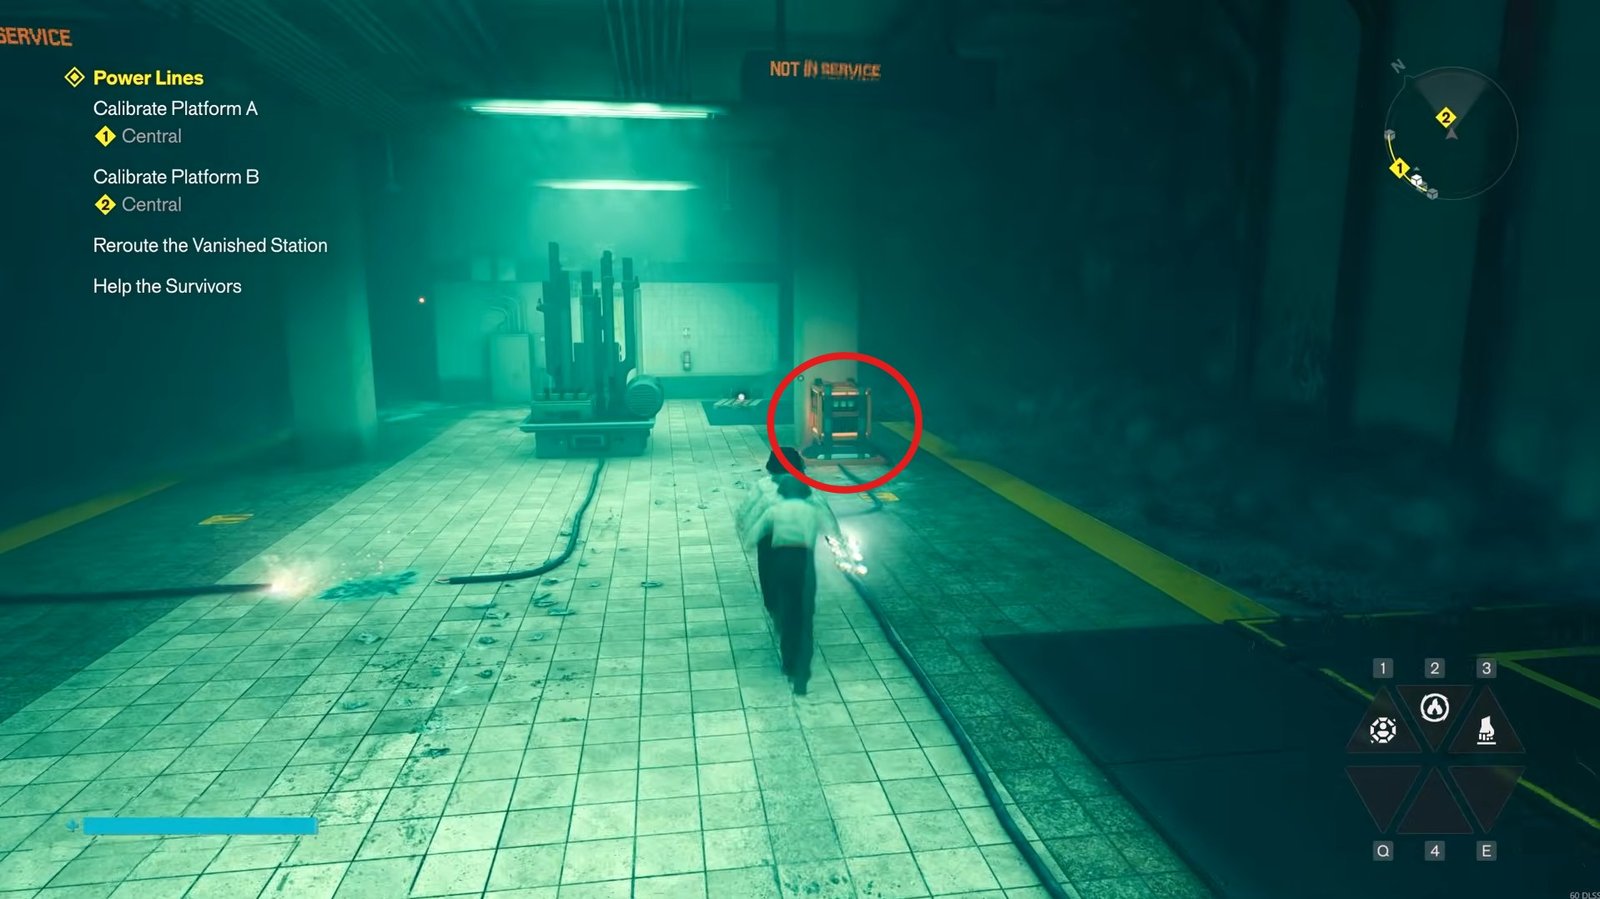
Once you power it, you will see that the two mould clouds will grow across the broken section. Once the moulds have grown, return the power node to its original position upstairs. This prevents the mold clouds from continuing to regrow while you work on the remaining connections. Head downstairs and collect the power node from the one in front of the right pillar next to the staircase that you came down from.
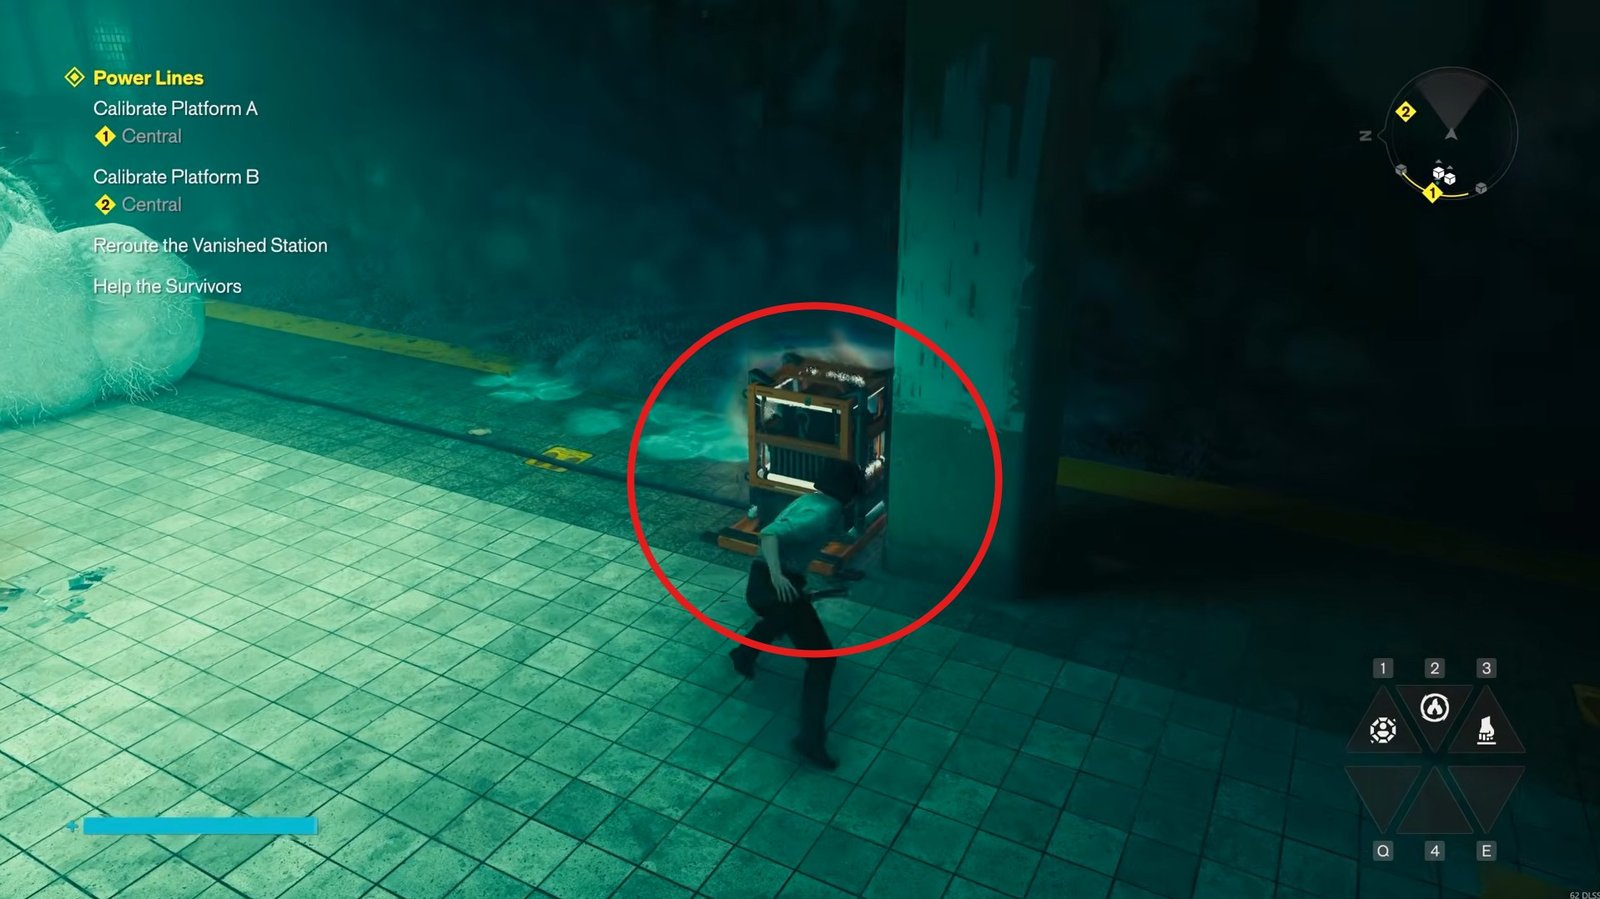
Take that power node and head upstairs to power up the second slot, which will open the required room in the upper section, then retrieve the device inside. Bring it back downstairs and leave it nearby temporarily.
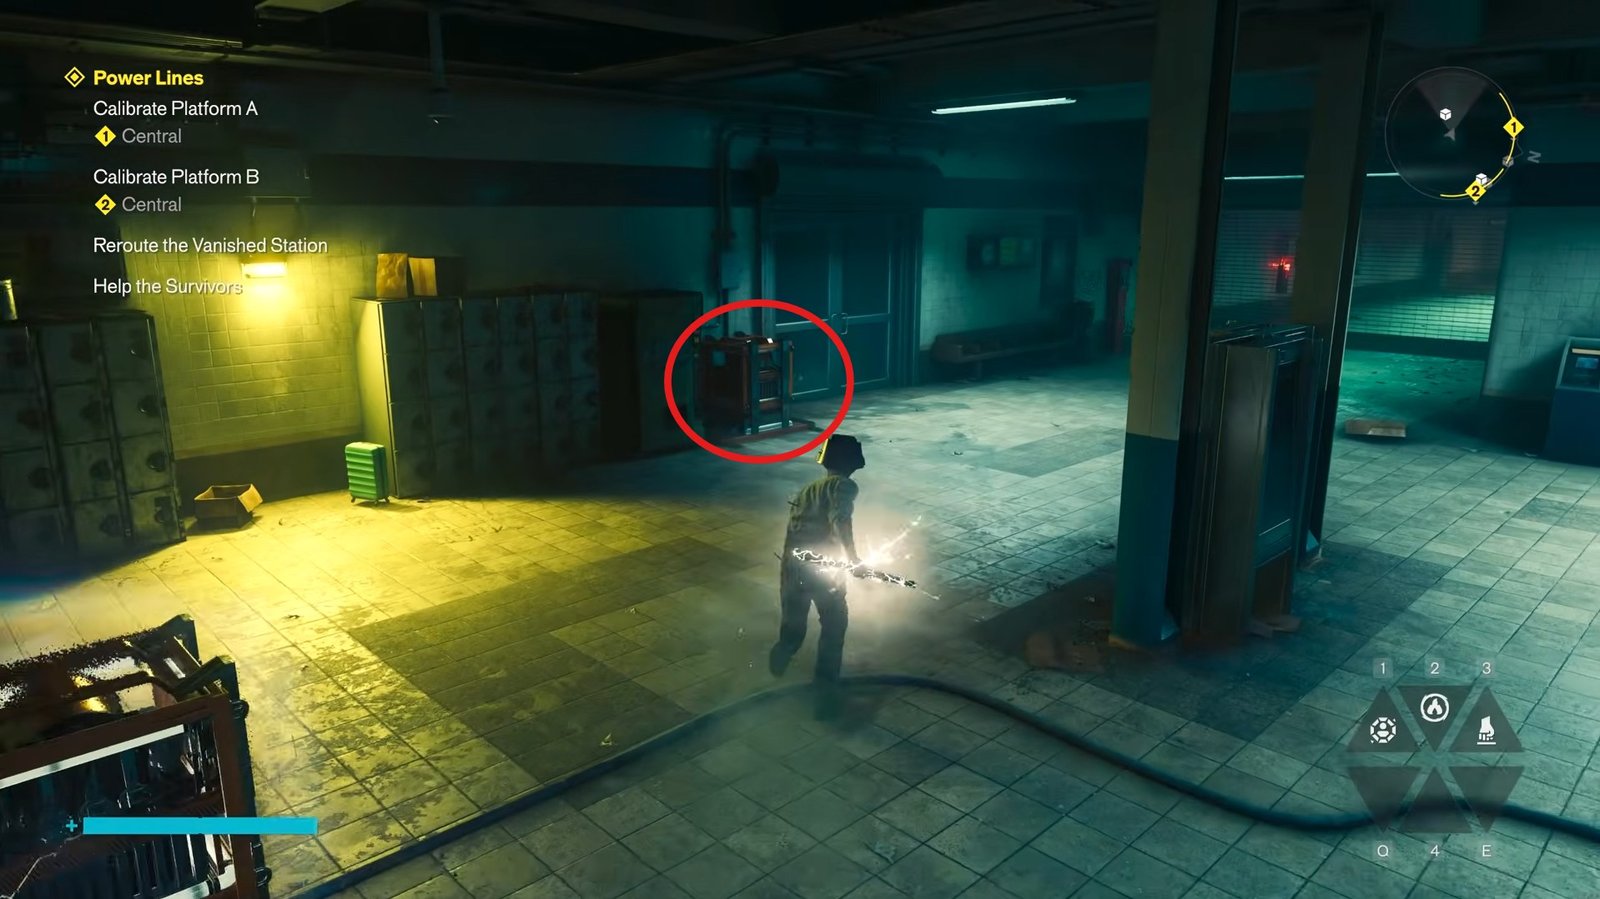
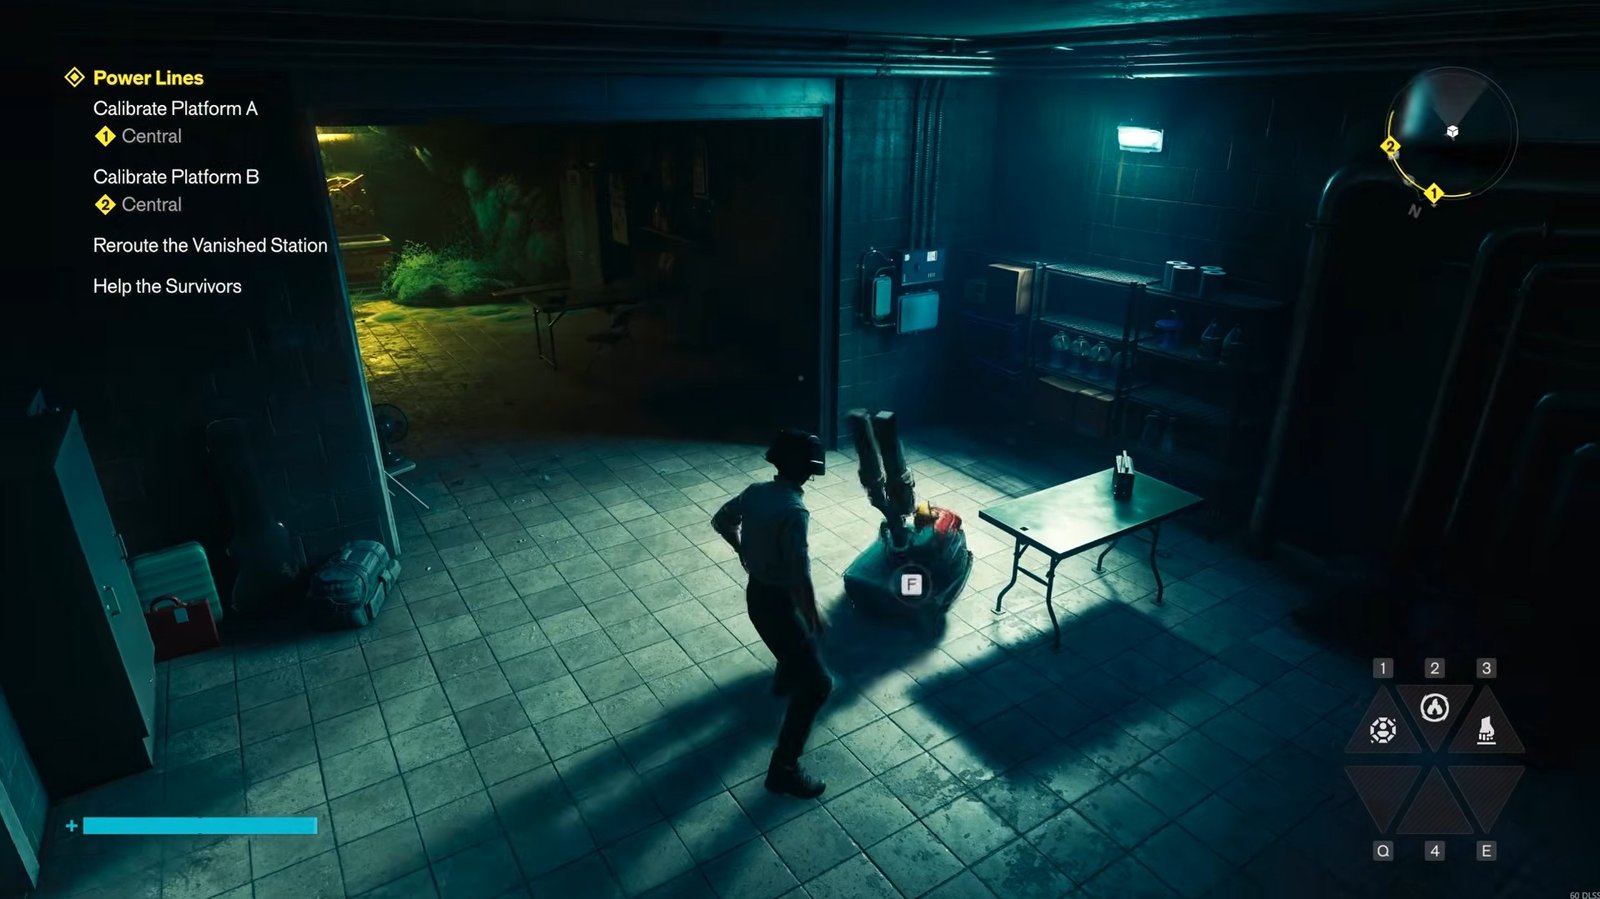
You will see that there are four molds. Be careful around the two moulds in the middle: leave those intact, and destroy the clouds at the ends, which are behind the pillars on each side.
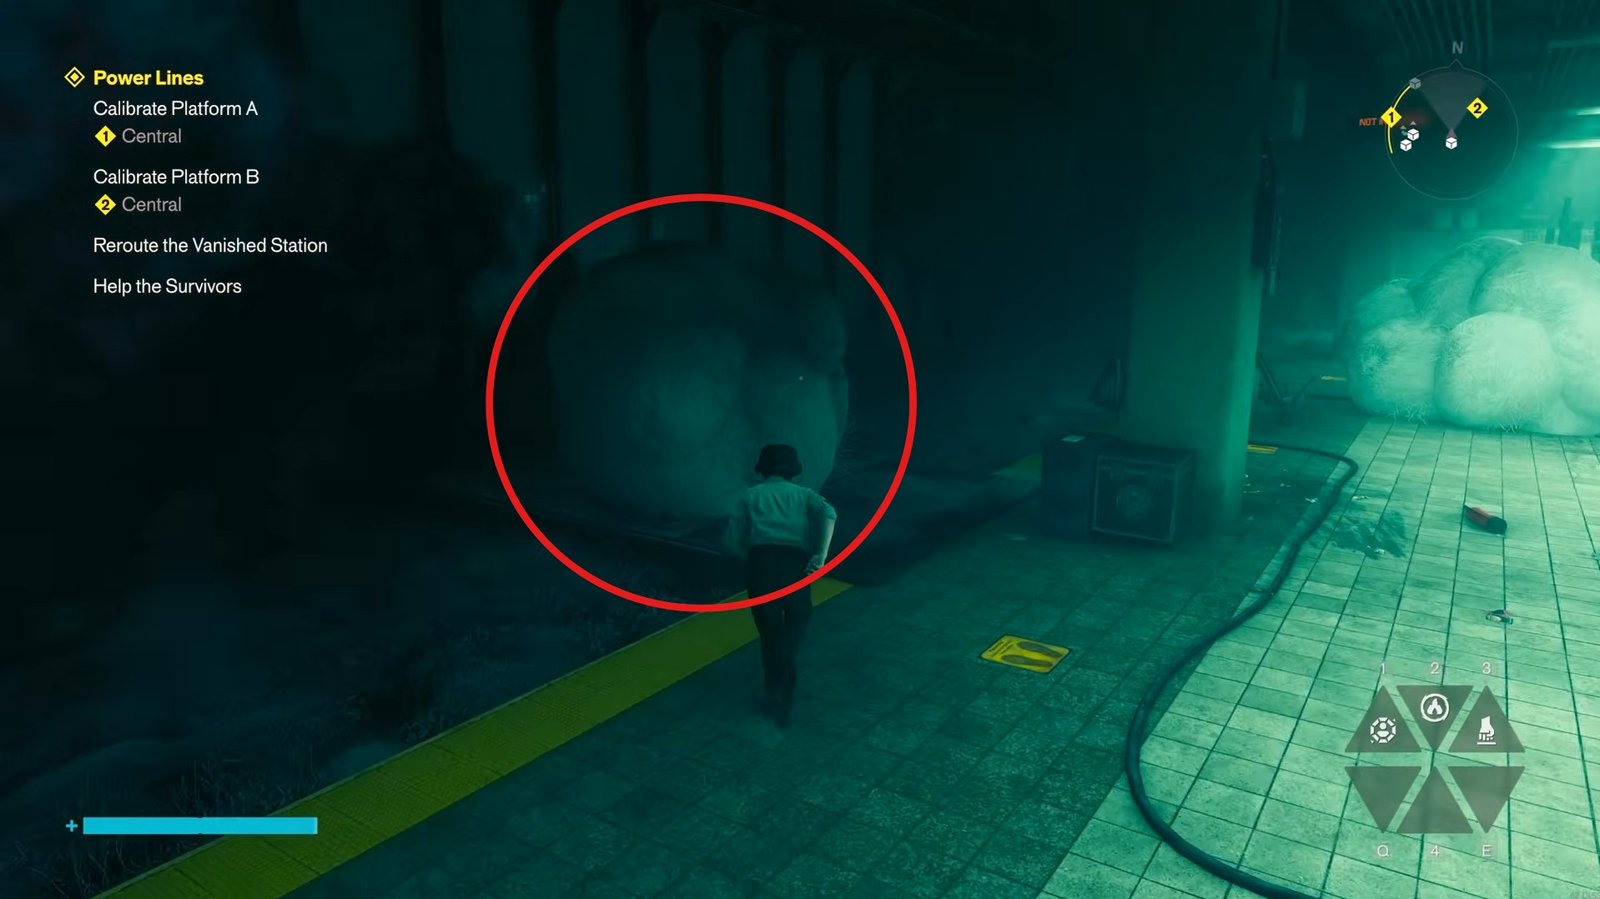
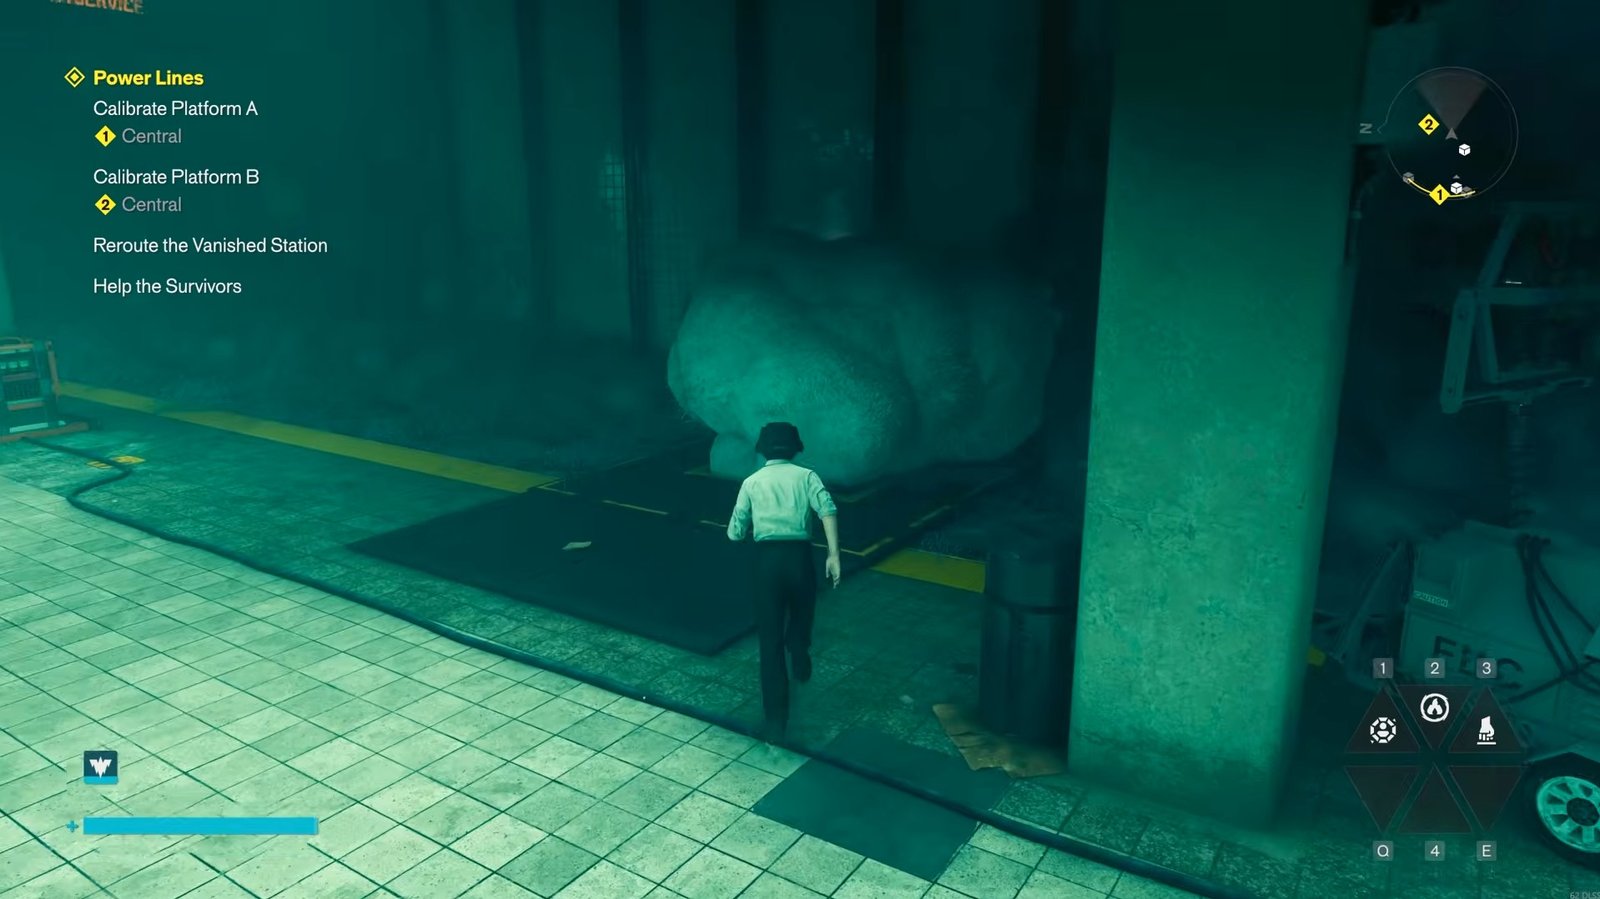
Now place the collected electricity node into one of the slots to the right where the mould cloud was before. Next, return upstairs and as soon as you reach the area, turn to the right, and you will see the room where the survivors are trapped.
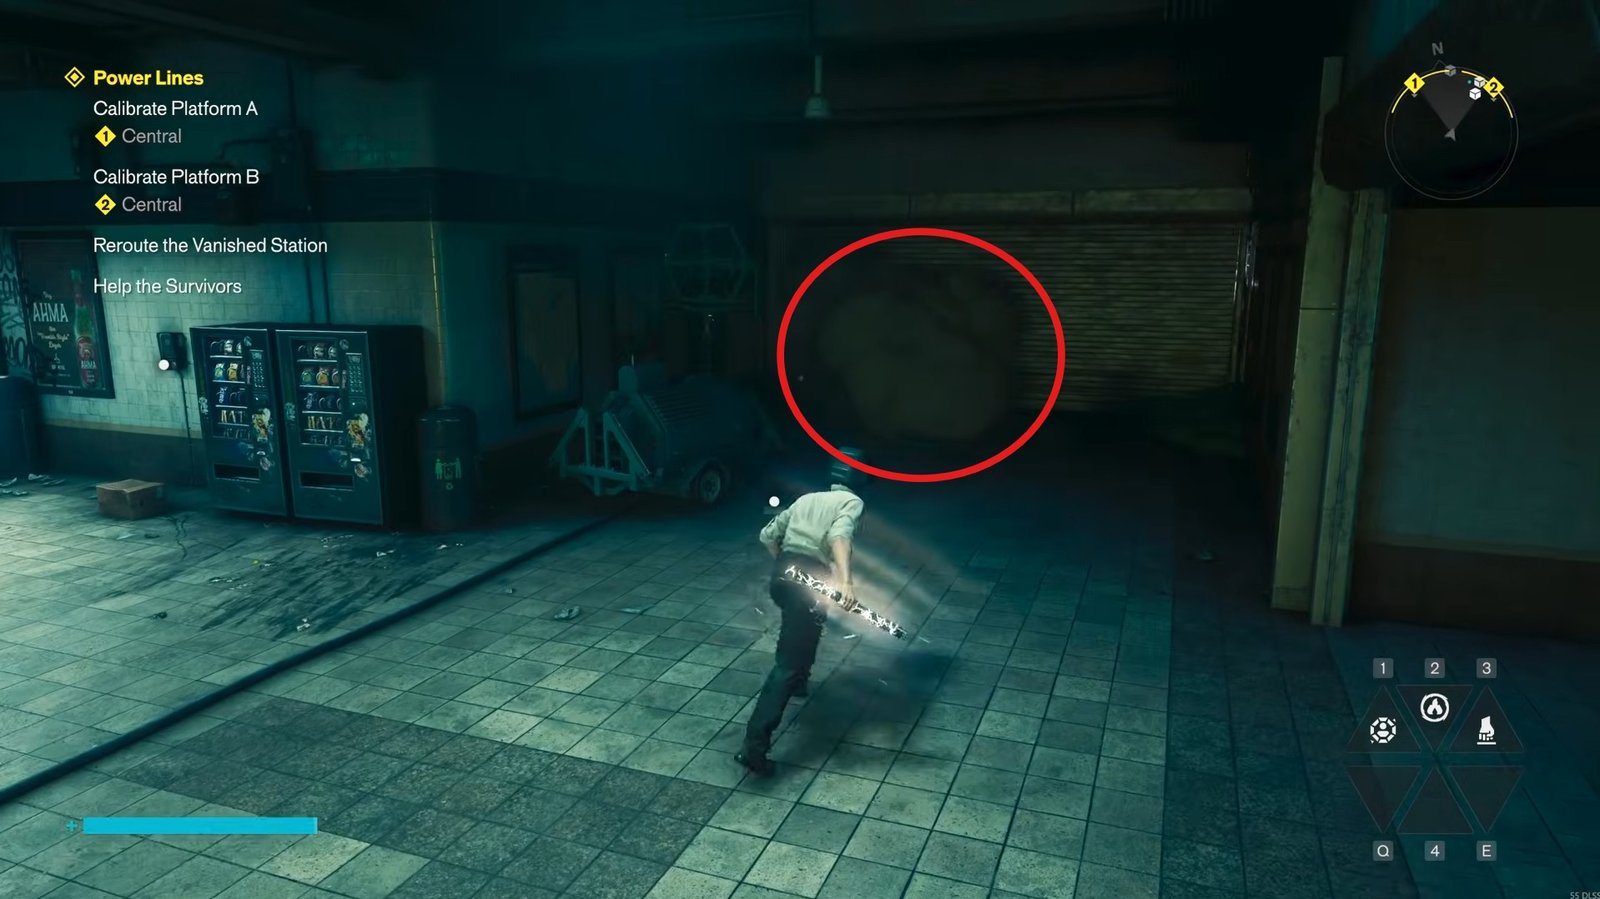
Take the power node from the nearby connection to the left, clear the mould blocking the doorway, and use the power to open it. Speak with the survivors once you can reach them.
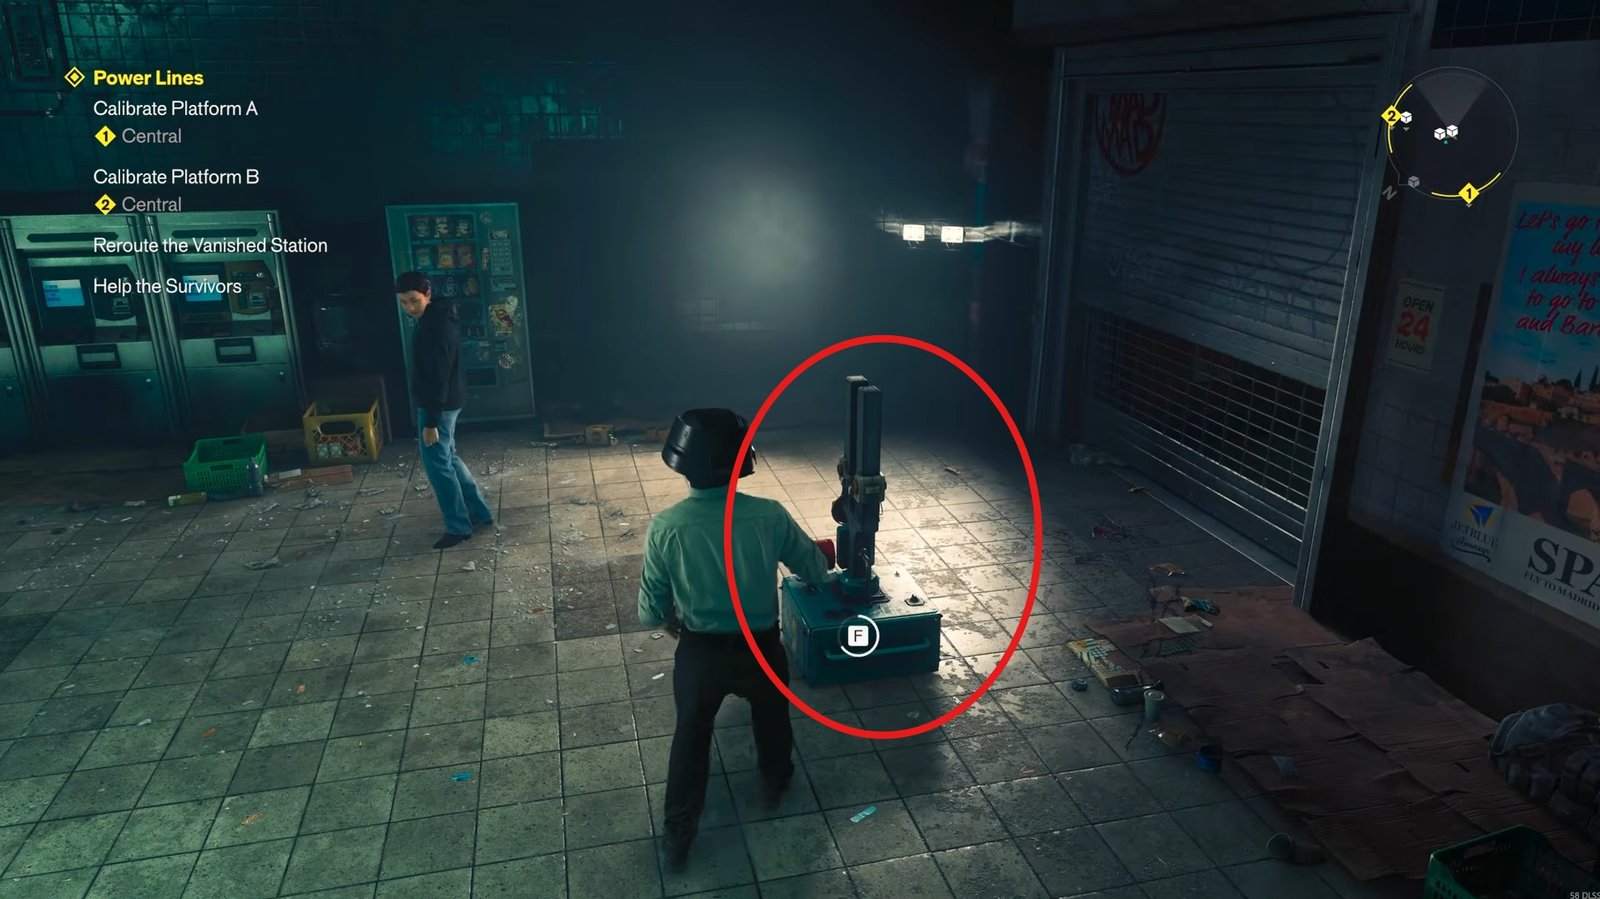
You will see there are two available nodes in the room; carry them back downstairs and place them into the lower slot to the right that is empty where the cloud mould was that you destroyed. When both nodes are correctly positioned, activate the machine to clear the platform and move to the A side.
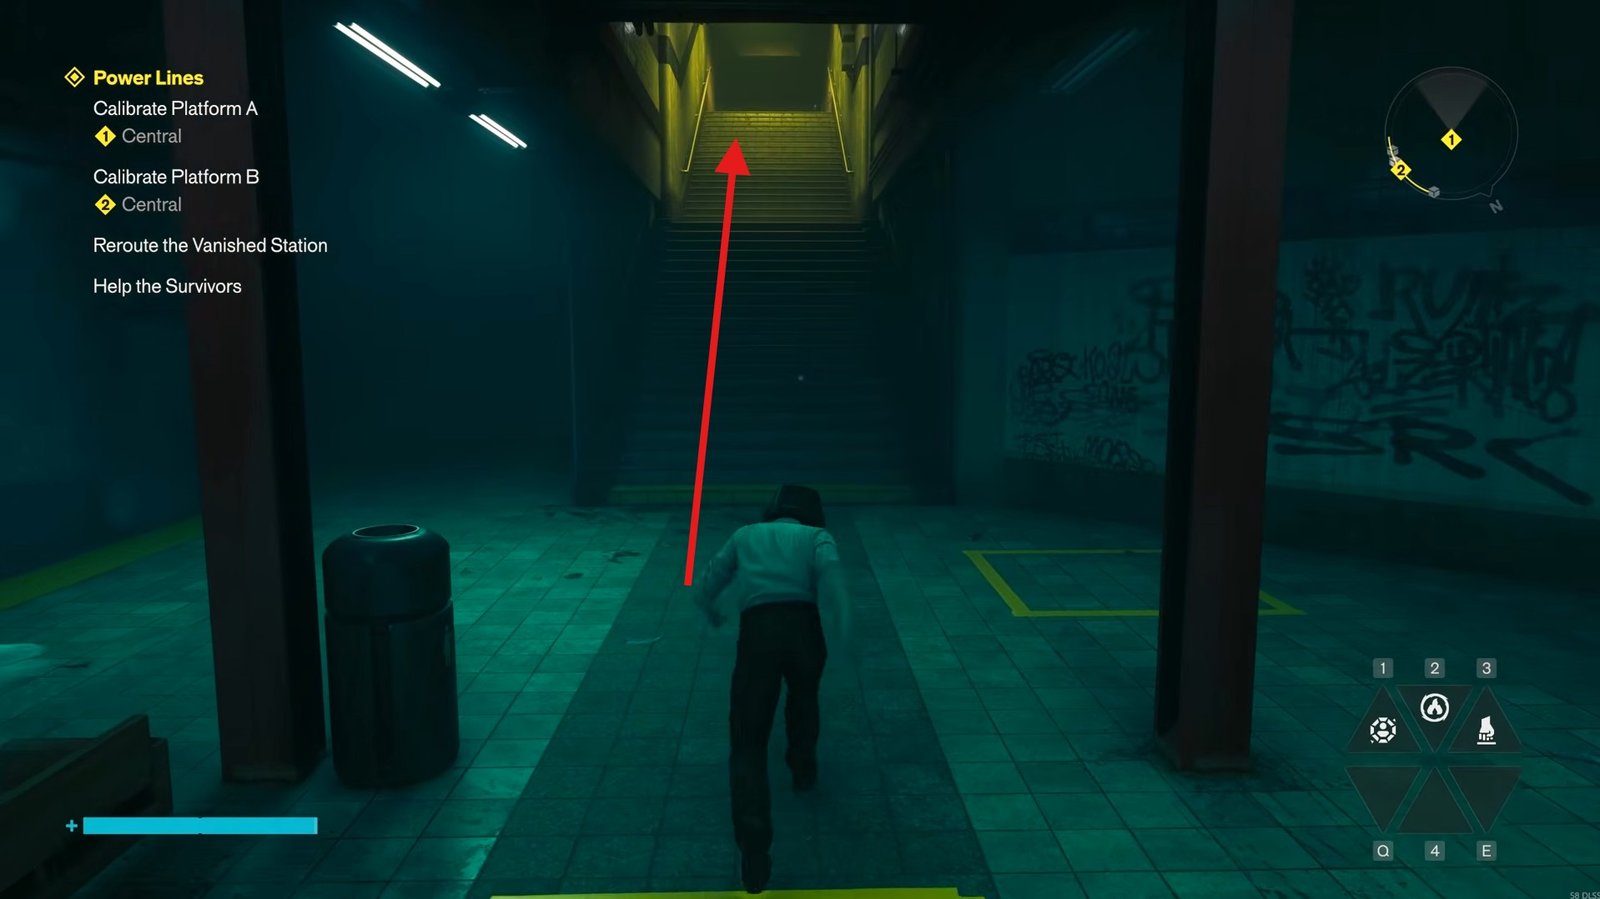
From platform A, turn around and go up the stairs. You’ll reach a gate that was previously inaccessible from your side.
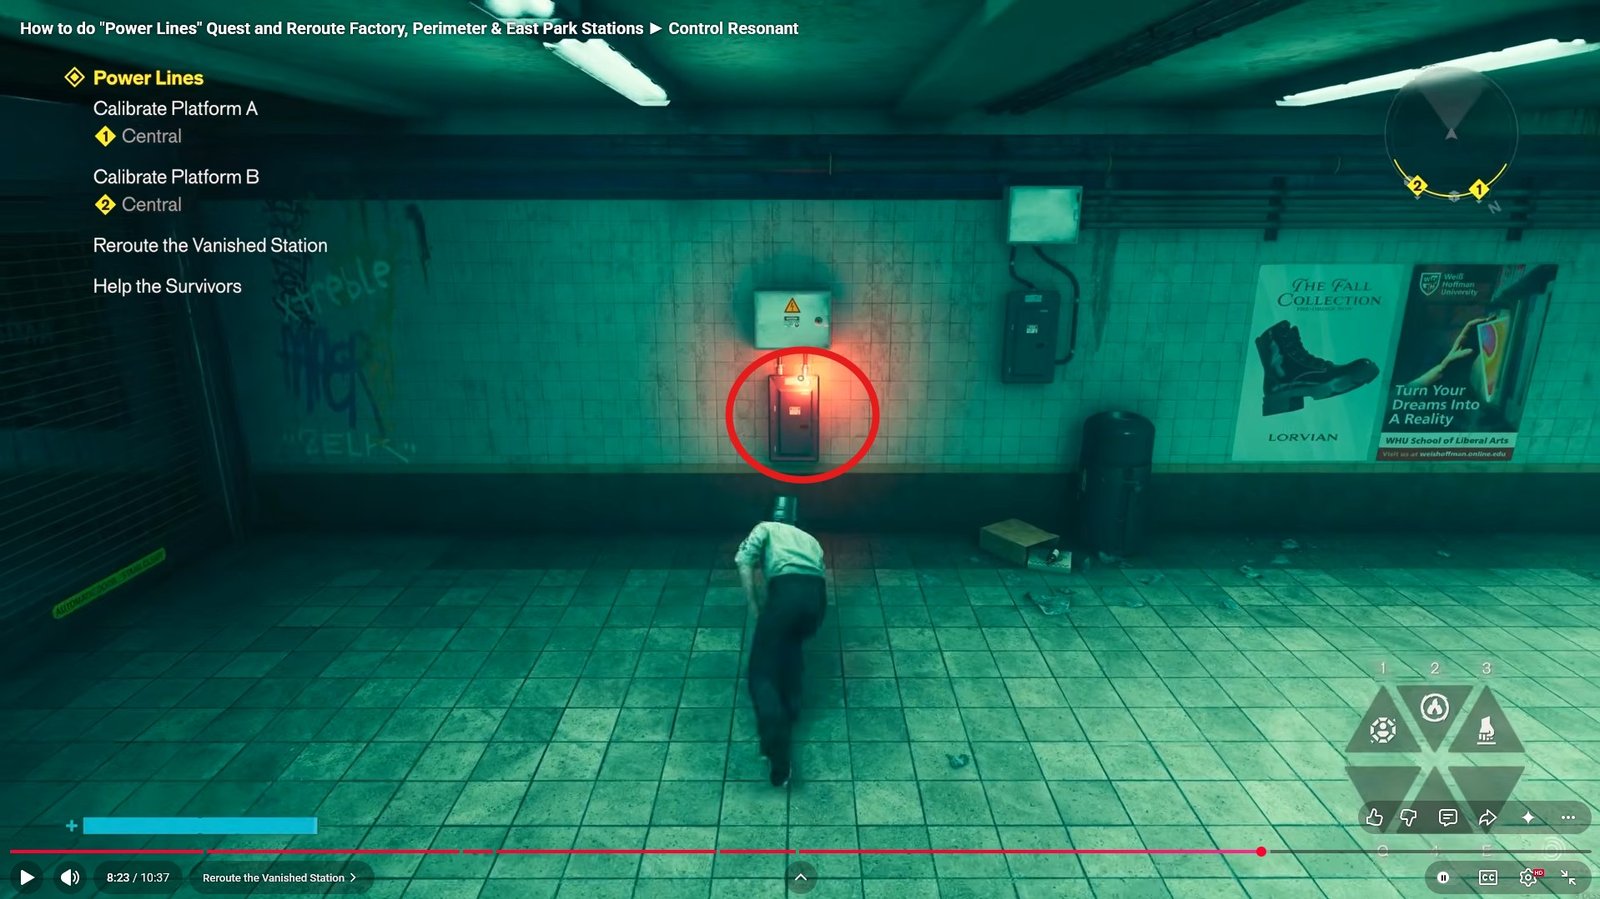
Destroy the obstruction to open the route, enter the area and take a left turn to go to enter the room where the survivors are and collect the remaining node.
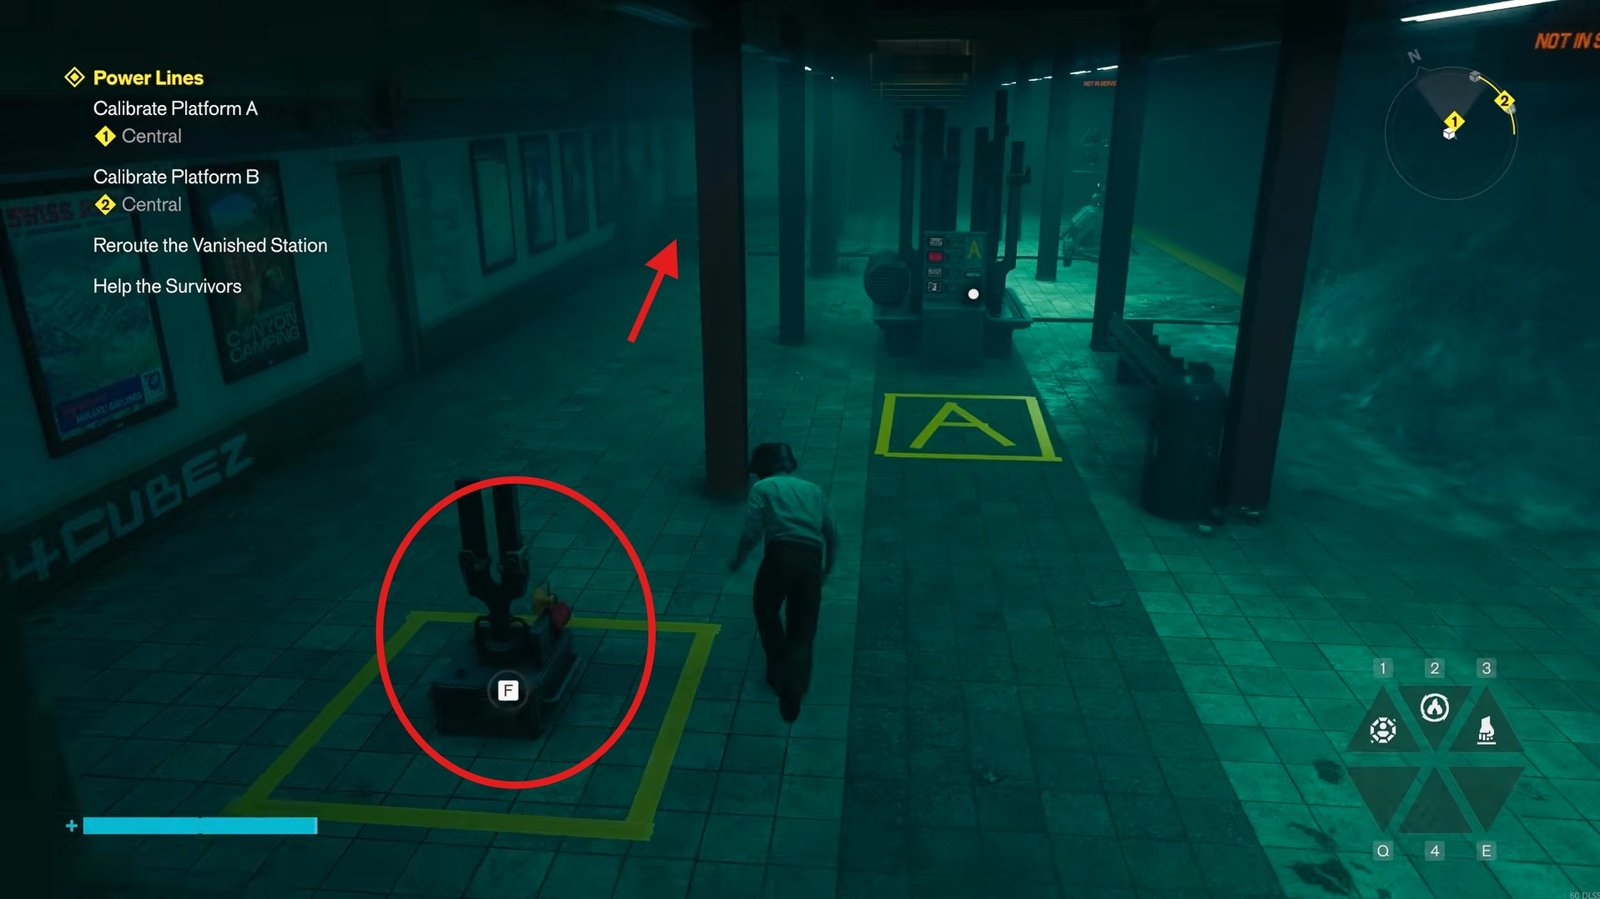
Carry it back toward platform A and place it in the slot on the left. There will also be a connection to the left ahead that needs power to open a doorway above, so go upstairs and retrieve power from the door node you no longer need.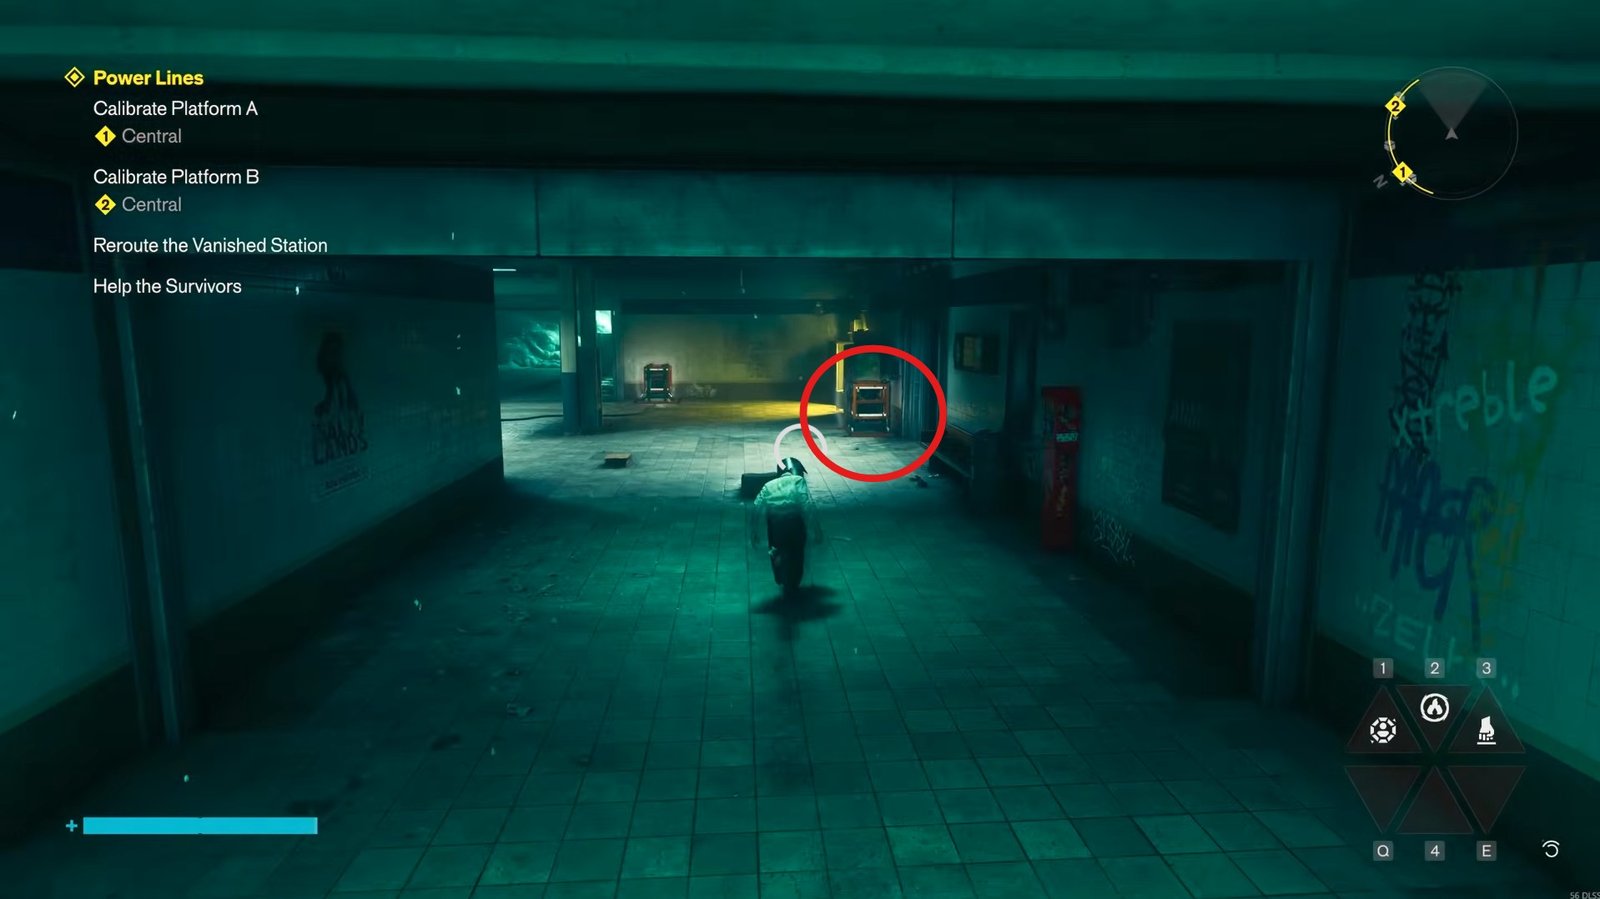
Use the power to activate the connection. This causes a mould to grow over the empty slot, but you can manage it by moving the power source back upstairs afterward. Go upstairs and take a right, collect the power slot, and go back and place it temporarily.
Now, from the power node where you first used the slot, grab that power source and place it back upstairs where it belongs so the mould cloud stops regrowing.
Return to the lower slot downstairs, break the mould cloud, and position the device correctly in the yellow slot where the mould cloud was growing. Activate the machine to calibrate platform A.
Once that succeeds, head upstairs and return to platform B. The devices there should still be aligned correctly, so simply activate the calibration machine again. This second calibration should complete the platform setup.
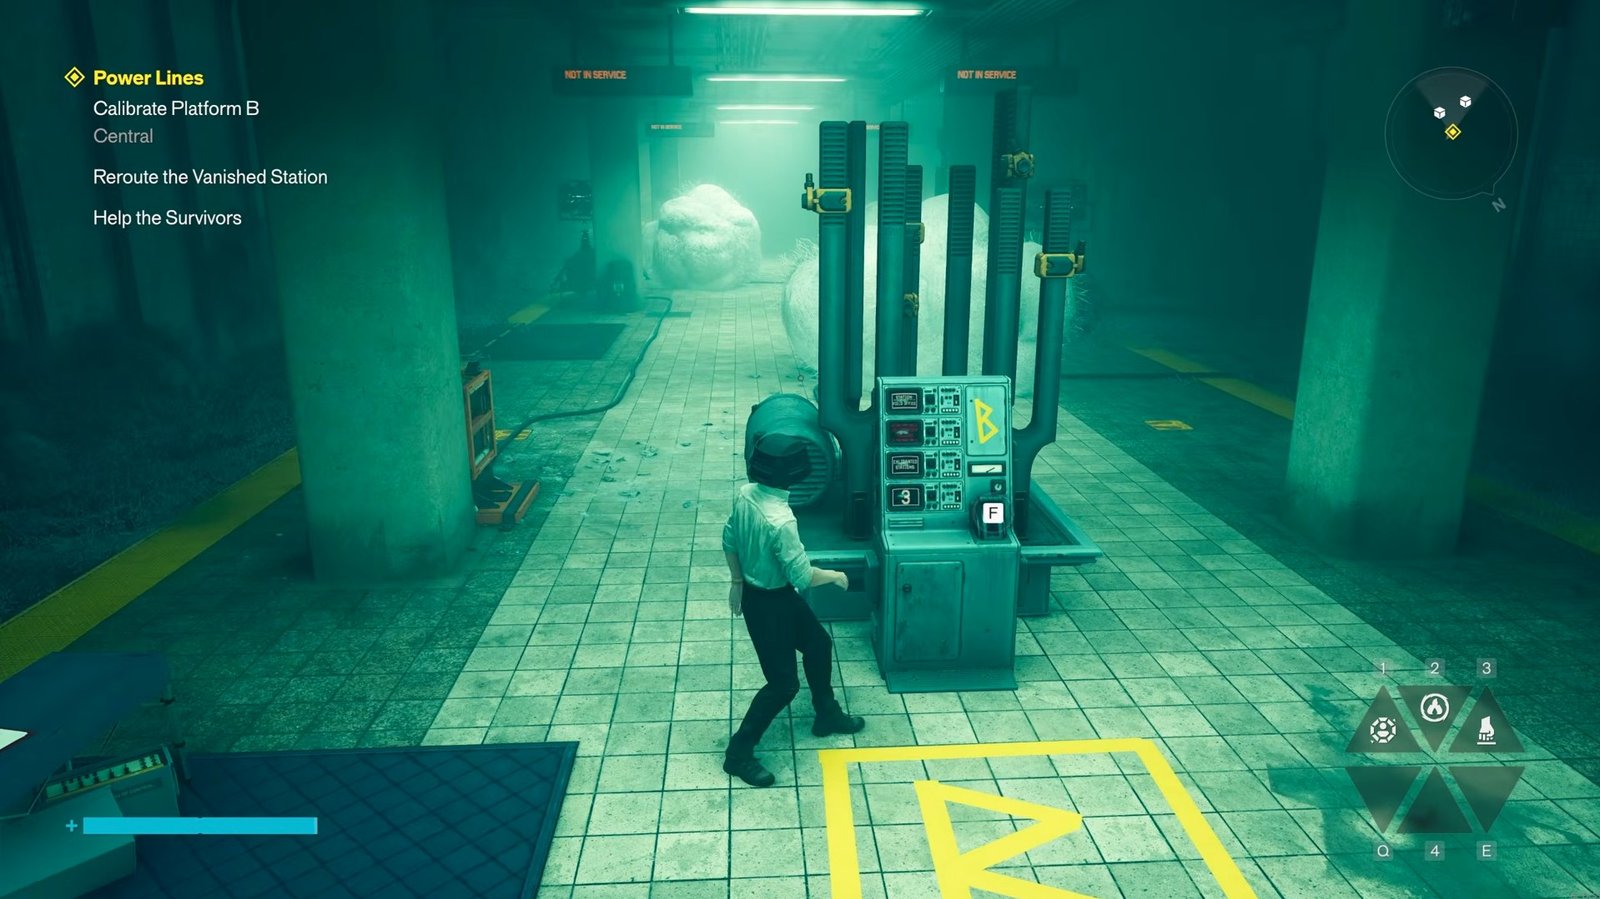
After the final calibration, prepare for another enemy encounter and defeat the enemies that appear.
When the area is clear, return upstairs to the survivor’s room and speak with Dr. Flores and finish the conversation with her to complete the Power Lines quest.
That is all for this guide. Additional Control Resonant guides are linked below:
- Where to Find Cash Register Code in Urban Fresh Mart (West Incursion Zone) in Control Resonant
- How to Open the Secret Large Chest in the Atlantis Cafe Downtown in Control Resonant
- Where to Find the Subwoofer in The Complete Set in Control Resonant – Complete the Ritual
- How to Reach and Investigate the Theatre in West Incursion Zone in Control Resonant
- How to Complete the Painting Lights Light Puzzle at the Art Gallery in Evacuation Zone in Control Resonant
- How to Get Back in The Last Taxi in Evacuation Zone in Control Resonant
- How to Get Back in The Last Taxi in West Incursion Zone in Control Resonant
This concludes our Control Resonant guide on how you can complete the Power Lines Quest Guide. If you want to add anything to this guide, feel free to use the comment section below.