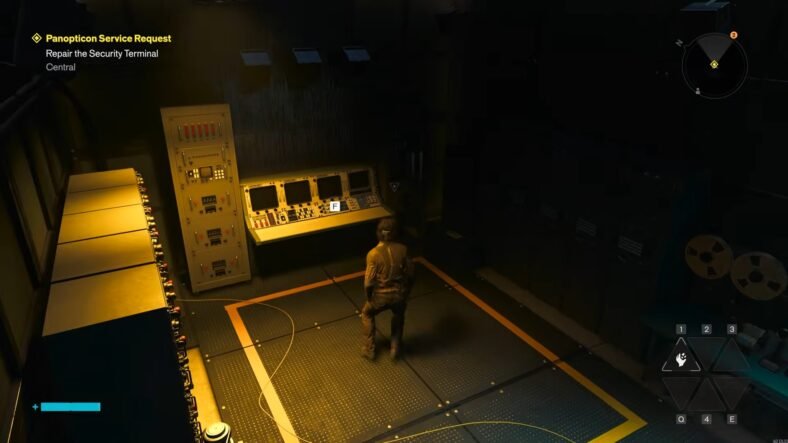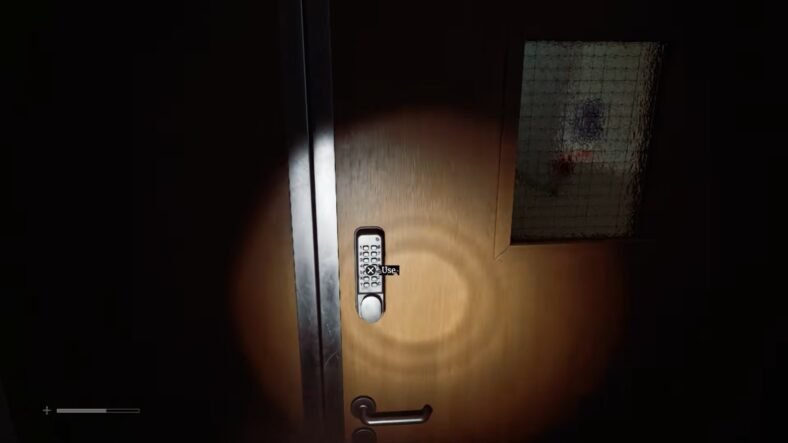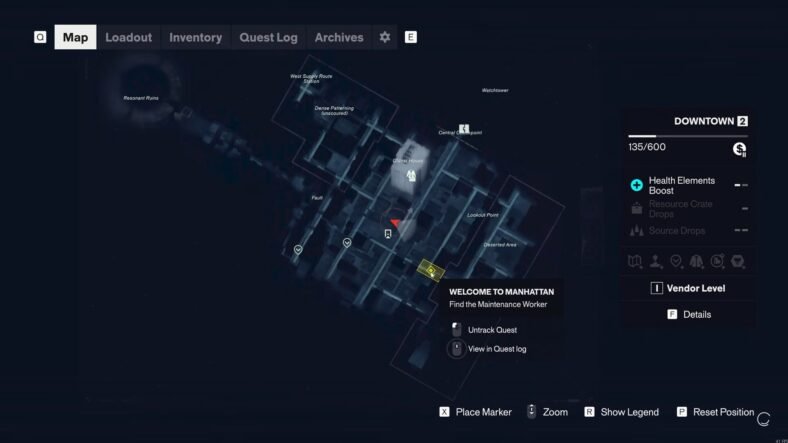
This Control Resonant guide details how you can move the charge to the Central Checkpoint in the Welcome to Manhattan quest in the game. The guide explains how to complete the first part of the Welcome to Manhattan quest, including finding the instructions, moving the charge through the required batteries, and reaching the large building at the end of the route. You need to transfer the charge between several points in the correct order as you move through the area.
How to Move the Charge to Central Checkpoint
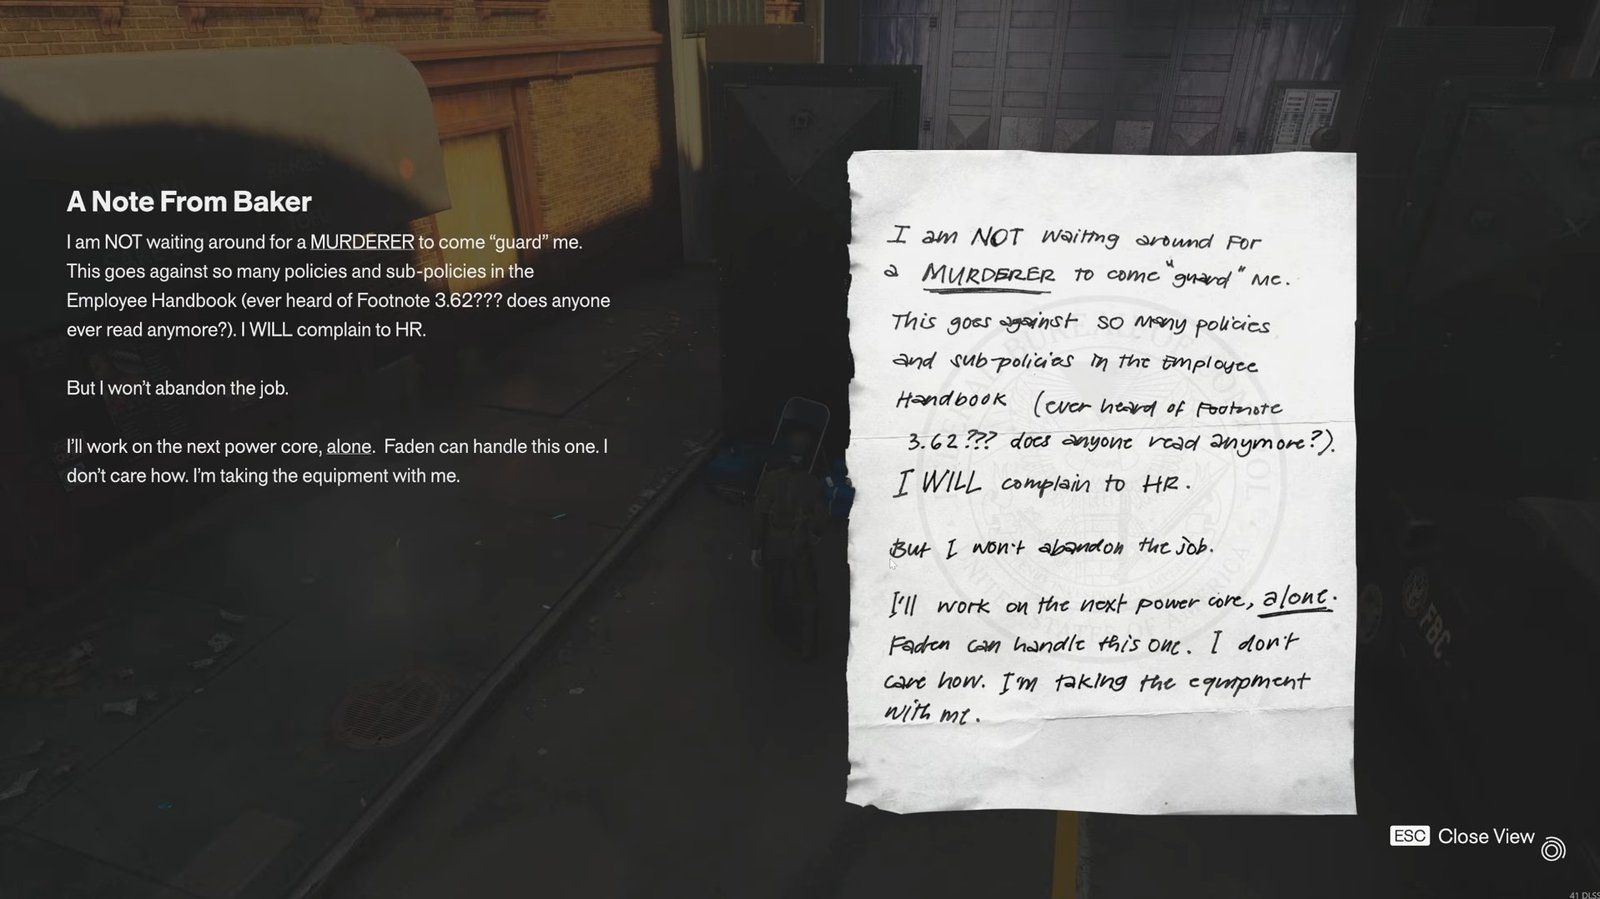
When you arrive at the required location, look for the letter left behind by the person who doesn’t want to work with you; it explains that you will have to handle the task yourself.
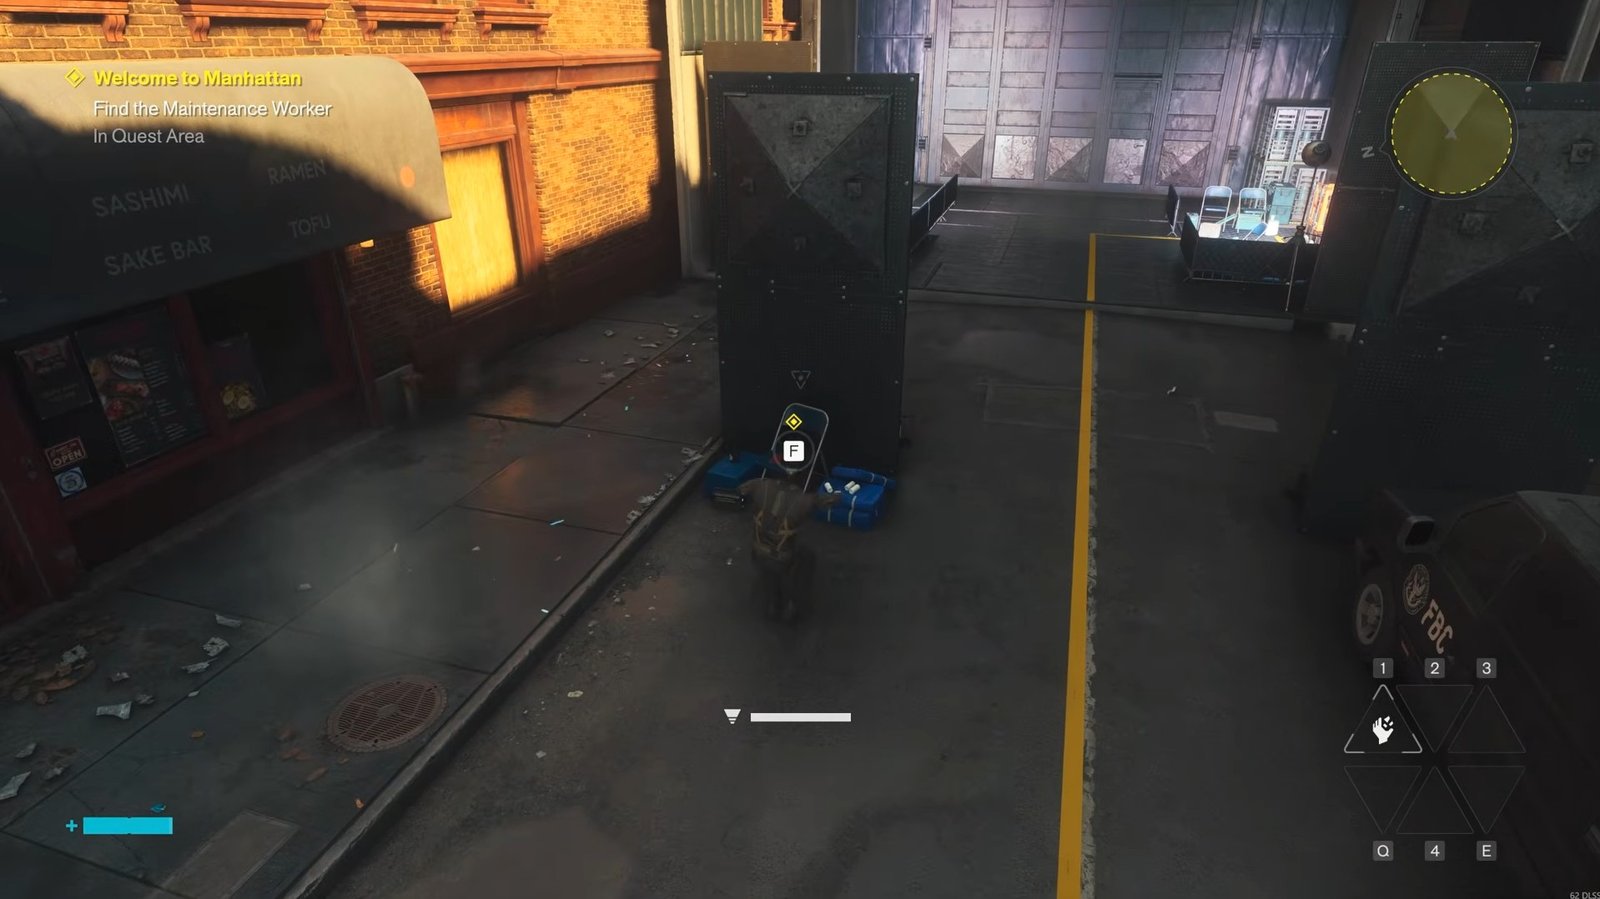
Nearby, you can also find a set of instructions. Read them to update the quest and receive the objective to move the charge to the Central Checkpoint.
Begin by interacting with the Active Power Core charging point. Hit it once to charge your weapon, then move toward the large pillar.
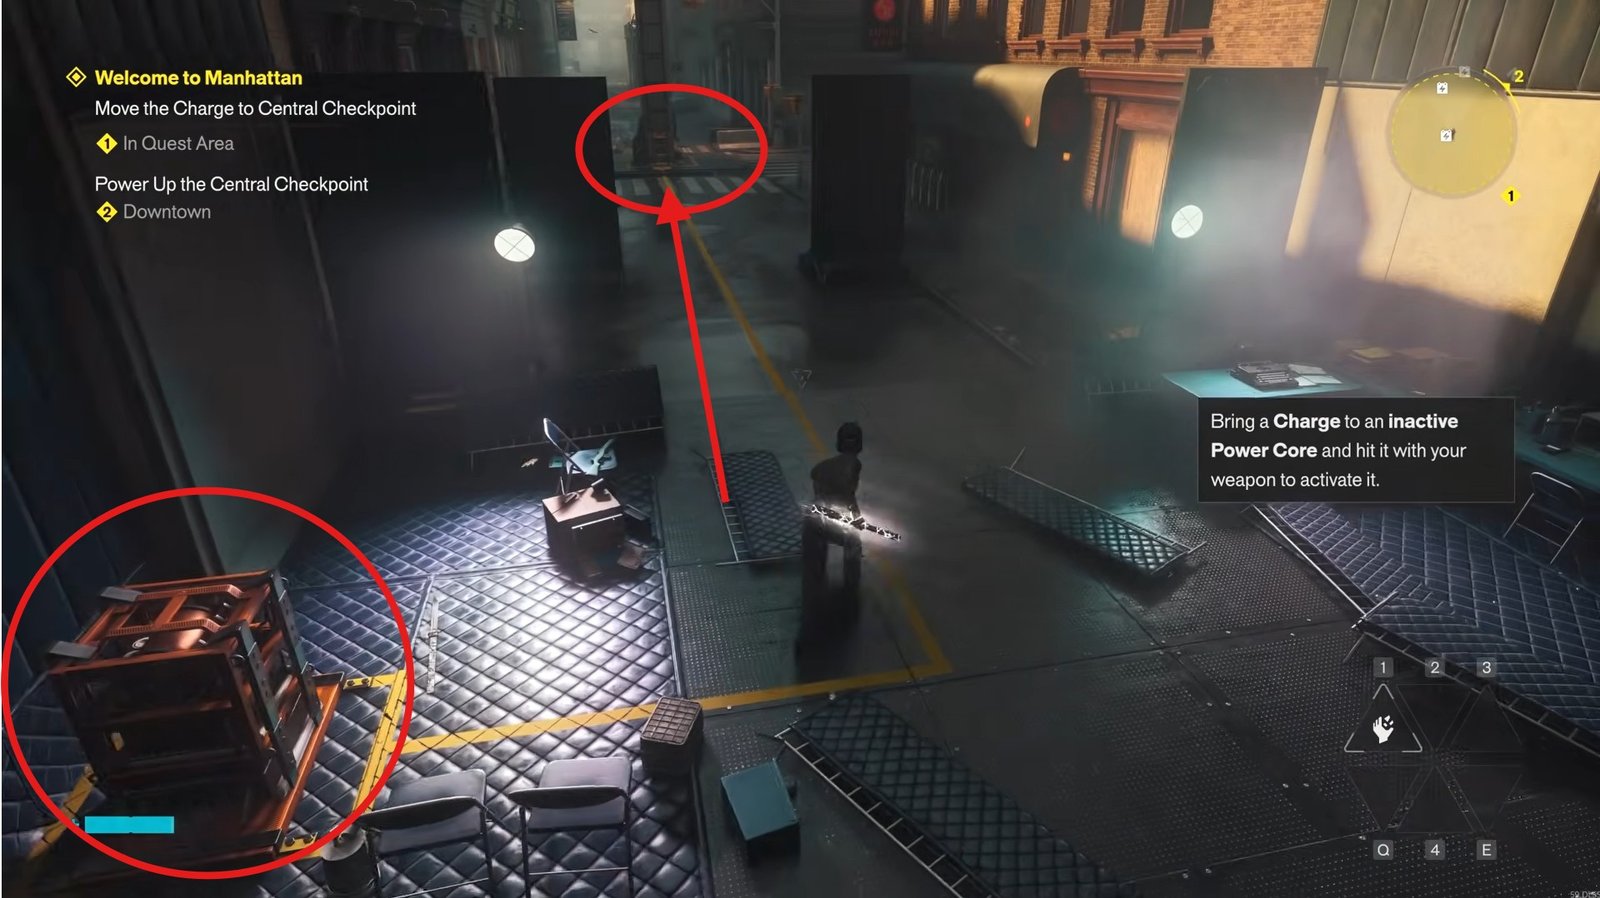
At the pillar, transfer the charge to the battery there. Hit the charging point again so you can pick up another charge, then take a right from the pillar and keep moving forward until you can turn left.
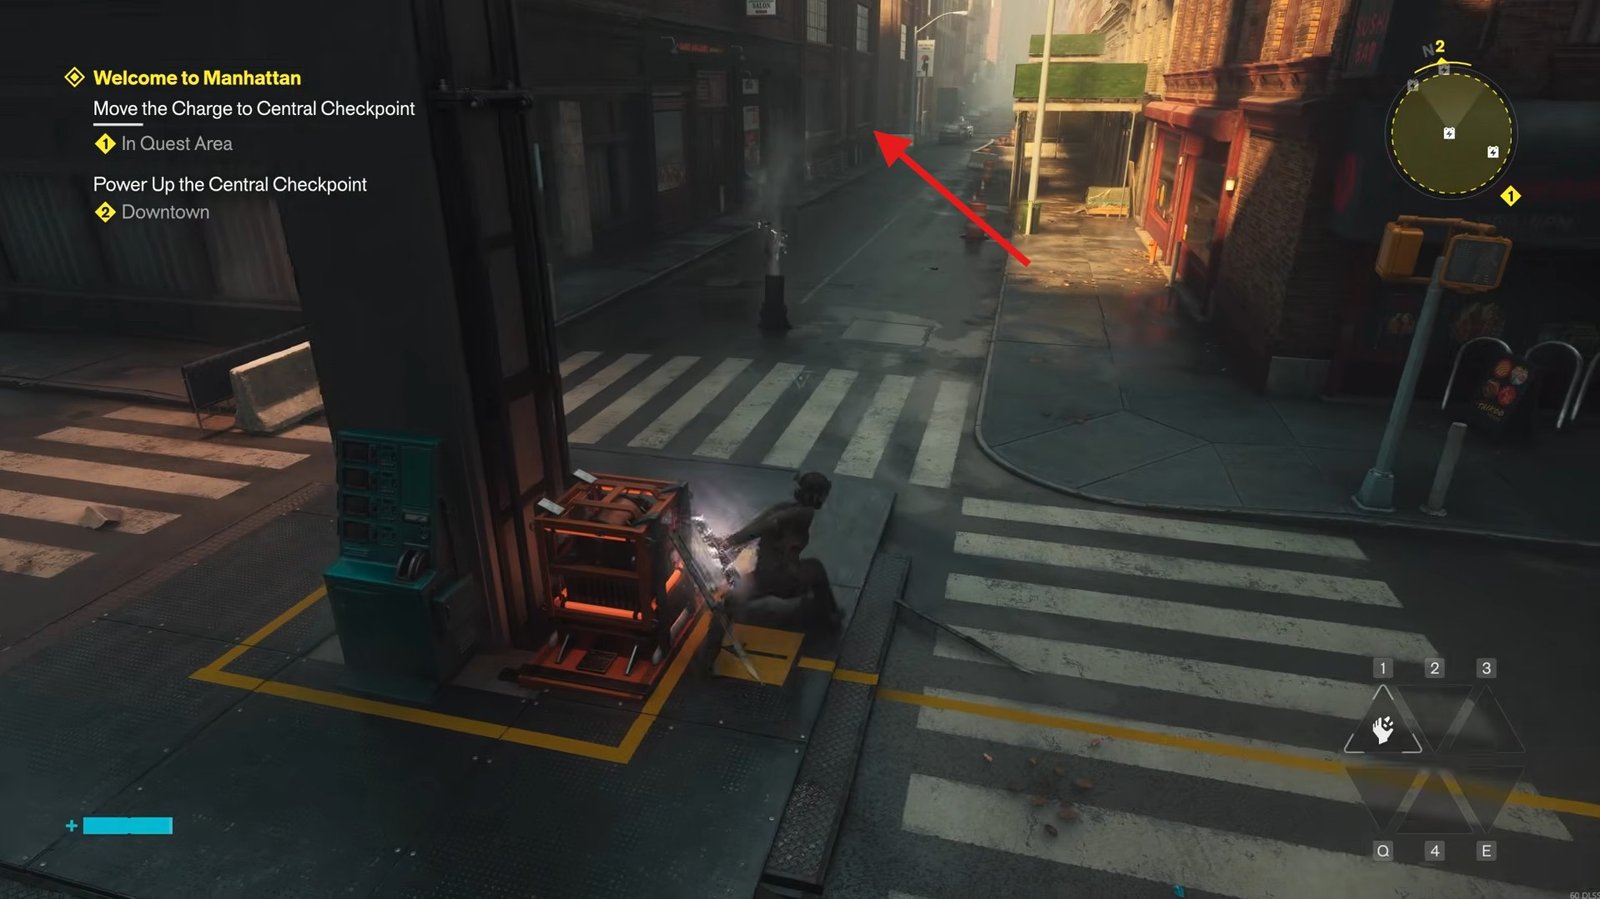
You will find another charging point positioned in front of a garage door.
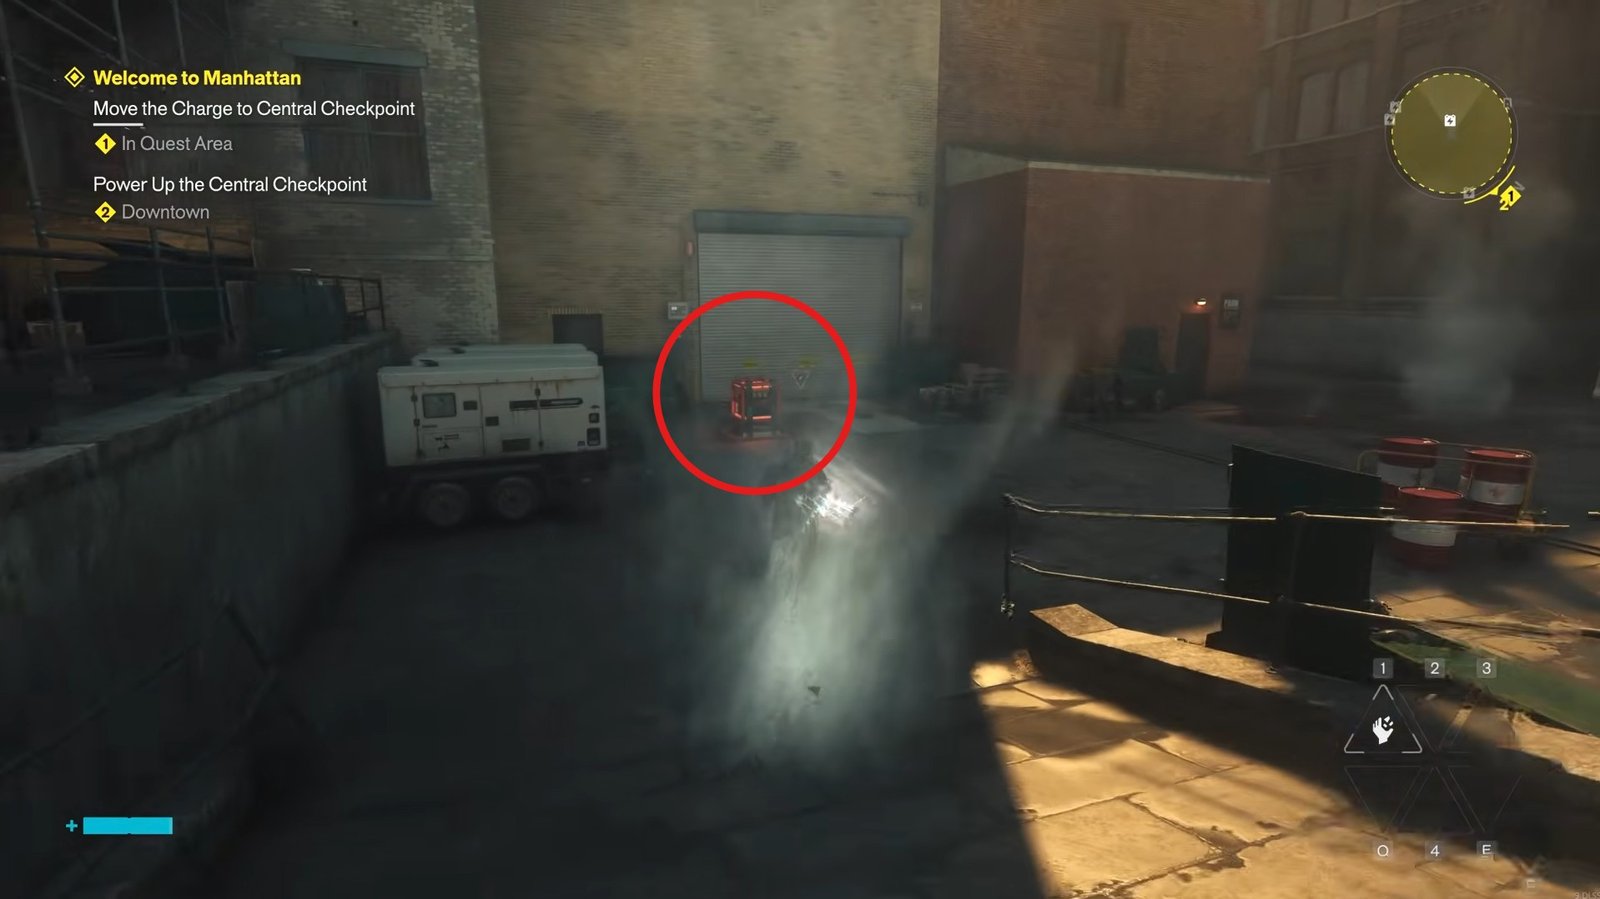
Charge it to open the garage. You can enter the newly accessible area to loot the chest and interact with the body. After checking the area, take another charge from the charging point and continue onward.
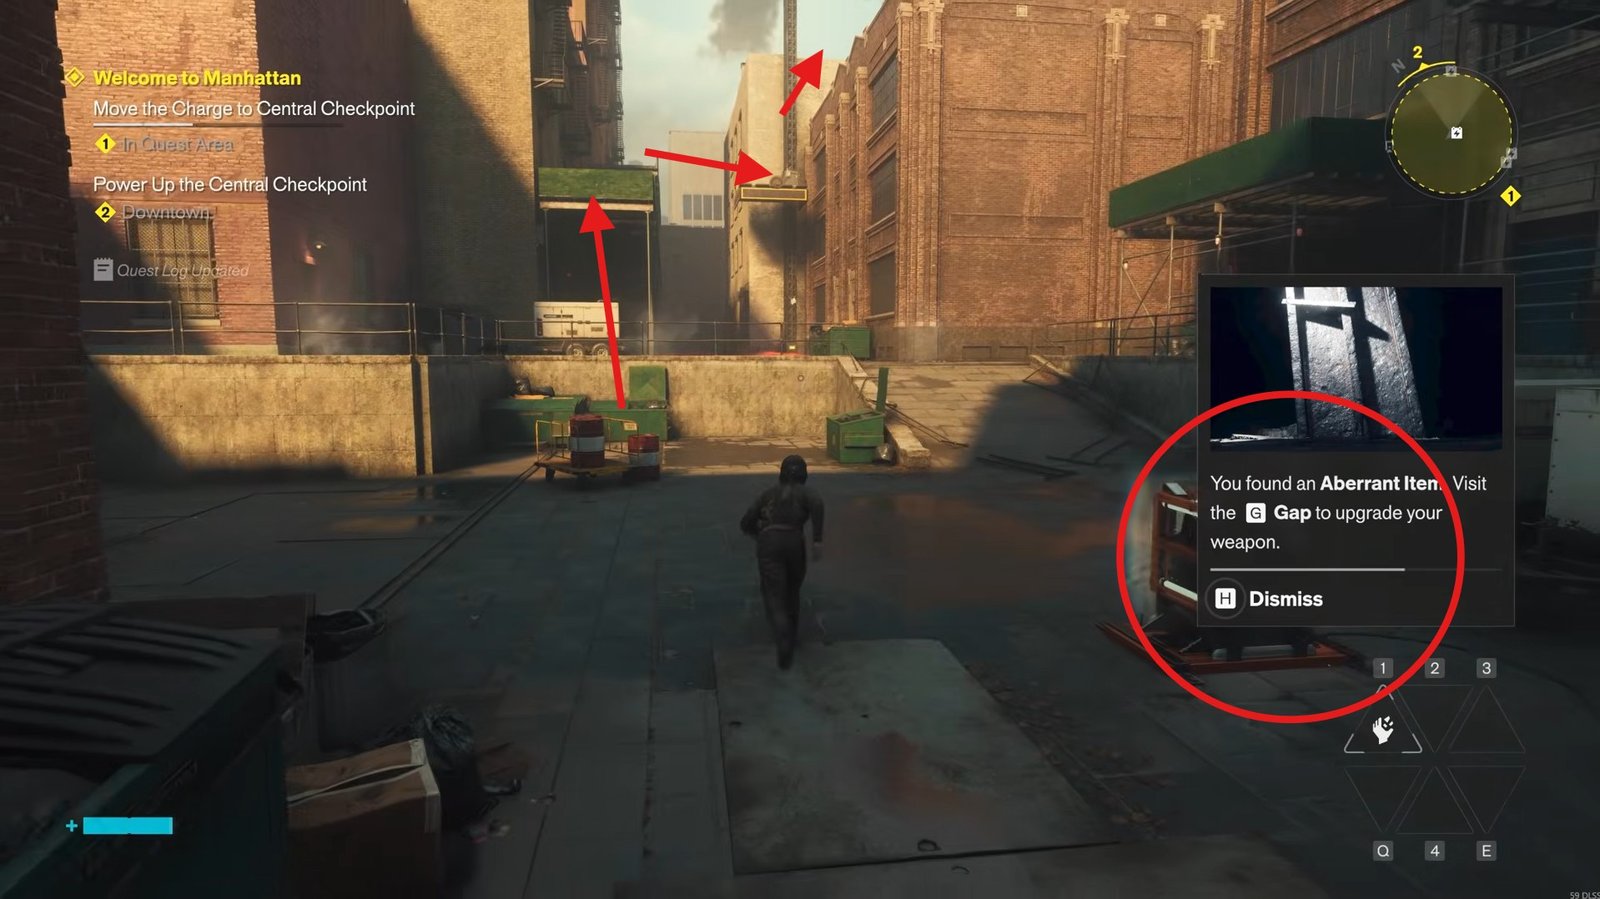
With the charge, move toward the platforms ahead. Go up onto the first platform, then continue to the higher platform and make your way onto the rooftop. There, you will find another charging point.
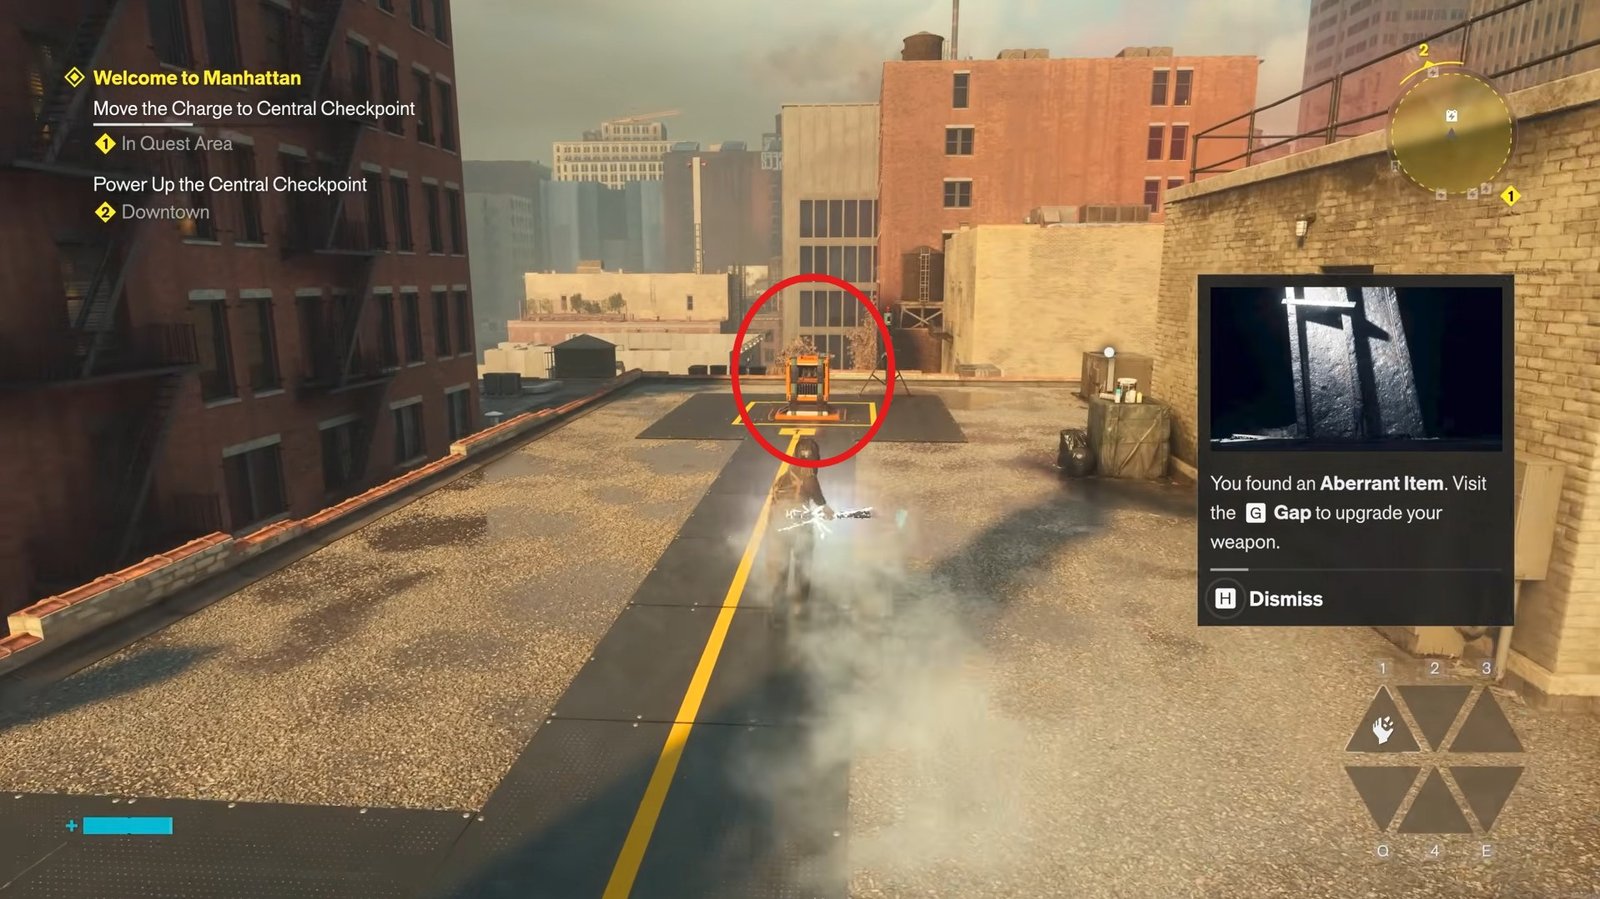
Transfer the charge to it, then hit it again so you can collect another charge. From there, move forward, going from rooftop to rooftop until you reach the white concrete enclosed area.
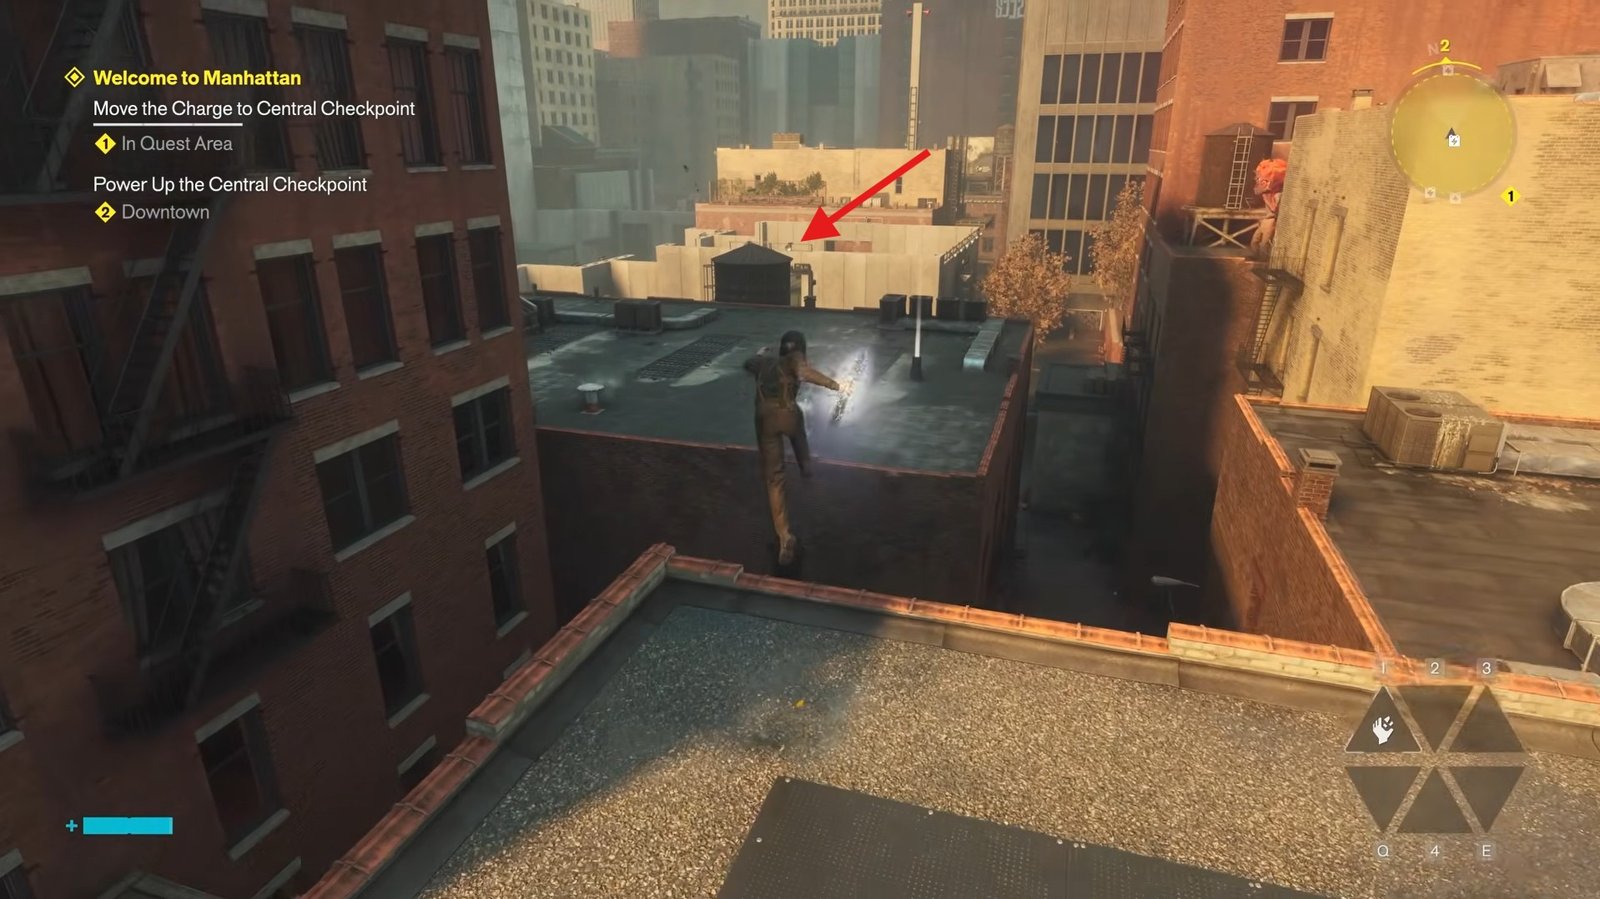
Inside the white concrete section, locate the next battery. Interact with it and hit it again to charge it up.
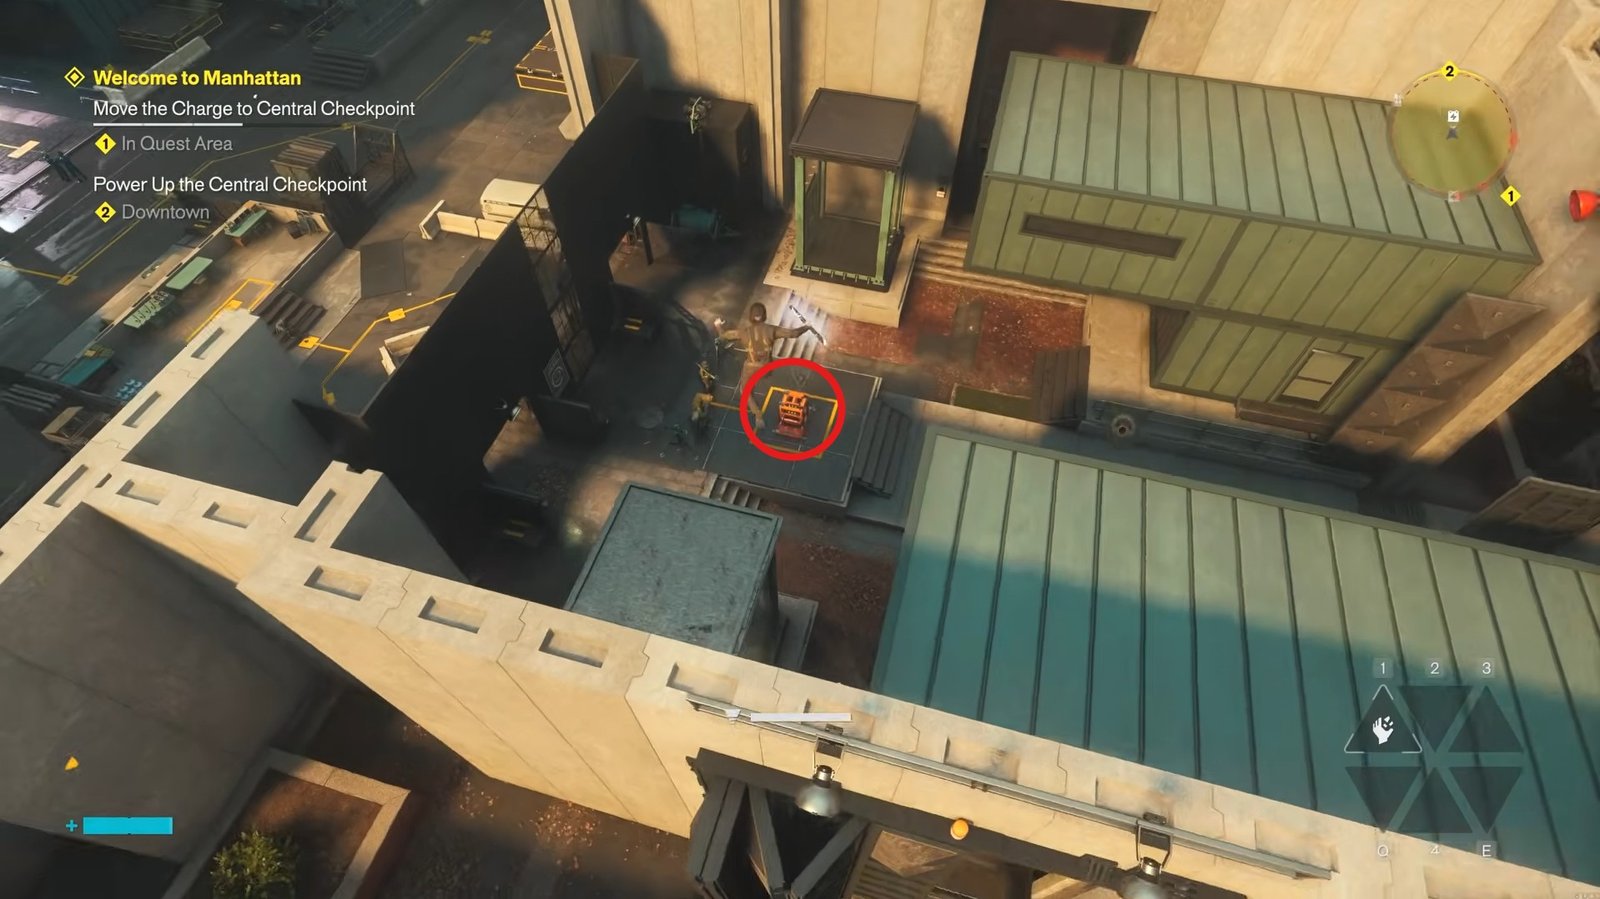
Once you’ve collected the charge, go through a door to your left then take a right to take it toward the main building.
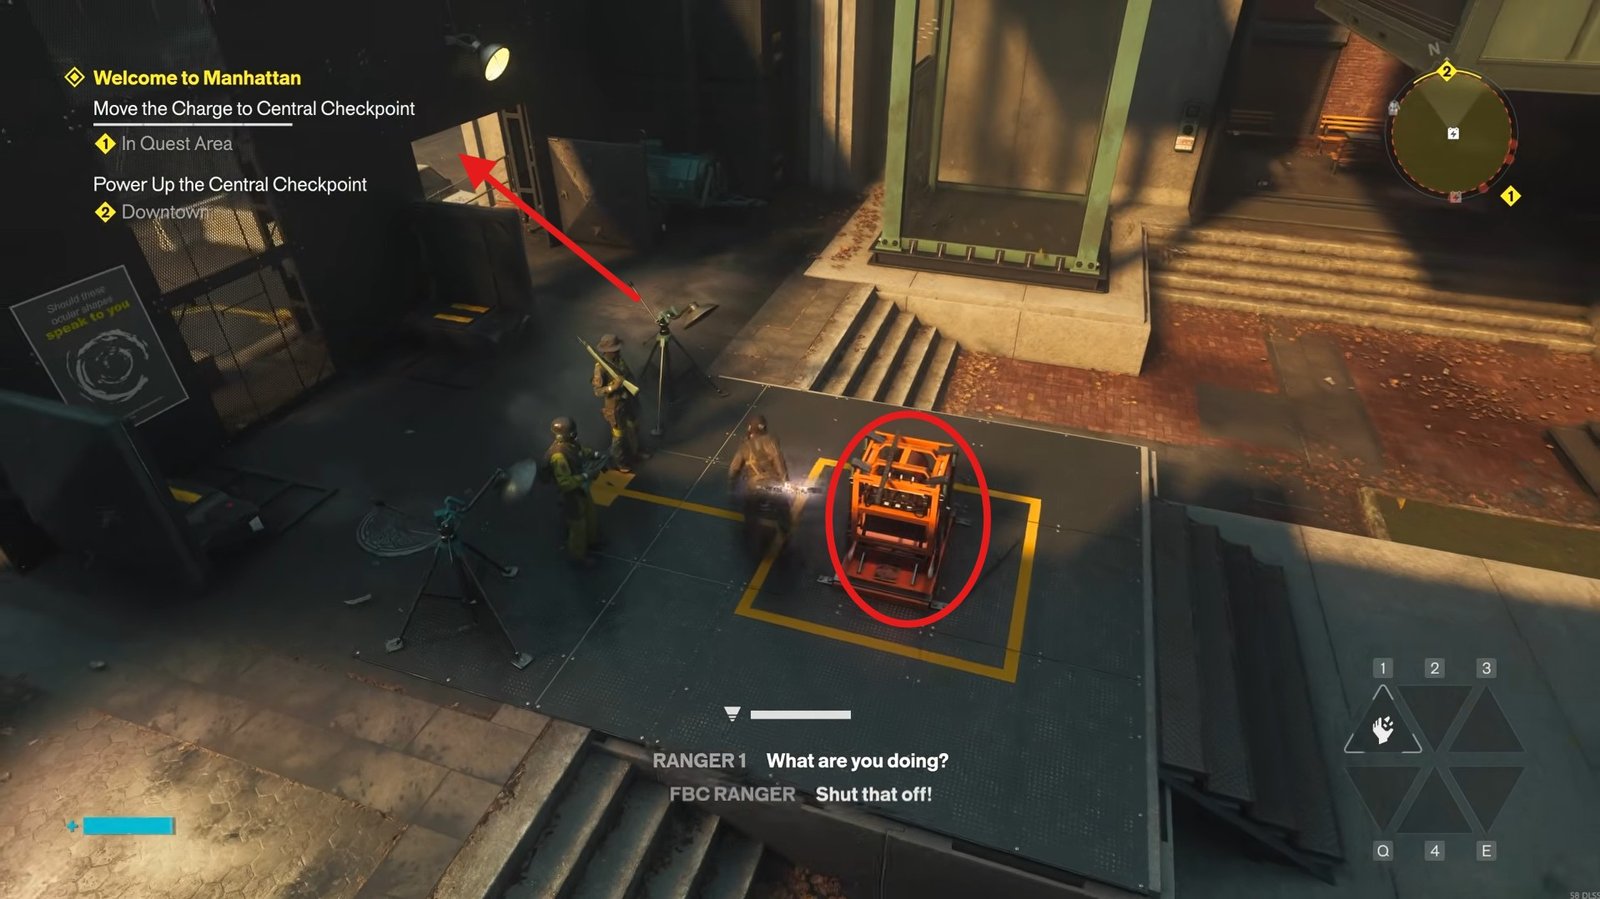
Continue moving forward along the route until you reach the battery positioned directly in front of the large building.
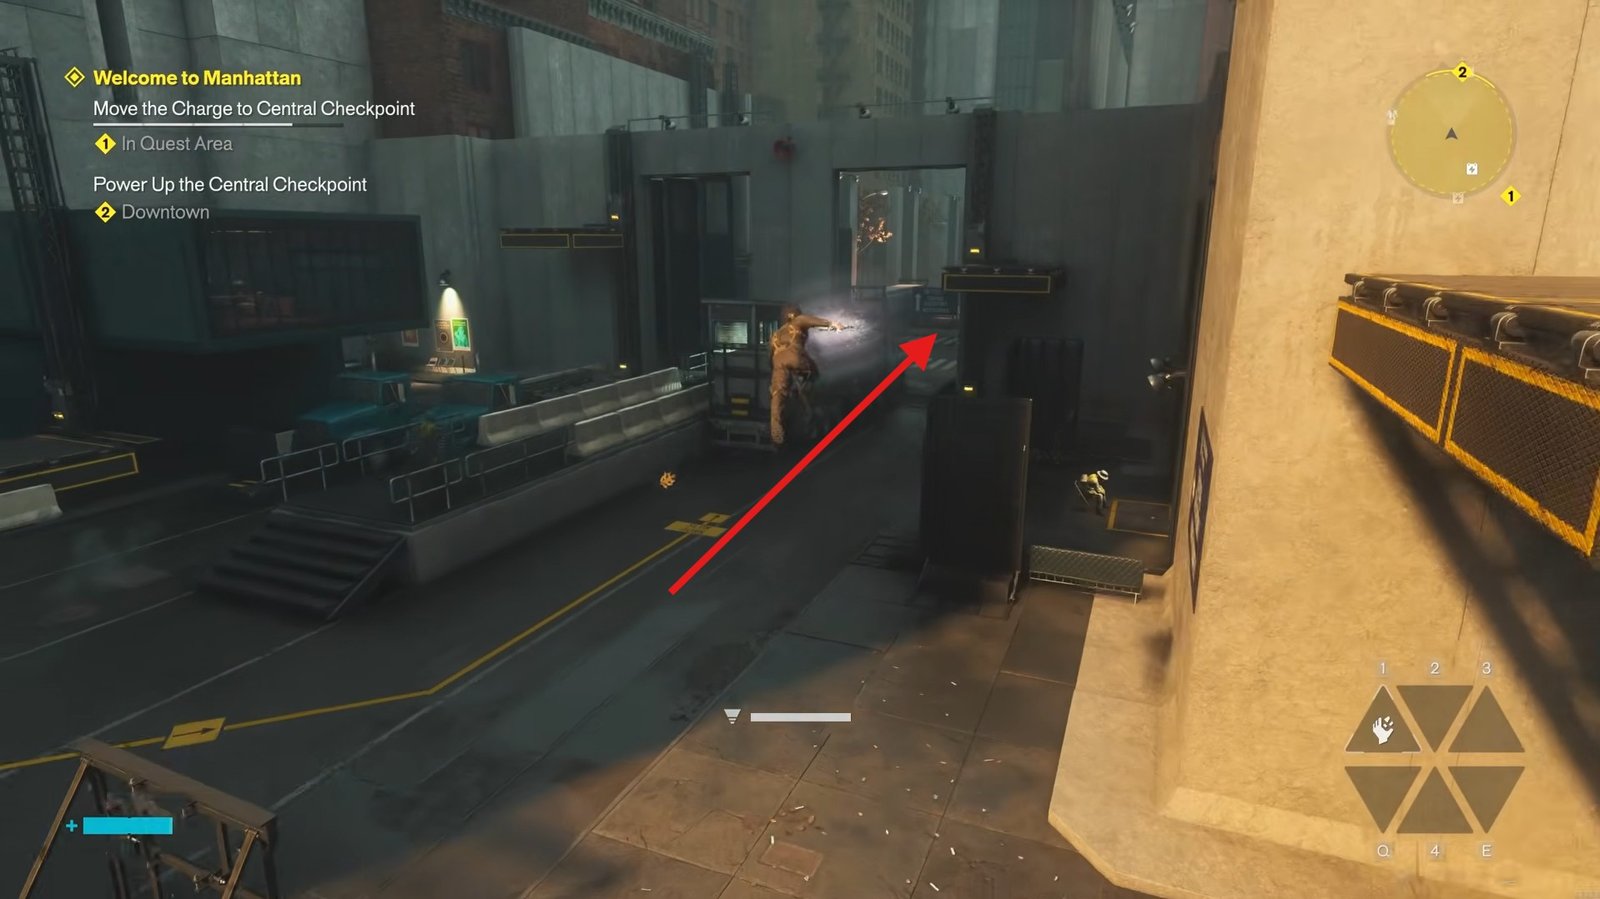
Charge this final battery. After doing so, prepare for combat as enemies will appear in this area.
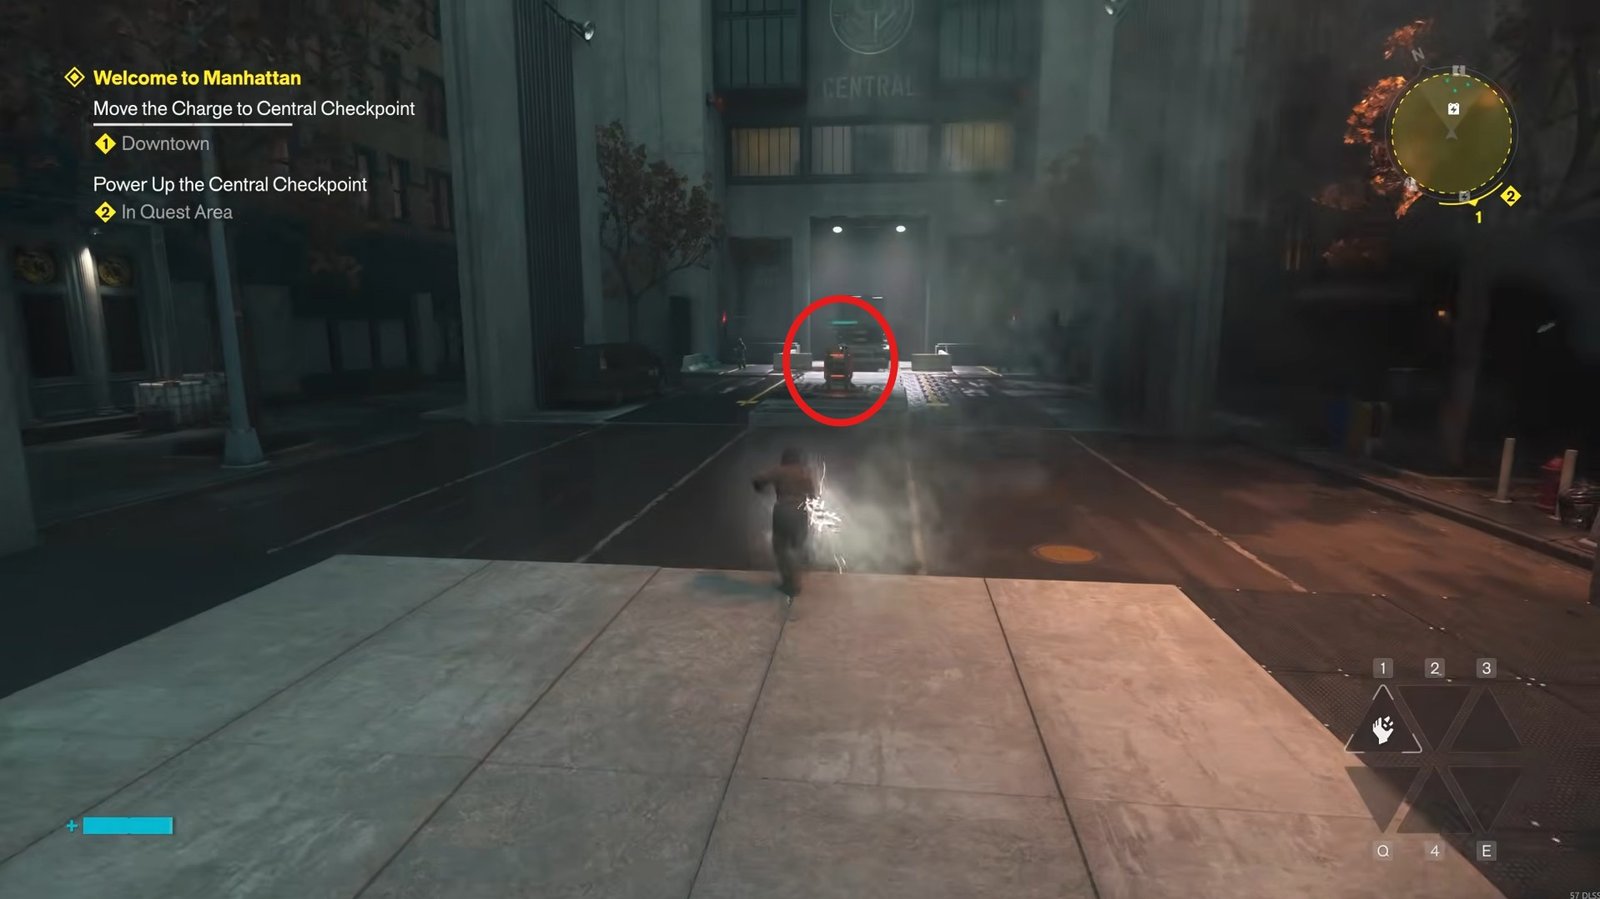
This completes the charge-moving section of the Welcome to Manhattan quest and allows you to continue from the main building.
That is all for this guide. Additional Control Resonant guides are linked below:
This concludes our Control Resonant guide on how you can move the charge to the Central Checkpoint in the game. If you want to add anything to this guide, feel free to use the comment section below.