This Subnautica 2 Tadpole Guide shows how to unlock the Tadpole Vehicle as well as all of its upgrades. When you unlock the Tadpole in Subnautica 2, it helps you with your underwater exploration and makes it very easy to travel through deep areas. However, to unlock it, you need to scan three Tadpole fragments scattered around a deep wreck zone.
Tadpole Guide – Subnautica 2
Before heading out, make sure you have a Scanner because the fragments cannot be unlocked without scanning them. A Standard Oxygen Tank is also highly recommended since the search area goes beyond 90 meters deep and can reach around 125 meters.
Bringing an Air Bladder is extremely helpful because it allows you to quickly return to the surface when oxygen gets low. If you already have the Wave Makers, they will make the trip much faster since they work similarly to a Seaglide from the first Subnautica.
It is also best to attempt this search during the daytime. The area becomes much harder to navigate at night and can feel far more intimidating than it actually is.
Reaching the Tadpole Fragment Area
From your life pod, start moving roughly south at around 190 degrees. Continue traveling for about 145 meters until you reach a wreck site. Once you spot the wreck, head straight downward into the deeper section below it.
The descent looks intimidating at first because of the depth, but this route is considered one of the safer ways to collect the fragments.
Finding the First Fragment
As you descend beneath the wreck, the first Tadpole fragment can be found fairly quickly in the area below. Scan it immediately once you see it. If your oxygen starts running low, use the Air Bladder to shoot yourself back to the surface, refill oxygen, and then return to continue the search.
Finding the Second Fragment
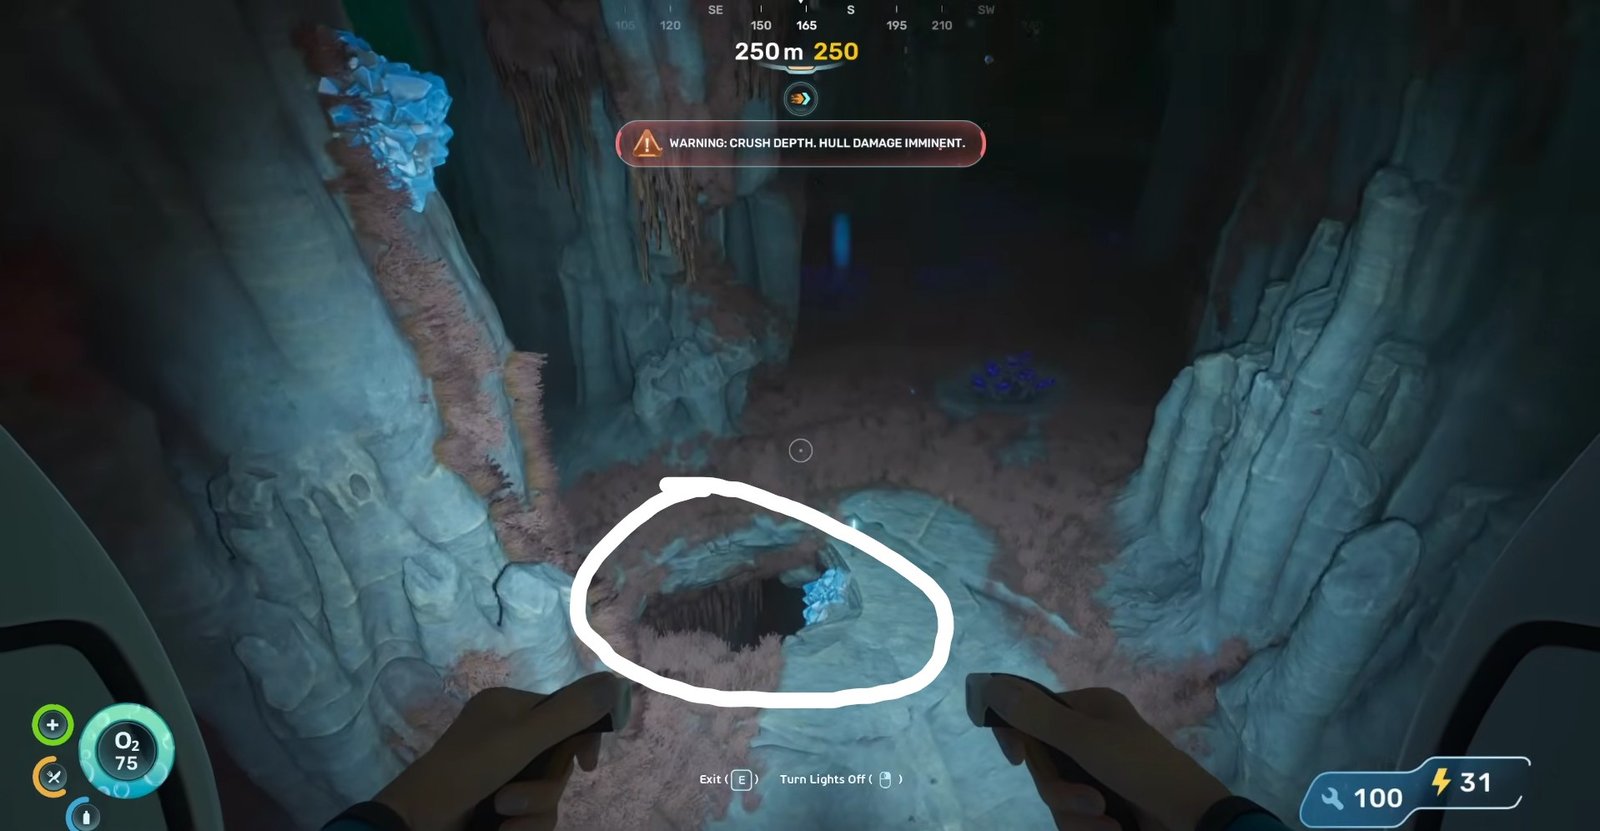
After resurfacing, return to the large crater-like area near the crash site. Avoid diving directly into the deepest part of the crater because it goes much farther down. Instead, stay around the outer edge and slowly move around the rim in an anticlockwise direction. Eventually, you will come across another section of wreckage.
Beside that wreckage, you can find the second Tadpole fragment. Scanning it also unlocks the Moonpool blueprint at the same time, making this location even more valuable for early progression. There are additional items and fragments inside the wreck as well, so it is worth exploring carefully if you have enough oxygen.
Finding the Third Fragment
Once you get the second fragment, continue moving past the wreckage area and keep following the outer section. Before long, you should notice a huge clam-like structure in the distance.
Around this area, you can find the final Tadpole fragment. Oxygen drains very quickly at this depth, so scan the fragment as fast as possible before returning to the surface. Once the third fragment is scanned, the Tadpole blueprint becomes fully unlocked.
All Tadpole Upgrades
The following are all locations of the tadpole upgrades that you will get in the game.
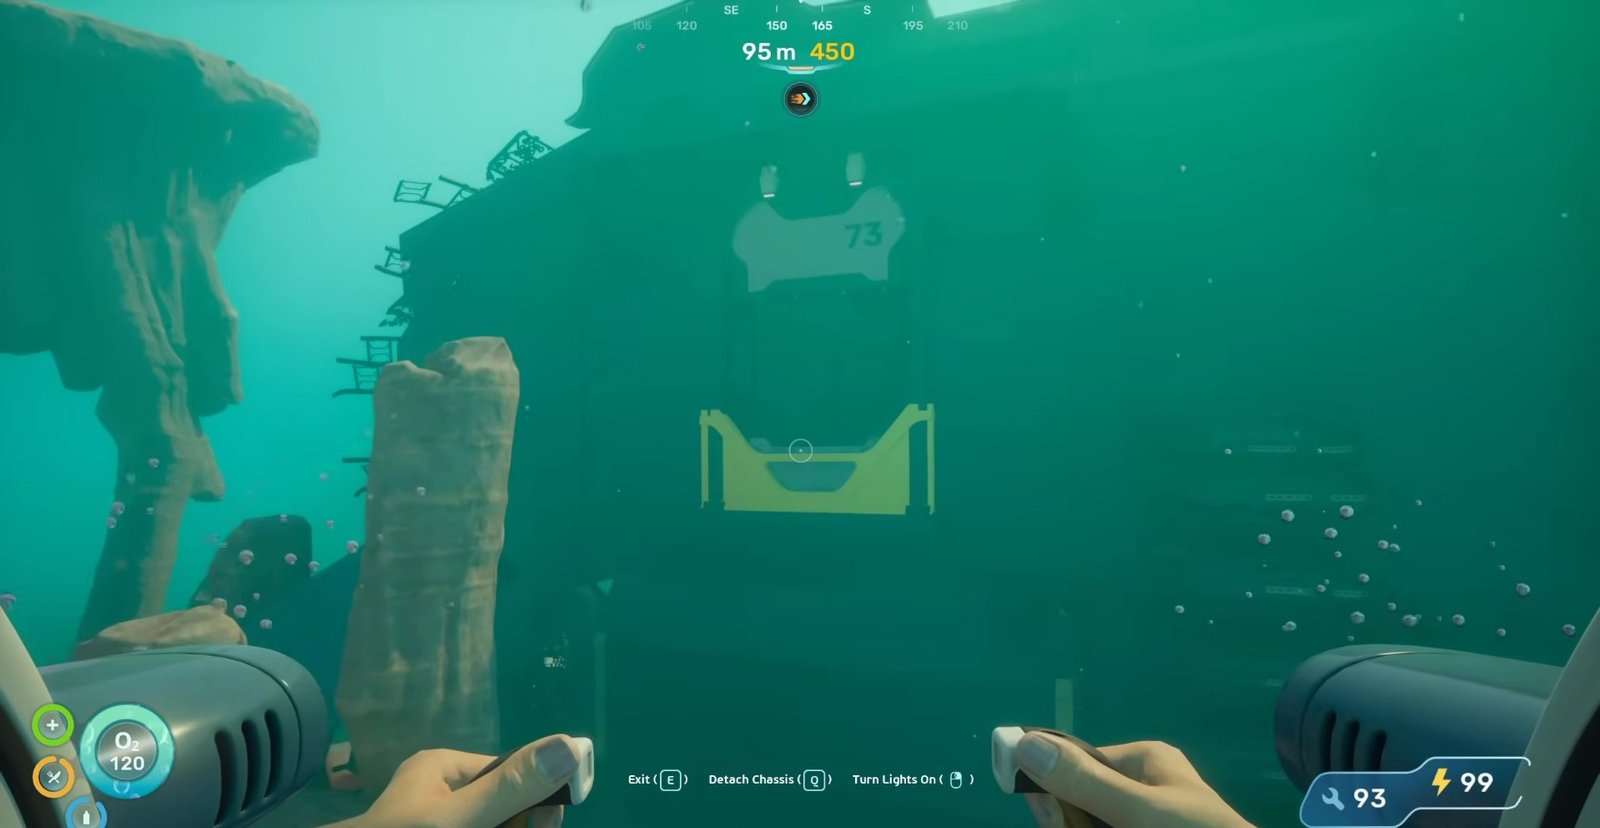
- Scout Ray Chassis Location
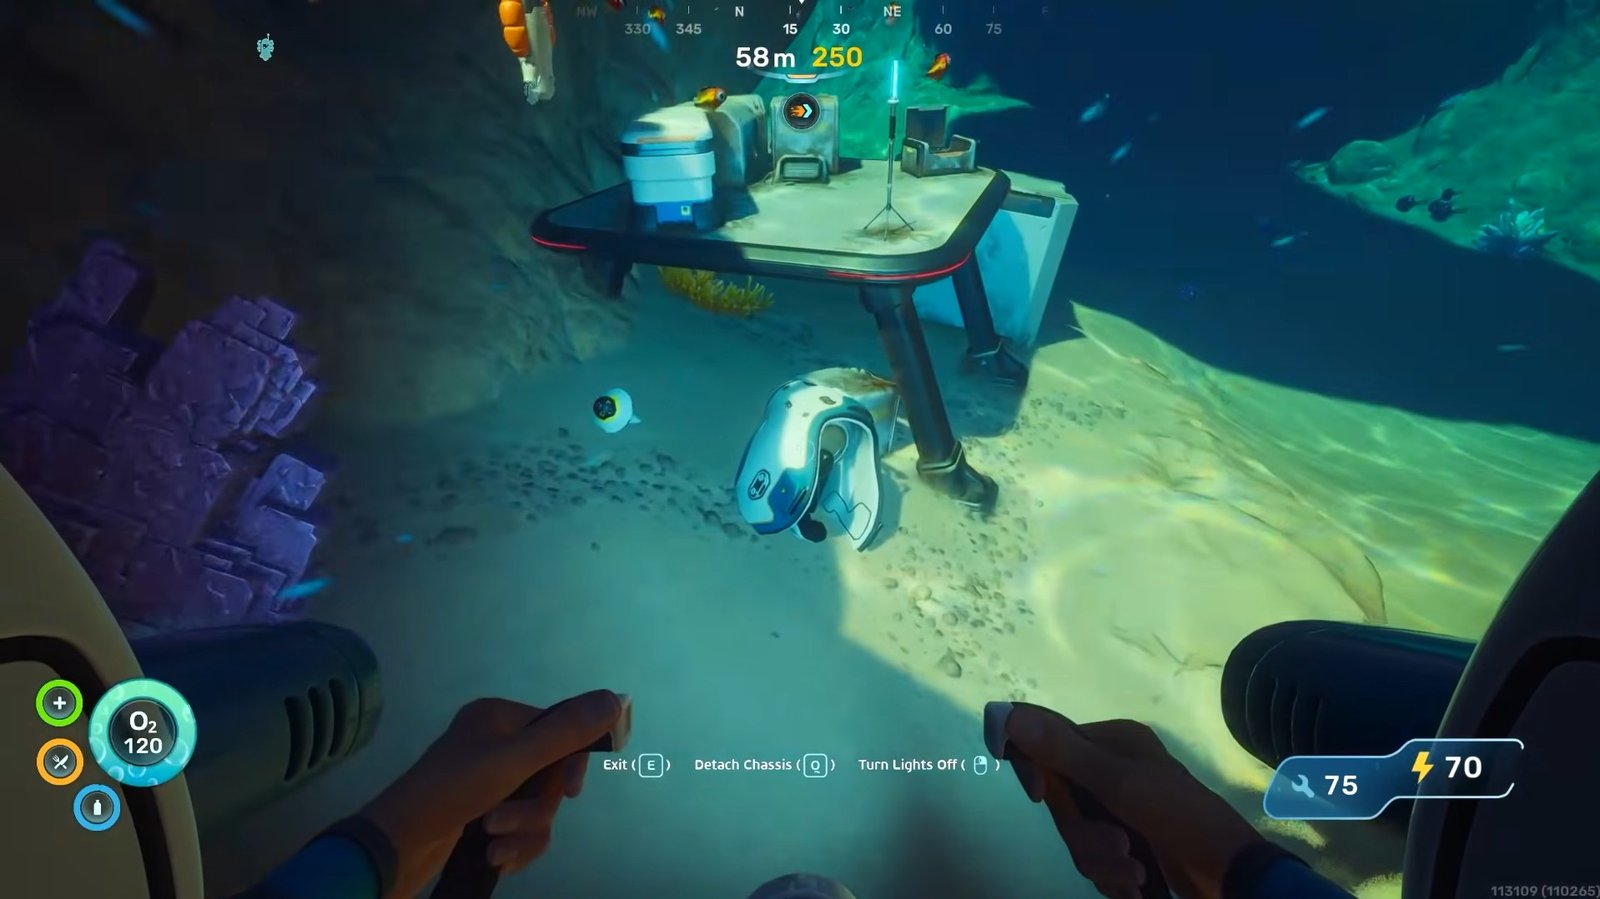
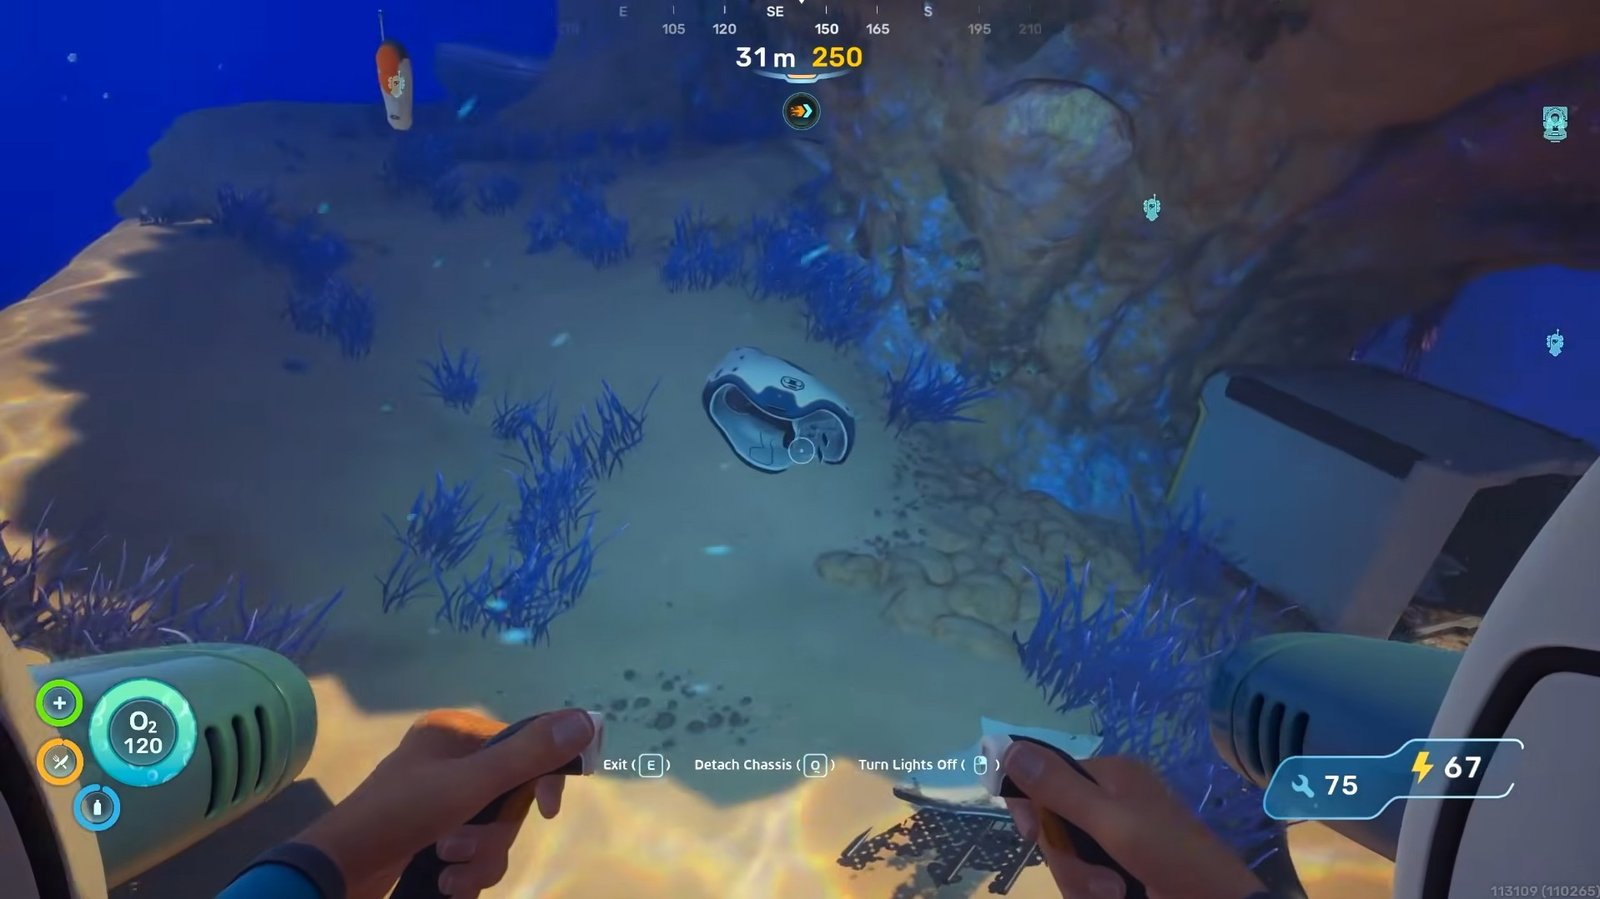
First of all, start from your lifepod and move towards the east. Keep moving forward until you reach an area on the map marked as “Investigate Tadpole Pens”. This area is roughly about 658 metres away from your lifepod. You will see a base there with an entrance. Don’t go inside. Rather, move to the back of the base and enter from beneath.
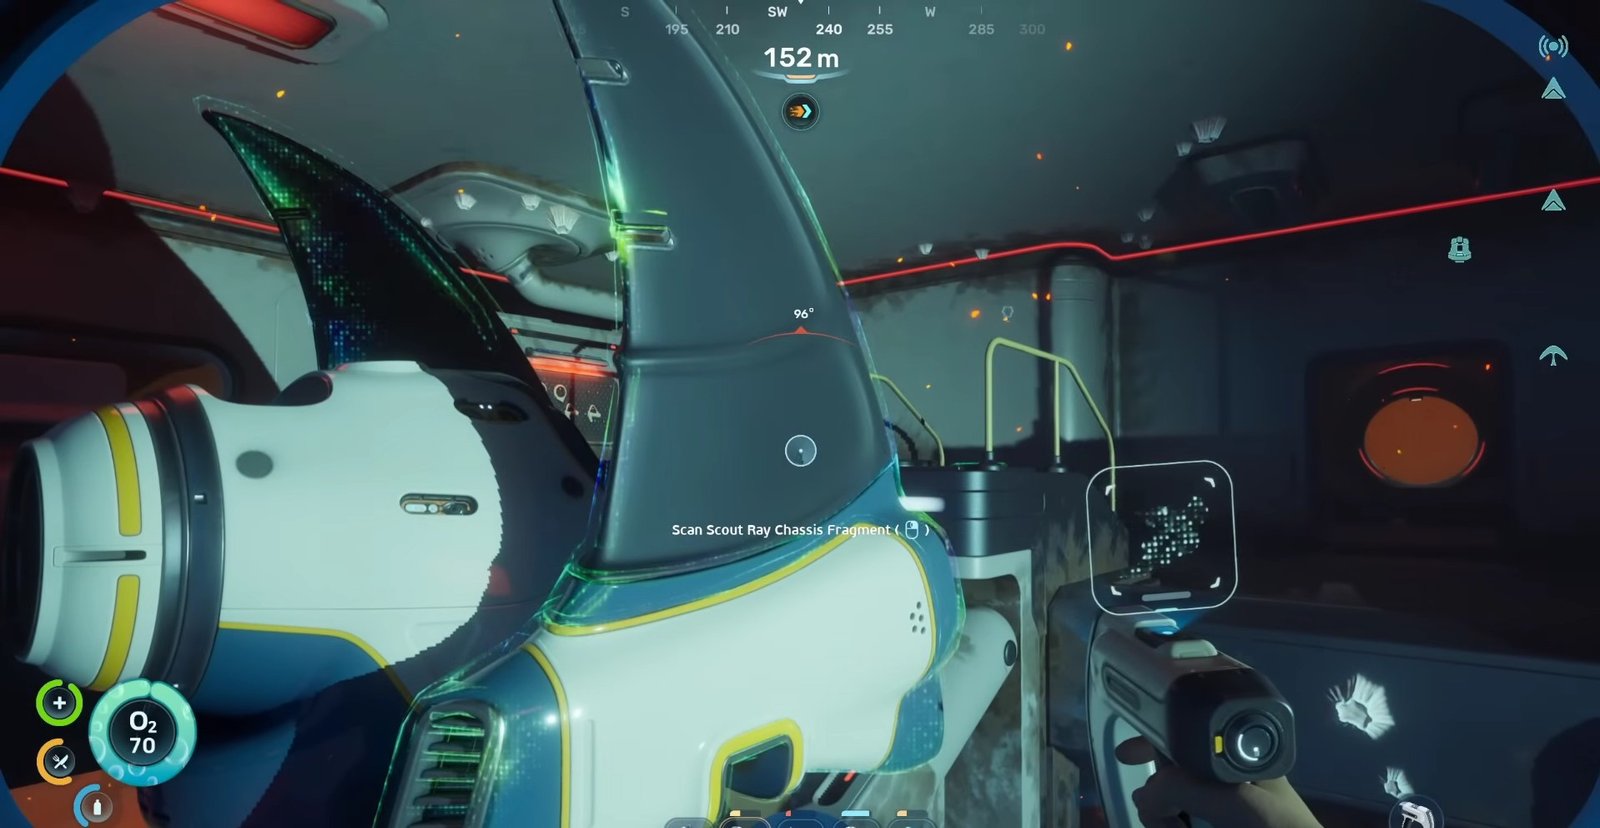
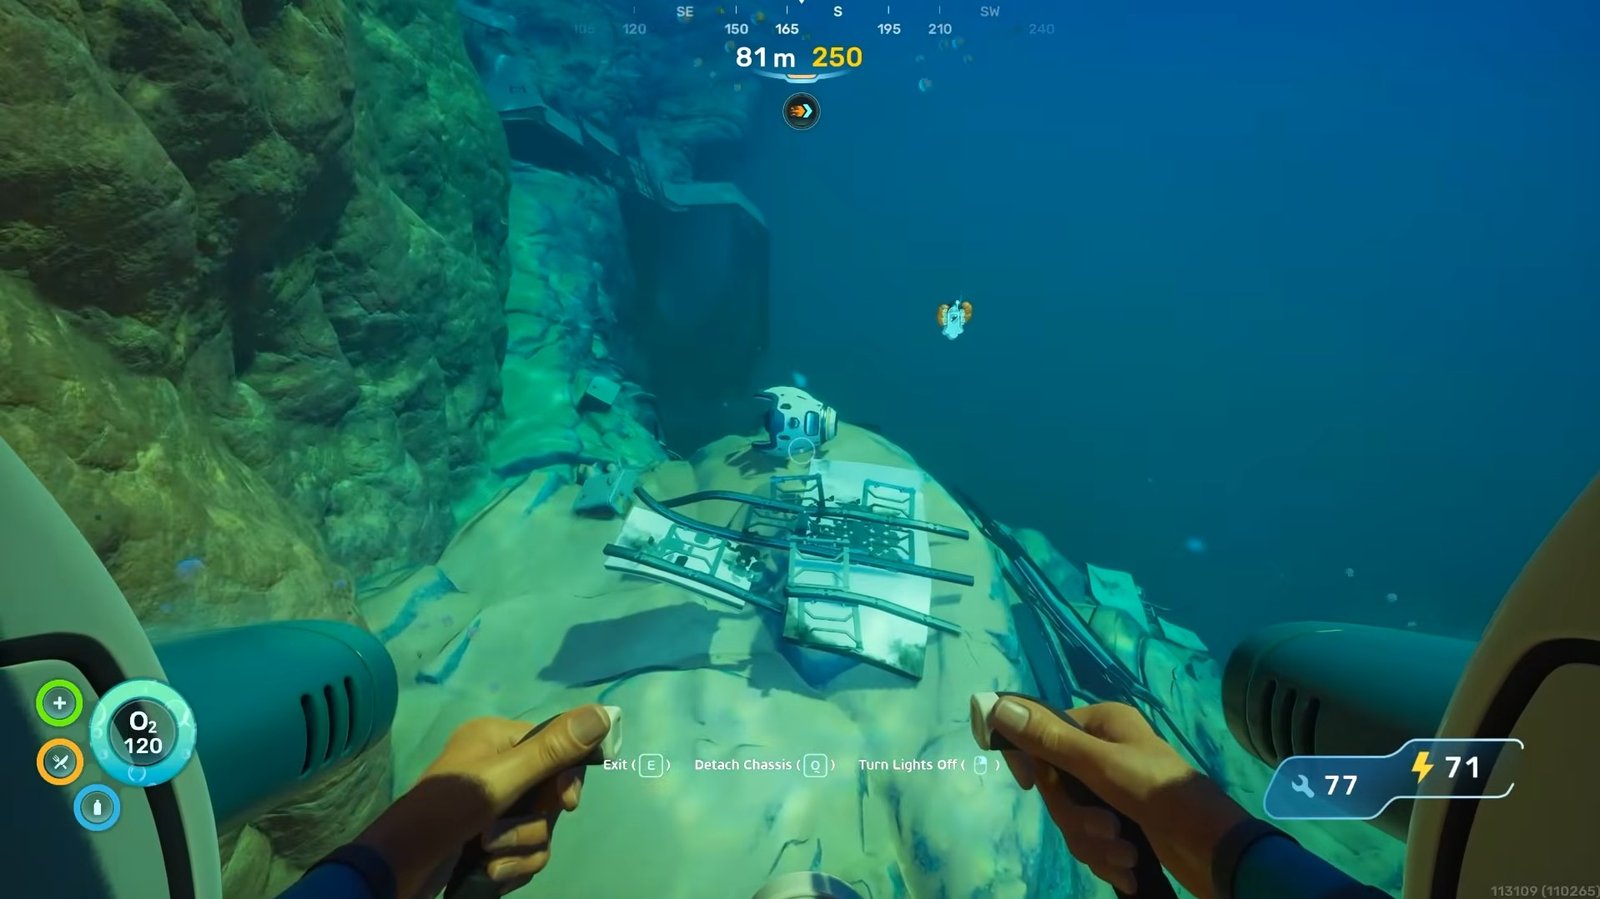
There, you will see both the Tadpole fragment and the Scout Ray Chassis fragment. Scan the Scout Ray Chassis for the blueprint.
- Tadpole Haul Chassis Location
You will need three fragments of Tadpole Haul Chassis to unlock this upgrade.
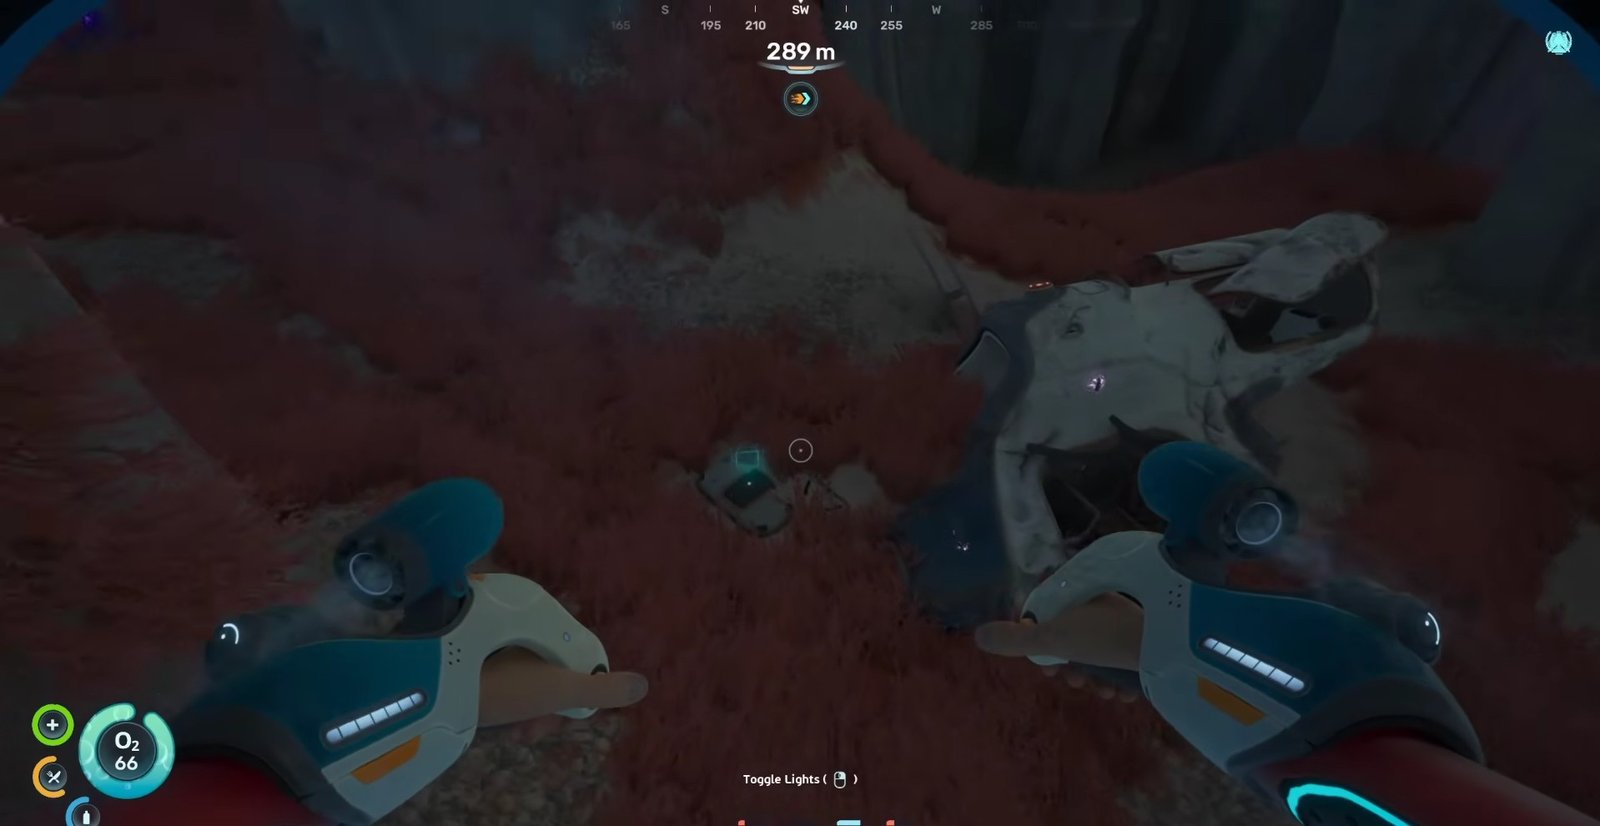
For the first fragment, move 1318 metres away from your lifepod in the east to reach Alien Ruins. From Alien Ruins, continue forward roughly to the southeast. Your destination is approximately 1410 m away from the lifepod. Keep moving forward and downward until you reach the underground caves with coral reefs on its entrance.
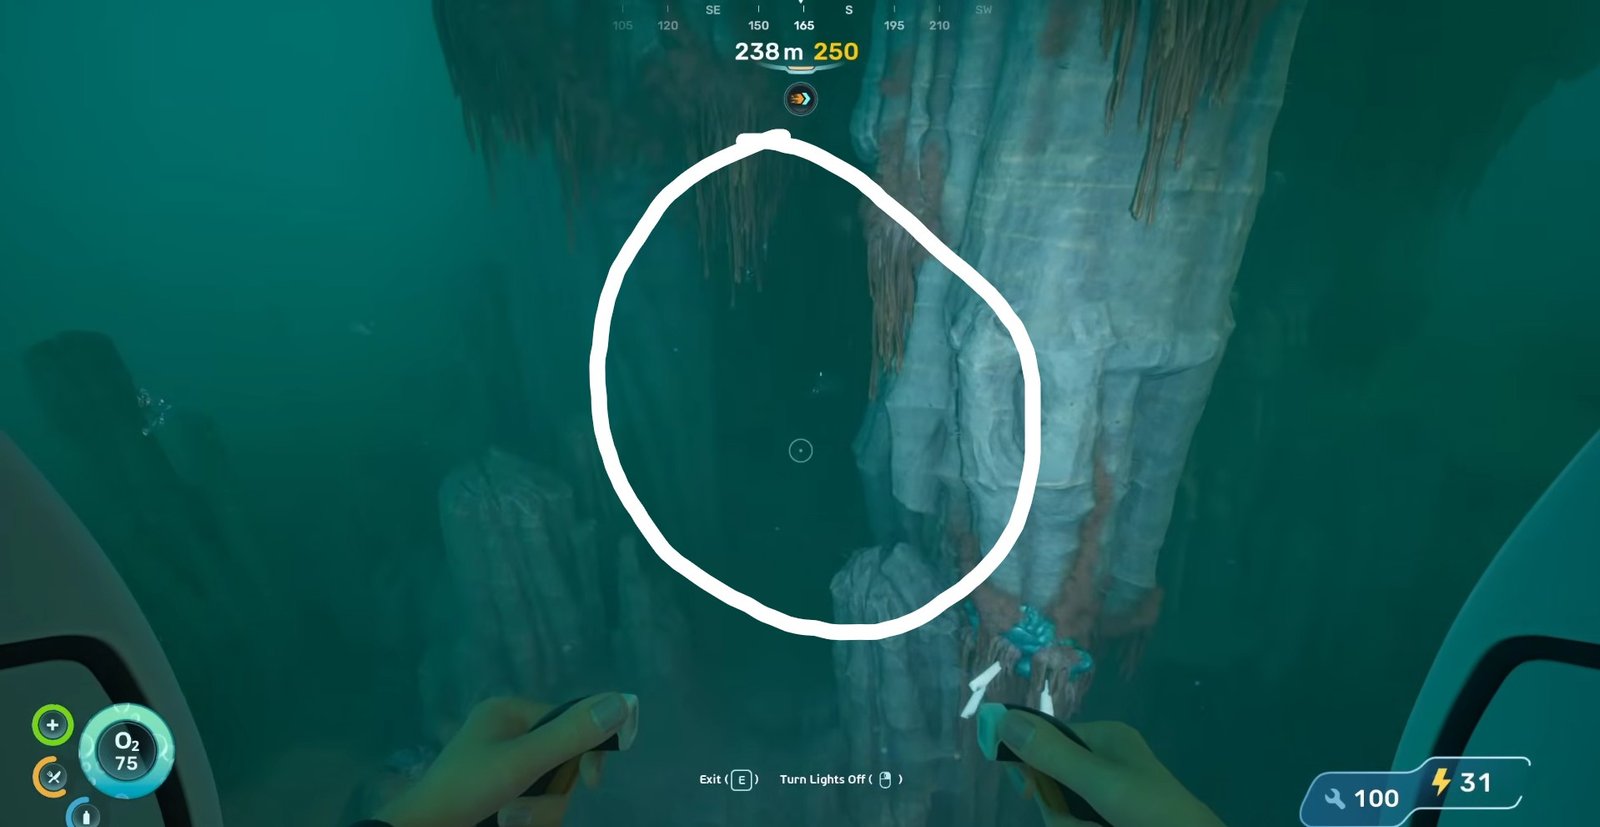
After entering the cave, you will see a hole in the ground. Enter it and dive downwards.
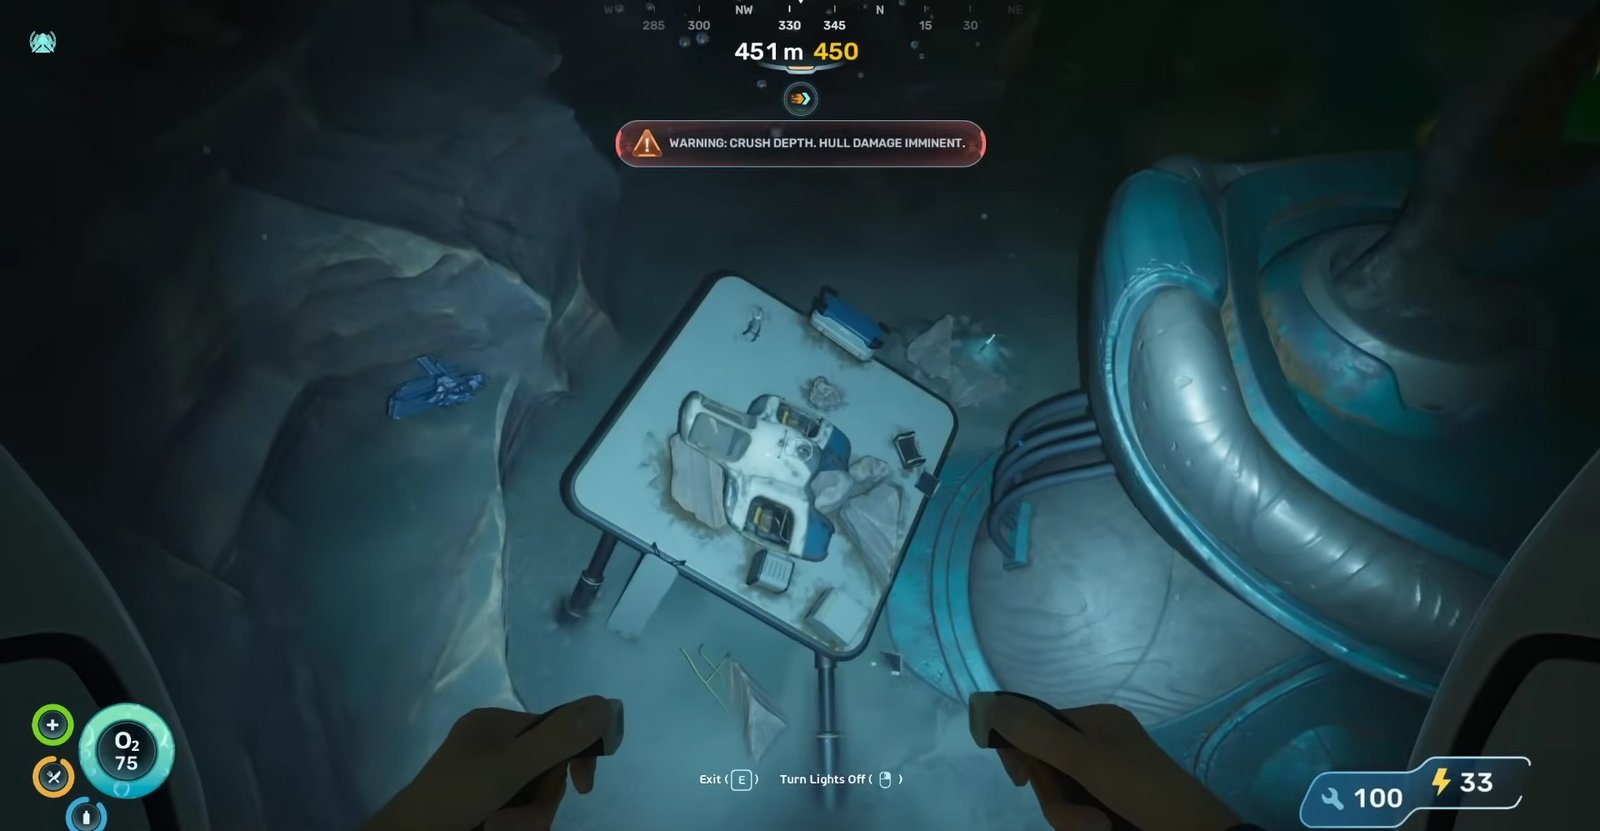
There you will see a red blinking light. This is the Tadpole Haul Chassis. Scan it to get its blueprint. Besides that, you will also find the Tadpole Depth Module Mk. 1 Recipe data card, so make sure that you collect both fragments in the same visit.
For the second fragment, move northeast from Alien Ruins. Past the purple-lit area, move to the left. Besides the three pillar-like ruins, lies the second fragment. Scan it.
From the location where you got the second fragment, move south. After roughly moving 200 metres, see the third and final fragment on your right side. This will be 2155 m away from your lifepod in the east direction. Scanning this will unlock the Tadpole Haul Chassis.
- Engine Efficiency Location
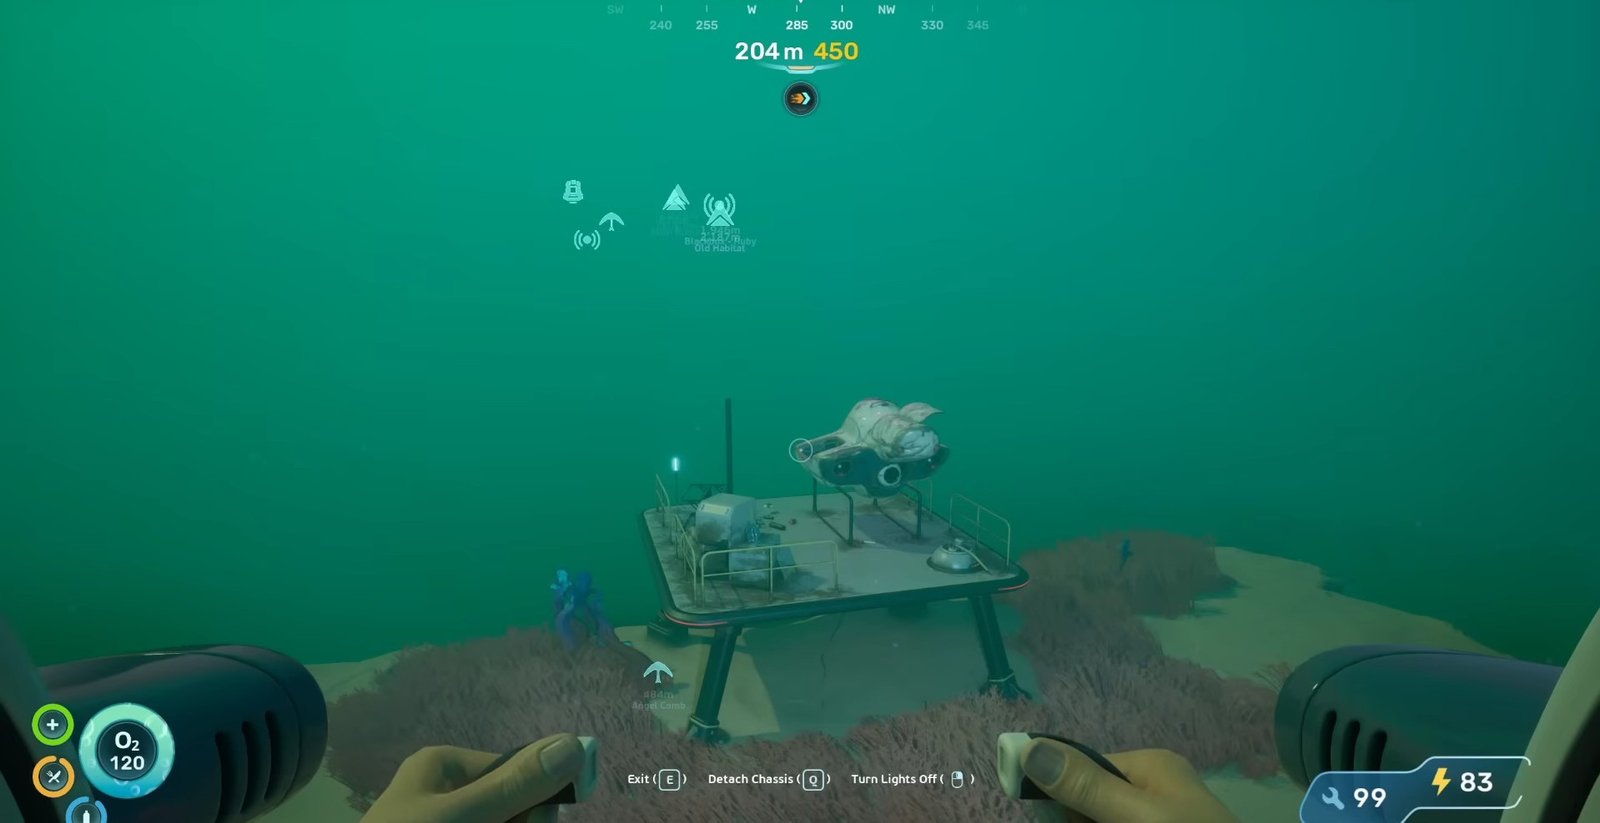
Start from your lifepod and move 1300 metres east until you reach the Research Outpost. Enter the base and move to the right.
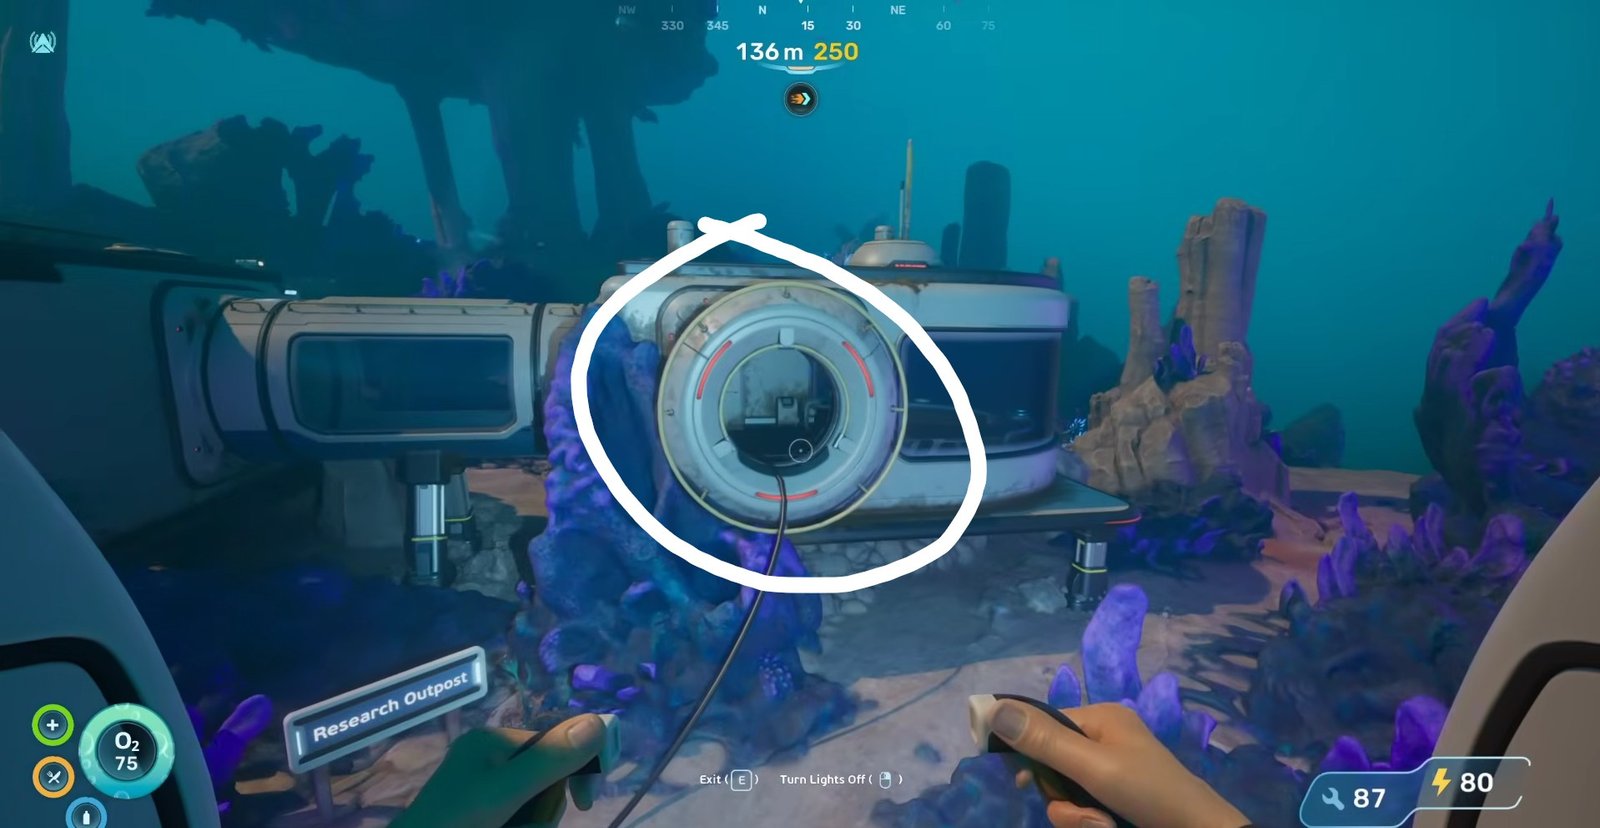
There, you will see the Engine Efficiency data card. Scan it to unlock it.
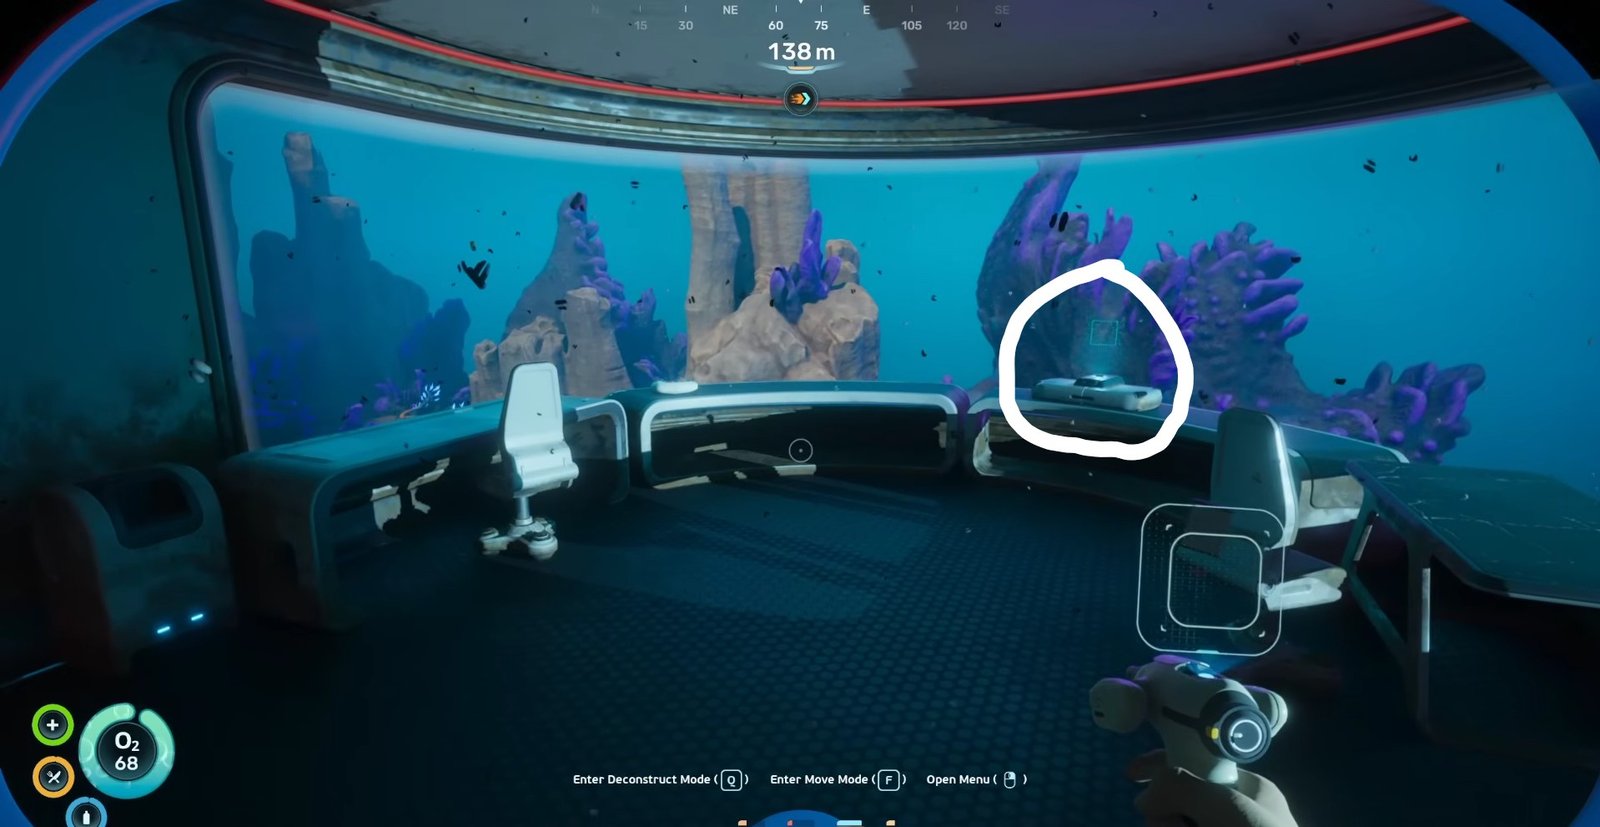
- Strike Armor Location
After getting the Engine Efficiency, come outside from the Research Outpost and move forward southwest and down. Keep moving until you find the structure with a table on a ledge. On the table, you will find the Strike Armor Recipe data card. You need to scan it to get it.
- Tadpole Depth Module Mk. 1 Location
This is the very same location where you got the first fragment of Tadpole Haul Chassis. Instead of the chassis, you need to interact with the data pad sitting next to it. Instructions are detailed above.
- Cavitation Muffler Location
If you start from your lifepod, continue forward in the east, and after passing the Research Outpost, keep moving forward in the east until you find the orange-like growths on the right side. From there, slightly move upward and to the left. Don’t go left, you just need to adjust yourself. Forward, you will see the Cavitation Muffler Recipe data card. Scan it to get it.
You can say that this location is approximately 2000 metres away from the lifepod in the east.
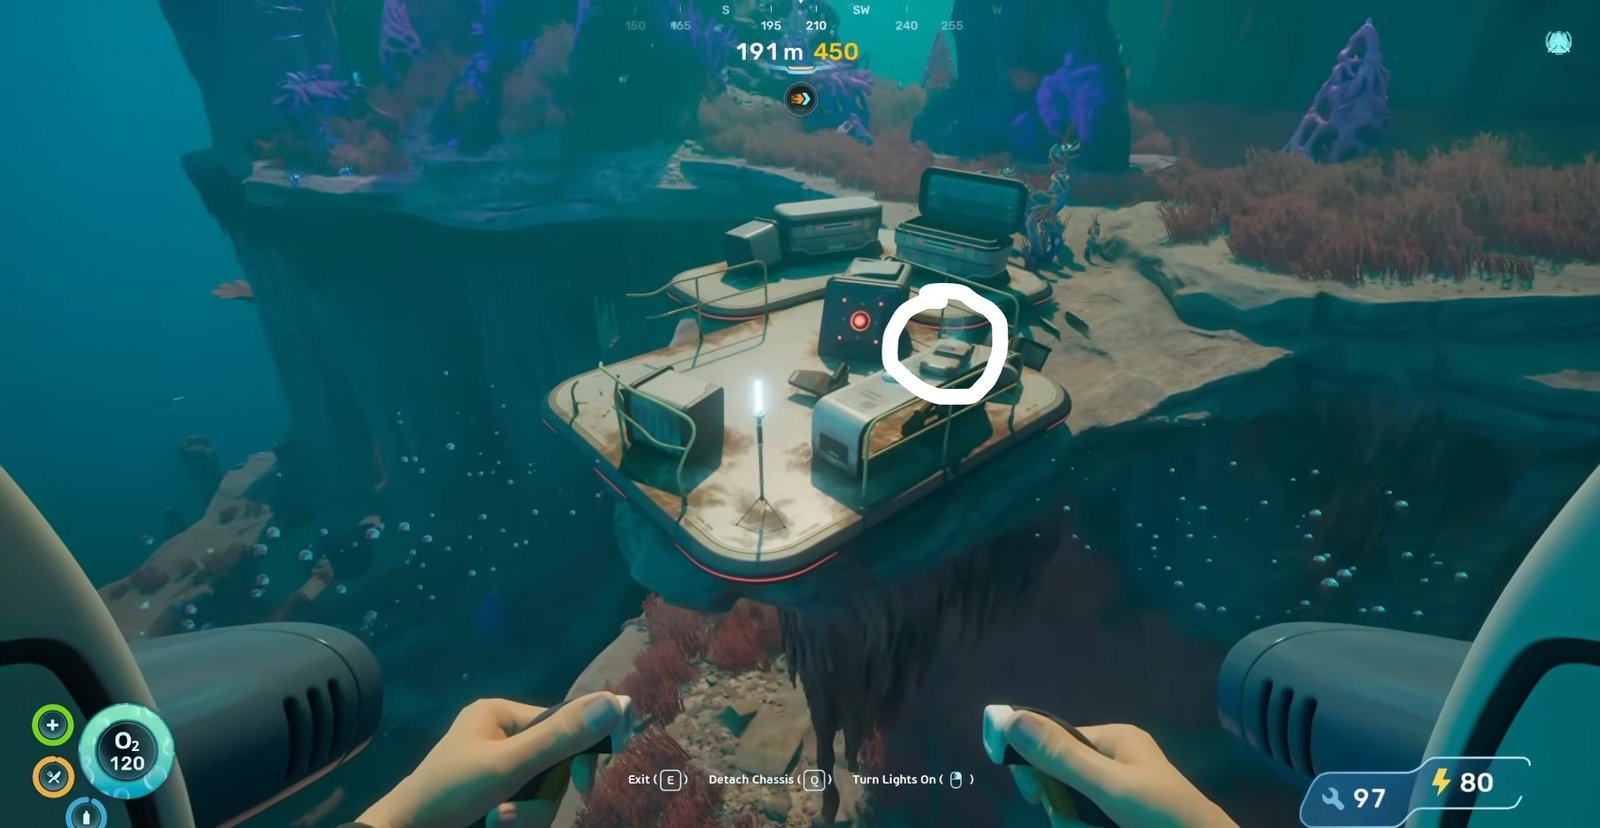
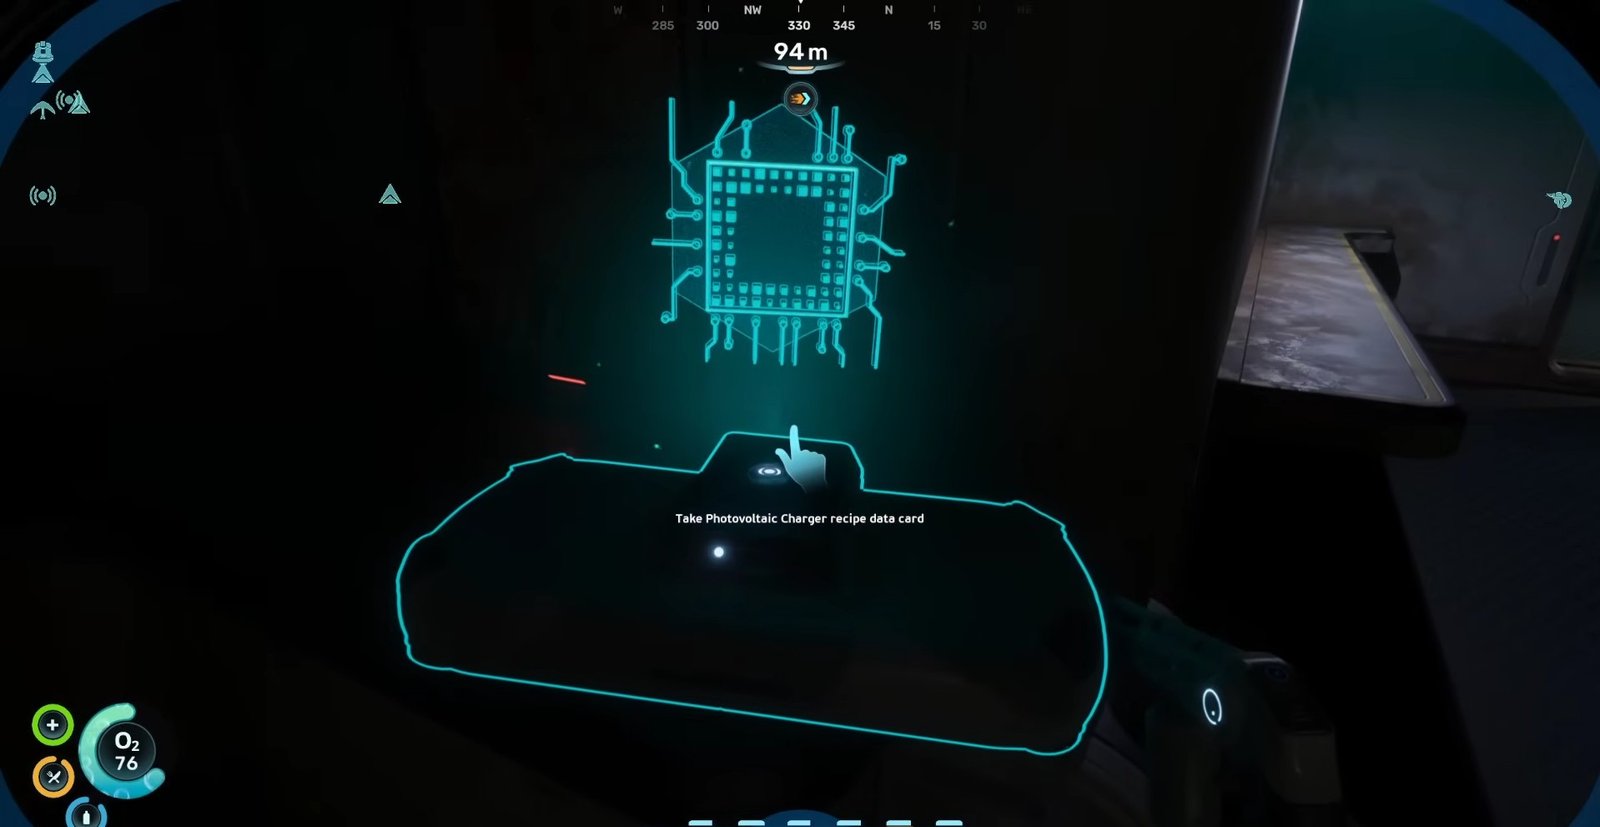
- Photovoltaic Charger Location
Make sure you have the repair tool for this one. From the Research Outpost, move towards the east side of the map. When you are moving forward, you will see purple glowing lights. From there, take a slight turn to the right. After passing a massive structure with blue lights, move upward. There will be a base there. Enter it.
Upon entrance, move right and repair the door. Continue forward until you find a door on the left. Enter another chamber and find the Photovoltaic Charger Recipe data card on your right.
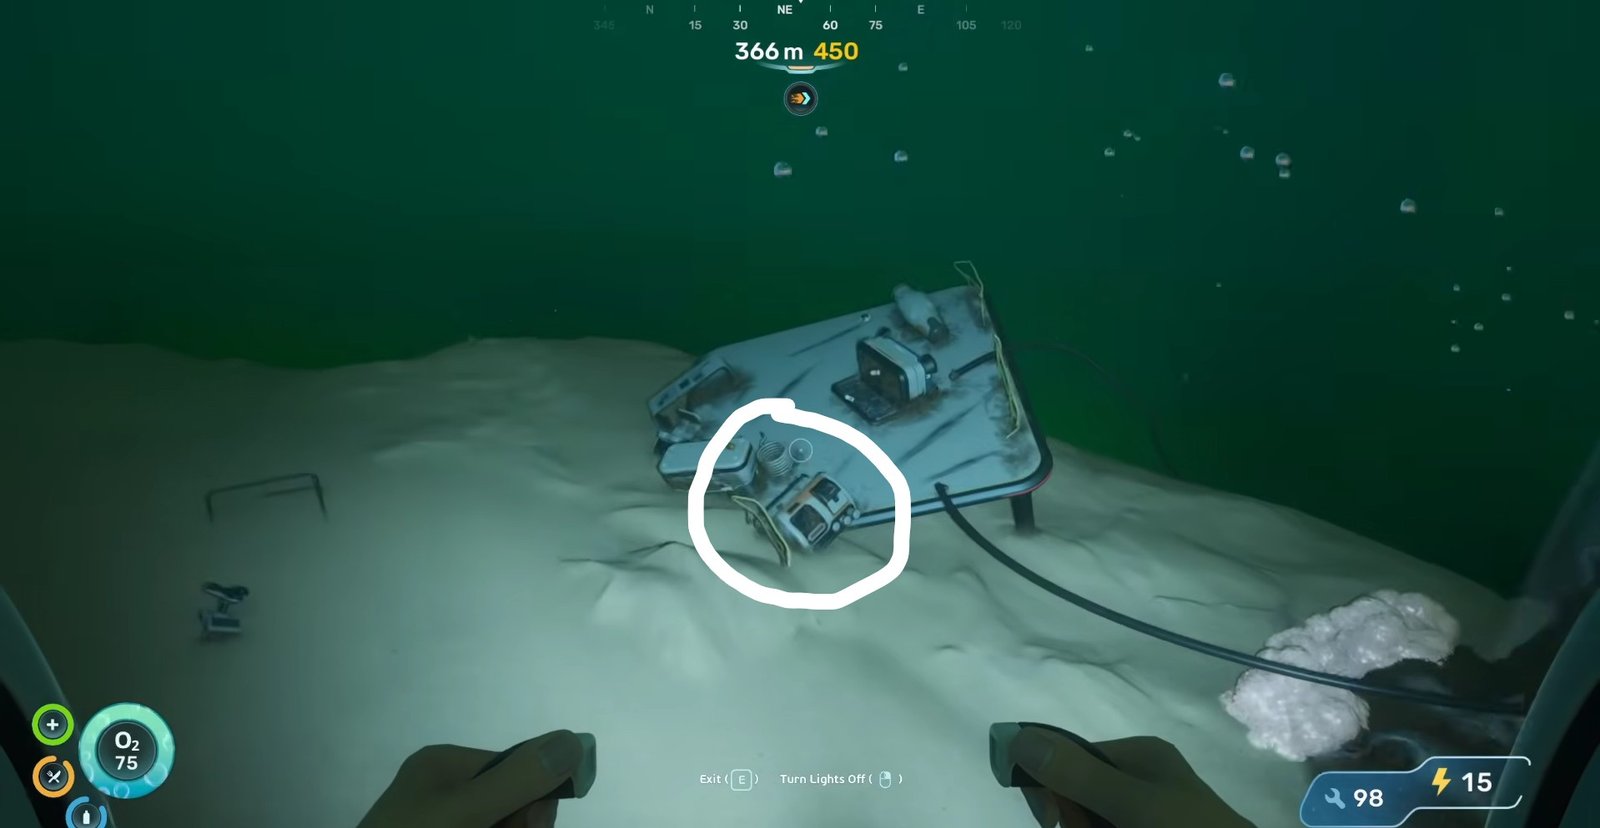
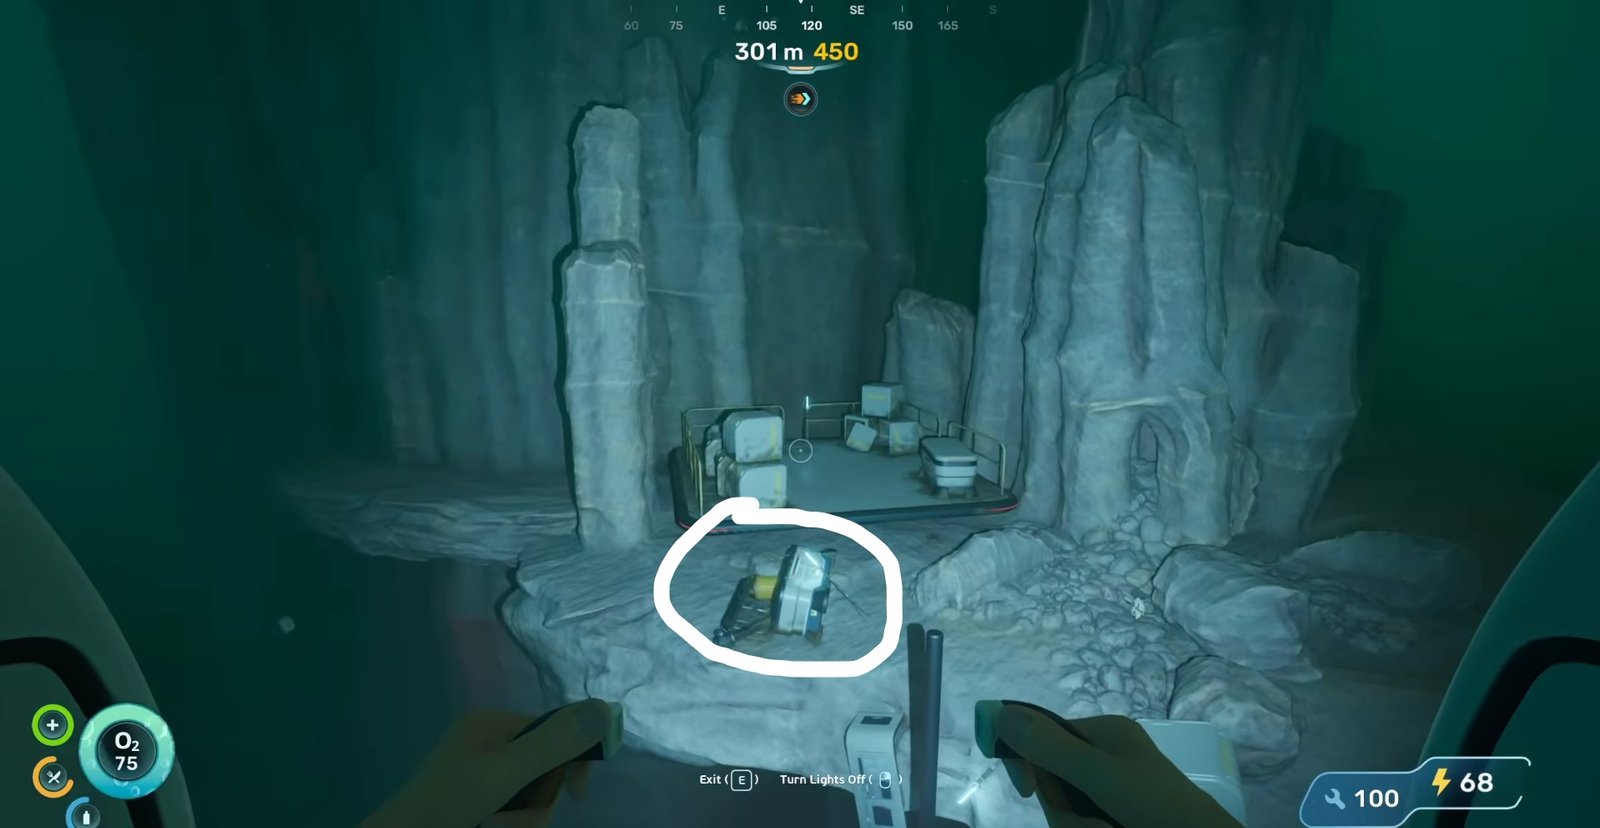
- Entangled Power Cell Location
Move towards the east from the lifepod until you reach Research Outpost. From there, continue your track to the east at an angle of 120 degrees. You will reach a structure with a Power Cell lying there. Scan it to get it.
That is all for this guide. Additional Subnautica 2 guides are linked below:
- Subnautica 2 Upgraded Tools Guide – How to Get
- How to Increase Inventory Space in Subnautica 2
- How to Find and Survive the Collector Leviathan in Subnautica 2
- Subnautica 2 Beginner’s Guide – Tips and Tricks to Survive the Underwater
- Subnautica 2 BioMods Guide – All BioMods and How to Unlock Each
- Subnautica 2 Moonpool Guide – How to Make
This concludes our Subnautica 2 Tadpole Guide. If you want to add anything to this guide, feel free to use the comments section below.