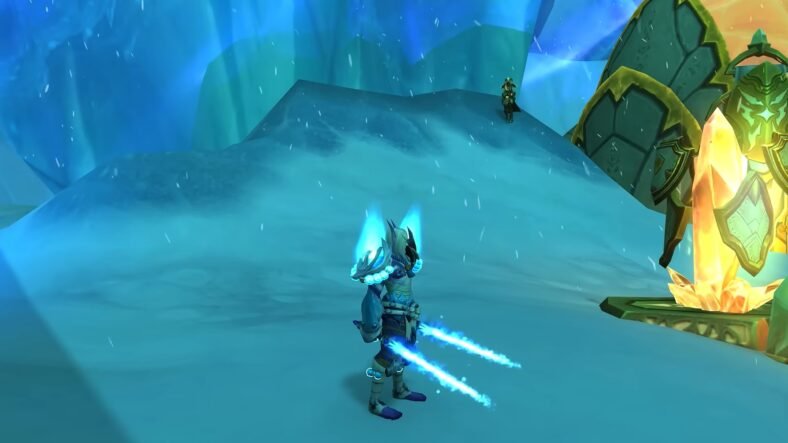
In this Guacamelee! 2 Jade Temple Walkthrough Guide, we will guide you on how to clear your objectives in Templo de Jade. You will be tasked to retrieve the Jade Relic and you will also face the first boss of the game at the end of this level. We have detailed everything that you will be required to do in order to complete these objectives along with some tips for clearing out the battle arenas here.
Guacamelee! 2 follows the story of Juan who is once again on a quest to save Mexiverse. The game picks up right where the first game ended and there are many familiar faces in the game. The game has the same intense combat action and the tense battle arenas that we loved in the first game. We have curated complete main story walkthrough for you so that you can easily complete each objective of the game without any problem.
Guacamelee! 2 Jade Temple Walkthrough Guide
This Guacamelee! 2 Los Manglares Walkthrough Guide focuses on the Templo de Jade area where you must enter and retrieve the Jade Relic. We have also detailed how you can easily defeat the boss at the end of this level.
Retrieve the Jade Relic
When you enter the Jade Temple, your objective will be simple and straightforward, find the Jade Relic inside. Start heading right until you reach the portal to access the land of the dead. Keep heading right and you will reach a large green death fluid patch. Use the platforms to clear the section and aim for the portal ahead to reach the Land of the Living.
Jump to the next platform, kill the enemies there and use rooster uppercut to reach the next portal. Once you go through the portal, quickly use Eagle Boost to reach the safe side on the right. If you fail to do it, you will fall down and die. From there, use the Eagle Boost once again to reach the end of the green fluid of death.
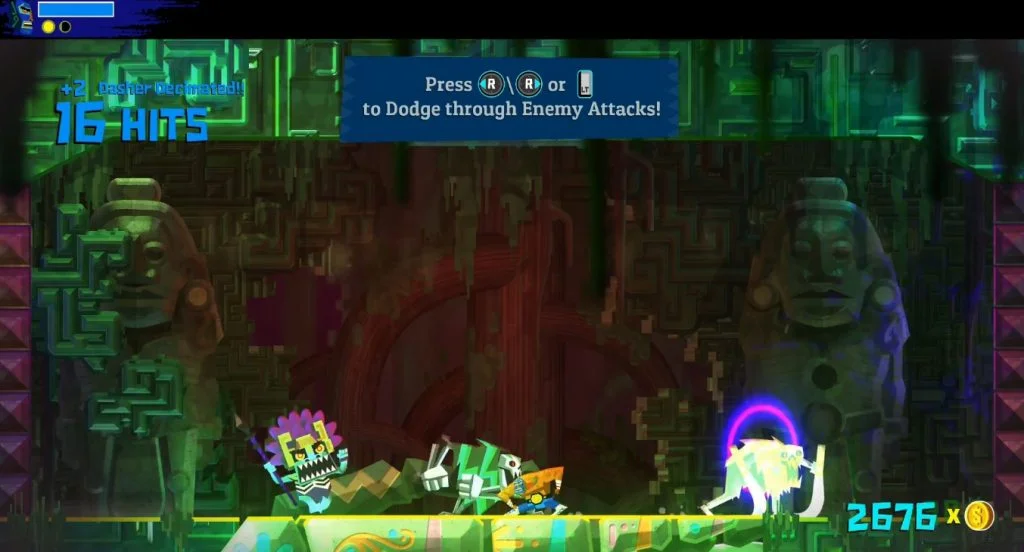
Head right and you will reach the first battle arena of the location. Here you will encounter enemies in both dimensions but there is also a portal to switch dimensions. Change dimensions and clear enemies from both dimensions to clear this battle arena. Once the walls are gone, head right to reach another room filled the green death fluid. There are different portals in this room as well which will be used to proceed in this area.
Some of the platforms will be invisible while some will be visible in each dimension. You will need to switch accordingly. As you reach the right side of the area, drop down and then head right to another battle room. Eliminated the enemies to clear the battle arena. Keep moving right until you reach the big red gate. To hit the red button, use the rooster uppercut and the gate will open.
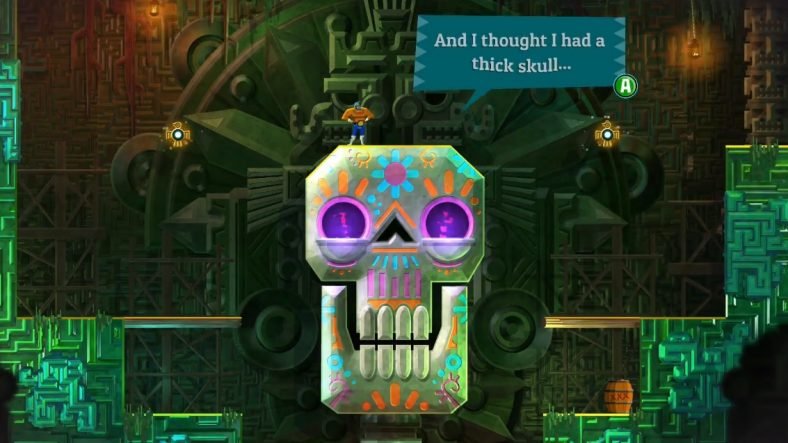
Enter the gate and save the game at the checkpoint shrine. Move right to the next red door and use the same strategy to open it. Go through the door and drop down to the lowest floor. You will land on a big stone skull. Interact with it to know where the boss went. You can speak with him some more to get some good laughs.
Once done, move to the right exit and exit the room. You will need to use Eagle Boost to get there. When you arrive in the next room, you will reach a big green lake. There will be a stone creating a bridge for you to pass the lake. While passing, another battle arena will start blocking your progress.
Eliminate all enemies and you should be good to go to the next area. Head right and you will arrive in a room with purple light bars moving. These are both dimensions in the same place. In the dark zones, you will be in the Land of the Dead while lighter zones are included in the Land of the Living. Use these bars to get to the platforms and cross to the other side of the room. Reach the tunnel and then drop down through the floor to get to the next room.
The next room will have the same light bars but they will in horizontal direction. Same strategy applies here to reach the next room only that you will also need to use Eagle Boost to reach the last ledge on the right side. Cross the green lake and you will reach the next room where some more vertical bars are waiting for you. Cross the platforms using roll this time around to get past the vine pillars.
As you reach the bottom of the slope, you will enter another battle arena. Kill all enemies to move ahead. Save the game at the checkpoint shrine up ahead and then drop down to the platforms above the floor. Hit the red switch when the purple light bar is in the right position to open the gate.
Keep heading left once the door is open and you should arrive in yet another battle arena. Defeat all enemies and you should be good to go ahead. Now start heading right to reach a room with some glowing platforms. These are trap platforms and stepping on them will trigger a spike trap. Use this to your advantage against the enemies.
Keep heading right while avoiding these platforms. Climb to the platform in the next room by stepping to the spike trap and then heading back to the previous platform. Once the trap is reset, quickly jump back and then move ahead. In the next room, you will be required to go up between two walls that activate a spike trap if you stay for a long time. Be quick and you should be fine in this level.
To reach the top, you will be required to use the Eagle Boost. Head right once at the top to enter the room directly below the big skull we talked with earlier. A battle arena will commence as soon as you enter this area. Defeat all enemies, collect the reward and move ahead. Head left in this room to find a checkpoint shrine to save the game. Walk past it to trigger a cutscene.
Cross the water after the cutscene and then move to the next room. You can avoid the enemies in the next room and simply aim for the exit on the other side. You can trigger traps here to kill the rangers. Now to open the gate at the bottom, you will be required to activate the spikes trap, use Eagle Boost to reach the left trap and use Rooster Uppercut to trigger the button.
Once the gates are open, some enemies will drop down but they can be easily dispatched. Once they are down, head right in the now open tunnel. Keep heading right until you reach a Choozo Statue. Break the statue and you will get the Wall Jump special move. Now that you have the ability, head to the top right side of the area and open up a path by destroying the red block with the Rooster Uppercut.
Now you can use Wall Jump to reach the top. At the top, break another red block in the ceiling and use the Wall Jump to climb this area as well. Cross the treadmills and avoid the obstacles coming across the room. Keep heading left and you will eventually reach the next battle arena. Kill all enemies and collect the reward piñata to move ahead.
To move ahead, use the Eagle Boost to climb up and reach a new area. Here you can go for a Heart Chest by using Eagle Boost and completing a small platforming section. If you head left, you will be going towards your goal. When you reach the skeleton hand, it will lower you to an area below it. Keep moving left and you will reach a checkpoint shrine. Save your game and continue left.
You will need to jump here to avoid the projectiles coming at you. Keep heading left until you have to jump across to reach a conveyor. Go down on it and jump to the Eagle Boost spot at the right time to get to a platform. Jump down when the area is free of projectiles. When you reach the bottom of the area, kill the enemies waiting for you there.
Keep heading below to the next platform and again use the conveyor to slide down. Grab the Eagle Boost point at the right time and you will reach the ground on the right side. If you look up here, you will spot a vertical opening where you can enter to find a Gold Chest. You will be required to use both Rooster Uppercut and Wall Jump to reach the chest.
After getting the chest, drop down to the floor an you will enter the next room. Head down the vertical area and you will arrive in a battle arena. Clear the enemies and you will receive the piñata with your rewards in it. Break it open and move ahead. Enter the next room and you will encounter some projectiles going up. Time your jump to make it to the other side using Eagle Boost.
In the next room, you will come across some more conveyors and a ranger. Take out the ranger first and then climb up. You can roll through the vine pillars to avoid them. Keep heading right until you reach the large statue head to unlock a fast travel point. Here you can head to the left side wall to a conveyor using Rooster Uppercut to reach the upper area containing a Heart Chest.
Go back to the statue and head right. Roll through the vine pillars in the next room and wall jump to the top. Eagle Boost will help you reach the wall above on the left side from where you can jump to the platform located on the right side. Do not hit the projectiles here. Now drop to the platforms on the right side of the area and you should be able to move to the next room.
Avoid the projectiles as you head right. Jump up when you see the Eagle Boost point to quickly snag a Stamina Chest up there. Make sure you do it quickly otherwise, the projectiles will arrive in the area. Now head back and drop down to the lowest of the areas to kill some enemies. You can also run past them and avoid the battle.
Jump to the Eagle Boost point and you should be safe. Time your movements according to the approaching projectiles. Keep heading right avoiding projectiles and dispatching enemies along the way. You will need to use Eagle Boost in between sections to reach higher places and to move forward especially when you reach the green lake.
Keep heading right until you reach the big area where the ground is full of projectile launchers and they are shooting up in a pattern. Time your movements according to these projectiles being shot and you will able to move in between them to reach the bottom without getting hit. Before you head left, heading right can help you get three gold chests and a checkpoint shrine.
Once done, head back to this area and head left to continue in the search of Jade Relic. Kill the enemies in the next room and move ahead. When you reach the thorn pit, jump into it and use Eagle Boost to get to the next floor. Keep heading down and you will reach another Heart Chest in the left room. You will need Eagle Boost to get there. Outside this room, another checkpoint shrine is waiting for you.
After saving the game, climb up and you will reach the next area, which is a battle arena. Defeat the enemies here and you will be able to move ahead after collecting your reward. Head to the right after dropping down and enter the next room to find the purple light bars again. In this room, you will need to be extra careful because each platform will have projectiles.
Staying in the Land of the Dead will make you immune to these projectiles. Use this to your advantage and reach the other side of the room. Get in the next room and you will have to navigate some more platforms while avoiding the ranger and the projectiles. Get to the right end of the room and exit using the tunnel.
Follow the tunnel until you come to a vertical passage. Go up to grab a Gold Chest and a Stamina Chest for yourself. Head back and continue down the tunnel. When you reach the green water, use Eagle Boost to cross it. Keep heading and you will arrive at a checkpoint shrine. Save your game before moving ahead. The next platforms will open and you will fall down, quickly jump from third one or you will end up in the lava.
You will enter another room with the purple light bars. This time you will be able to use the platforms while staying in the land of the dead so time your moves accordingly. You can ignore the enemies here. The next room will follow the same strategy. Just ignore all enemies and keep heading towards the exit.
Reach the conveyor and then ride it all the way to the top of the area. Kill the enemies at the top and head left while dodging the projectiles. Stay in the light or else you will be hit by the projectiles. Kill the ranger and drop down to reach the conveyor. Run alongside it and you will finally reach the Eagle Boost point. Use it to get to safety.
Drop down when the time is right and then continue on the path. You need to get to the bottom left of the room. Use Eagle Boost and conveyors when you can. At the end, climb through the vertical path at the top left of the room. At the top, you can head left using Eagle Boost to grab a checkpoint shrine and three Gold Chests.
To head further towards the Jade Relic, use the conveyer on the right side and head towards the top of the area. Save your game and exit from the left side. Outside you will some Pounders being crushed by the big Skeleton and you can move ahead freely. When you reach the end of the area, you can go through a door to initiate the boss fight.
For tips on how to defeat the boss, check out our Guacamelee! 2 Boss Battles Guide.
This concludes our Guacamelee! 2 Jade Temple Walkthrough Guide. If you want to add anything to this guide, feel free to use the comments section below.