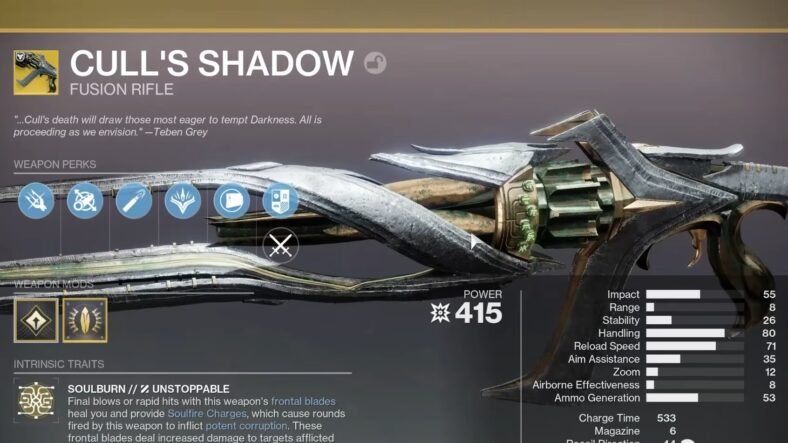
This Destiny 2 Cull’s Shadow Exotic Guide details the complete process of how you can unlock Cull’s Shadow Exotic Weapon and all of its traits. Cull’s Shadow is an Exotic Weapon of Sorrow that requires several activities, hidden puzzles, and Exotic missions to be completed before you can finally add it to your collection.
Cull’s Shadow Exotic Guide – Destiny 2
Before beginning the quest, you must own a Weapon of Sorrow. Any of the following weapons will work:
- Thorn
- Osteo Striga
- Touch of Malice
- Necrochasm
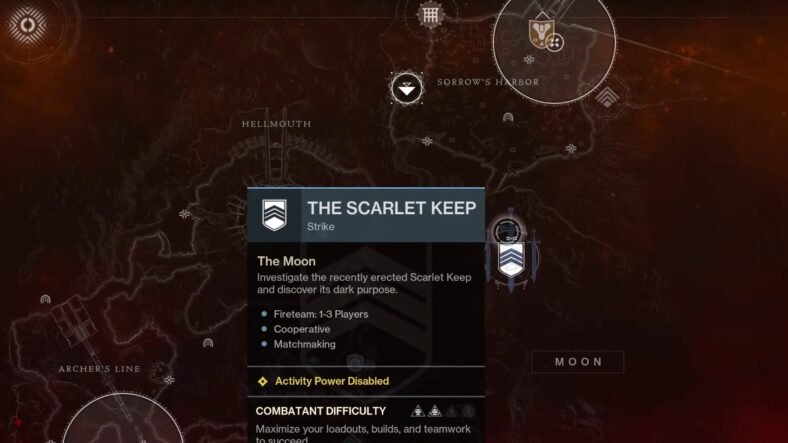
Once you have one of these weapons, travel to the Moon and prepare to enter the Scarlet Keep Strike.
Step 2: Complete the Scarlet Keep Puzzle
Launch the Scarlet Keep Strike on the Moon. If the strike is unavailable, continue progressing through the Shadowkeep campaign until it becomes accessible.
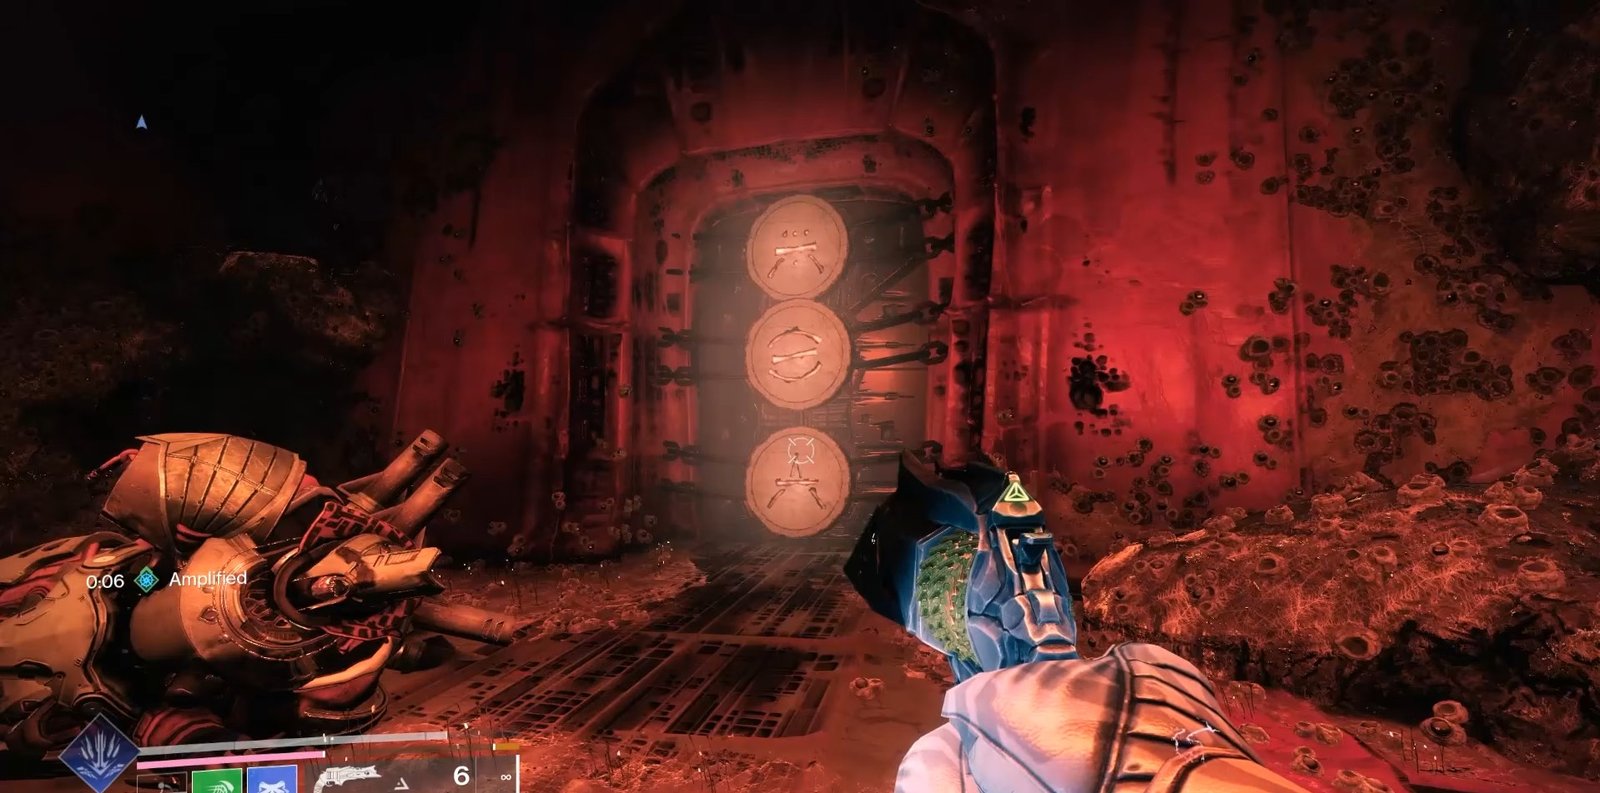
Play through the strike normally and reach the final boss arena. Near the large gate where the boss appears, you will notice three symbols displayed on the structure. Using your Weapon of Sorrow, search the surrounding area for matching symbols and shoot them.
After all symbols have been activated correctly, a hidden door behind the gate will open. Inside, you will find a crystal. Interact with it before finishing the strike.
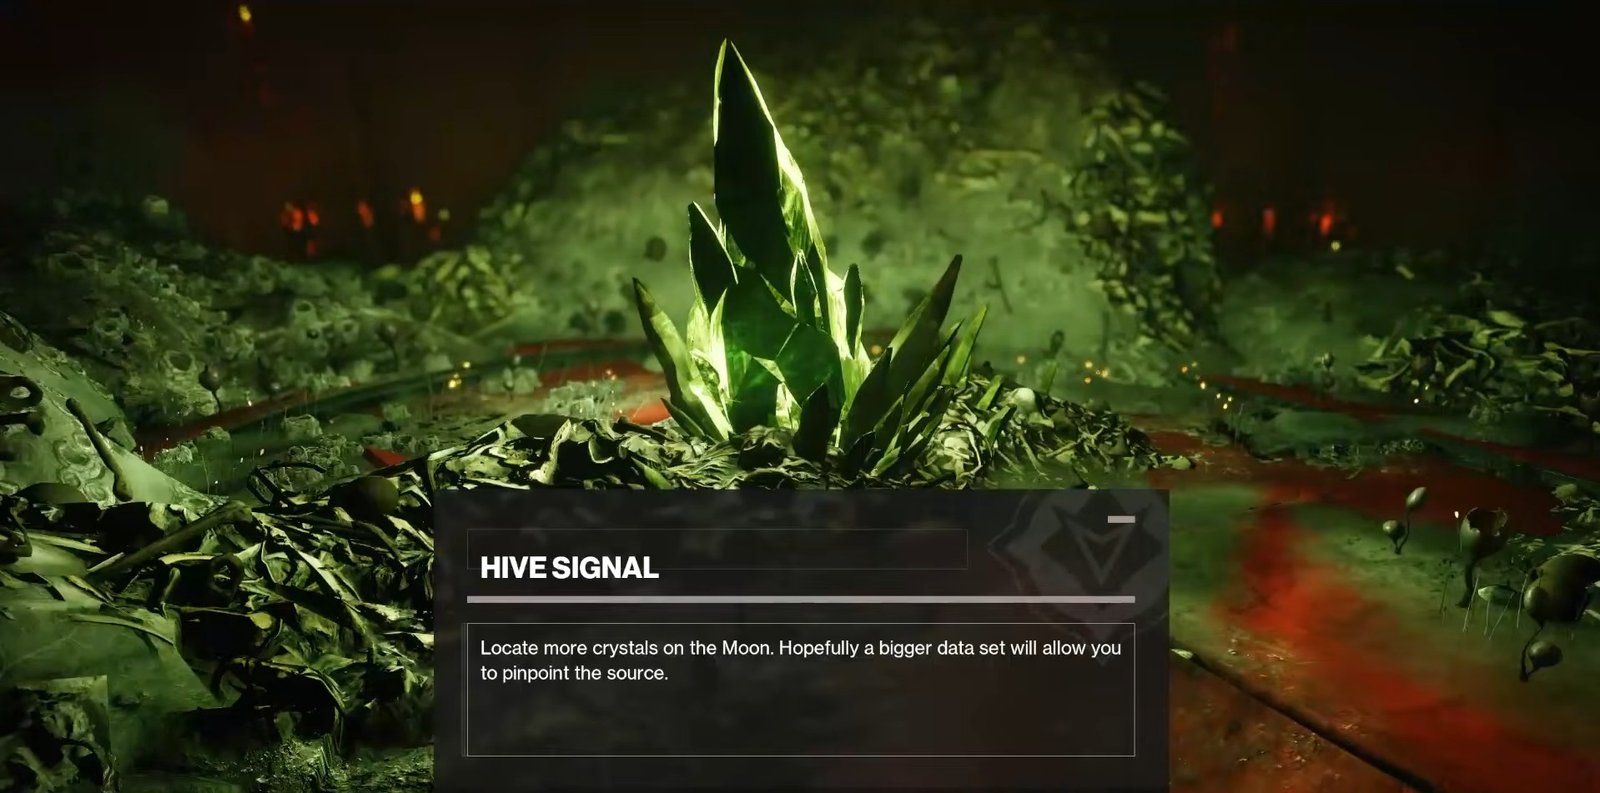
If the door does not open, make sure you activated the symbols before killing the boss. Players completing the strike for the first time may also need to finish it once before the puzzle becomes available. After interacting with the crystal, complete the strike.
Step 3: Investigate the First Syndicate Activity
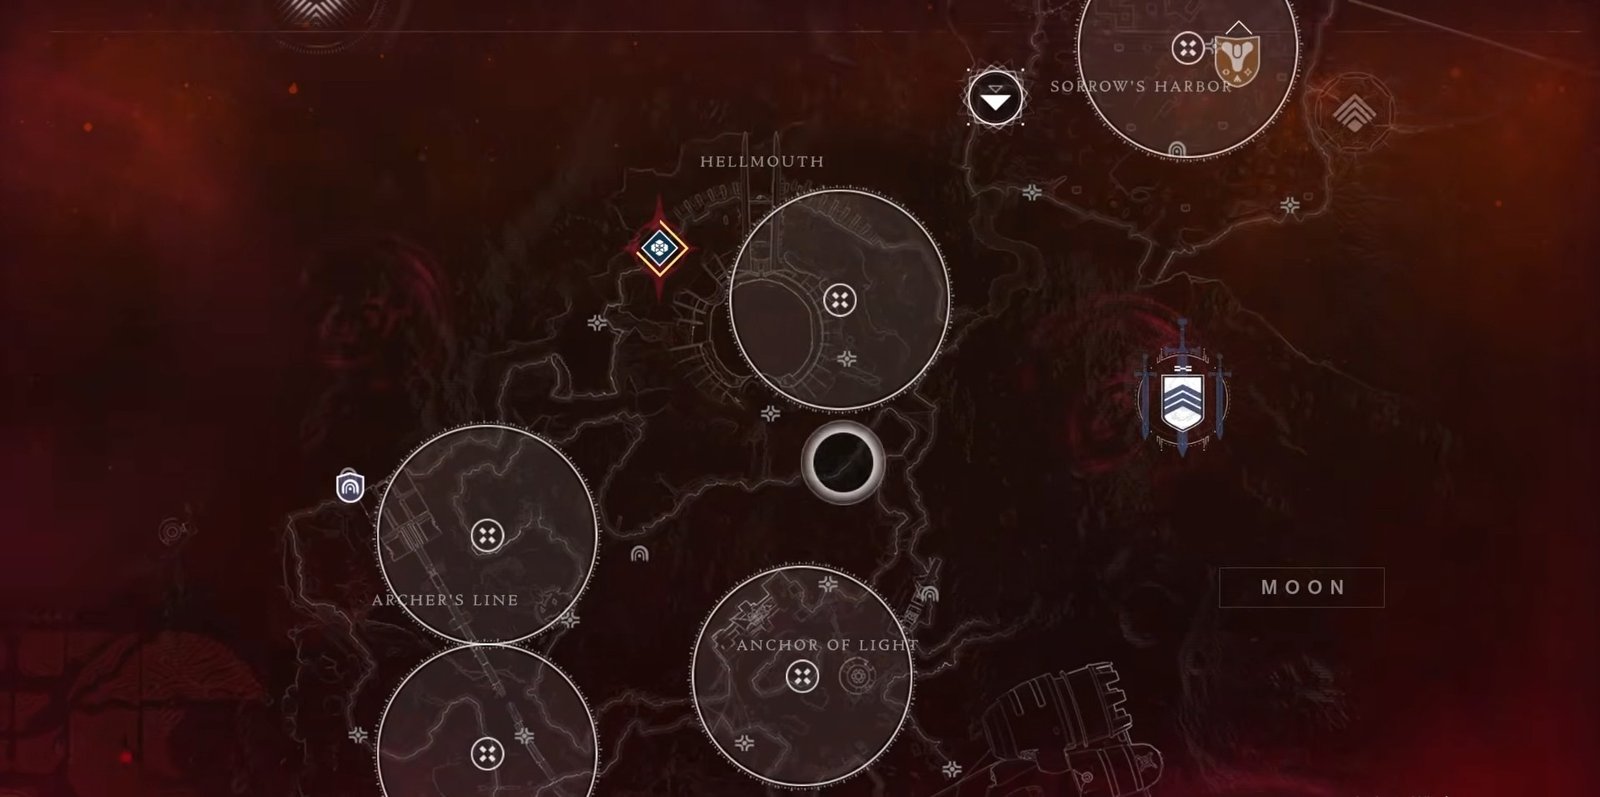
Return to the Moon and locate the first Suspicious Syndicate Activity search area at Anchor of Light. Find the Cabal scout and interact with it. The message you receive points toward Crota’s Temple.
Starting from Sanctuary, follow the path toward the temple. Along the way, green glowing Cabal markers help confirm that you are heading in the correct direction. Eventually, you will reach a newly opened passage leading deeper inside.
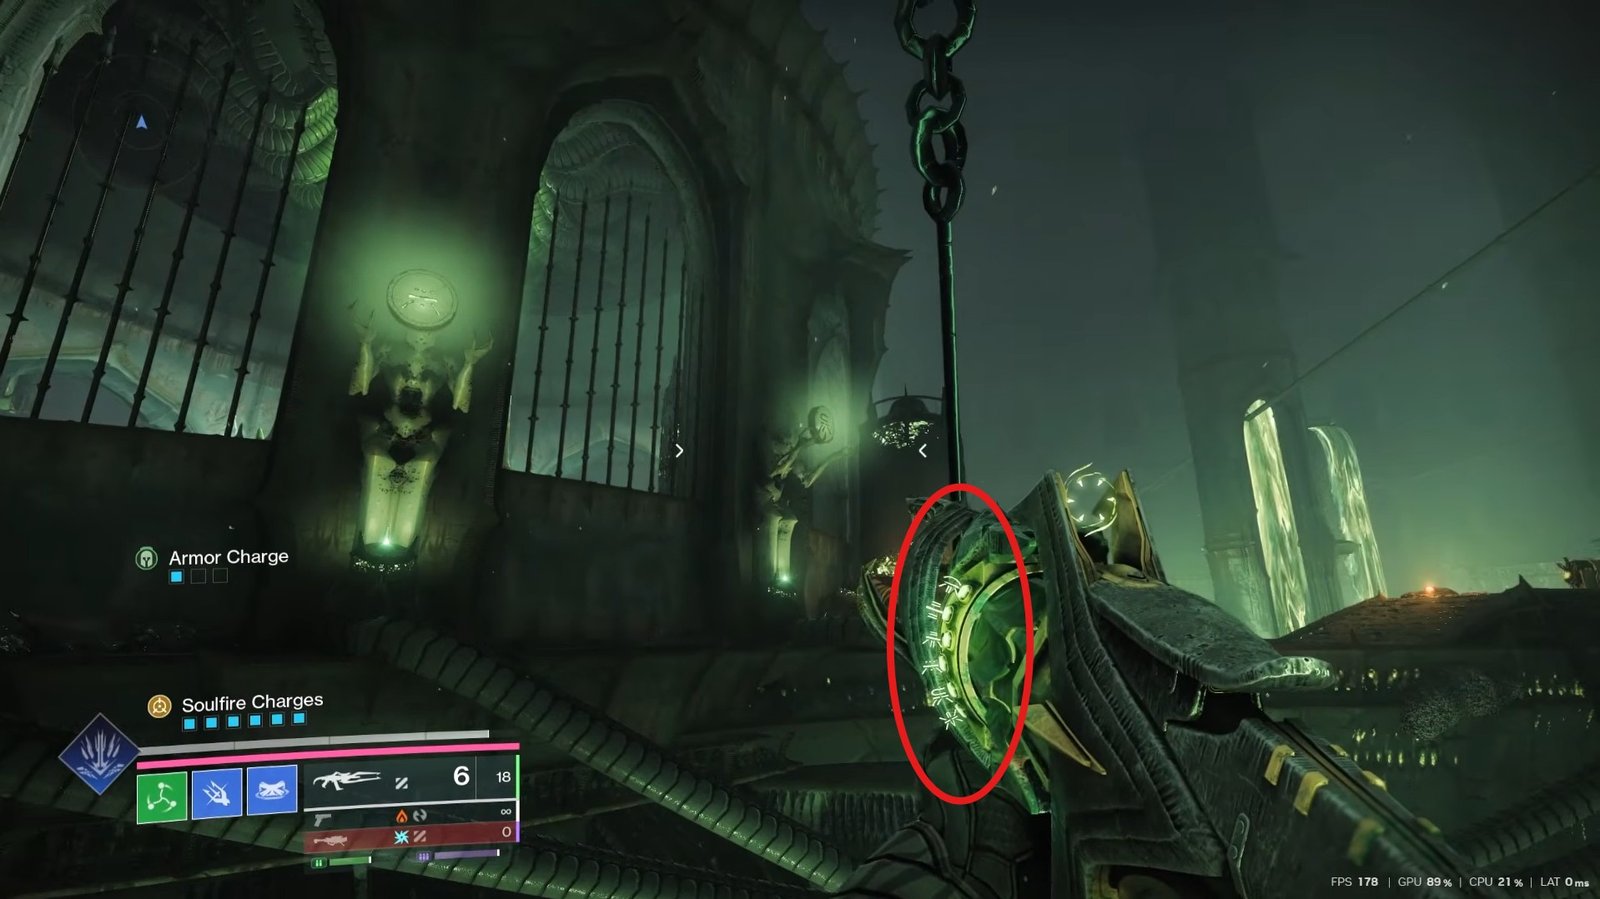
At the end of the path, defeat the powerful enemies guarding the area. Behind them is another symbol door. Equip your Weapon of Sorrow and locate the matching symbols nearby. Shoot them in the correct order from top to bottom.
Once the sequence is completed, interact with the crystal hidden behind the door.
Step 4: Complete the Oryx’s Shrine Activity
Travel to Archer’s Line and locate the next Cabal scout. After interacting with it, you will receive another clue directing you toward Oryx’s Shrine.
Follow the route deeper into the Moon while watching for the green glowing Cabal markers. When you reach the shrine, another symbol door will be waiting. Use your Weapon of Sorrow to reveal and identify the nearby symbols. Shoot them in order from top to bottom to unlock the door, then interact with the crystal behind it.
Step 5: Visit K1 Revelation
The third Syndicate Activity takes place in Sorrow’s Harbor. Find the Cabal scout and interact with it to receive the next clue.
Your destination is the K1 Revelation Lost Sector. Enter the Lost Sector and make your way to the final room. Near the Nightmare enemy, several symbols become visible while holding a Weapon of Sorrow. Locate the matching symbol door and activate the symbols in the correct order. Once the puzzle is solved, interact with the crystal.
Step 6: Explore the Hellmouth
The final Cabal scout can be found inside the Hellmouth.
After interacting with it, follow the path indicated by the nearby green Cabal markers. Eventually, you will enter another chamber containing a familiar symbol door. Just like before, shoot the symbols from top to bottom and activate the crystal hidden behind the door.
Completing this final puzzle unlocks a new search area in Sorrow’s Harbor.
Step 7: Unlock the Oblation Bloodline Mission
Travel to the newly revealed search area in Sorrow’s Harbor. Beneath the Keep, you will discover a secret entrance.
Follow the hidden path until you find a sealed chest and continue deeper into the area. Eventually, you will reach a special door that grants access to the Oblation Bloodline Exotic Mission. Launch the mission and speak with Aunor to begin.
Mission Objectives
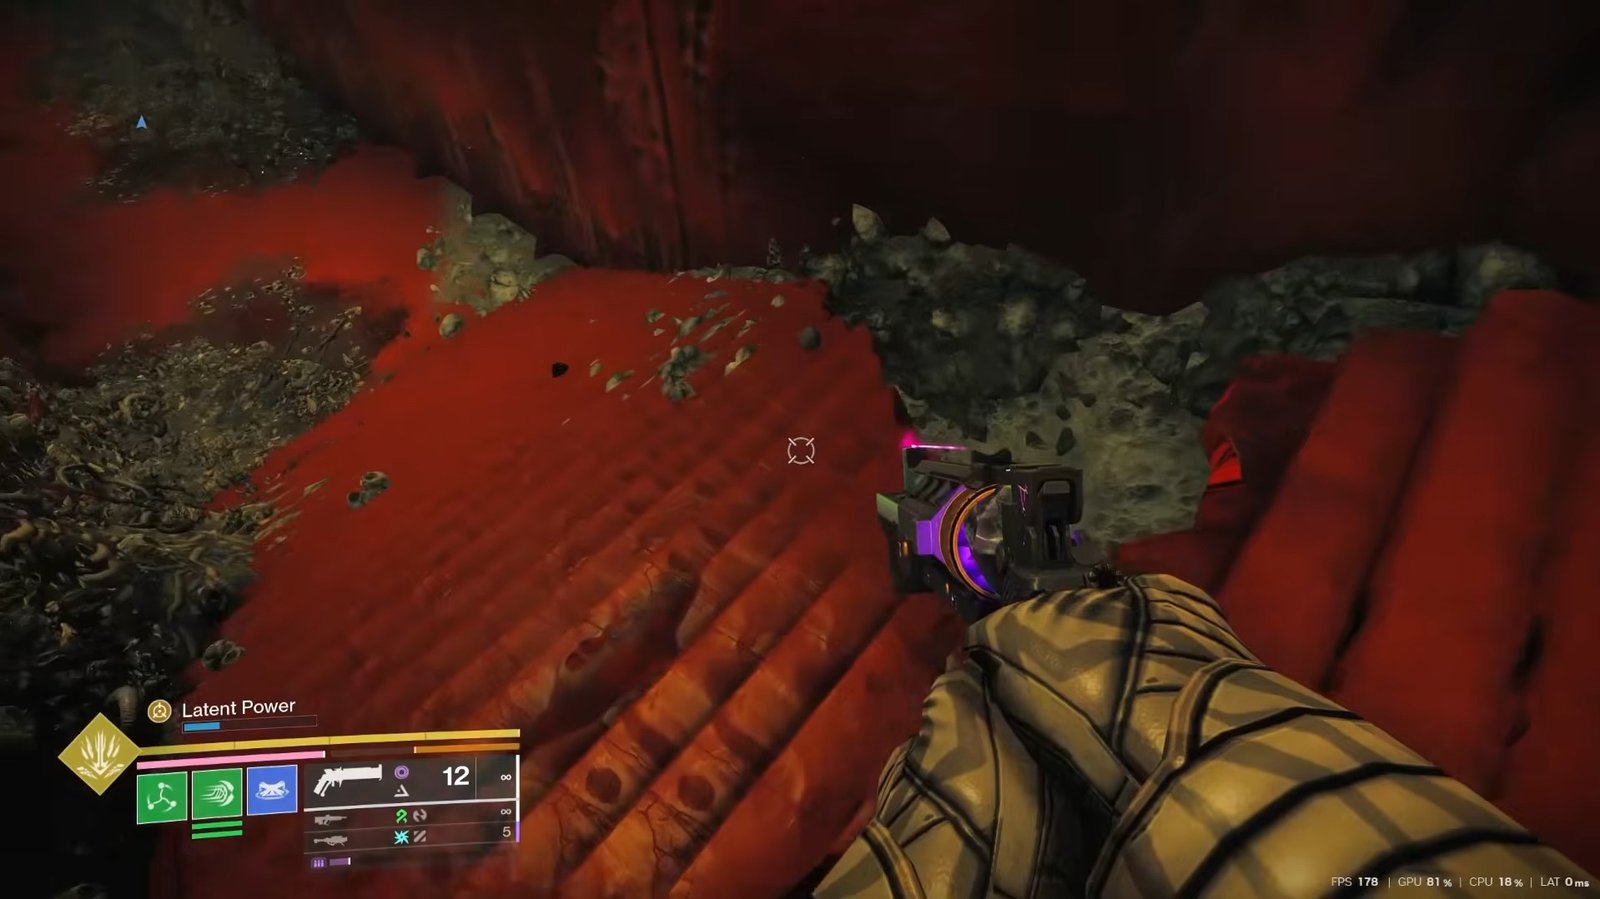
The early part of the mission involves activating an Override Safety Protocol switch and destroying several cooling tower fuses. After doing this, vents on a nearby machine will open. Shoot these vents to continue.
As the mission progresses, you will travel through caves, climb structures, cross rooftops, and navigate hidden pathways. Pay attention to lanterns, as they often mark the correct route.
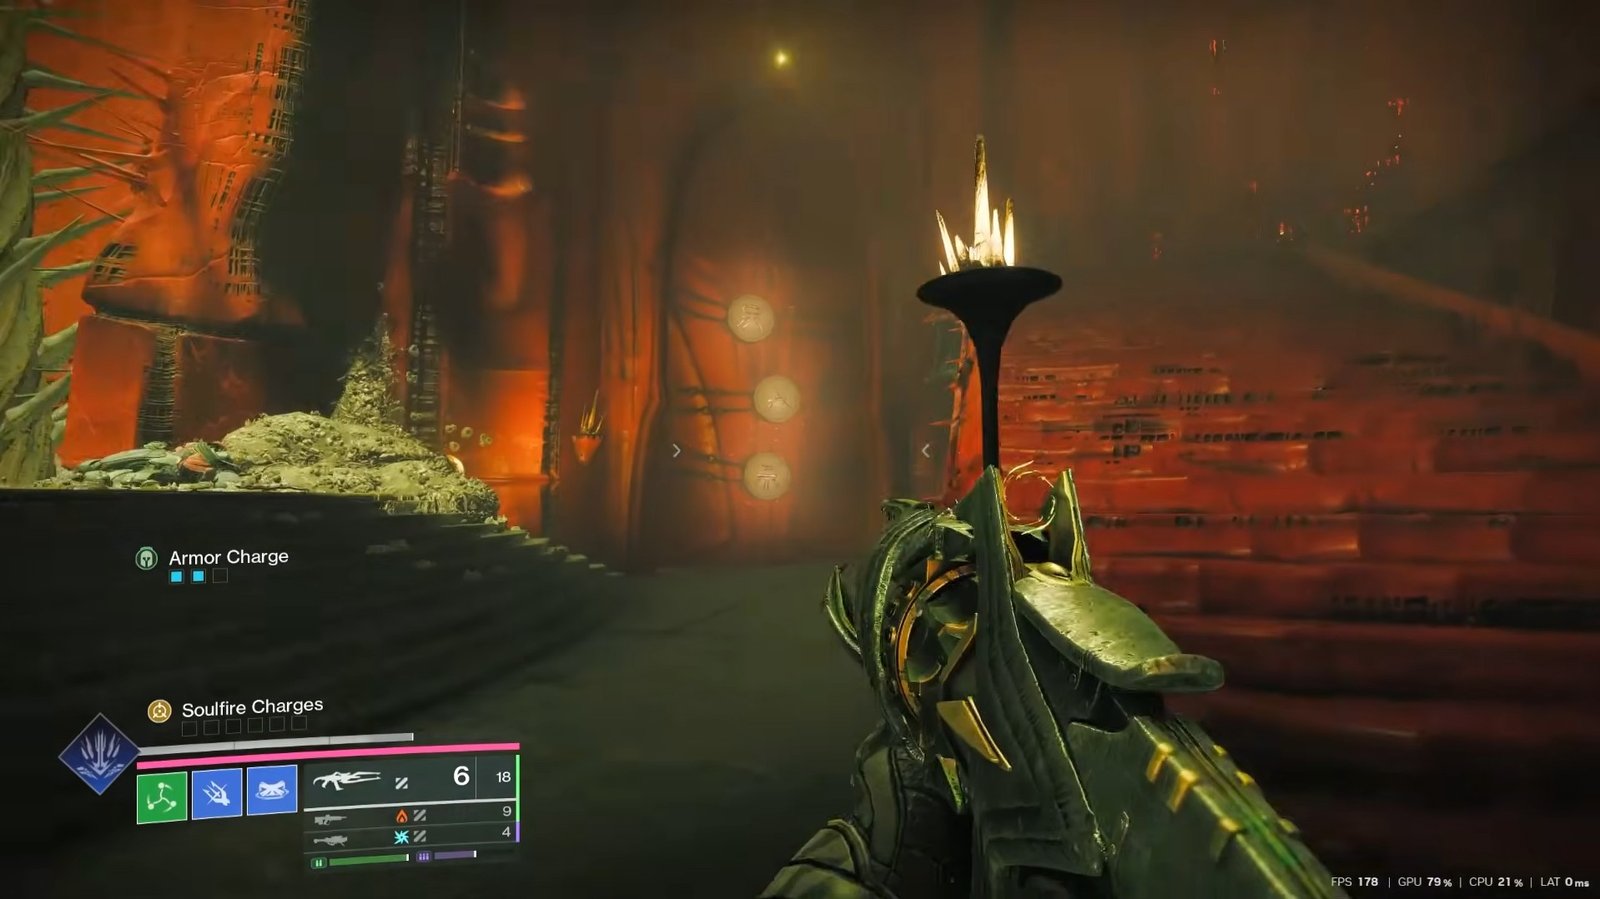
Later, you will encounter a new mechanic involving Soulfire Charges. Defeat the designated enemies to collect these charges and deposit them into nearby pots. Repeating this process opens locked doors and advances the mission.
Final Boss Encounter
The boss fight uses the same Soulfire Charge mechanic. Collect charges, place them into the required pots, and continue until the boss becomes vulnerable. Repeat the process until the boss is defeated. Upon completion, you will receive the Cull’s Shadow Exotic Weapon.
Step 8: Obtain the Soulfire Secure Catalyst
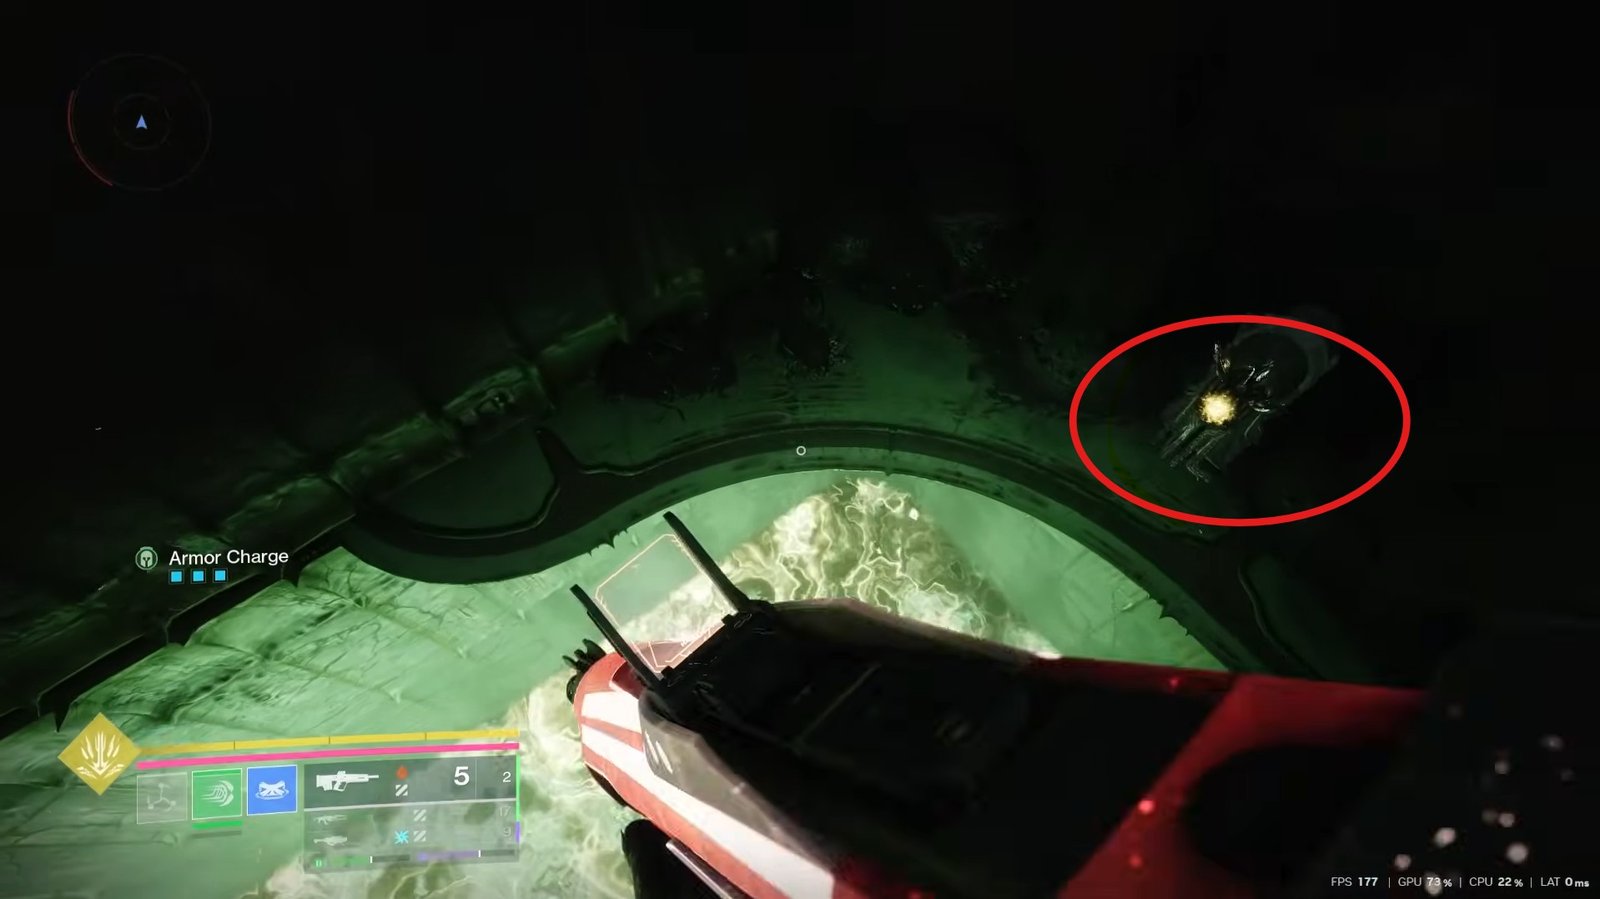
Do not leave the mission after obtaining the weapon. Instead, backtrack from the boss arena and climb the nearby tower. Use the lantern platforms to reach a hidden book and interact with it.
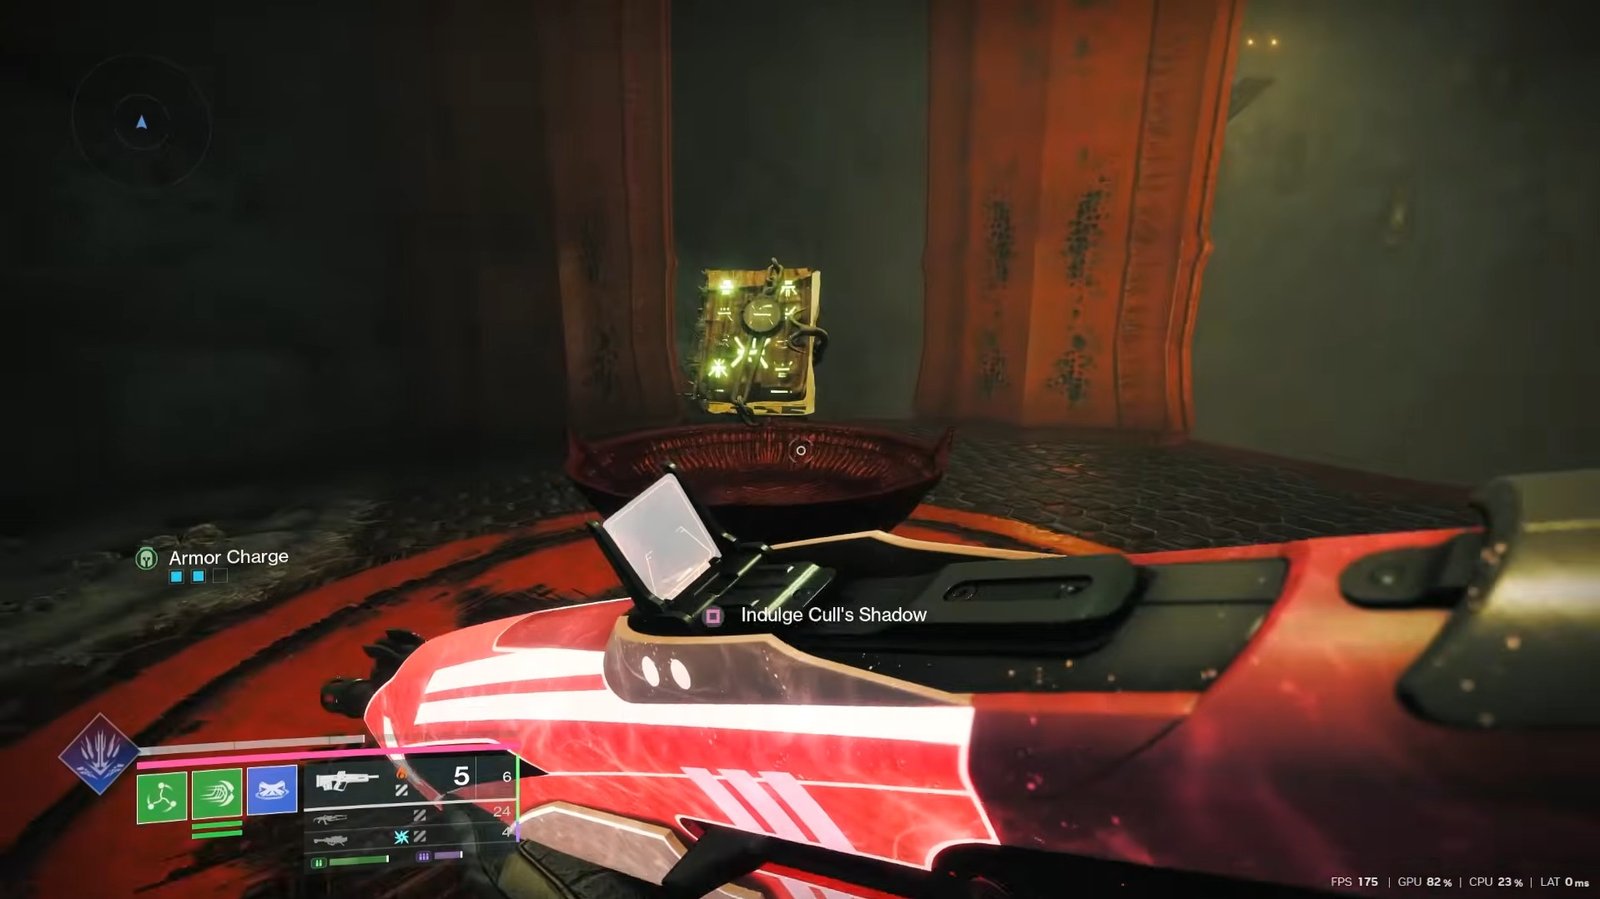
After collecting the book, return to the boss’s room. Near the rear section of the arena is another symbol puzzle. Use a Weapon of Sorrow to activate the symbols correctly. Completing this puzzle rewards the Soulfire Secure Catalyst. A newly opened doorway will also grant access to another Exotic mission.
Step 9: Complete the Soulfed Mission
Enter the Soulfed Exotic Mission to continue upgrading Cull’s Shadow. Throughout this mission, you will encounter worms and crystals. The primary objective is simple: pick up worms and throw them into the required crystals whenever you encounter them.
Several areas contain multiple crystals that must be activated before progress is possible. Continue solving these objectives while following the mission route.
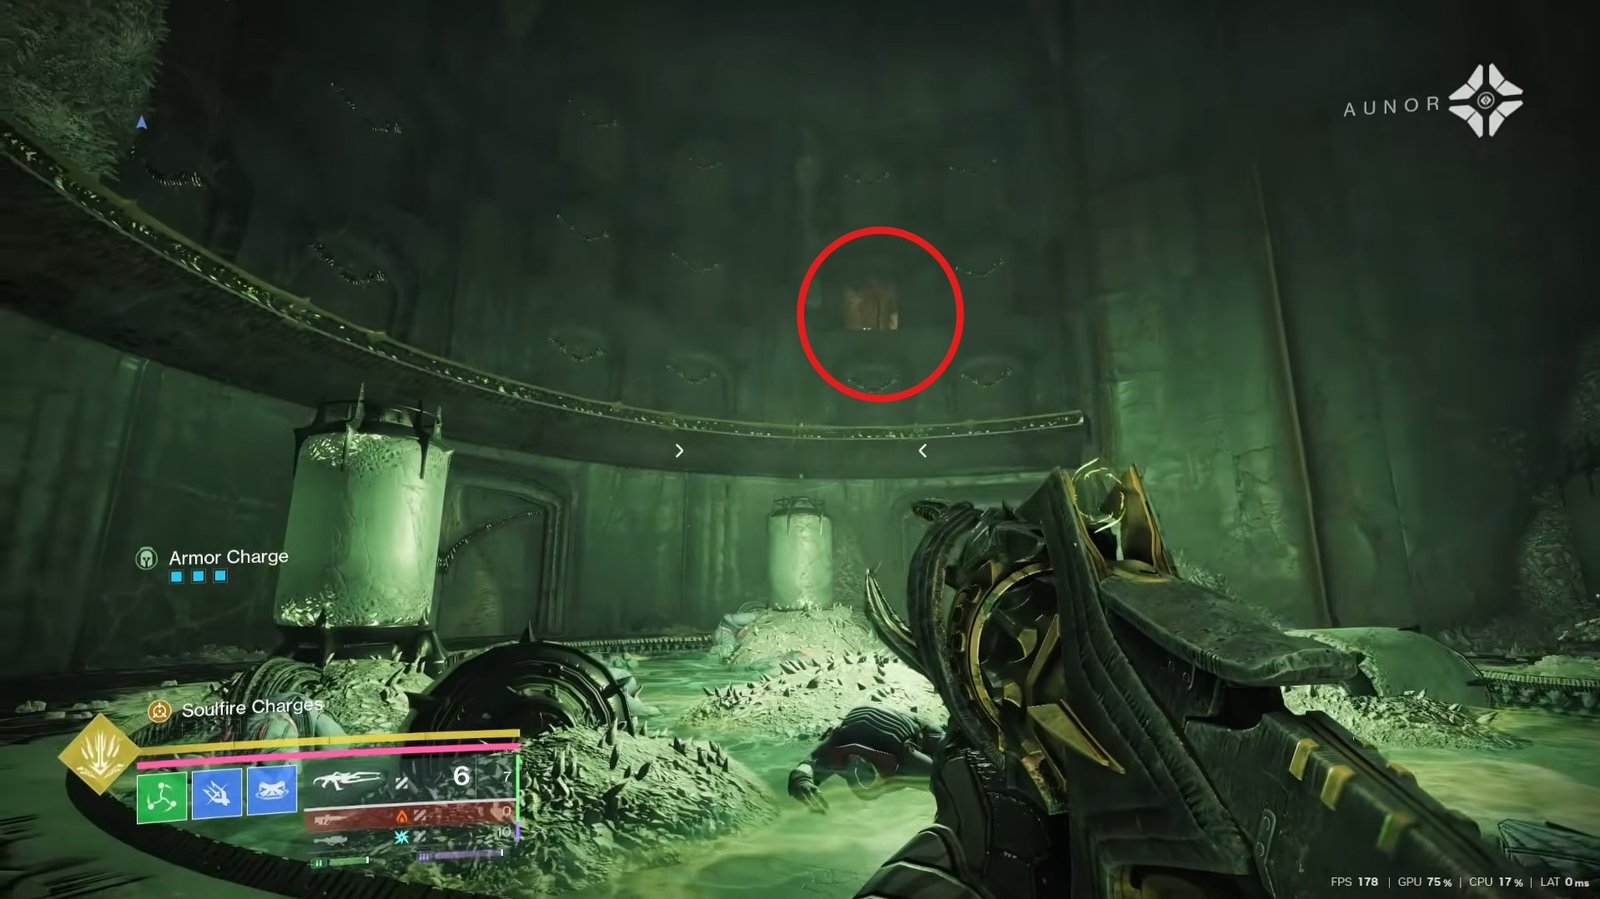
At one point, a hidden door opens when crystals are activated. Inside, you will find another interactive object and later another collectible book related to Cull’s Shadow. Eventually, you will reach a fight against three bosses.
Soulfire Rancor Catalyst
If every previous objective has been completed correctly, you will receive another book during the final encounter. Finishing the mission rewards the Soulfire Rancor Catalyst.
Soulfire Zeal Catalyst
Before ending the mission, head to the rear of the final arena instead of immediately leaving.
Here you will find another symbol puzzle. This time, use Cull’s Shadow itself to determine the correct symbol order. Shoot all symbols in the proper sequence to unlock the Soulfire Zeal Catalyst.
Step 10: Complete Oblation Immolation
After earning the previous catalyst, you will gain access to the final Exotic mission, Oblation Immolation. Launch the activity and begin the final series of encounters.
First Boss
Damage the boss until a portion of its health is removed. This causes a Wizard to appear on one of several platforms. Defeat the Wizard and activate the platform. Repeat this process each time the mechanic appears until the boss is defeated.
Final Boss
The last encounter combines several mechanics introduced earlier. The arena is divided into multiple sections, each containing a Wizard. Defeating a Wizard lowers the boss’s shield and allows damage to be dealt.
After enough damage is inflicted, the boss returns to the center and begins using powerful slam attacks. Avoid standing near the middle of the arena during these attacks. These are one-hit-kill attacks, so stay as far away as possible during these attacks.
Around the arena, certain pots will become active and ignite with fire. Active pots contain worms that must be thrown into nearby crystals. Successfully activating the crystals once again removes the boss’s shield. Continue repeating the cycle until the boss is defeated.
Final Rewards
Completing the Oblation Immolation mission grants:
- Soulfire Skewer Catalyst
- Denier of Futurity Vehicle
At this point, Cull’s Shadow and all of its available catalyst upgrades will be fully unlocked. That is all for this guide. Additional Destiny 2 Monument of Triumph guides are listed below:
- How to Unlock The Scarlet Keep Strike in Destiny 2 Monument of Triumph
- How to Get Weapon of Sorrow in Destiny 2 Monument of Triumph
- Destiny 2 Monument of Triumph Distortion’s Quest Guide – How to Complete Full Quest
- How to Farm Tier 5 Gear in Destiny 2 Monument of Triumph
- How to Get Legendary Marks in Destiny 2 Monument of Triumph
- How to Complete Loot the Goblin in Destiny 2 Monument of Triumph
This concludes our Destiny 2 guide on how you can unlock the Cull’s Shadow Exotic in the game along with all of its traits. If you have some tips and tricks for us regarding it, let us know in the comments section below.