This Crimson Desert Runewalker Shield Guide shows you how you can get the Runewalker Shield. There is a quest in the game that secretly gives you a shield, but the game doesn’t hand it to you directly. Even after finishing the quest, you still have to travel to another location actually to collect the reward. Many players miss this, and we will see how we can get this.
Runewalker Shield Guide – Crimson Desert
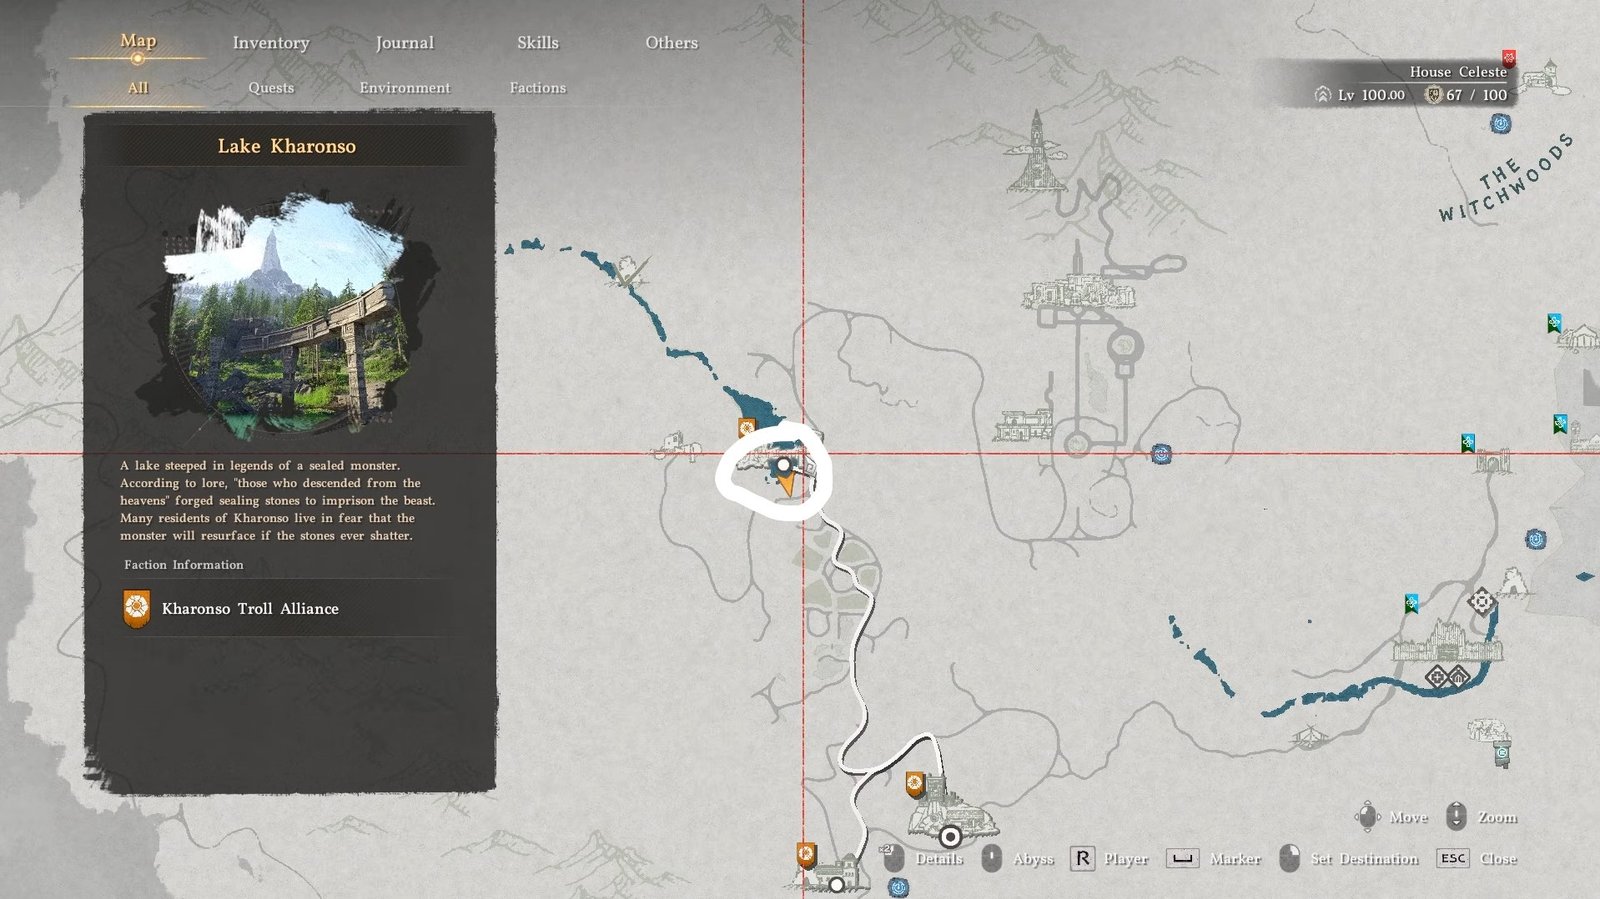
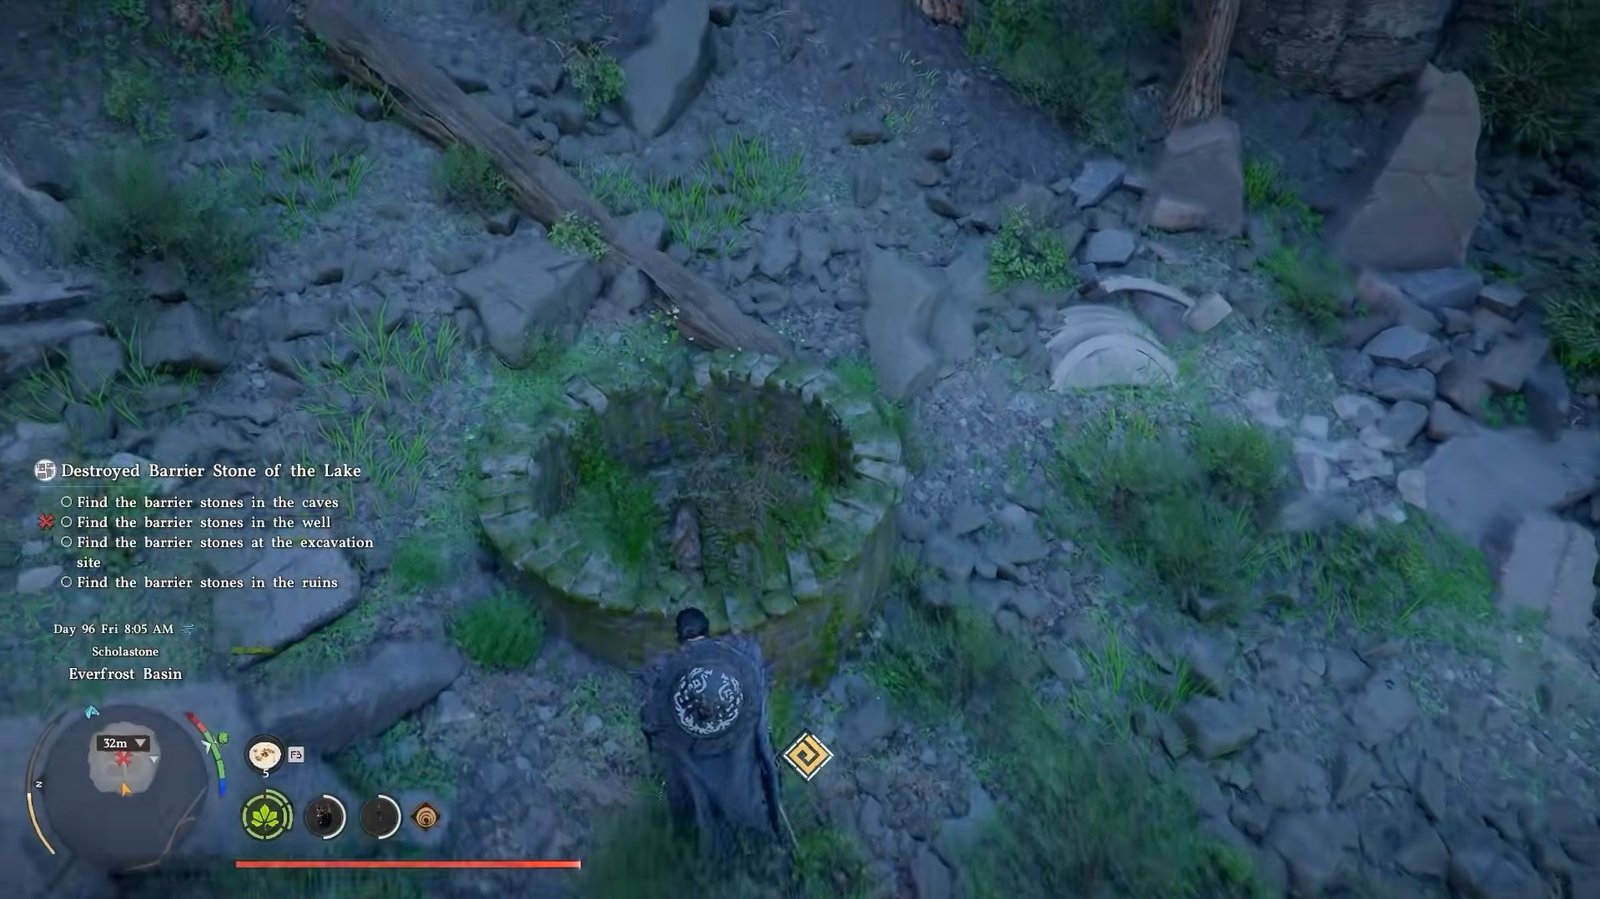
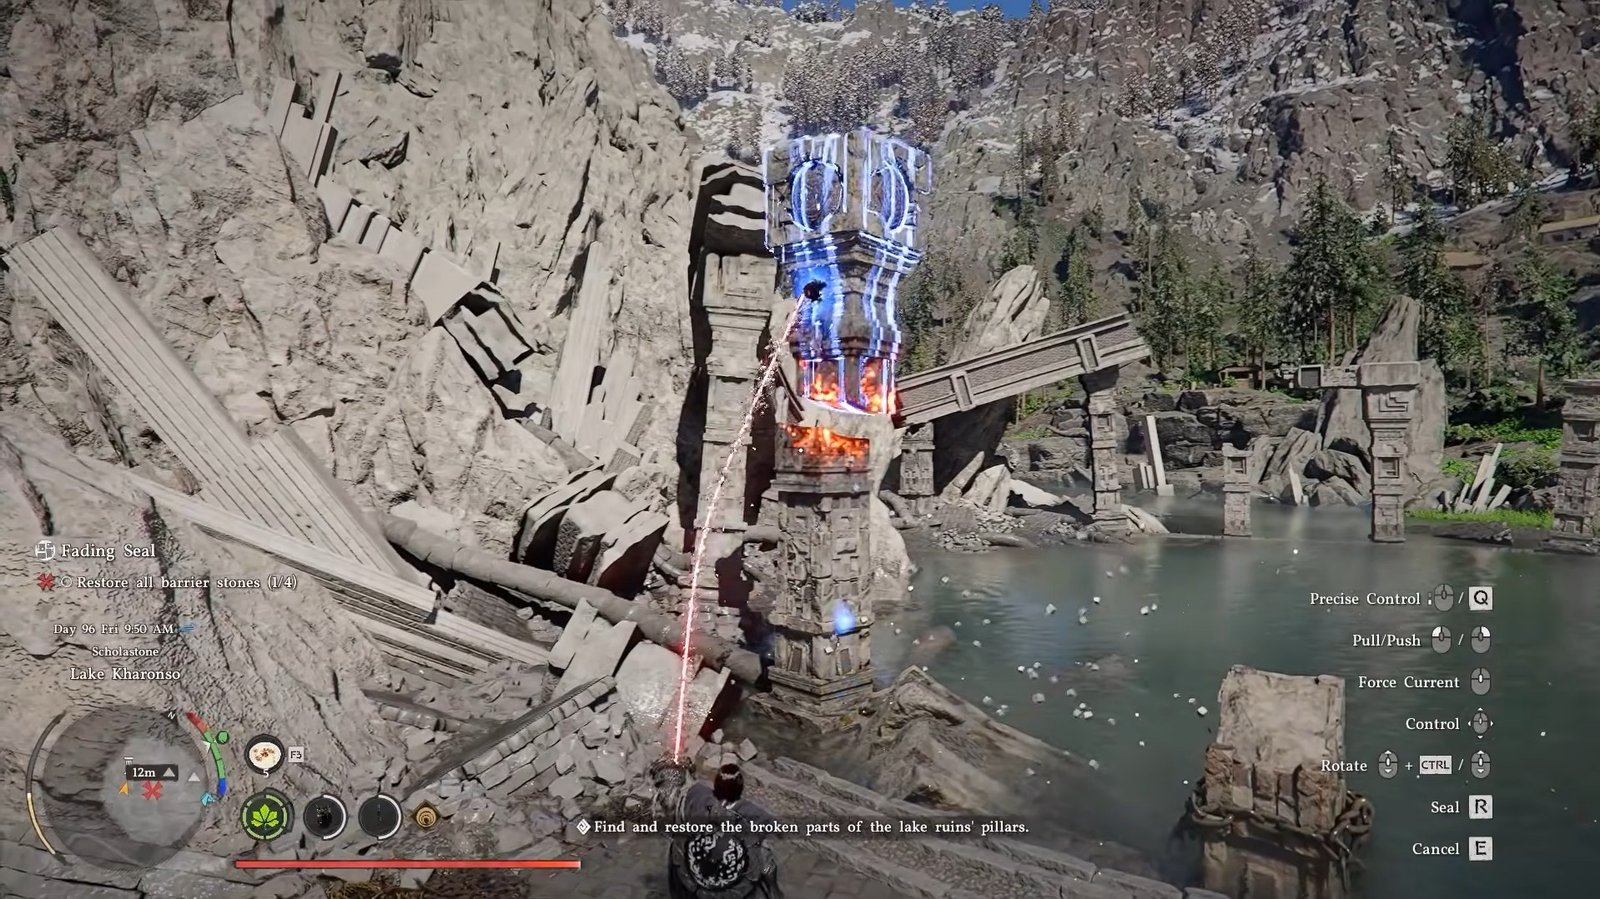
This quest takes place in Kharonso, in the bottom-left corner of the map near the Scholar Stone Institute and Lake Kharonso. You can pick it up near Hernand, where an NPC gives you the task. He asks you to find four missing barrier stones and repair a structure. Once you accept, all required locations are marked on your map.
Finding All Four Barrier Stones
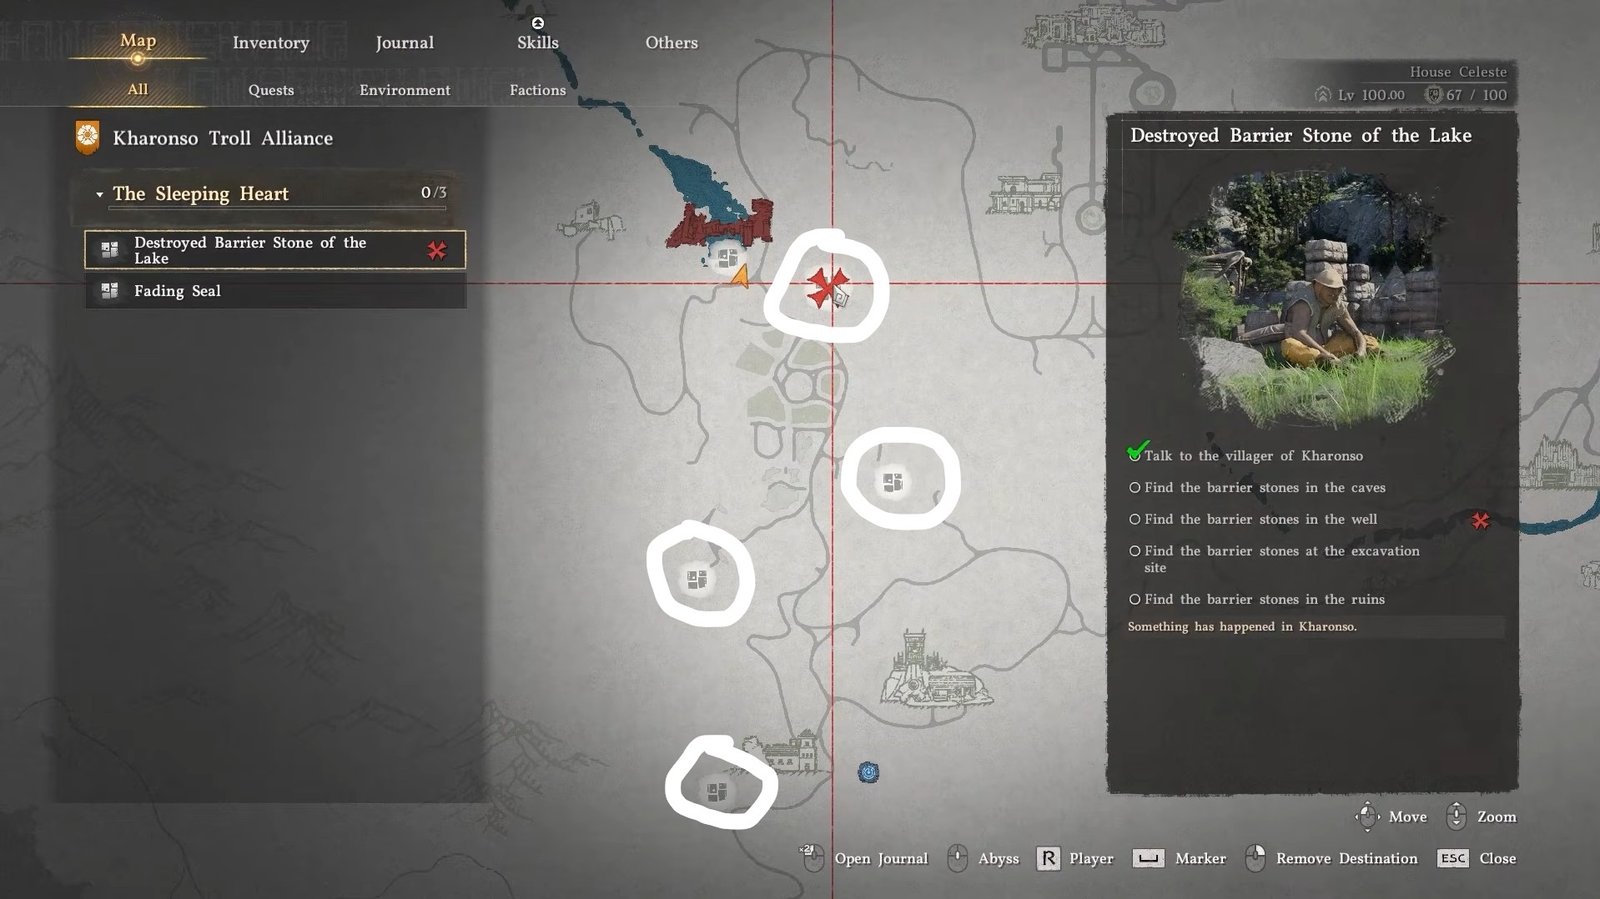
The first stone is hidden inside a well. You will need to jump down into it, which leads to a large underground chamber. To collect the piece, you must have a Kuku Pot in your inventory. With the help of Axiom Hand, you can grab the pillar piece and seal it inside the pot. Getting out of the well can be a bit tricky, so don’t worry if it takes a few tries.
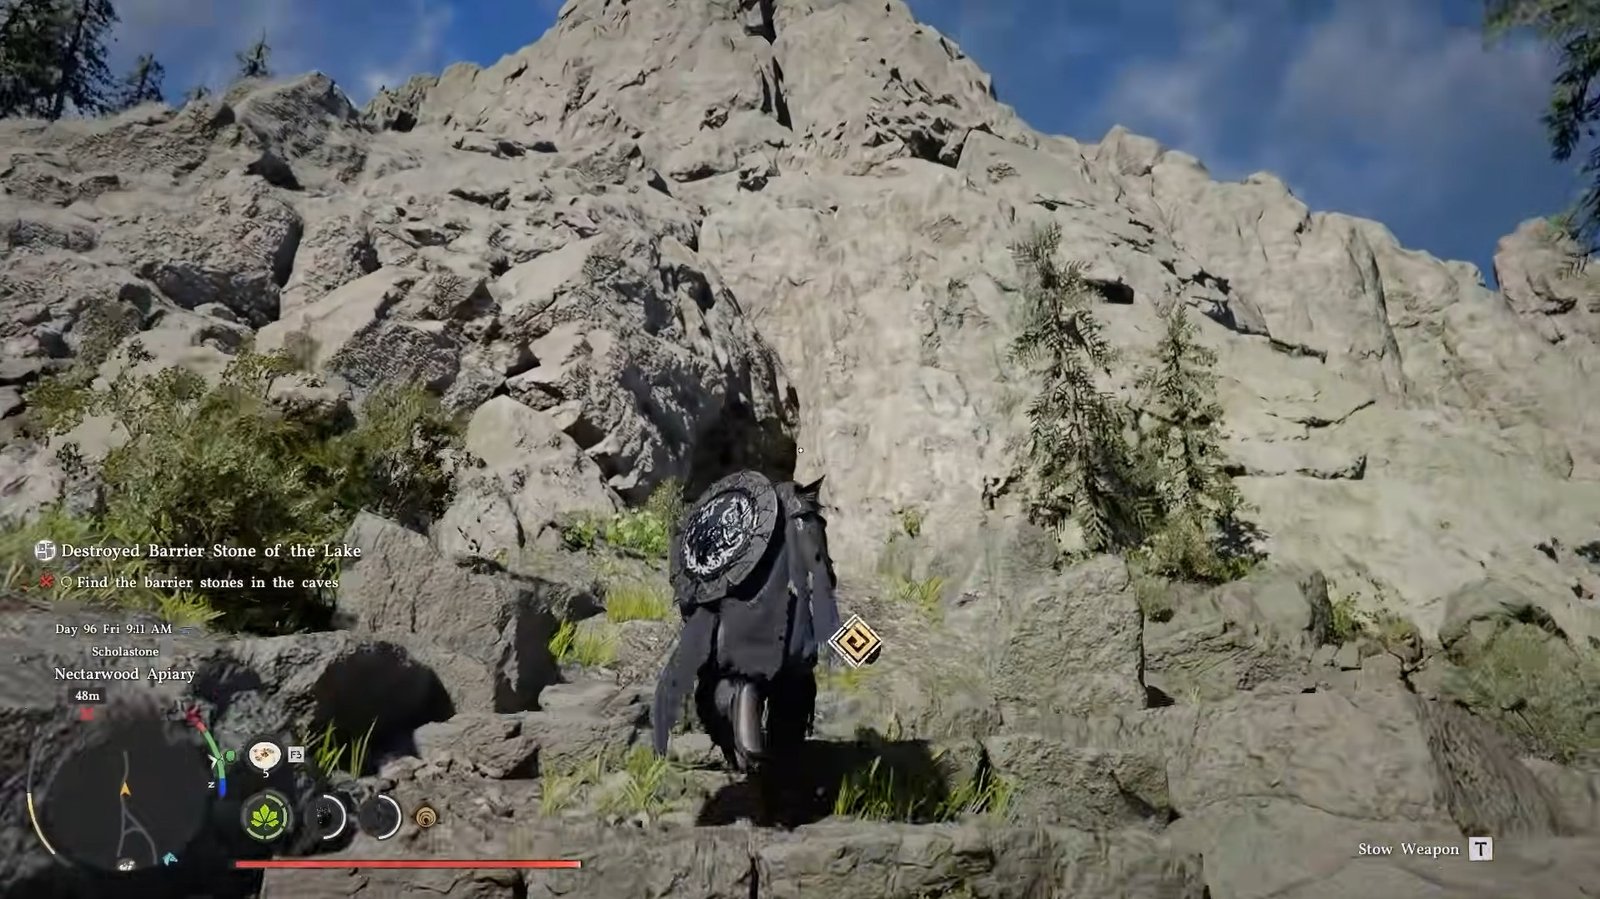
The second stone is inside a cave. You enter through a narrow gap and move forward until you find the top section of a pillar. Just like before, grab it and store it in your Kuku Pot, then exit the same way you came in.
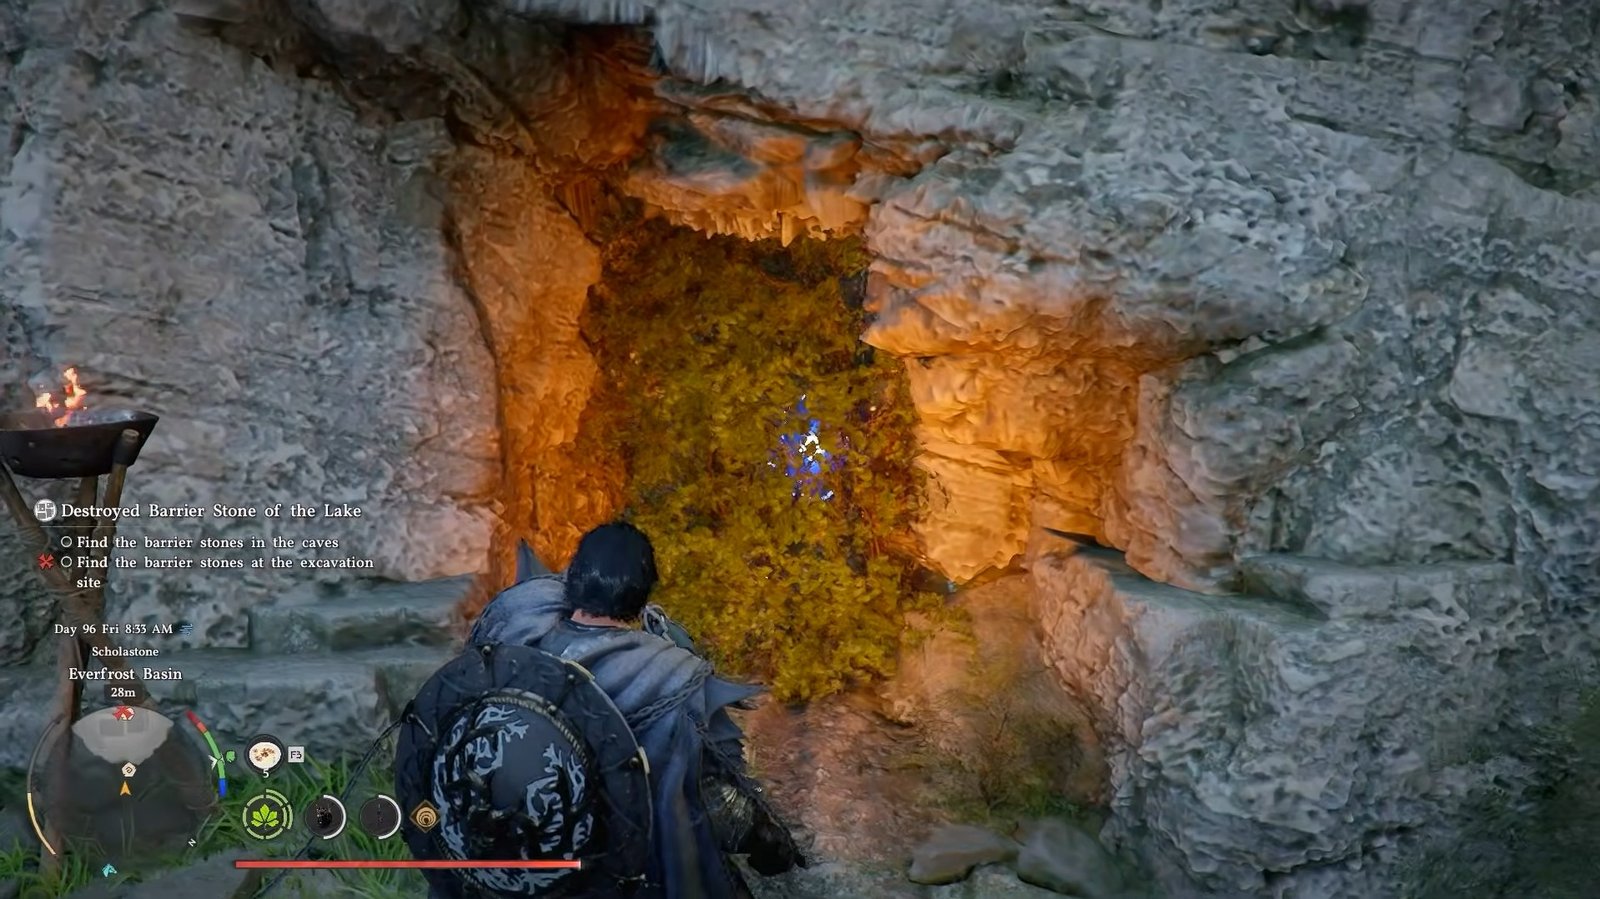
A magical barrier blocks the third location. To remove it, you need to use Focus along with Force Palm. Aim at the glowing circle and release when it turns yellow to break the barrier. Inside, the pillar is held by chains, so you must first destroy them using a charged attack, pressing light and heavy attacks together. Once the chains break, you can grab and store the piece.
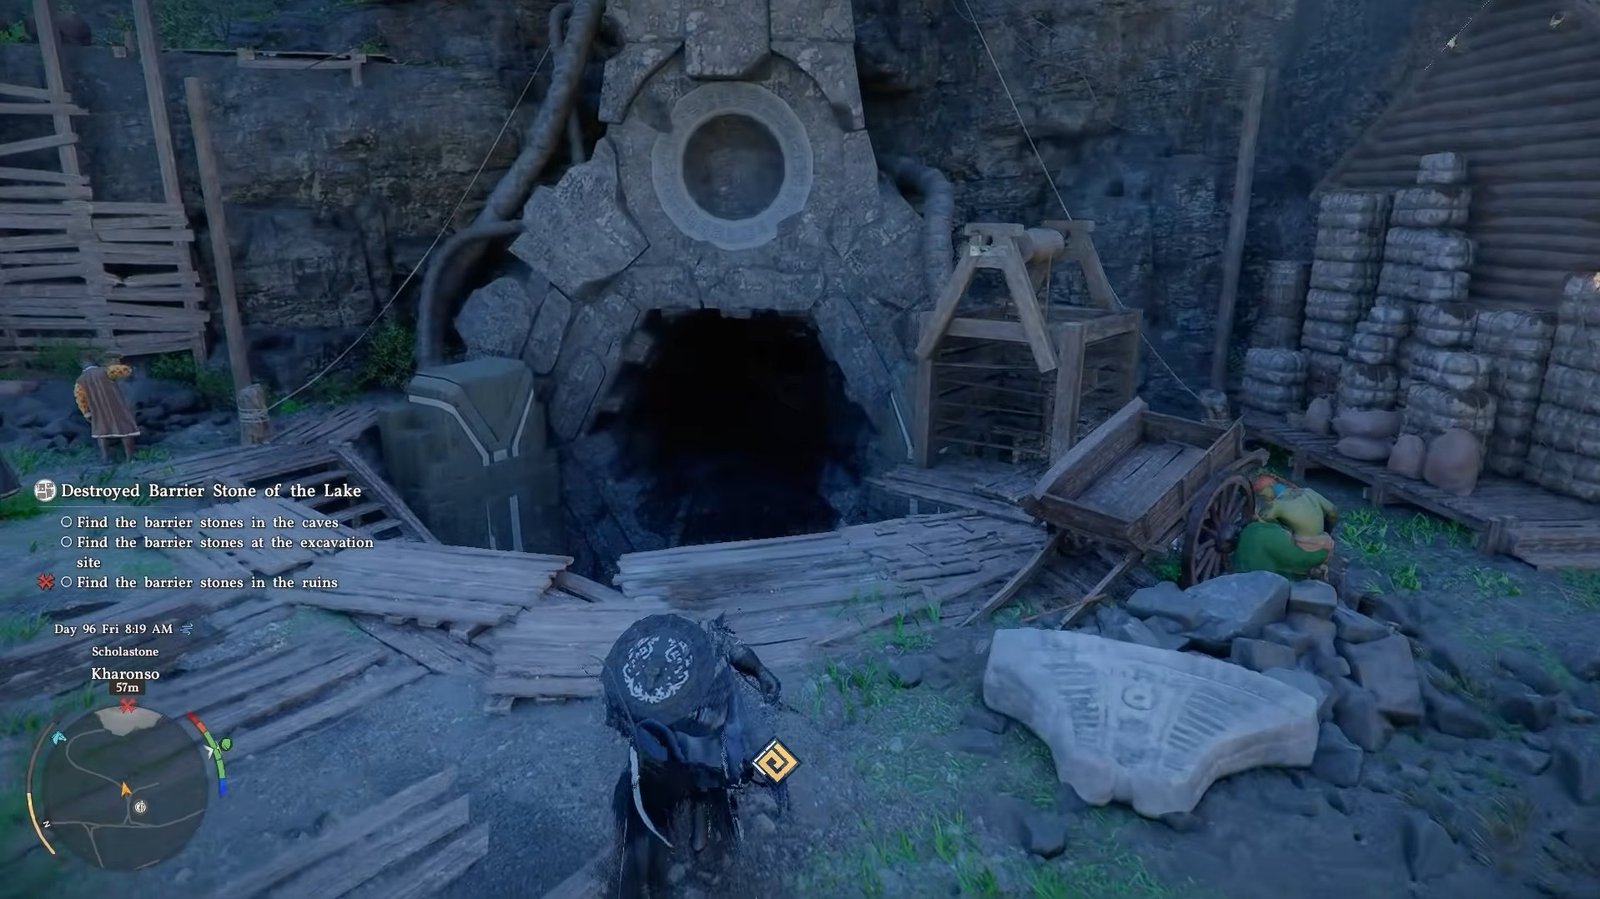
The final stone is found in a cave at the bottom of a mountain. The entrance is open, so you can walk straight in, collect the piece, and seal it like the others.
Restoring the Structure
After collecting all four pieces, return to the main structure. Now comes the restoration part. Open your Kuku Pot and drop each piece one at a time. Pick it back up with Axiom Hand and place it in the correct position. You will know it is aligned properly when you see green leaves appear. Then climb on top and use Force Palm to push it into place.
You repeat this process for all four pieces. Each one connects to a different part of the structure, so take your time lining them up correctly.
Boss Fight
Once all stones are placed, a boss will appear. The fight is quite simple. You just need to use your Axiom Hand to pull out its core and attack that core until the boss is defeated.
The Hidden Reward – Runewalker Shield
After beating the boss, the game does not directly give you the main reward. This is where many players get confused.
You need to travel to a town location shown on the map, specifically near an equipment shop.
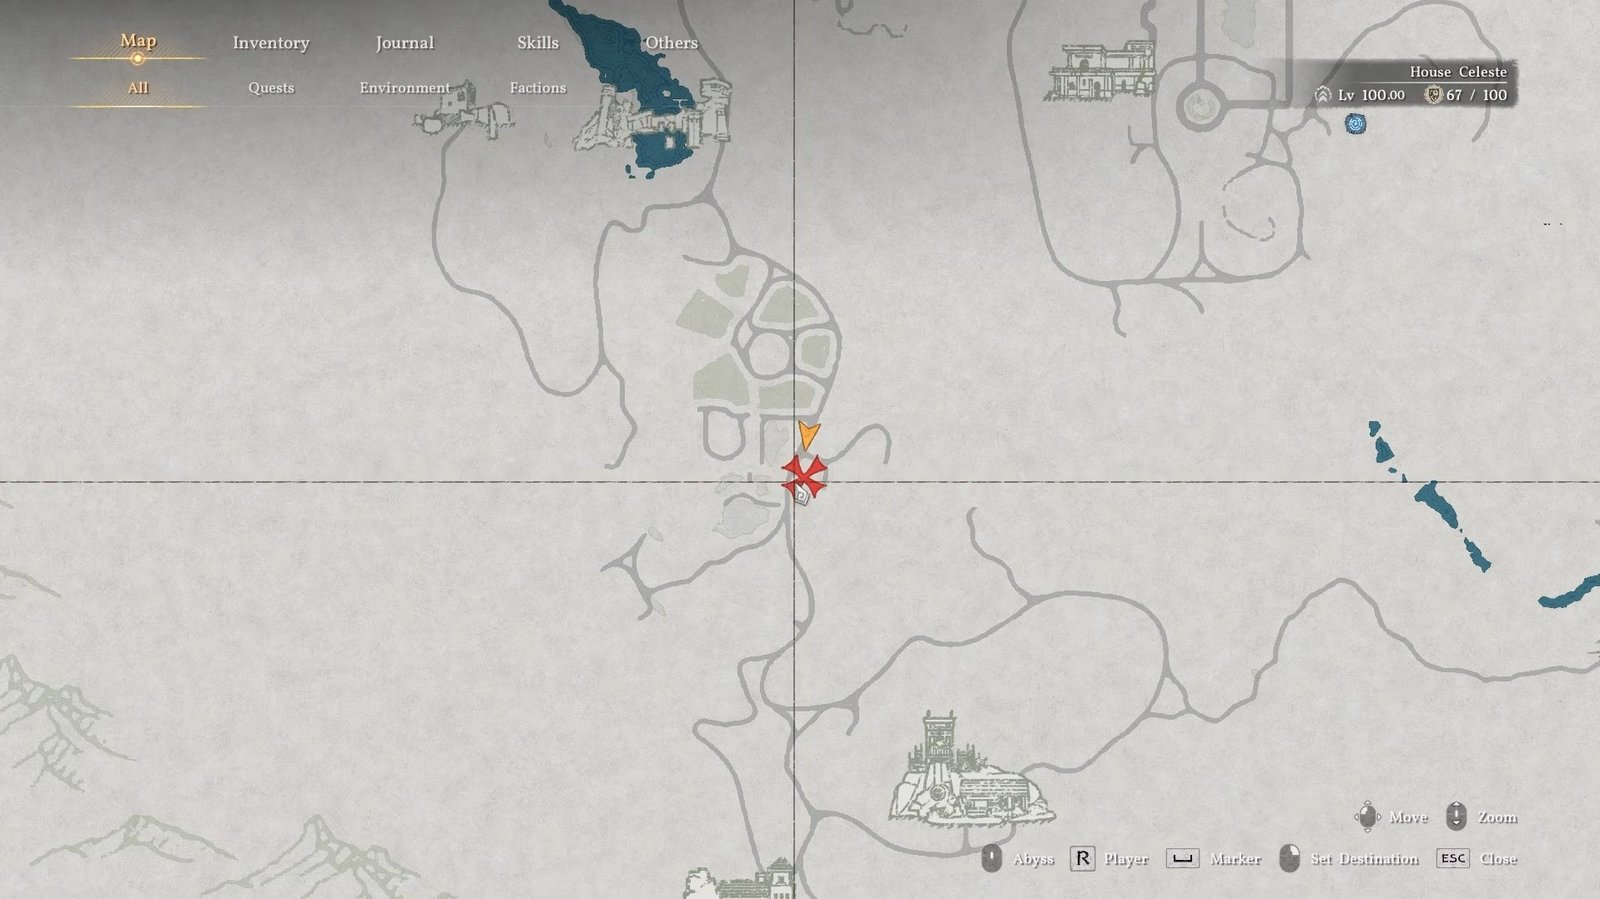
When you arrive, you will see a shield lying there with an exclamation mark above it. You don’t need to buy it; you can pick it up.
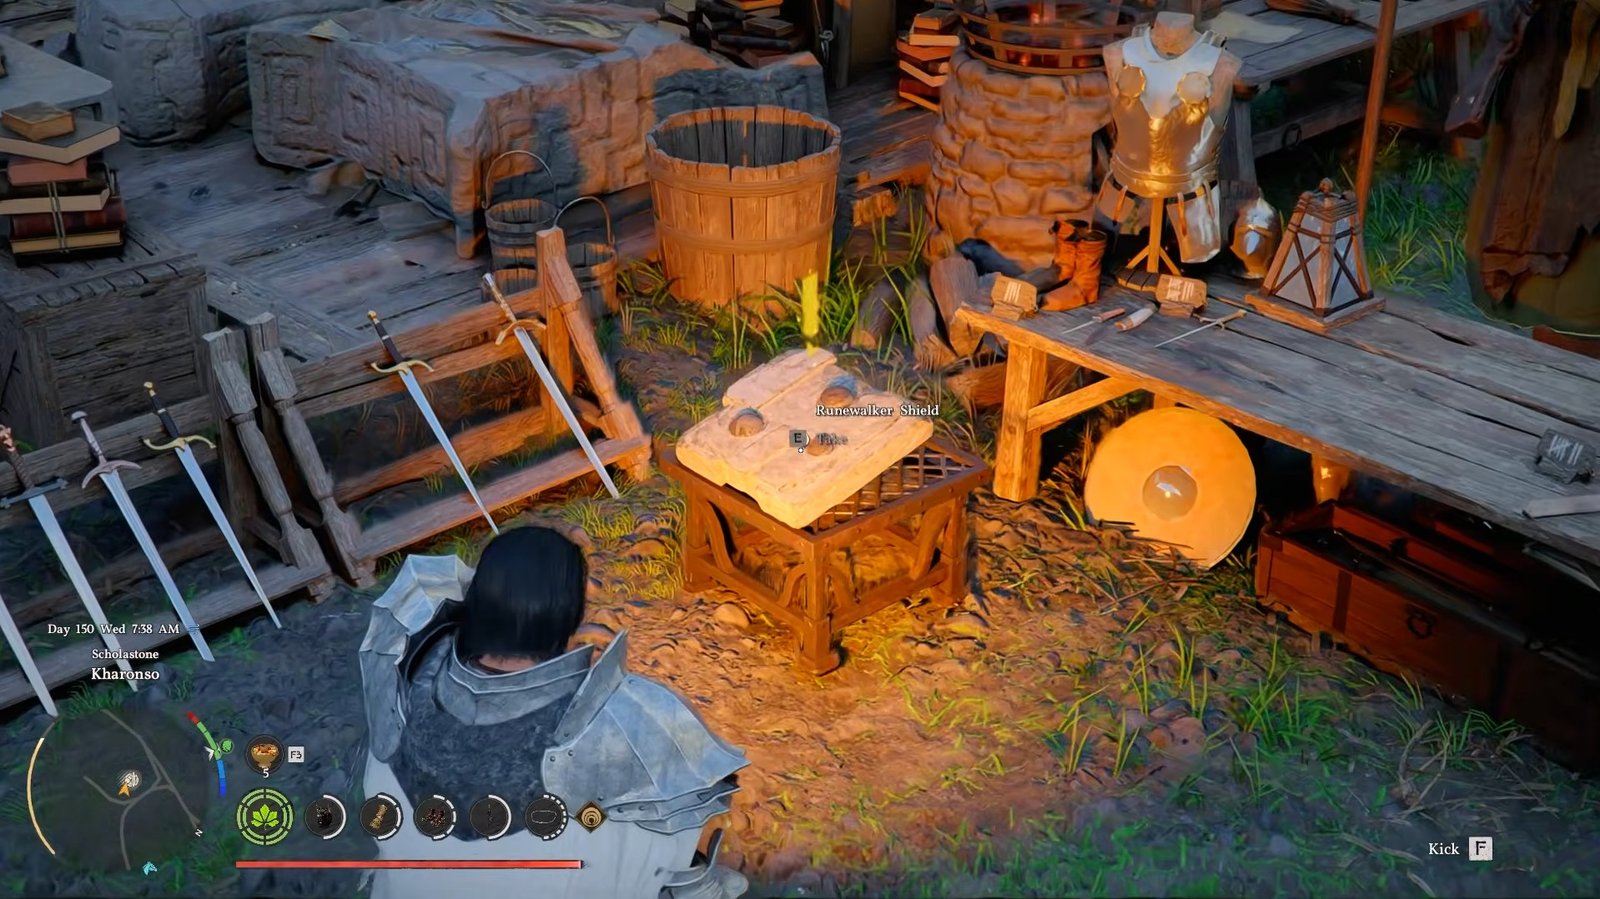
Runewalker Shield Details
This reward is called the Runewalker Shield. It has a unique rocky design and stands out visually. It also comes with a special ability called Runic Retribution.
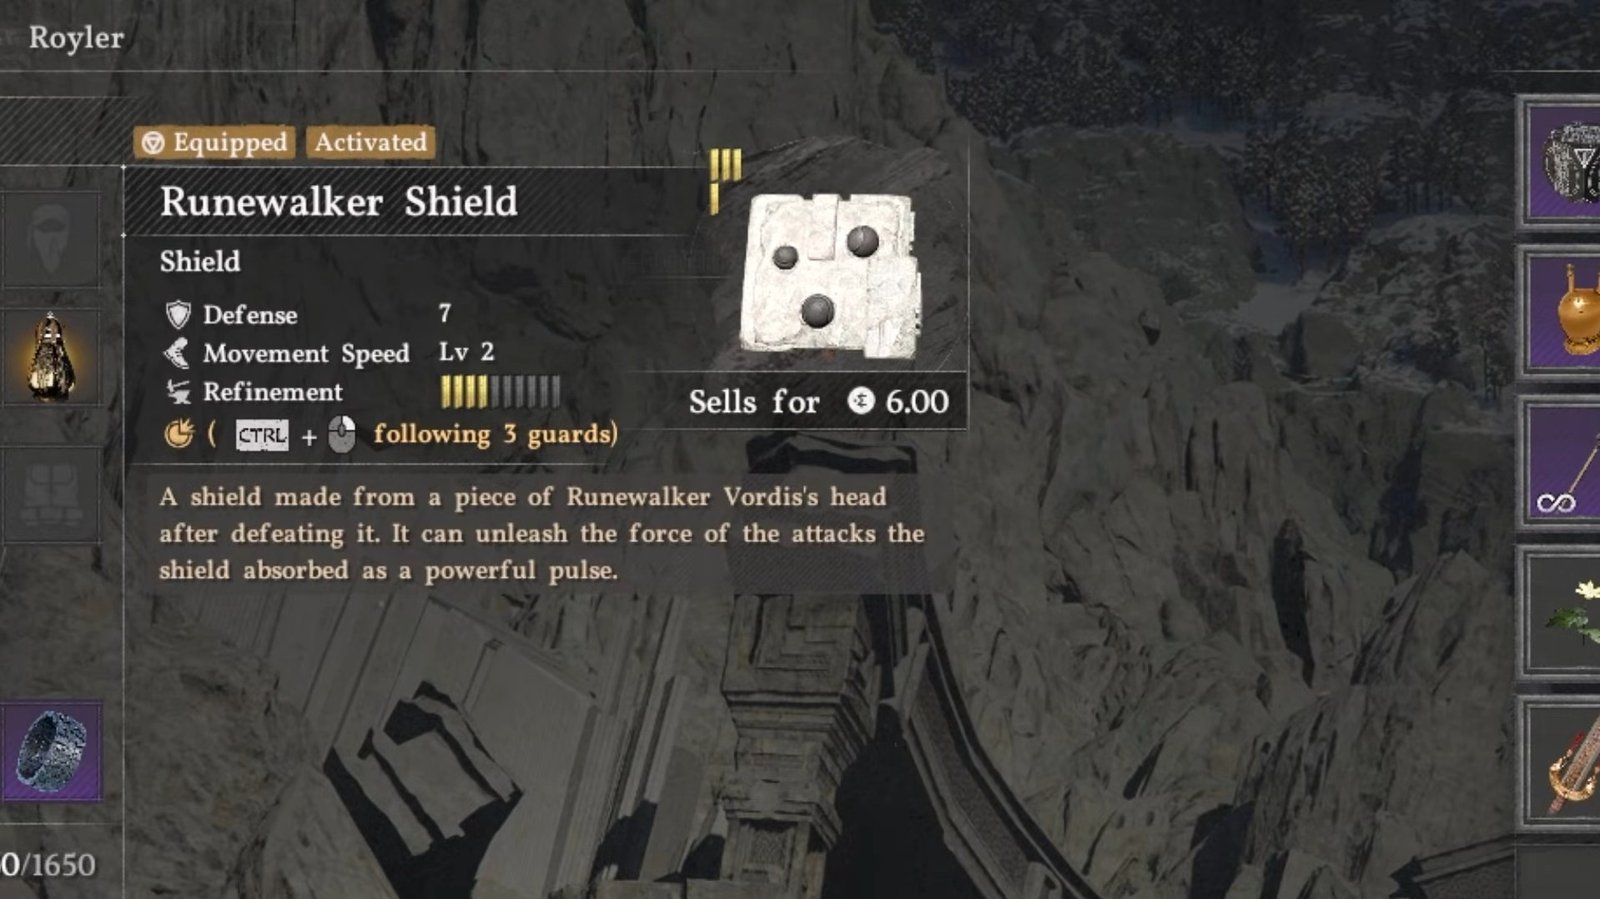
When you block attacks, the shield builds up charges. After taking a few hits, around three, you gain one charge. You can then activate the ability to release blue energy projectiles toward enemies. These charges are shown above your health bar, and you can store multiple charges at once.
The attack itself isn’t extremely powerful, but it looks cool and adds a fun mechanic if you enjoy using shields. Also, the shield cannot be modified with extra effects; its ability is fixed.
That is all for this guide. Additional Crimson Desert guides are linked below:
- Crimson Desert Chillfallen Sword Guide – How to Get
- Crimson Desert Eastern Witch’s Fan Weapon Guide – How to Get
- Crimson Desert Kuku Breeze-Step Guide – How to Get
- Crimson Desert Kuku Rishi’s Boots Guide – How to Get
- Crimson Desert Royal Guard Shield Guide – How to Get
This concludes our Crimson Desert Runewalker Shield Guide. If you want to add anything to this guide, feel free to use the comments section below.