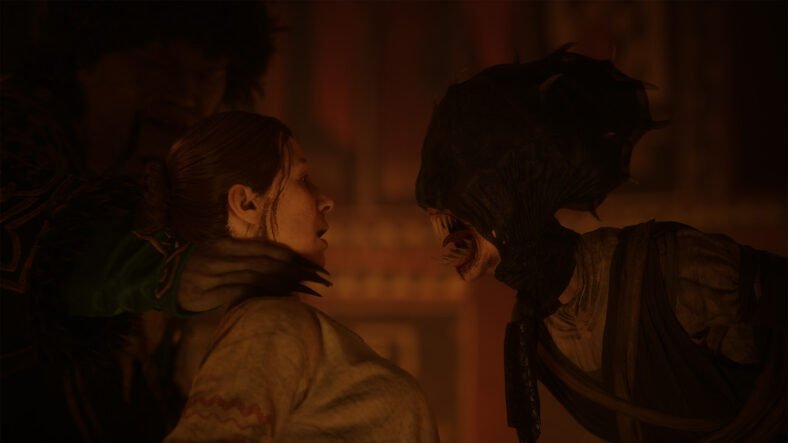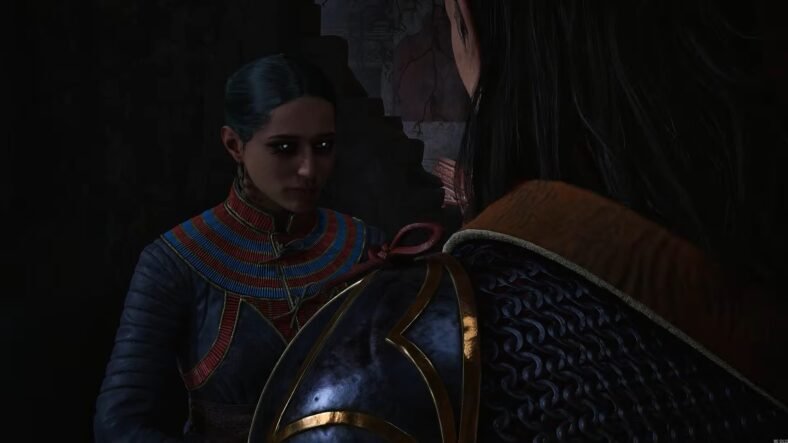
This The Blood of Dawnwalker Lacra Romance Guide details how you can pursue a romantic relationship with Lacra by making the correct choices. Her route continues through many quests like Uriashi, Isbrand, and the Font of Life. Most of the important decisions involve staying calm, avoiding unnecessary violence, and supporting Lacra throughout her story.
Lacra’s Romance Guide – The Blood of Dawnwalker
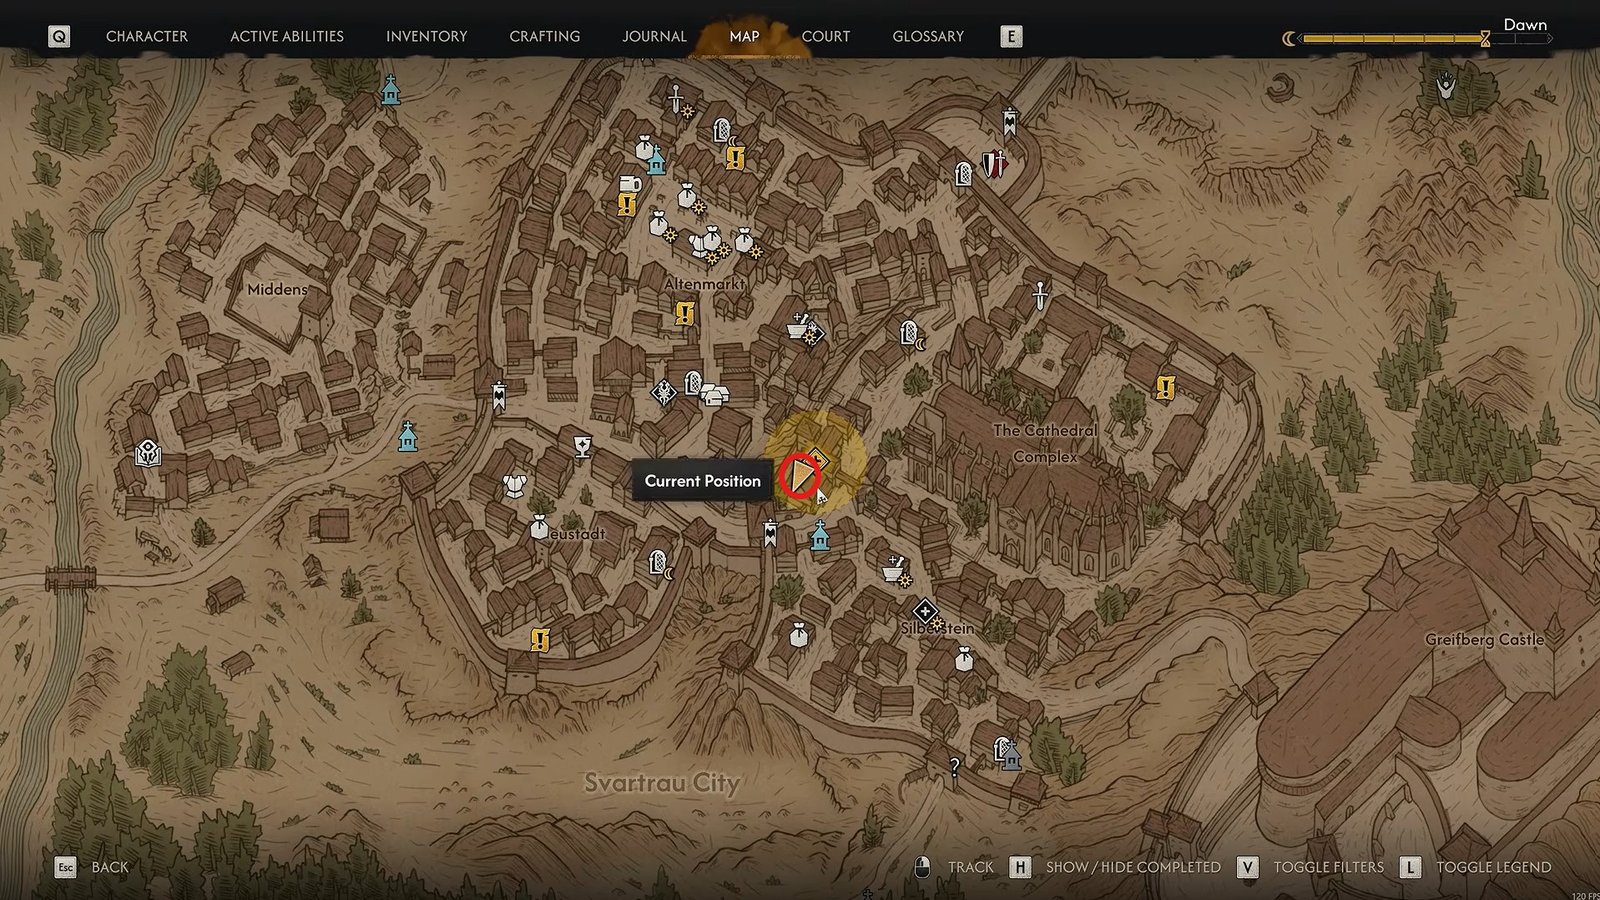
The first step is to find the A Friend Like This quest in Servatra City, which can be accessed relatively early in the game, and its sis recommended to do it at night because you will need to travel across rooftops using Shadow Step.
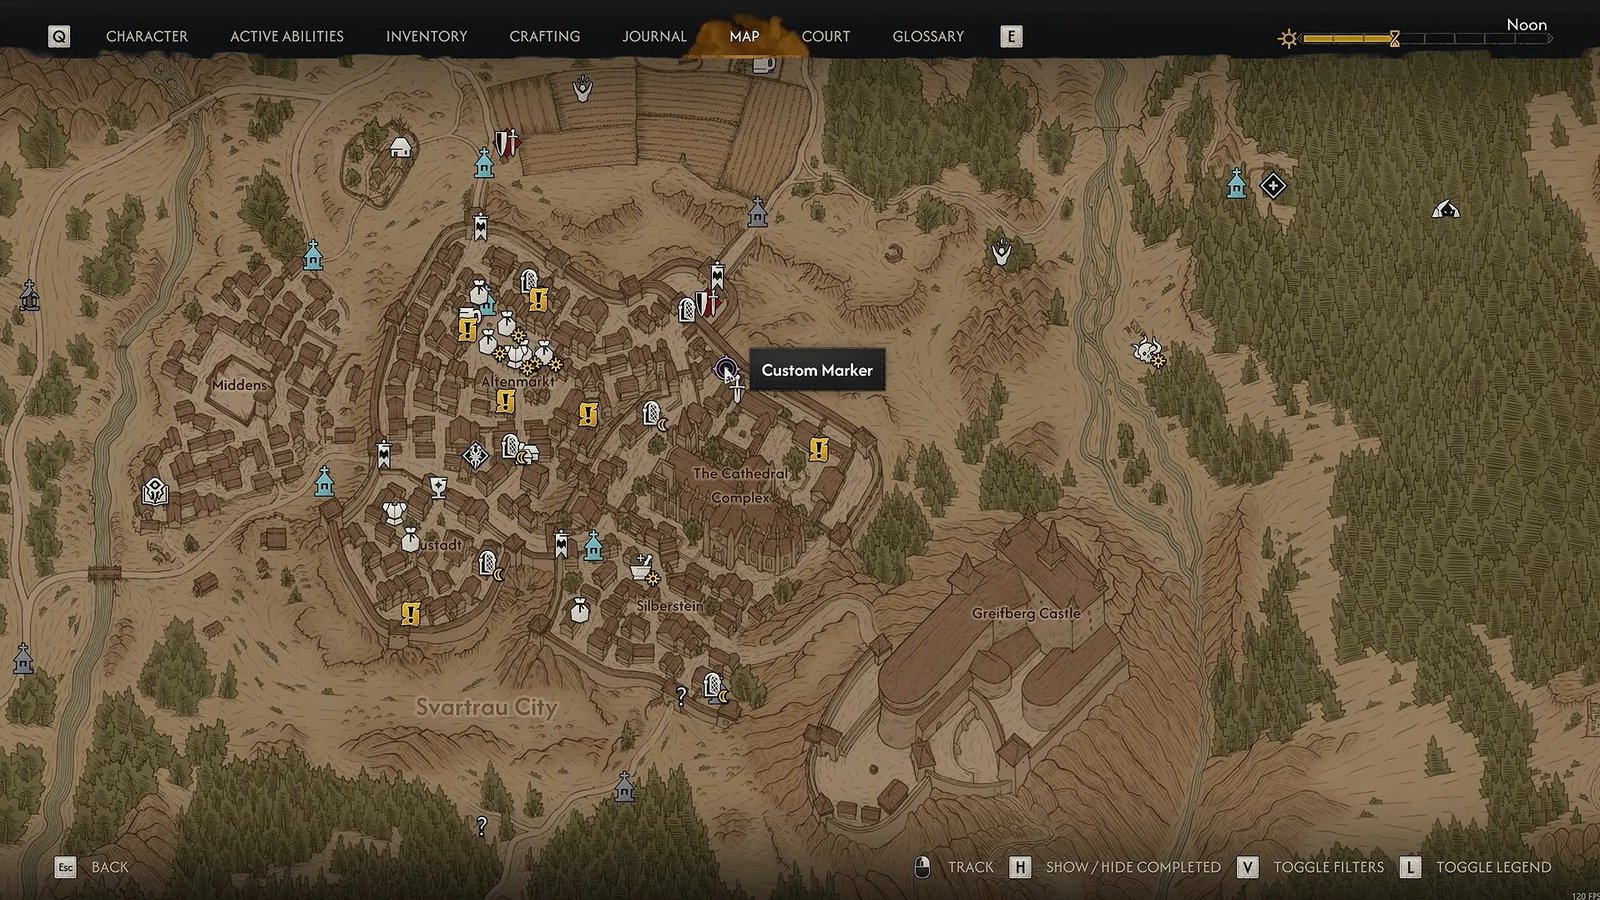
When you reach the marked location in the city, use Focus Mode and head up the stairs.
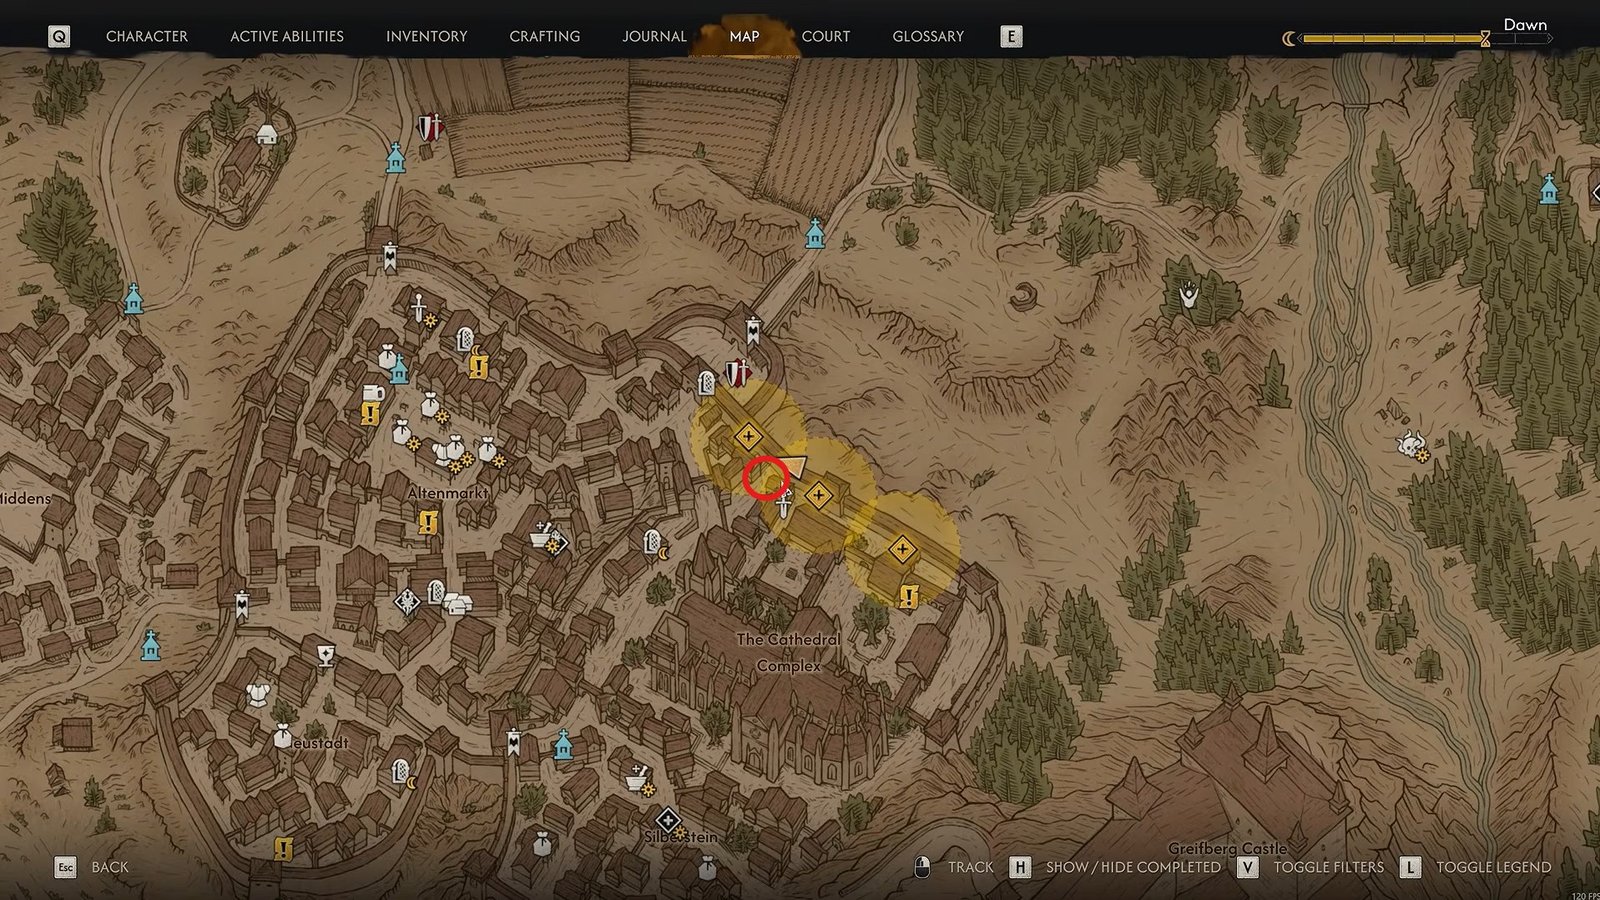
Look for the yellow research items around the area to find the quest. Once you’ve started it, travel to the location between the two buildings and begin investigating the trail.
Inspect the clues on the ground and follow the trail toward the southwest. You’ll eventually find a roof tile that shows where the trail continues. Use Shadow Step to move across the rooftops and follow the clues until they lead downward. The trail eventually ends at a room, which is where you’ll meet Lacra for the first time.
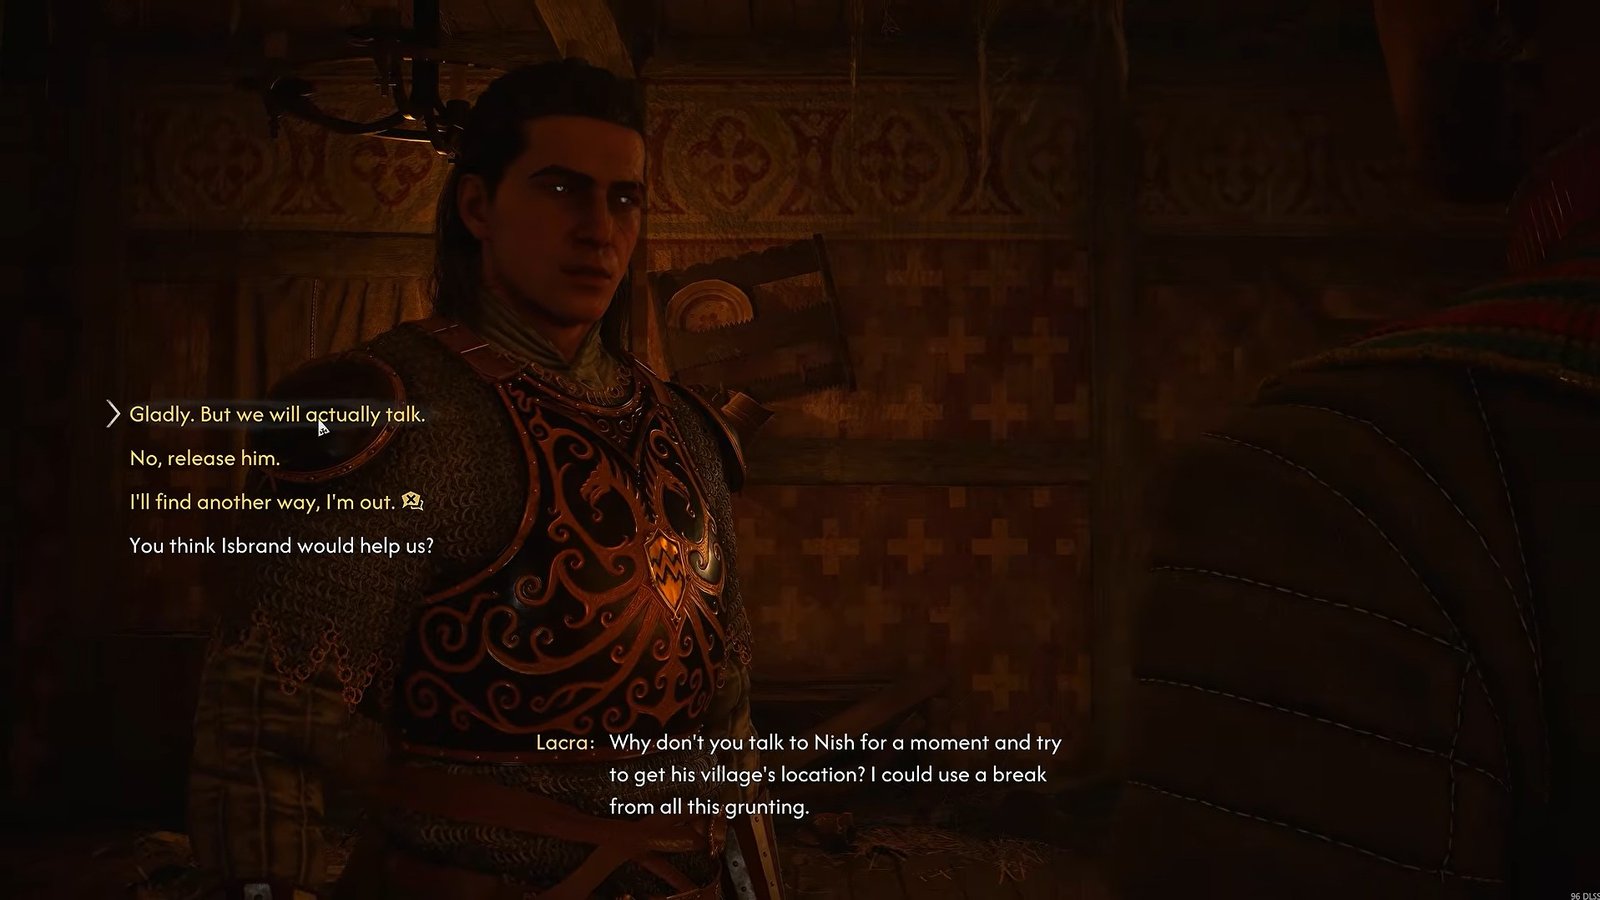
The meeting turns into a fight regardless of your earlier dialogue choices, so defeat Lacra first. After the battle, you’ll be able to speak with her and eventually question the Uriashi. When the opportunity comes up, don’t say that you’re out. Instead, choose the option that allows you to continue the conversation.
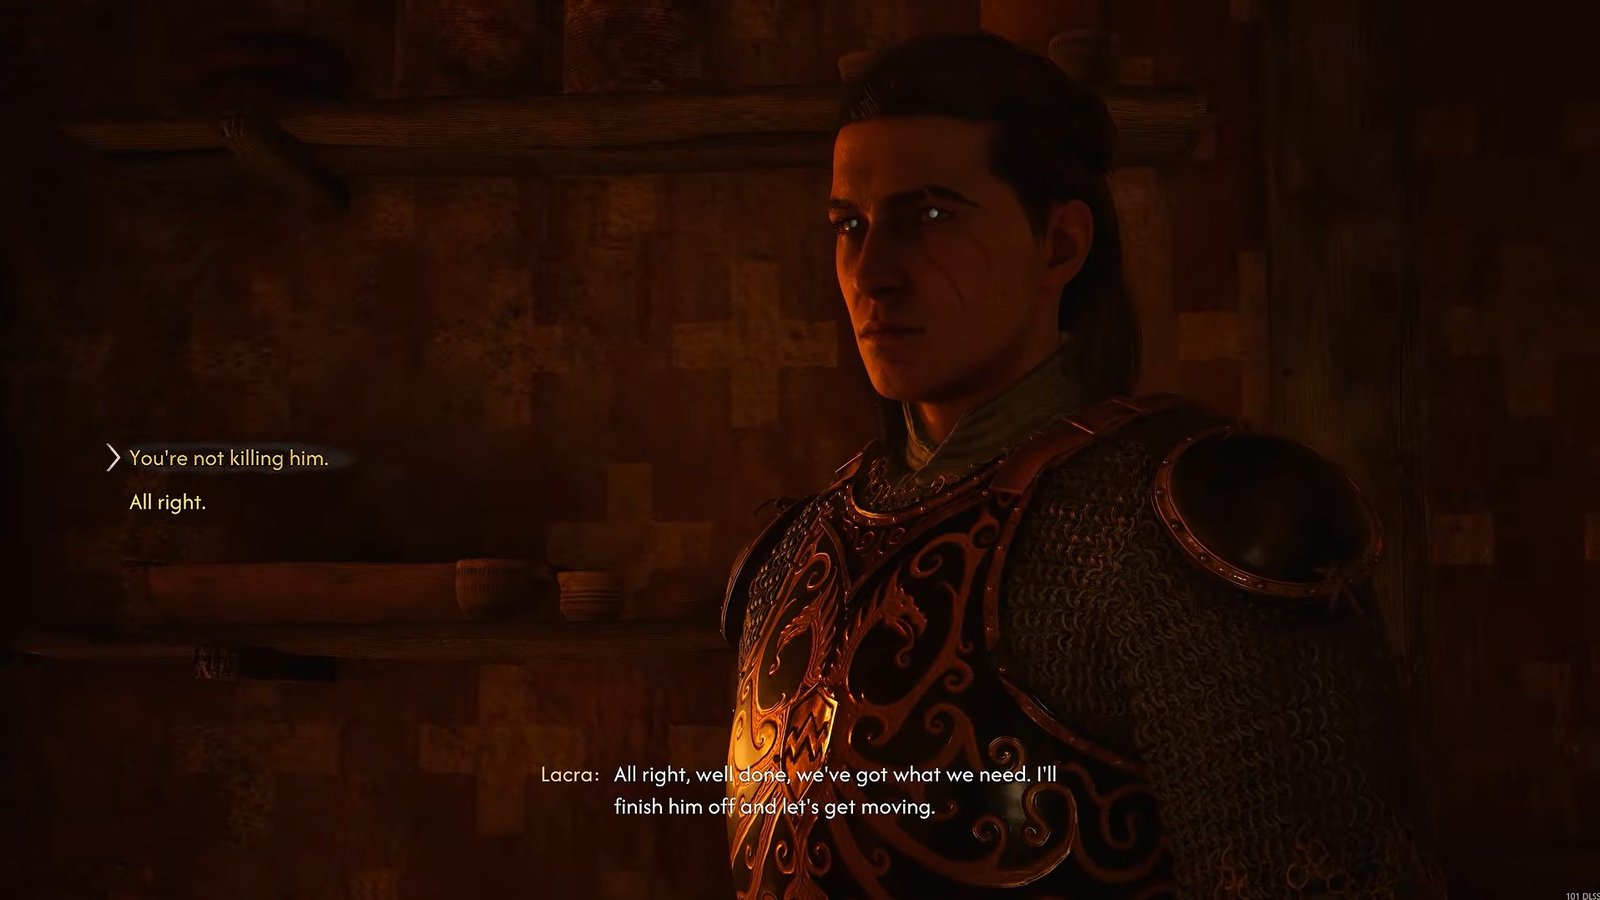
When speaking with Nish, ask for his side of the story and remain calm. Most importantly, don’t allow Lacra to kill him. Choose “We’re not killing him.” This keeps the situation from becoming unnecessarily aggressive and leads you toward the next stage of Lacra’s story.
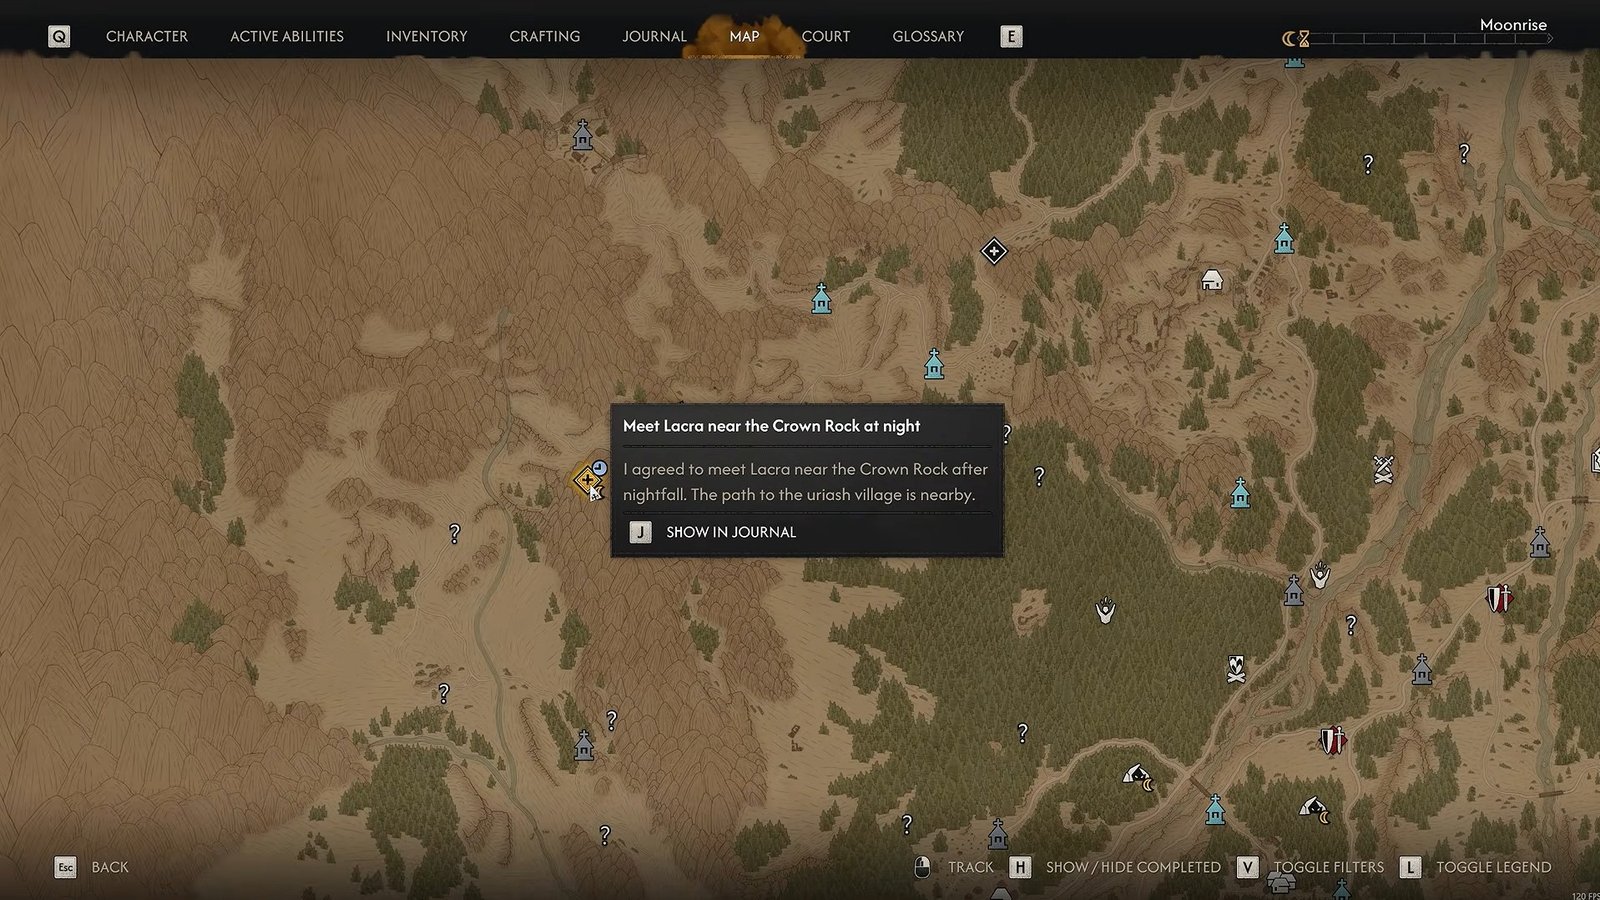
You will meet Lacra next during the Song of the Mountain quest at Crown Rock on the far-left side of the map. This encounter must happen at nighttime. When speaking with her, the main approach is to keep discouraging violence. Avoid choosing aggressive responses and instead try to calm her down and guide her away from unnecessary killing.
During the hunt, you’ll encounter a person at the bottom of the hill. Feed on them, but don’t kill them. Stop once they’re nearly asleep or when Lacra tells you to leave some for her, allowing her to finish the encounter herself.
Continue to climb the mountain with Lacra. Eventually, you’ll encounter the Uriashi and another major conversation will begin. When you’re told to drop your weapon, agree to it rather than resisting. If Lacra becomes angry, tell her to calm down and make it clear that nobody needs to die.
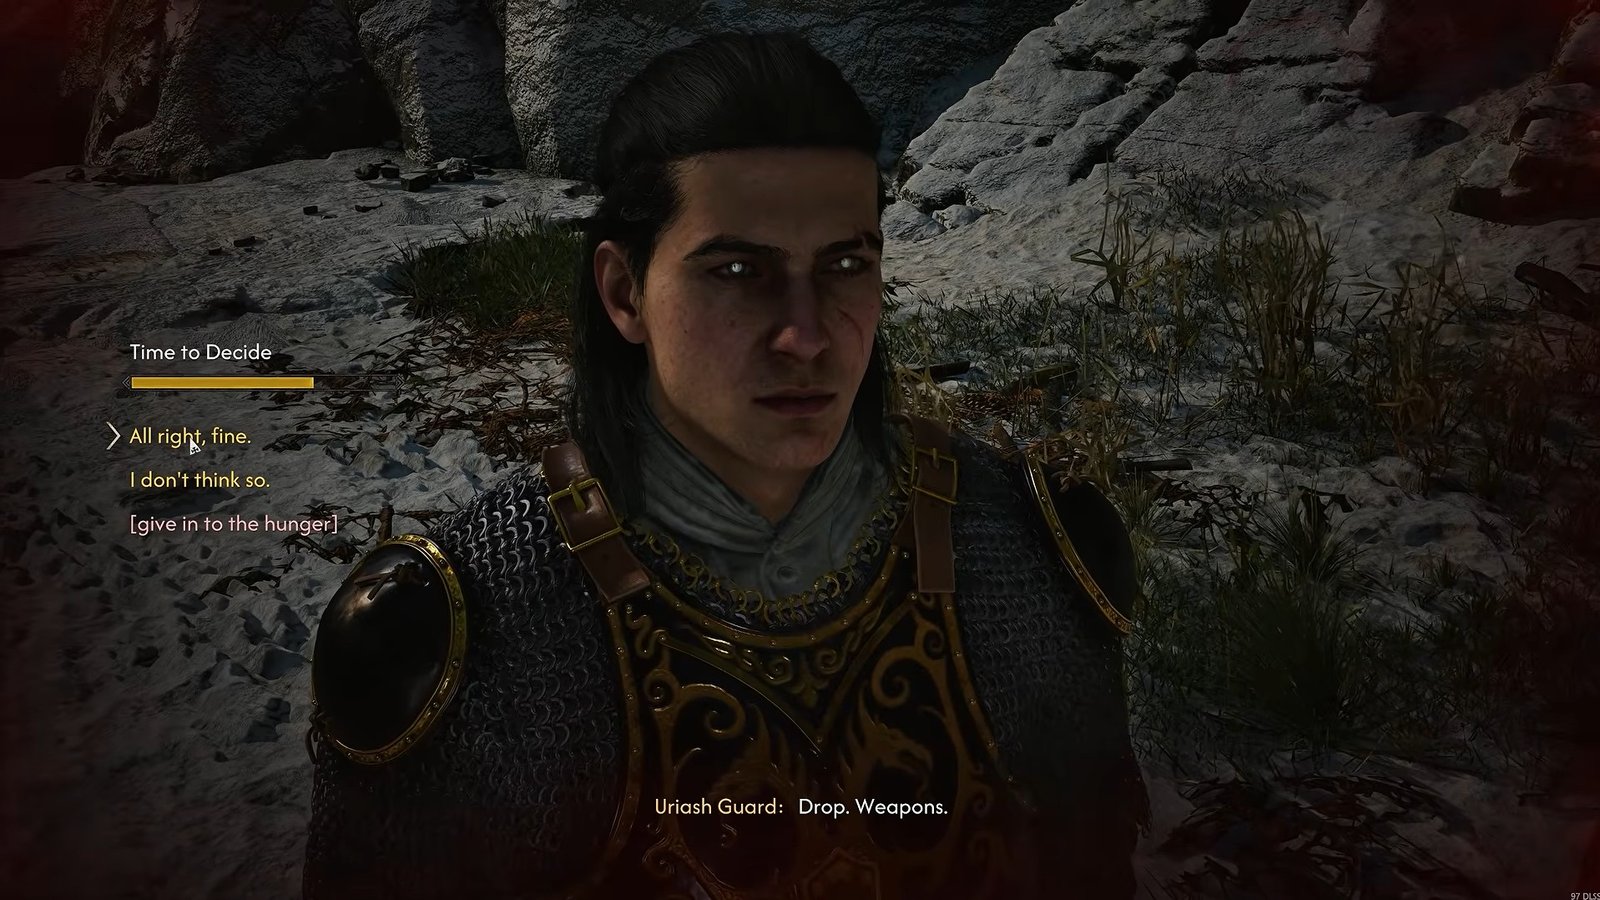
Ask the elder to end the hostility when he appears so everyone can just talk. Choose “We’ve already proven it” and later “What more proof do you need?” When the group begins throwing rocks to provoke you, don’t retaliate and allow the test to continue.
Once you are given the option to respond, choose “It’s clearly a test. Go on.” This helps move the goat people toward your side and eventually opens up the conversation about Isbrand.
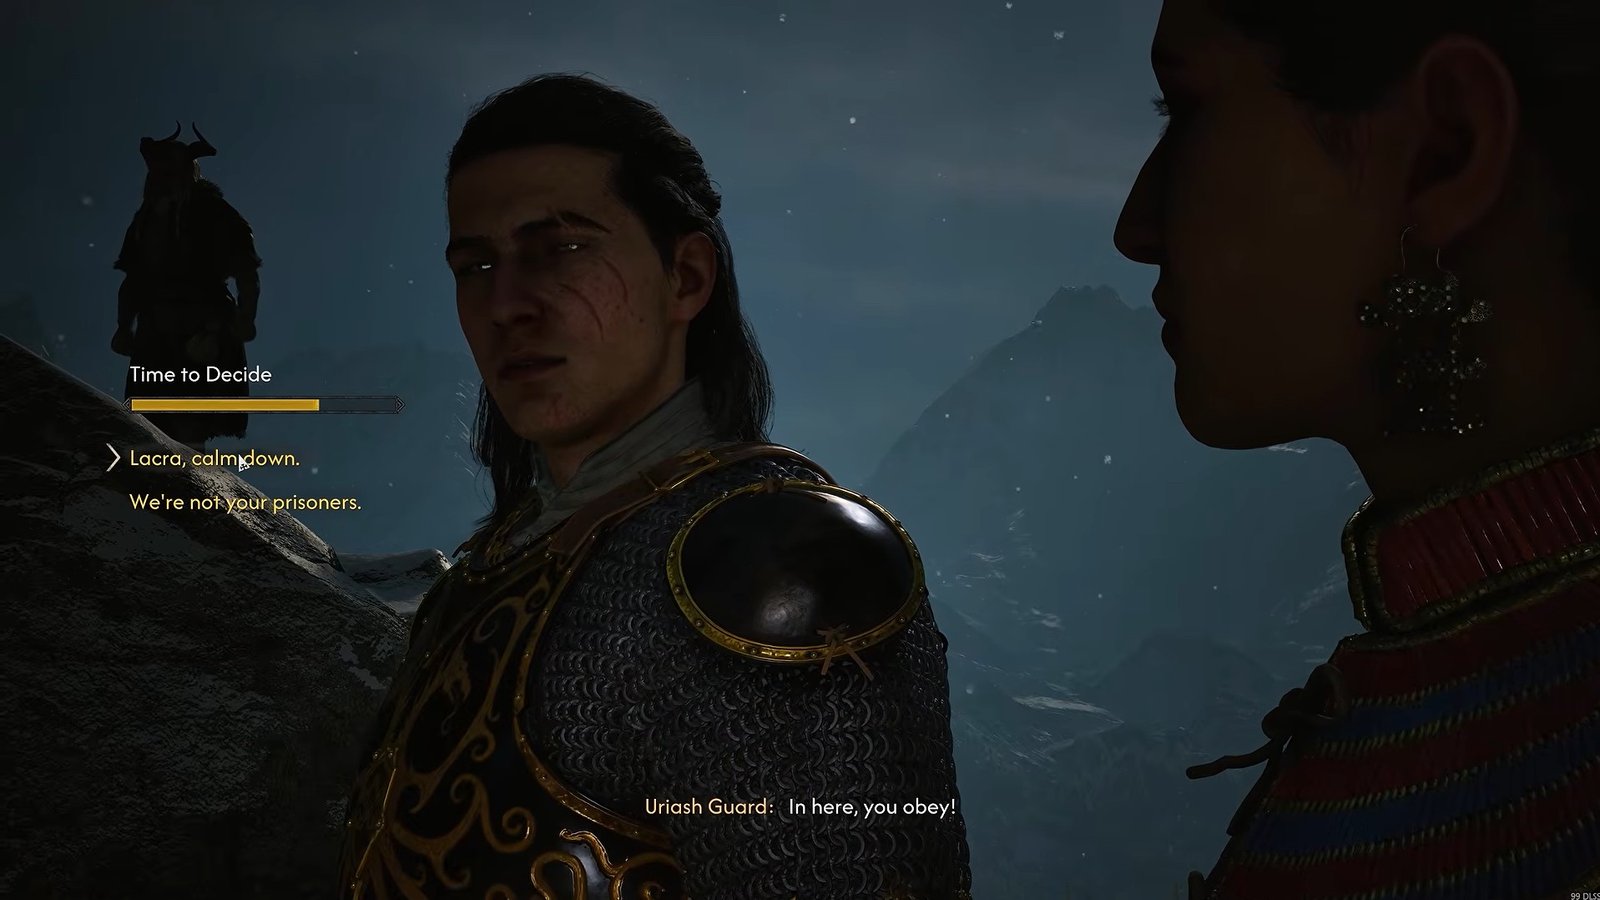
The next quest is Hive and Seek, where you will work with Lacra to locate Isbrand, who is trapped inside a cave. Follow her to the cave and allow her to create an opening.
From this point, the dialogue is mostly linear, so you can choose the available story responses without worrying too much about the outcome. Continue through the cave, defeating the enemies along the way, until you reach the area where you will face Chonk and eventually find Isbrand.
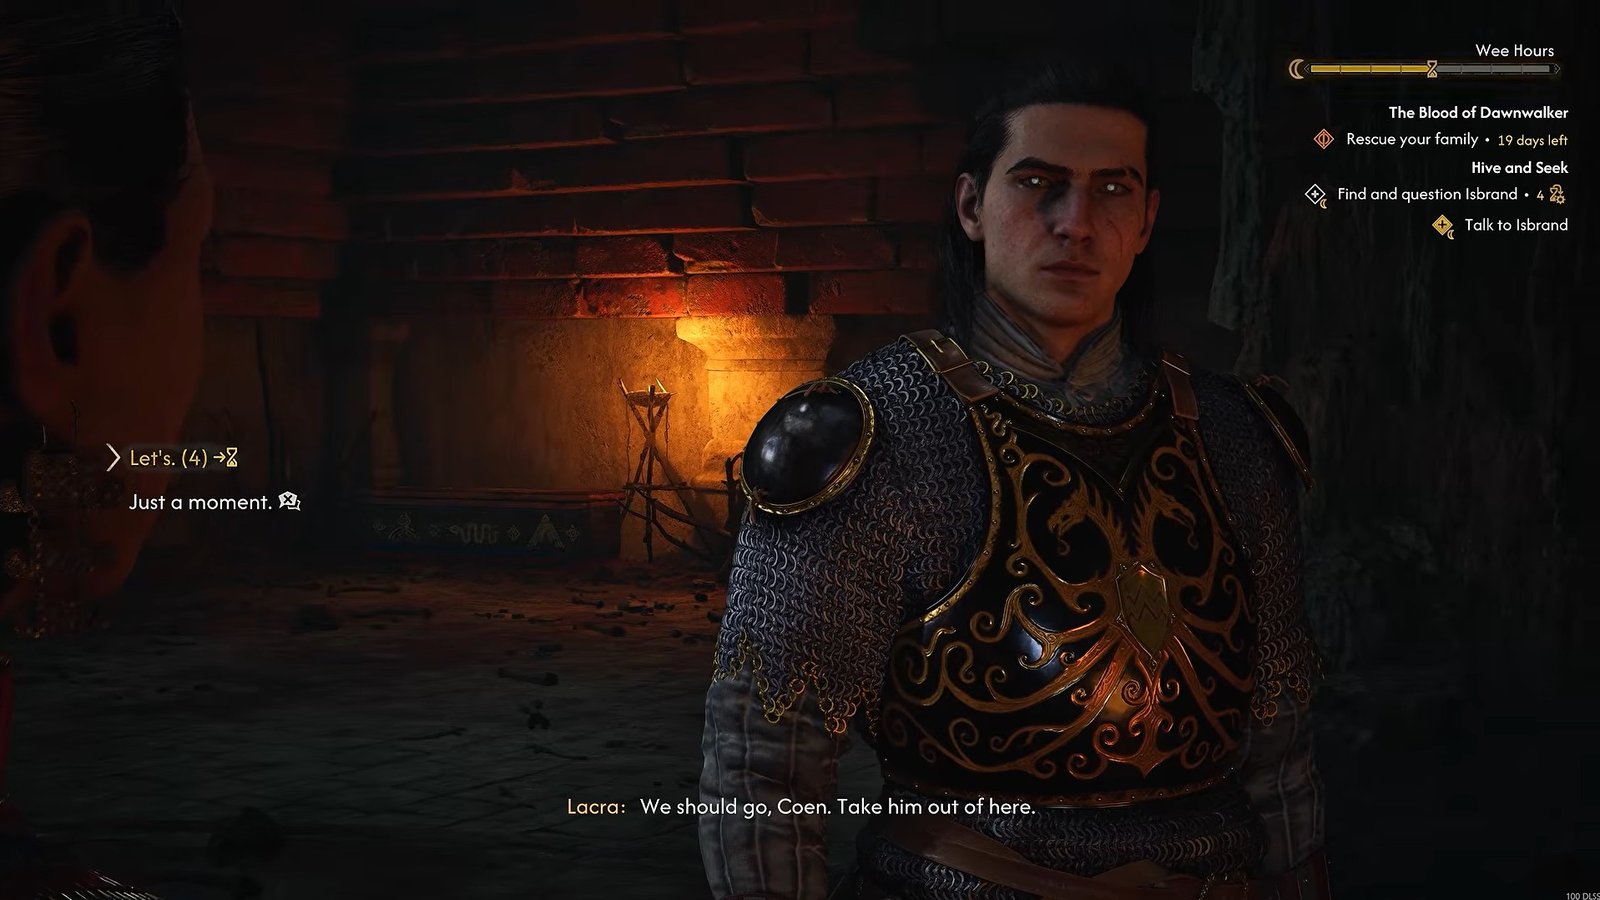
Before you free him, you will see that there is a chest in the room which contains legendary Isbrand’s Plate Armor, so make sure to collect it before moving on. Afterward, interact with Isbrand and move his body as required.
You’ll need to wait another day before Lacra’s next part of the story becomes available. When the time has passed, return to her location at night, as she cannot be met there during the daytime.
From here, the Our Rotten Roots quest will continue. The dialogue here is mostly related to the story, so continue through the normal yellow dialogue options while following Lacra’s instructions. The quest eventually takes you into a special area where you’ll search through Isbrand’s memories. After leaving the memory sequence, continue with the normal dialogue. Once this quest ends, you’ll again need to wait another day before Lacra’s next quest becomes available.
The next important mission is The Night of Horrors. Be careful when this quest becomes available because another option called Midnight Reckoning can appear if you’ve progressed far enough to attack Brenus. The latter option can begin the game’s final mission, so don’t choose it unless you’re ready to move toward the ending.
For Lacra’s romance route, select The Night of Horrors instead. When speaking to her, choose the first option that allows you to continue talking rather than the response about dealing with Brenius.
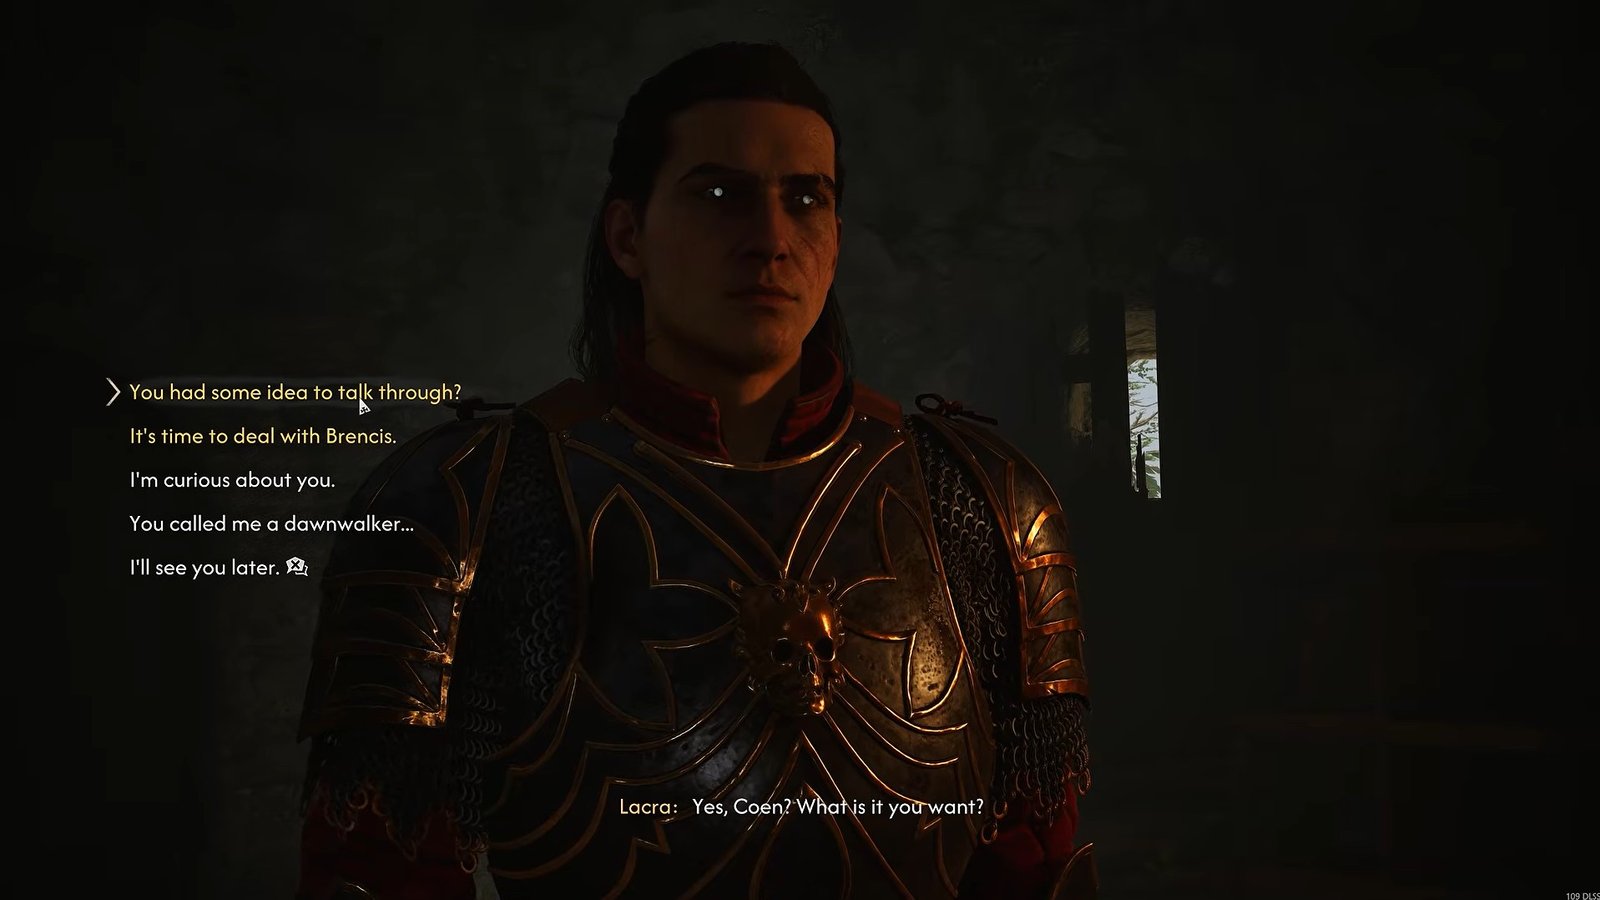
Continue through the quest and accept the adventure. When you reach the shrine, Lacra will begin opening up about her desire for freedom. When she says that she dreams of freedom, respond that you dream of freedom too. If she asks whether you’ve ever felt free, choose “Yes, as a little child.”
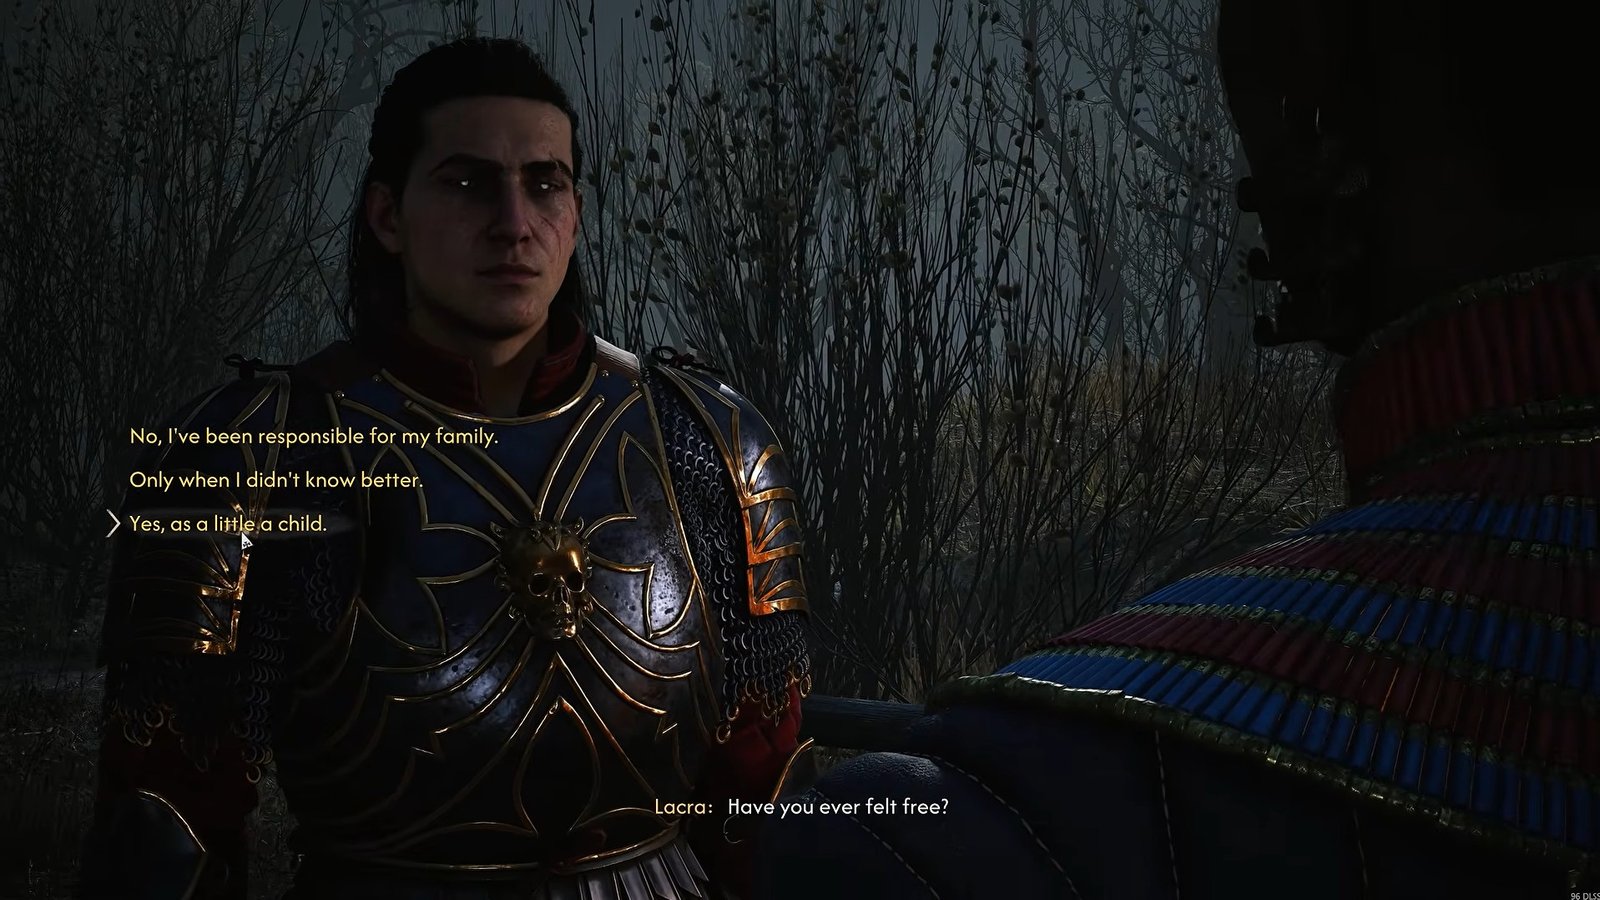
When Lacra describes herself as a tool, say that’s not pre-ordained. Later, when the conversation gives you another set of choices, select “I used to have dreams and other plans.”
When she sarcastically tells you to thank Brenius, respond with “I’ll thank his corpse.” Then choose “I would never abandon my siblings.” When the conversation turns toward your mother, say that she’d never do that, followed by the option that your father couldn’t cope with losing her.
Later in the quest, you’ll have another important conversation. Choose “It’s your turn“, then tell Lacra “I’m glad you found a way to survive.” You can then choose “You don’t have to do this. I’ll take over.” Continue asking about her husband and what Princess did, including asking whether she killed him. When asked about what she said to her husband, respond with “He should have let you finish“. Follow this with “Yes, you deserved your revenge” and then “I am sorry you went through all that.”
The quest will eventually take you into a crypt filled with enemies. Fight your way through the area until you reach the legendary weapon hidden beyond a gap. Search the body there and collect the Vrakhir Sword.
Continue through the next section and defeat the enemies in the following room. During the conversation with Lacra, tell her “I didn’t take you for a quitter.” Then choose “I struggle with my blood cravings“, followed by “Yeah, that’s the problem.” When the next option appears, select “I wish I didn’t care anymore.”
Lakra will then destroy a wall, opening the route to the final room of the cave, where you will find a Mandrake. This is one of the most important choices in Lacra’s romance route.
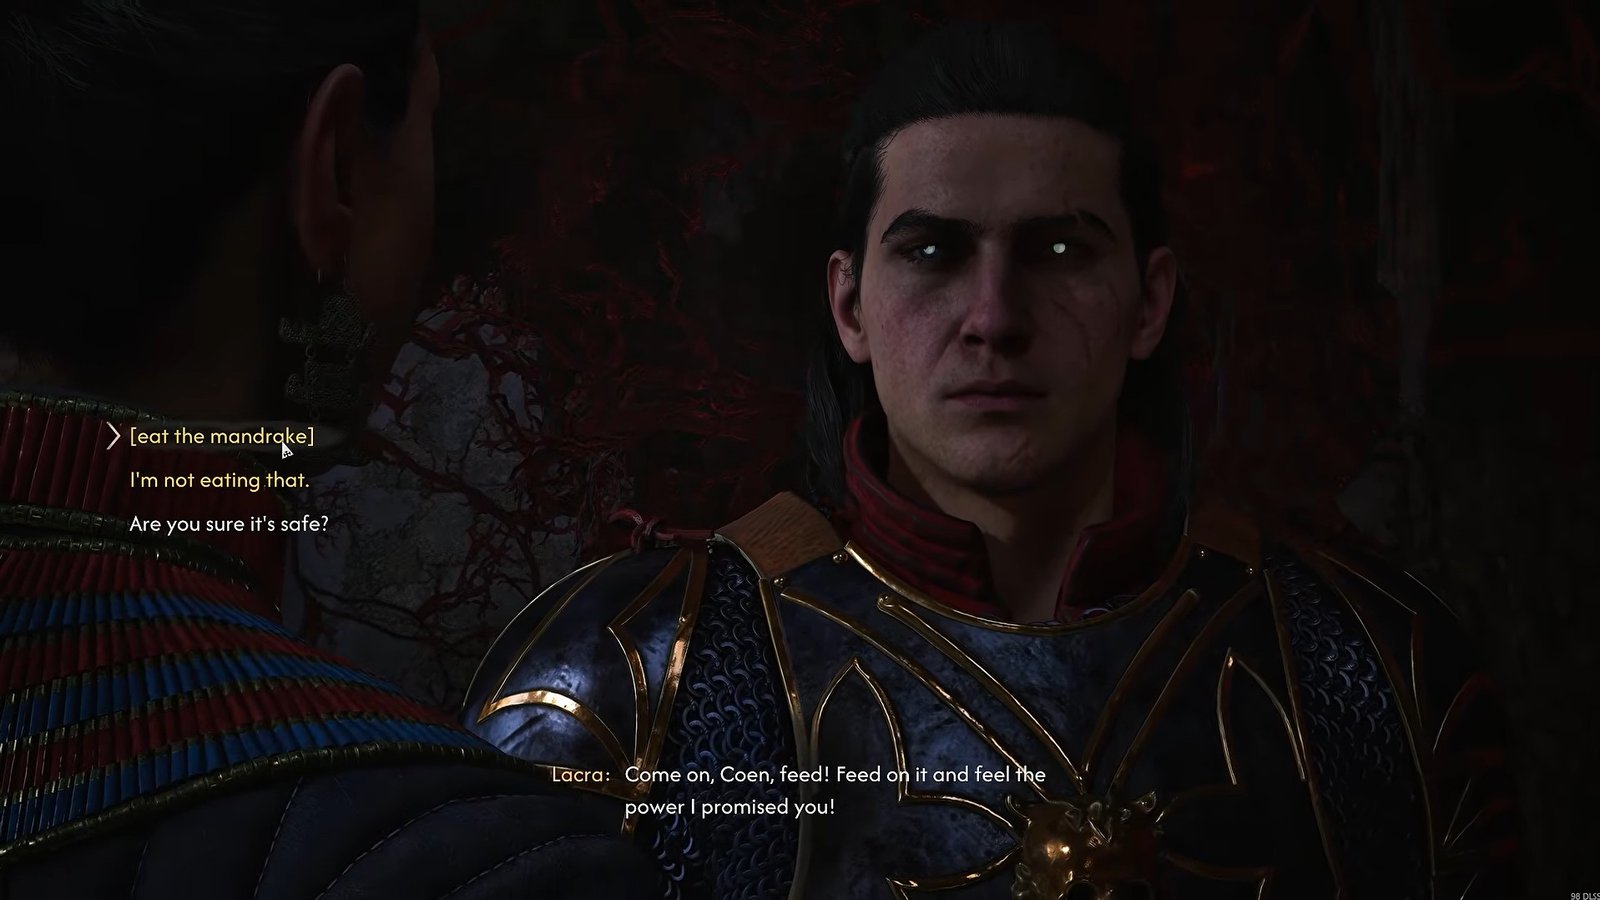
You’ll be asked whether you want to eat the Mandrake. To continue toward the romance scene, choose to eat the Mandrake. Afterward, give some of it to Lacra so that both of you consume it.
The next conversation begins the final romance sequence. When the relevant dialogue appears, choose “Can Riri get drunk? Come here a second. I’ll show you something.” After that, follow Lacra rather than choosing the option about not wasting time.
For the next response, choose “Yeah, I’m over all of it“, which will lead to the special romance scene with Lakra.
That is all for this guide. Additional The Blood of Dawnwalker guides are linked below:
- The Blood of Dawnwalker Secret Ending Guide – How to Unlock
- How to Get Durandol Legendary Sword Early in The Blood of Dawnwalker
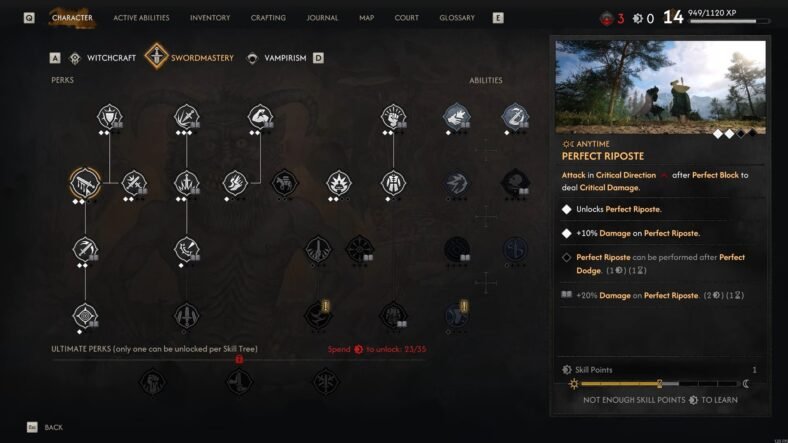
- The Blood of Dawnwalker Best Sword Fighting Perks Guide – Land Powerful Attacks
- The Blood of Dawnwalker Anca Romance Guide – How to Romance Anca
- The Blood of Dawnwalker Endings Guide – How to Unlock Good Ending, Bad Ending, All 7 Endings
This concludes our The Blood of Dawnwalker Lakra Romance guide. If you want to add something to this guide, feel free to use the comment section below.