This Saros Parry Guide explains how you can parry in Saros, along with some tips and tricks on how you can master it. As you move deeper into Saros, combat starts getting more intense, and basic dodging won’t always be enough. Instead of relying only on dodging, the game pushes you to balance between three options: Dash, Shield, and Parry. Each has its use, but parry is the most risky and rewarding. However, you won’t have access to it right away, so you will need to unlock it first before mastering it.
Parry Guide – Saros
You won’t have parry from the beginning of the game. It becomes available after you have spent some time exploring the Blighted Marsh area. As you progress there, you will meet an NPC, connected to an old Echelon mission, who gives you this ability. Once unlocked, you can use it anytime during combat without restrictions.
How Parrying Works
To perform a parry, you use the same button as your normal melee attack, R1. There is no separate control for it, which makes it easy to remember.
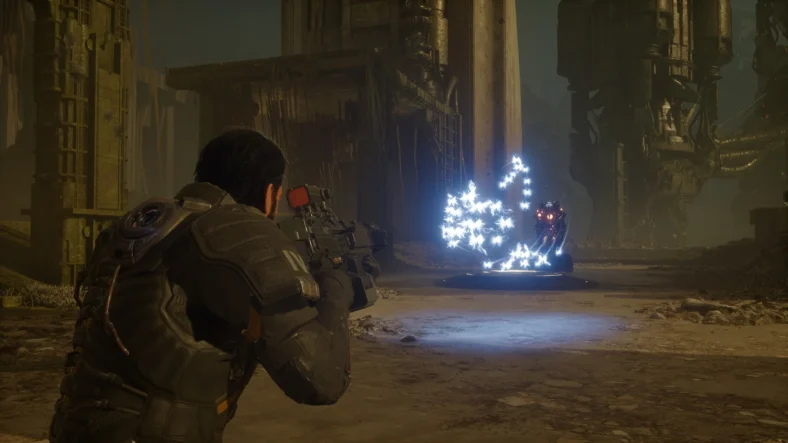
After unlocking parry, you can deal with different kinds of enemy projectiles, but not all of them behave the same way. Parrying is mainly used against red “Nova” projectiles. These are special attacks that you cannot dodge through or block with your shield. When one of these comes near you, attack it with your melee strike while standing close enough. If your attack connects with the projectile, it will automatically turn into a parry.
When you successfully parry, it clears nearby projectiles and creates a shockwave that can damage or stagger enemies around you. This makes it extremely useful, especially in tougher fights later in the game.
Blue projectiles work differently. These are usually meant to be absorbed using your shield to build up power. However, if your timing is precise, you can still deal with them using a melee attack instead of your shield. Doing this lets you absorb them instantly and keeps your attack flow uninterrupted.
Yellow or corrupted projectiles are more dangerous. They can eventually be absorbed with the right upgrade, but even then, they will reduce your overall health through corruption. So even if you handle them correctly, there is still a downside.
Getting Better at Parrying
At first, parrying might feel risky, but it is actually quite forgiving. You don’t need perfect timing like in some other games. As long as your melee attack touches the red projectile during the animation, the parry will work.
Instead of focusing too much on timing, it is more important to understand enemy attack patterns. Some enemies fire fast sequences of red projectiles, so recognizing when those attacks are coming will help you react more confidently.
A good way to practice is by using environmental hazards like walls or floors that shoot red projectiles, but don’t aim directly at you. These let you safely test how close you need to be and get comfortable with the mechanic.
Parrying becomes a core skill as the game gets harder. The more you practice it, the easier combat will feel. That is all for this guide. Additional Saros guides are linked below:
- Saros Barriers Guide – How to Break Yellow and Red Barriers
- Saros Grappling Guide – How to Unlock. How to Use
- Saros Beginner’s Guide – Top Tips to get Started in the Game
This concludes our Saros Parry Guide. If you want to add anything to this guide, feel free to use the comments section below.