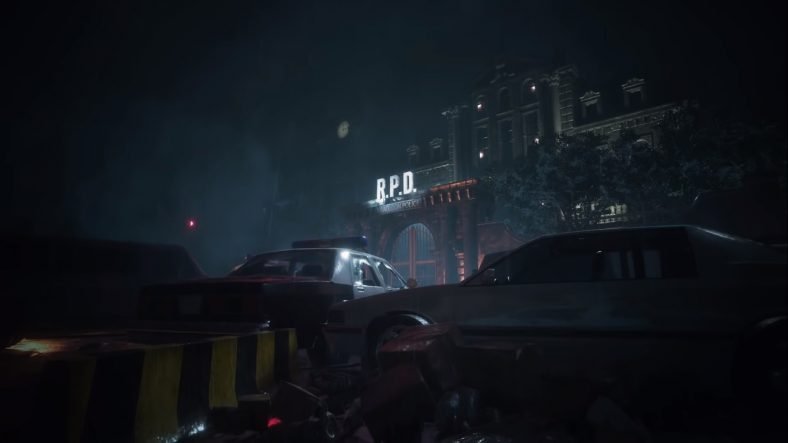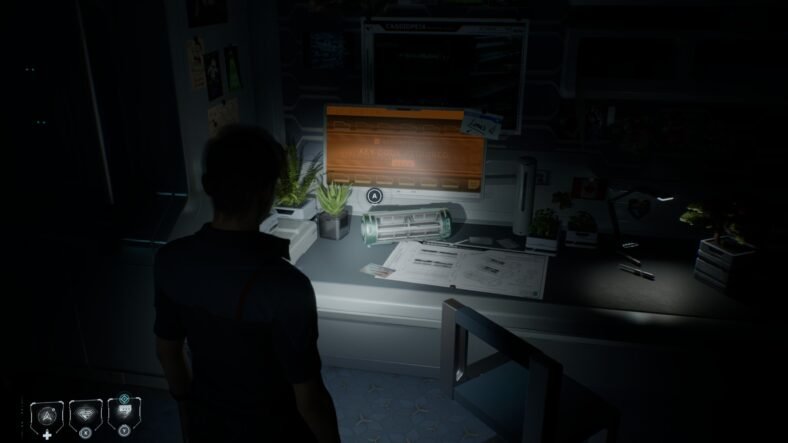
In this Resident Evil 2 Remake Key Items, we will guide you on all the key items that you will need to find in order to open different areas and advance in the main story of Resident Evil 2 Remake. You must keep in mind that these items are required for different tasks that may include story progression or reaching a certain other collectible in the game.
These items will not give you any trophy/achievement themselves but with the help of these items, you can unlock many other trophies/achievements as you unlock new hidden areas in the game. We will list all key items in the game and how you can obtain them. Some of these items are specific for hidden collectibles so it is worth finding all of them.
Key Items Guide – Resident Evil 2 Remake
Our Resident Evil 2 Remake Key Items will help you find all useful key items scattered around Resident Evil 2 Remake. Since the game features different campaigns, all Key Items can be obtained in Leon’s Campaign A. We have listed the items below in the sequence in which they appear in the game.
Key Item #1 – Lion Medallion
The Lion Medallion is found on the Lion Statue which is located in the main hall of Police Station 1F. For a detailed guide on all medallions, check out our Resident Evil 2 Remake Medallions Guide.
Key Item #2 – Blue Key
The spade-shaped Blue Key is found on a table in the corridor in Police Station 3F.
Key Item #3 – Unicorn Medallion
The Unicorn Medallion is found on the Unicorn Statue which is found in the Lounge located on Police Station 2F. For a detailed guide, check out our Resident Evil 2 Remake Medallions Guide.
Key Item #4 – Weapons Locker Keycard
You will find the Weapons Locker Keycard sitting on a table in the Art Room on Police Station 2F.
Key Item #5 – Cutting Tool
Keep playing the main story of the game until you see the cutscene where the helicopter crashes. Right after the cutscene, check on the trash bin ahead for the Cutting Tool.
Key Item #6 – Round Handle
The Round Handle is located inside the East Office on the Police Station 1F. You will open the door with the cutting tool to get inside. This is used to shut off the steam blocking your path.
Key Item #7 – Electrical Part
The Electrical Part is found in the East Office as well on the Police Station 1F. There is a table in the middle of the office where you will find this specific part.
Key Item #8 – Battery
Battery is found inside the S.T.A.R.S. Office located on Police Station 2F. You can only get here after shutting down the steam using the round handle.
Key Item #9 – Electronic Gadget
You will need the electronic gadget to create a detonator with the battery. To get to it, head to the Operations Room located on the Police Station 1F and cut the door located in the south. The gadget is found behind this door.
Key Item #10 – Maiden Medallion
The Maiden Medallion is present at the Maiden Statue which can be found in the West Storage Room located at Police Station 3F. For a detailed guide, check out our Resident Evil 2 Remake Medallions Guide.
Key Item #11 – Tool
This tool can only be acquired and used by Leon. It is located on a table in the Jail on Police Station B1 level.
Key Item #12 – Purple Key
The Diamond shaped Purple Key is located in the Morgue which is on the Police Station B1 level. You will need to pick it up from a corpse inside a freezer.
Key Item #13 – Electronic Part Number 1
This Electronic Part is located in the Generator Room on Police Station B1 level. You will need to unbox its packing to obtain the part inside. This is used to open the Electronic Door in the Jail.
Key Item #14 – Car Key
You will find the Car Key inside a box in the Firing Range located on Police Station B1 level. Pick up the box and open it to get the Car Key. You will need this key to open a car boot and get a weapon upgrade.
Key Item #15 – Electrical Part
This Electrical Part is located in the Break Room located on the Police Station 1F. Check the chair inside the room.
Key Item #16 – Large Gear
You will find the Large Gear in the East Storage Room located on the Police Station 3F level. It is located in the middle of room.
Key Item #17 – Green Key
The Club-shaped Green key is found in the Boiler Room on the Police Station 1F level. In addition, it can only be collected by Leon. You can collect it after you cross the roof.
Key Item #18 – Red Book
This is located in the library on the Police Station 2F level. Look for it right next to the exit to the Main Hall.
Key Item #19 – Red Jewel
To get the red jewel, you will first need to collect some other items as well starting with the Red Book mentioned above. Once you have the Red Book, head to the Art Room located on the Police Station 2F level. Once there, pick up the Statue’s Left Arm and combine it with the Red Book.
This will give you Left Arm with Book. Once you have it, place it on the Emperor Statue to convert it into a Scepter. You will need to interact with the Scepter to find a secret button on it and press it which will break it and give you the Red Jewel.
Key Item #20 – S.T.A.R.S. Badge
To get the S.T.A.R.S. badge, you will need the Red Jewel and the Bejeweled Box. This is located in the Observation Room on the Police Station 1F level. Make your way downstairs from the Art Room and use the Green Key (Leon) or Red Key (Claire) to gain access to the Observation Room.
Once inside, you will find the Bejeweled Box. Pick it up and combine it with the Red Jewel to convert it into the S.T.A.R.S. badge. Examine it to find a hidden button, press it and the box will convert into a USB. This can be used to open the Armory and a Special Weapon case later in the game.
Key Item #21 – Tool
You will find the Tool inside the Record’s Room on the Police Station 1F. You will need Leon’s Green Key or Claire’s Red Key to gain access to the Record’s Key. You will need this Tool later in the game to reach the Clock Tower.
Key Item #22 – Electronic Part Number 2
The second Electronic Part is located in the Clock Tower on the Police Station 3F level. Inside the Clock Tower, use the Large Gear on the Gear Box to open up access to the stairs. Pick up the Large Gear again and head upstairs.
When you see another smaller gear, switch it out with larger gear so that you have the Small Gear in your inventory and the Large Gear in Small Gear’s place in the mechanism. Go back down, head to the console and use the Small Gear on it.
This will make it drop a box full of electronic parts. Pick it up and examine it to get the Electronic Part Number 2. Now that you have both Electronic Parts, you can go back to the Jail and open the Electronic Door Panel with them.
Key Item #23 – Parking Garage Keycard
This item can only be found by Leon. It is located in Ben’s Cell inside the Jail located on the Police Station B1 level. When you find Ben’s corpse, you will automatically pick it up.
Key Item #24 – T-Bar Valve Handle Tool
This item is located in the Treatment Pool Room in the middle of the Sewers. Look for it on the box next to a cable car.
Key Item #25 – Sewers Key
You will find it in the lower Sewers. You get access to them after using the T-Bar Valve Handle and opening the Bottom Waterway door. Look for the key right before the going down the stairs. It is located on the wall.
Key Item #26 – Queen Plug & King Plug
Both the Queen Plug and the King Plug are located in the Supplies Storage Room in the lower Sewers. You will need them to open the weapons locker and the U-Area Door in the Monitor Room so make sure to take them with you.
Key Item #27 – Rook Plug
The Rook Plug is located in the hallway between Workroom and Worker’s Break Room in the upper Sewers. Once you have it, you will have all three plugs required to open the U-Area Door in the Monitor Room.
Key Item #28 – ID Wristband (General Access)
You will find the Electronic Chip in the Nap Room located inside the Laboratory. Nap Room is located above the Cafeteria. Once you have the Electronic Chip, combine it with ID Wristband and you will have access to every door in the Laboratory.
Key Item #29 – Dispersal Cartridge
This is located in the Greenhouse Control Room inside the Laboratory. You can pick up the Dispersal Cartridge from this control room. At the start it will be drained but you need to fill it. To fill it up, head to the Keypad Terminal in the Control Room and input the Ladder Code 3123 and Drug Testing Lab Code 2067.
The keypad shows weird symbols but the number locations are same on it as if it is a normal keypad. This will unlock the machine where you can insert the empty cartridge to fill it up. Once you get it, head down to the Low Temp Testing Lab to cool it down.
Key Item #30 – Signal Modulator
You will find the Signal Modulator in the lobby of the Laboratory B1. Check the switch box on the wall to pick it up.
Key Item #31 – Herbicide Dispersal Cartridge
Once you have the Dispersal Cartridge, head down to the Low-Temp Testing Lab located on the Laboratory B2 level and use the freezer there to cool it down. Once it is cooled down, it will be filled with Herbicide ready to be used in the Control Room.
Key Item #32 – ID Wristband (Senior Level Access)
In the Greenhouse located on the Laboratory B1 level, you will find the Control Room. Once there, kill all the plants by using the Herbicide and then pick up the Electronic Chip and combine it with your ID Wristband to gain access to Senior Level rooms.
- Resident Evil 2 Remake Herbs Guide
- Resident Evil 2 Remake Unlock Doors Guide
- Resident Evil 2 Remake Treasure Hunter Trophy Guide
- Resident Evil 2 Remake Medallions Guide
- Resident Evil 2 Remake Weapon Locations Guide
- Resident Evil 2 Remake Safe Code Unlock Guide
- Resident Evil 2 Remake Puzzle Solutions Guide
- Resident Evil 2 Remake All File Locations
This concludes our Resident Evil 2 Remake Key Items Guide. If you want to add anything to this guide, feel free to use the comments section below.


