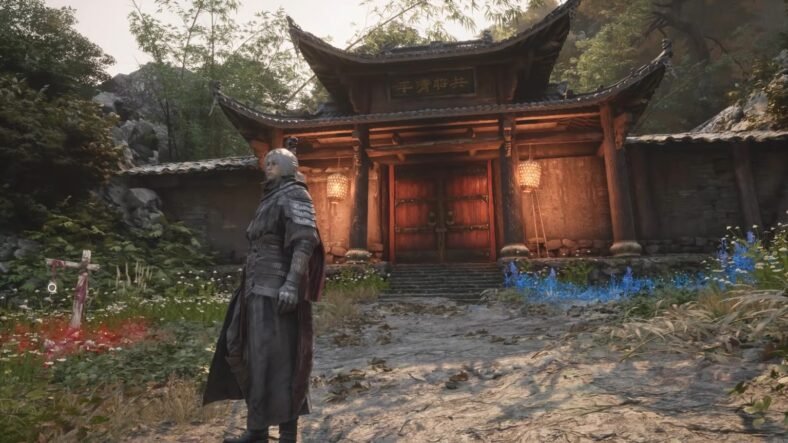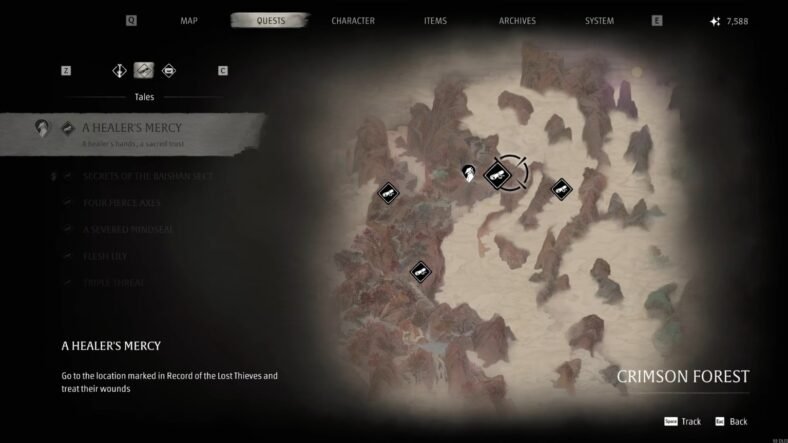
This Phantom Blade Zero guide explains how to complete A Healer’s Mercy quest in Phantom Blade Zero easily. A Healer’s Mercy is a side quest given by Yu’er at the Thieves’ Camp in the Crimson Forest. You must locate and heal four wounded thieves scattered across the area, then return to Yu’er to collect your reward.
A Healer’s Mercy Quest Guide – Phantom Blade Zero
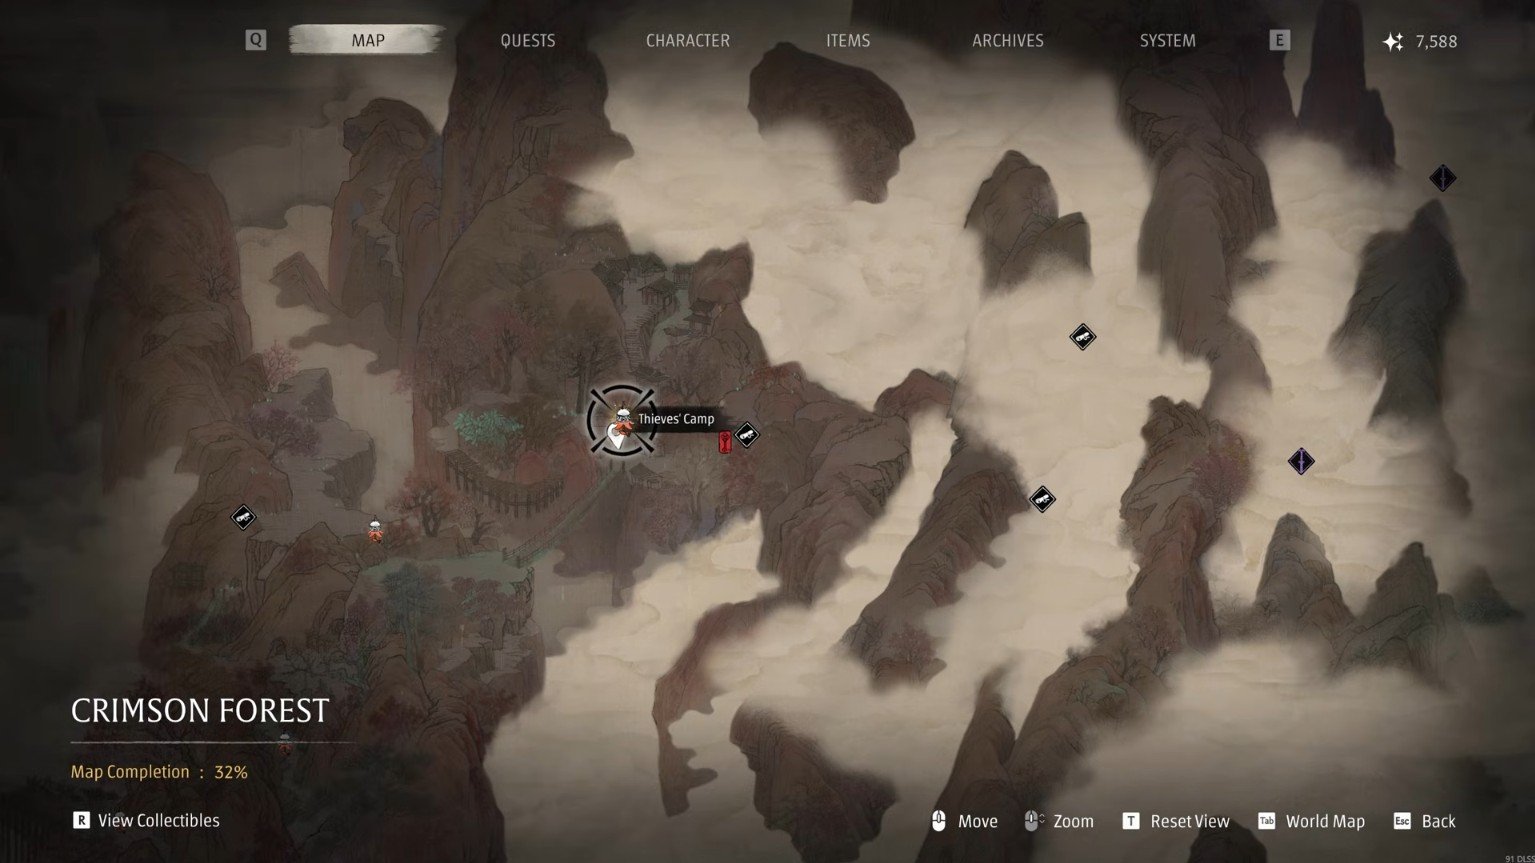
Travel to the Thieves’ Camp in the Crimson Forest and speak with Yu’er. Choose the dialogue option about the wounded in the woods to begin the quest. Four wounded thieves will then appear as locations on your map; find each one and give them a lifesaving pill.
First Wounded Thief
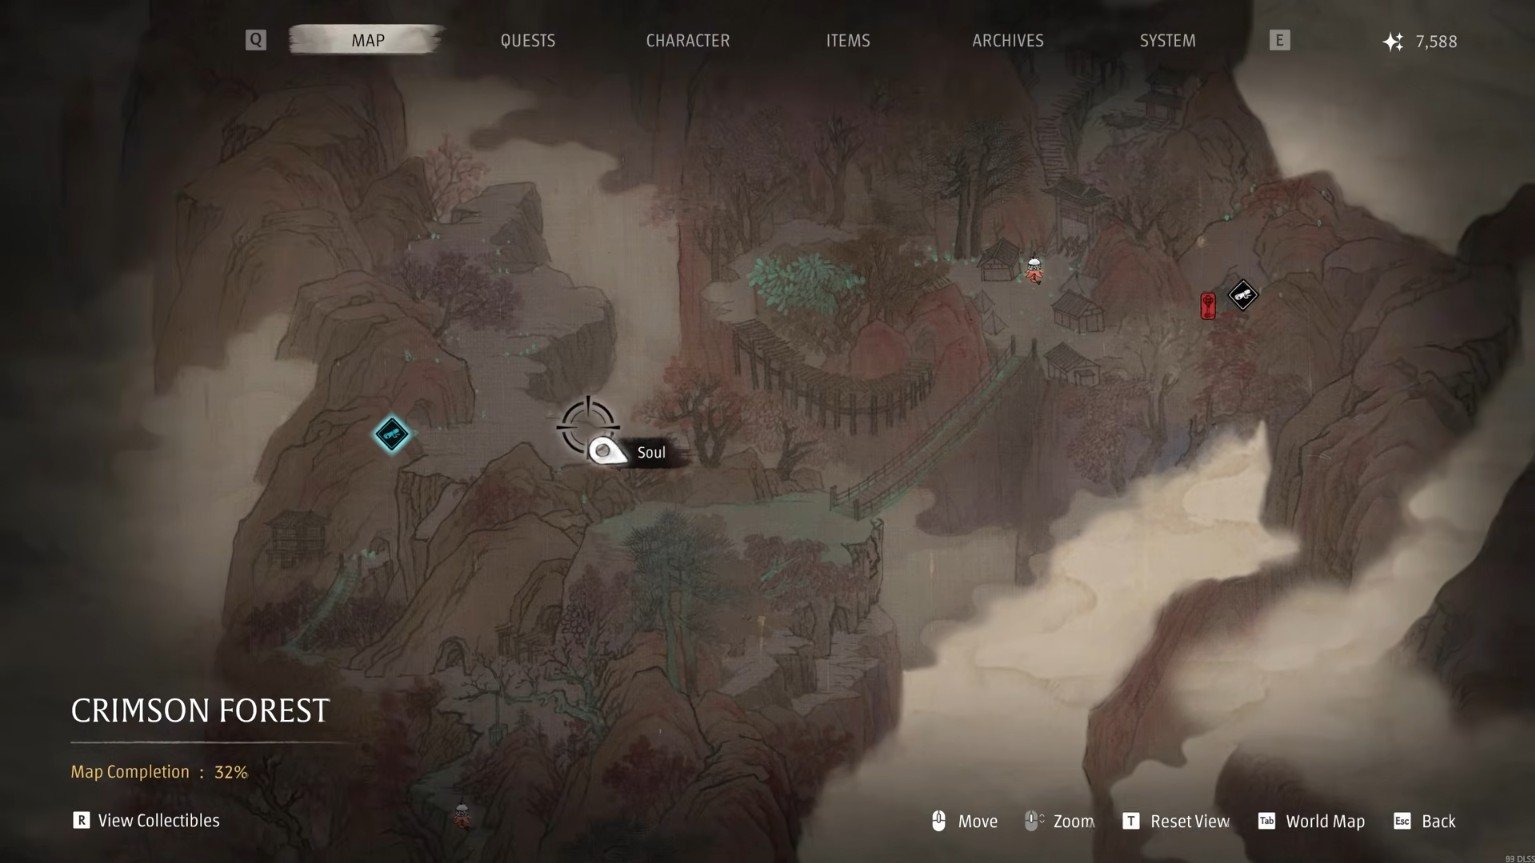
Fast travel to the Outlaw Trap resting point closest to the first thief. From there, head west along the nearby pathway to reach Healer’s Mercy Location. You can activate Mind’s Eye to help identify the direction you need to follow.
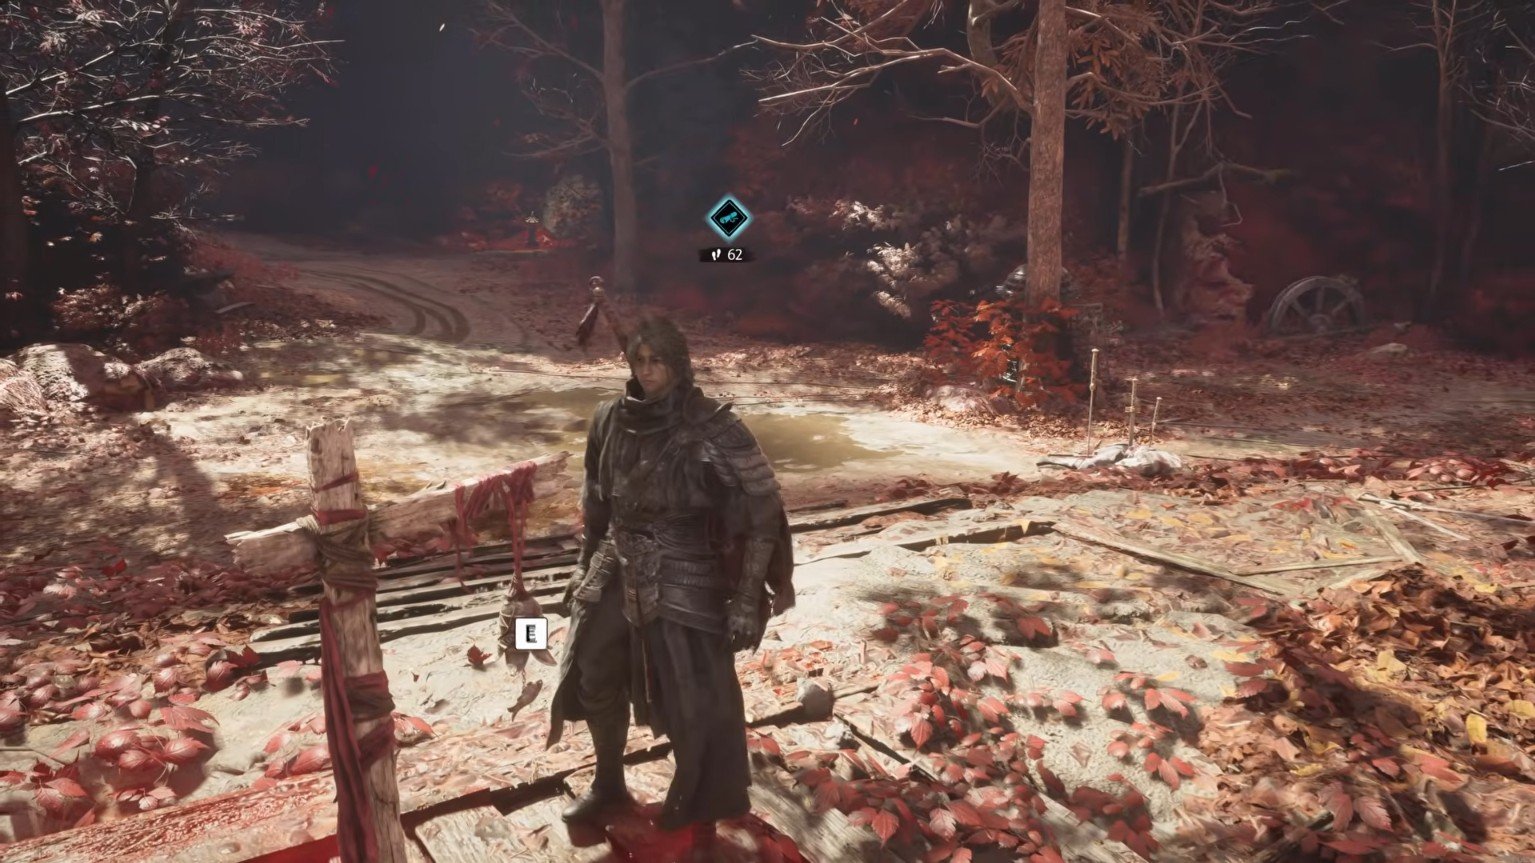
Continue down the path until you spot a wounded thief lying on the ground. Interact with him and give him a Life-Saving Pill to complete the first rescue.
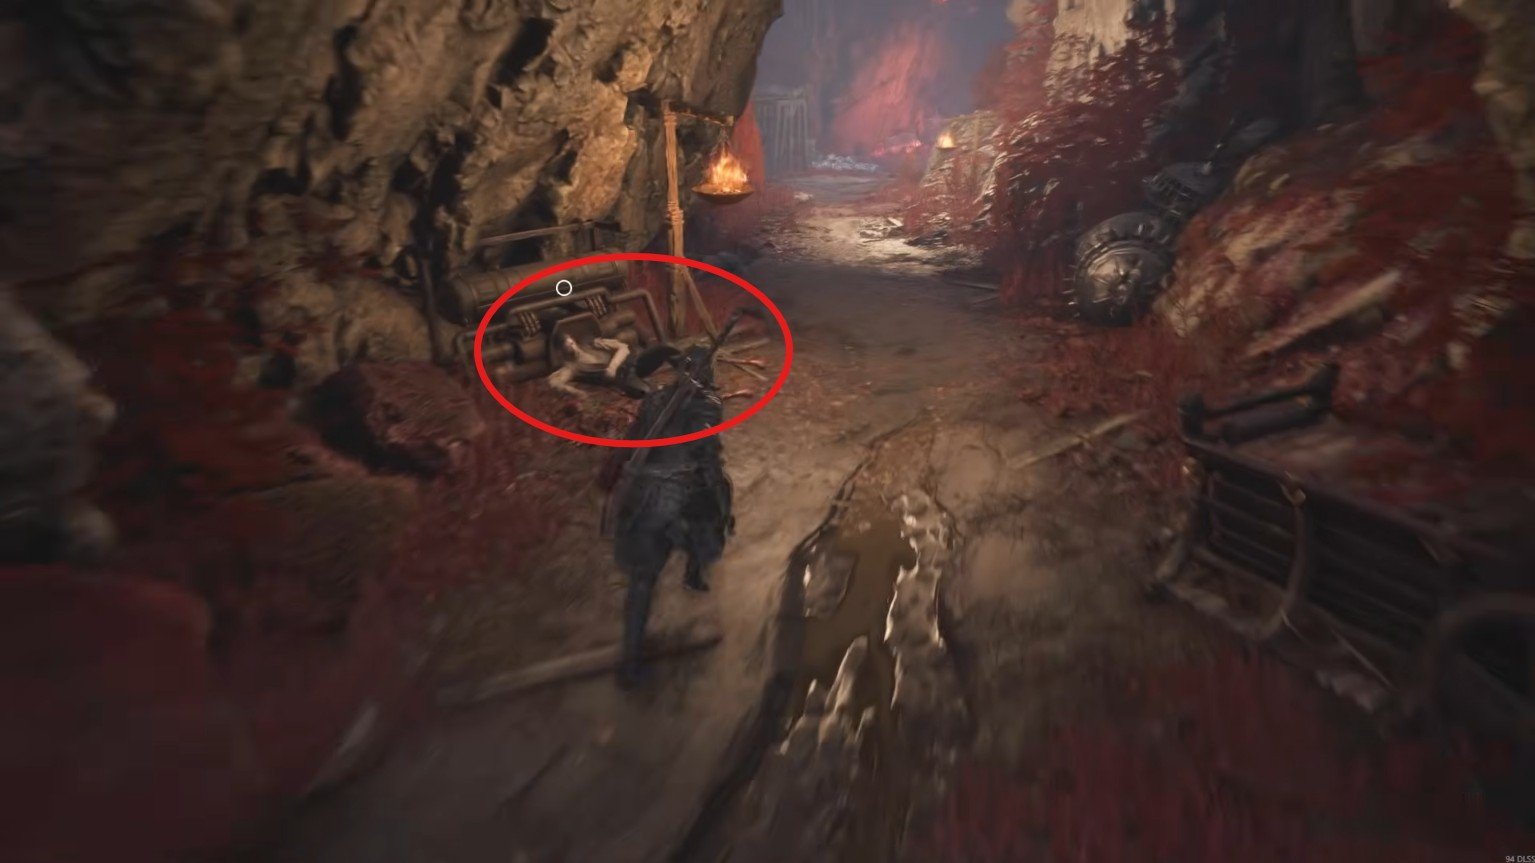
Before leaving the area, explore the nearby section further ahead and collect the available loot. You will need to pick up some items along the way for the next part of the quest.
Second Wounded Thief
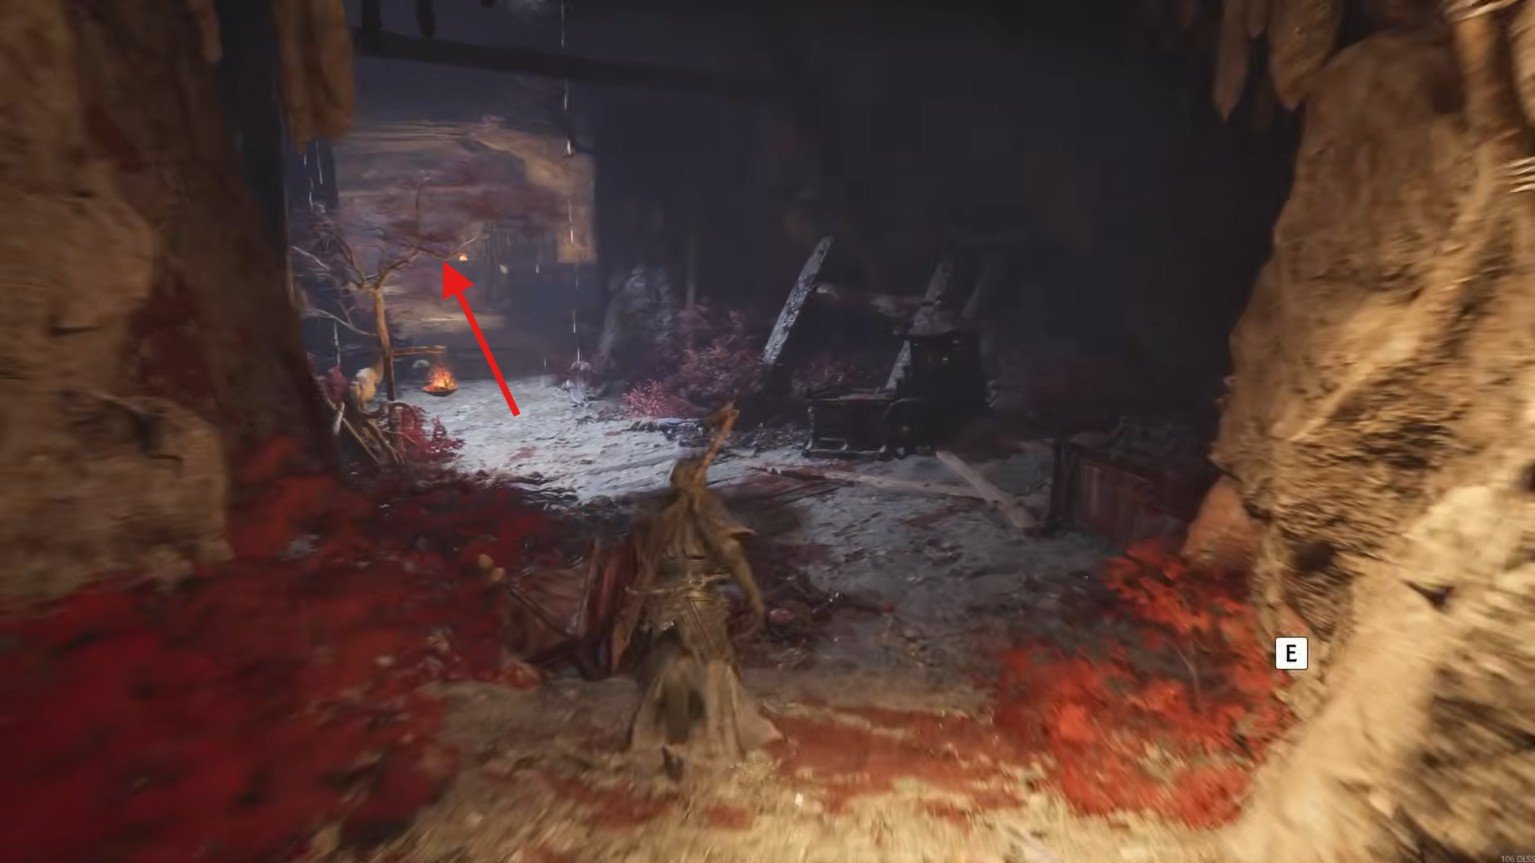
Return to the Outlaw Trap resting point and check the map for the second wounded thief. Although the marker may make it look as if he is somewhere out in the open, he is actually located inside an underground cave.
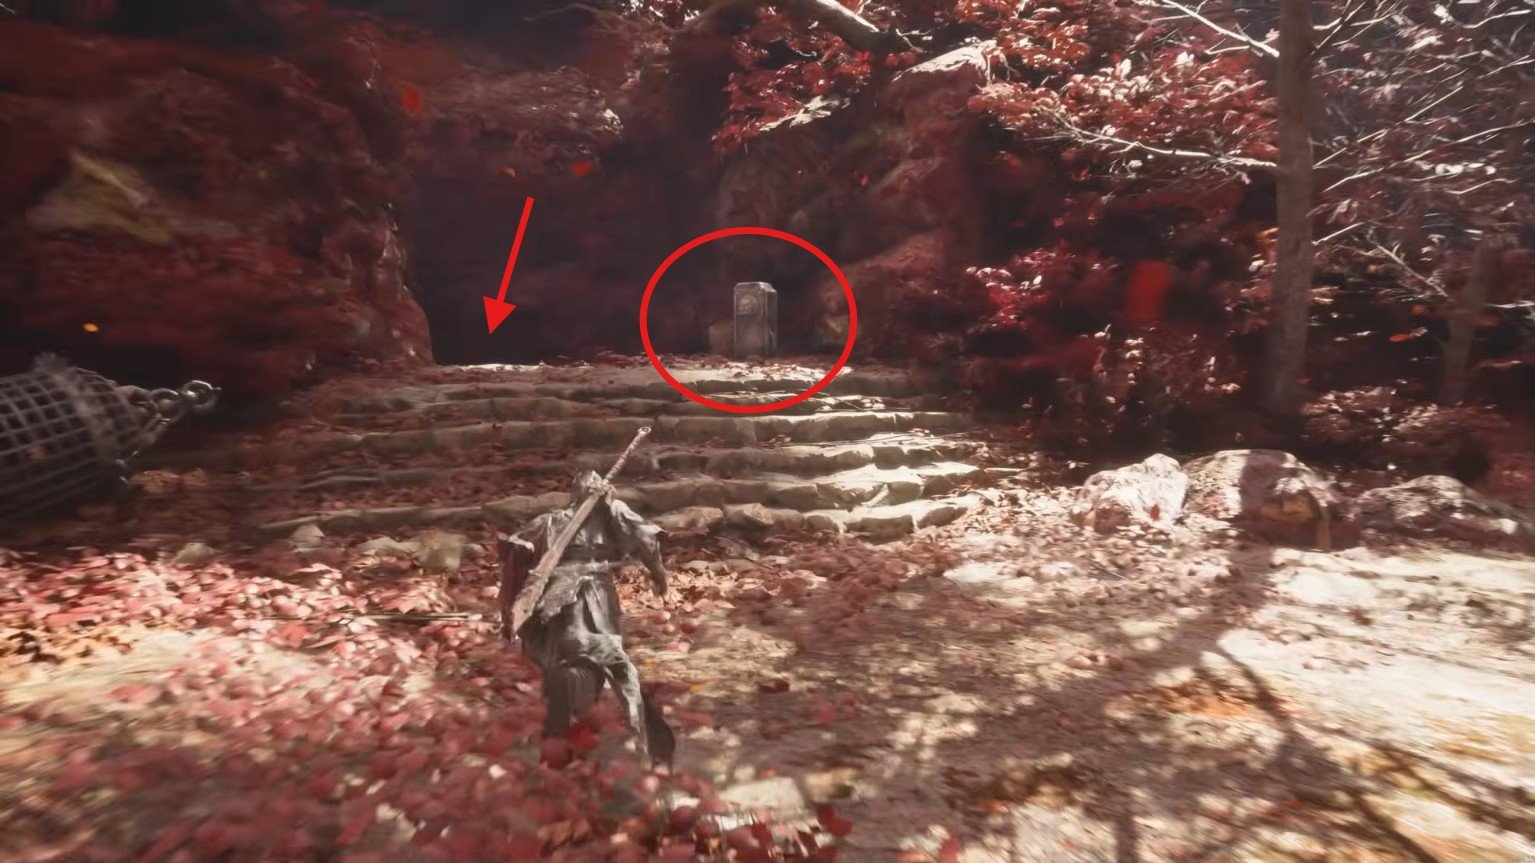
To access the cave, find the nearby mechanism and insert the crank. This will allow you to descend into the underground area.
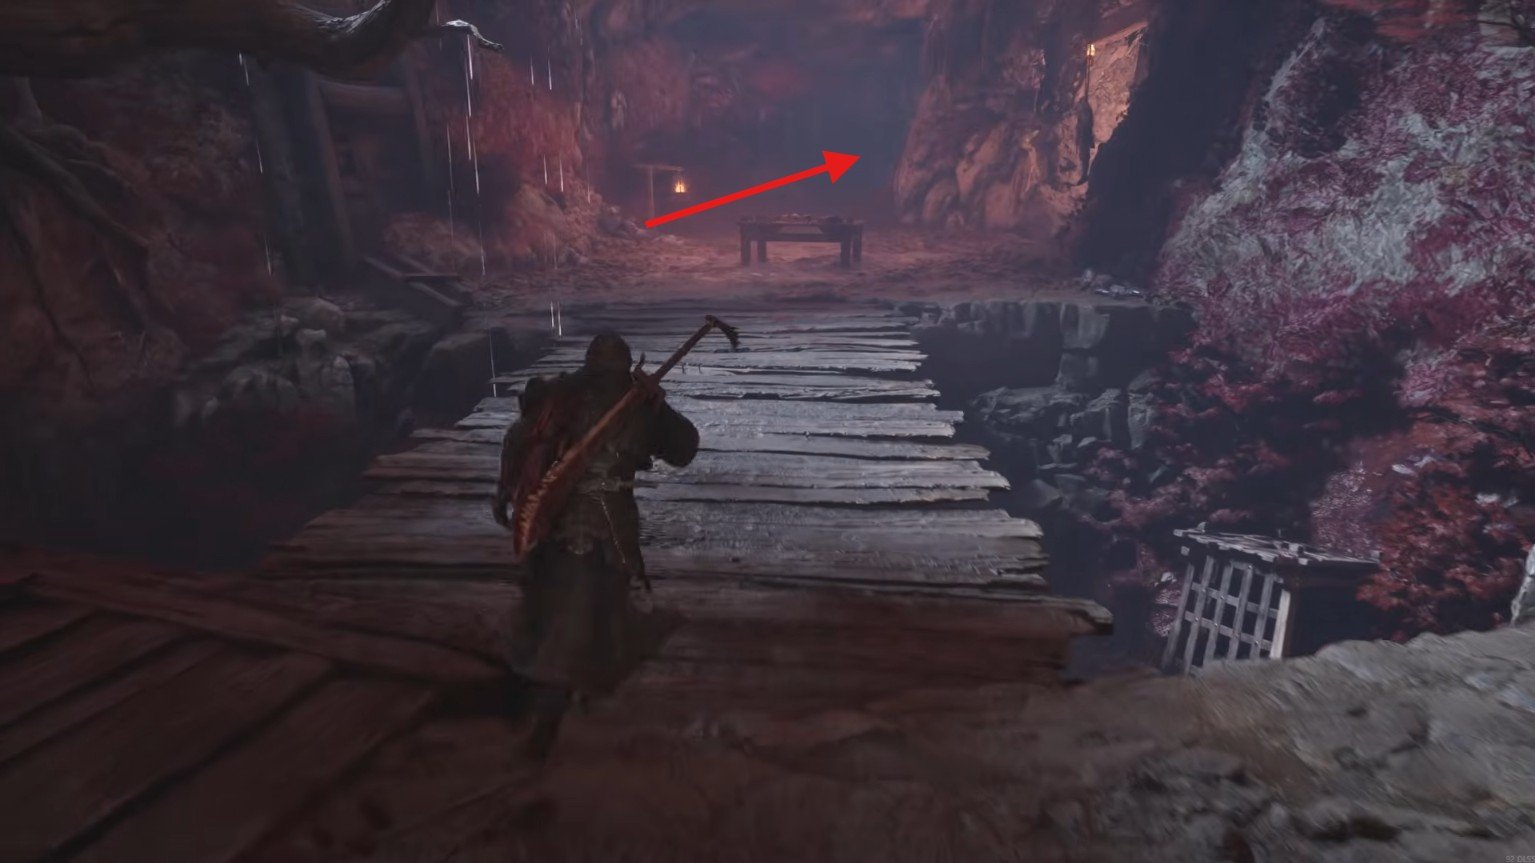
Once inside, cross the wooden bridge and move towards the table. From there, keep to the left side and look for the wounded thief nearby. Interact with him and give him the Life Saving Pill.
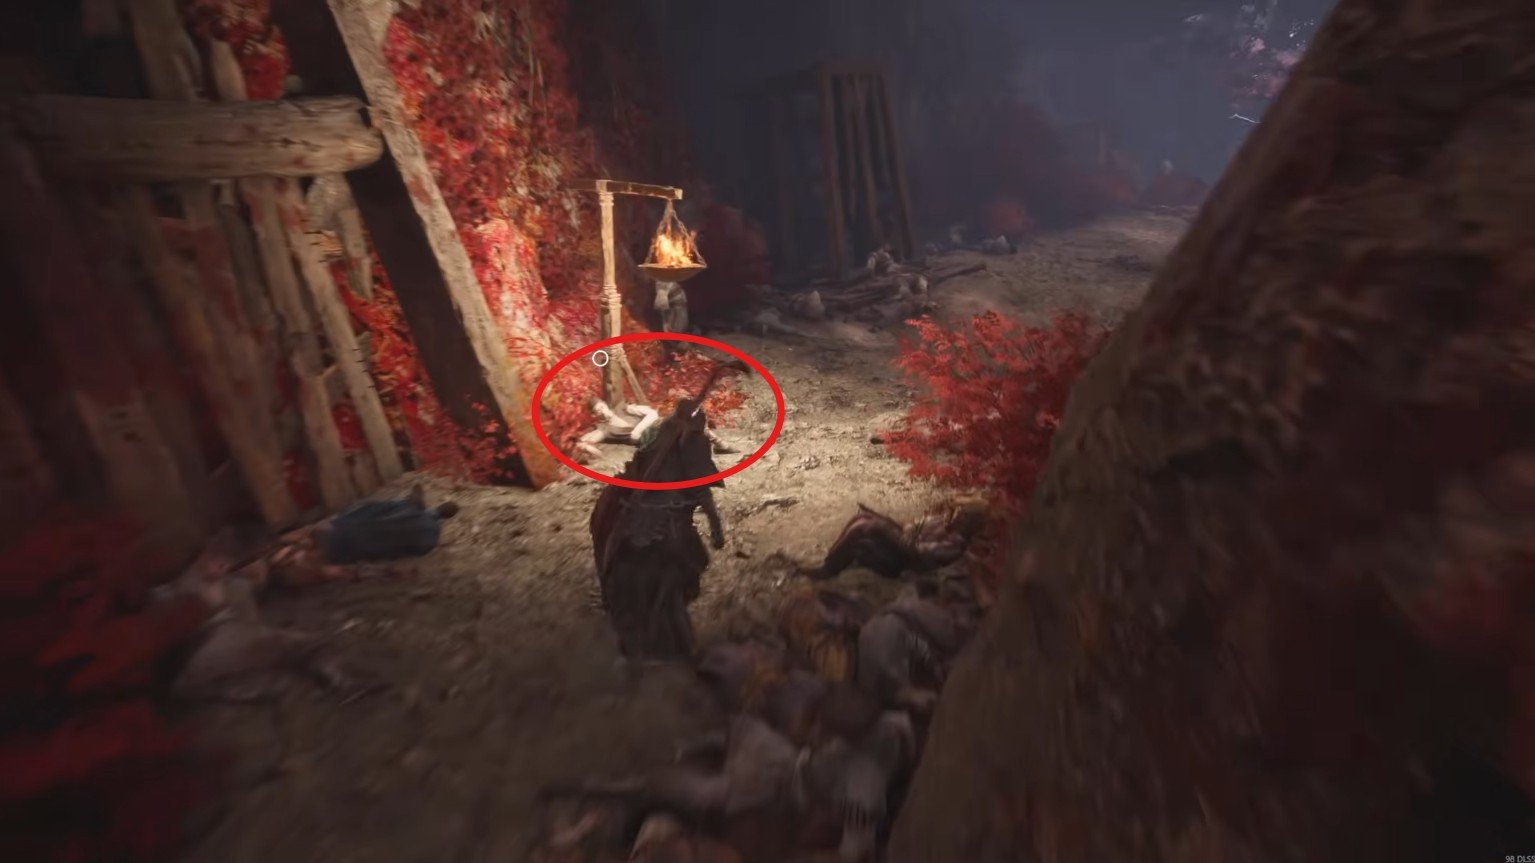
Third Wounded Thief
The remaining two thieves are located farther away, so you will need to travel through a larger section of the map.
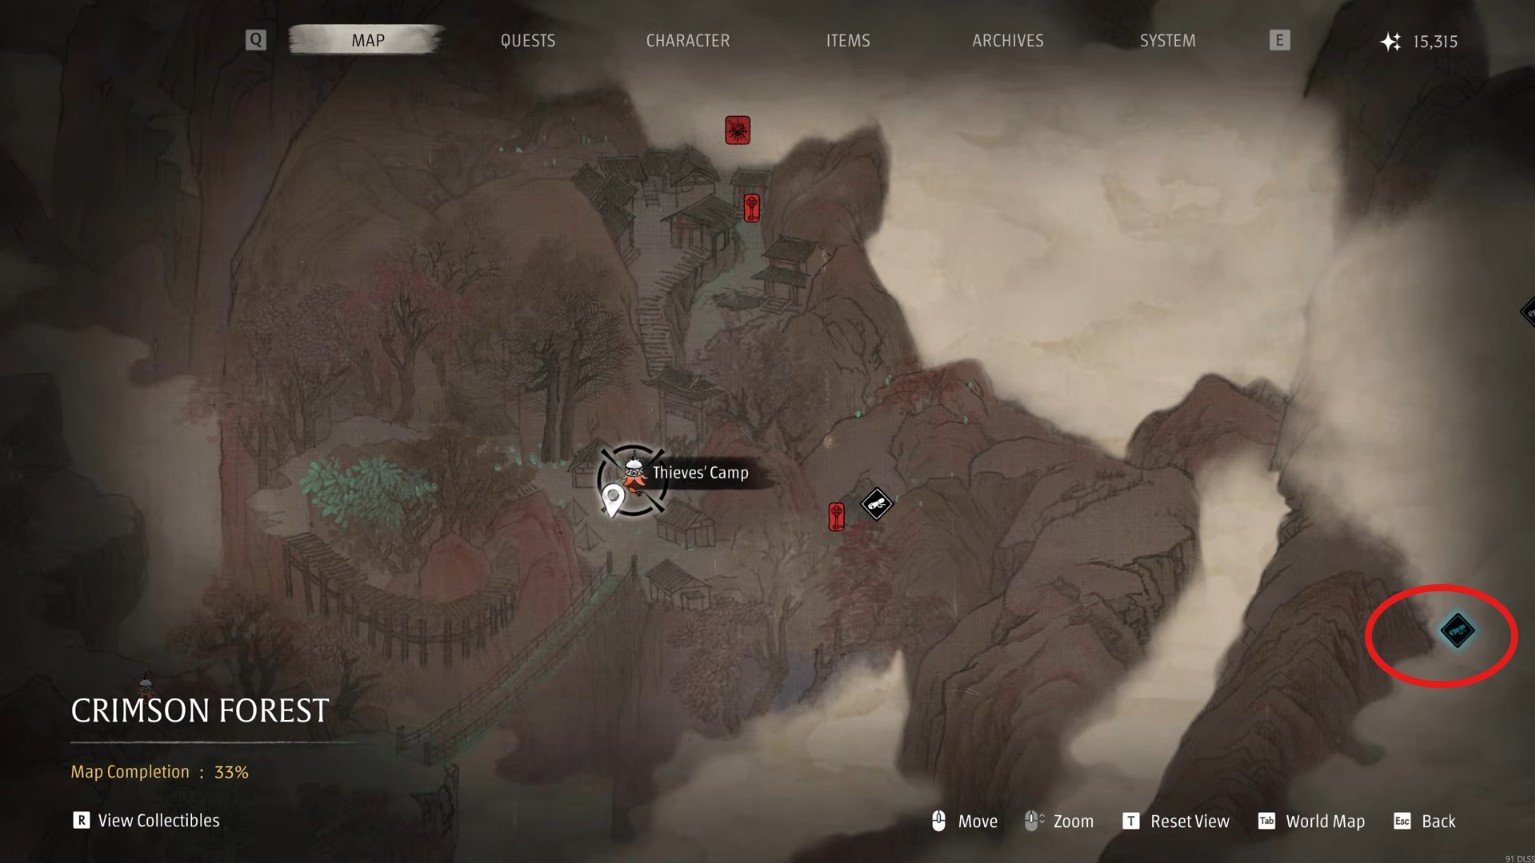
Starting from the Thieves’ Camp, follow the road to your right around the corner and continue along the main path.
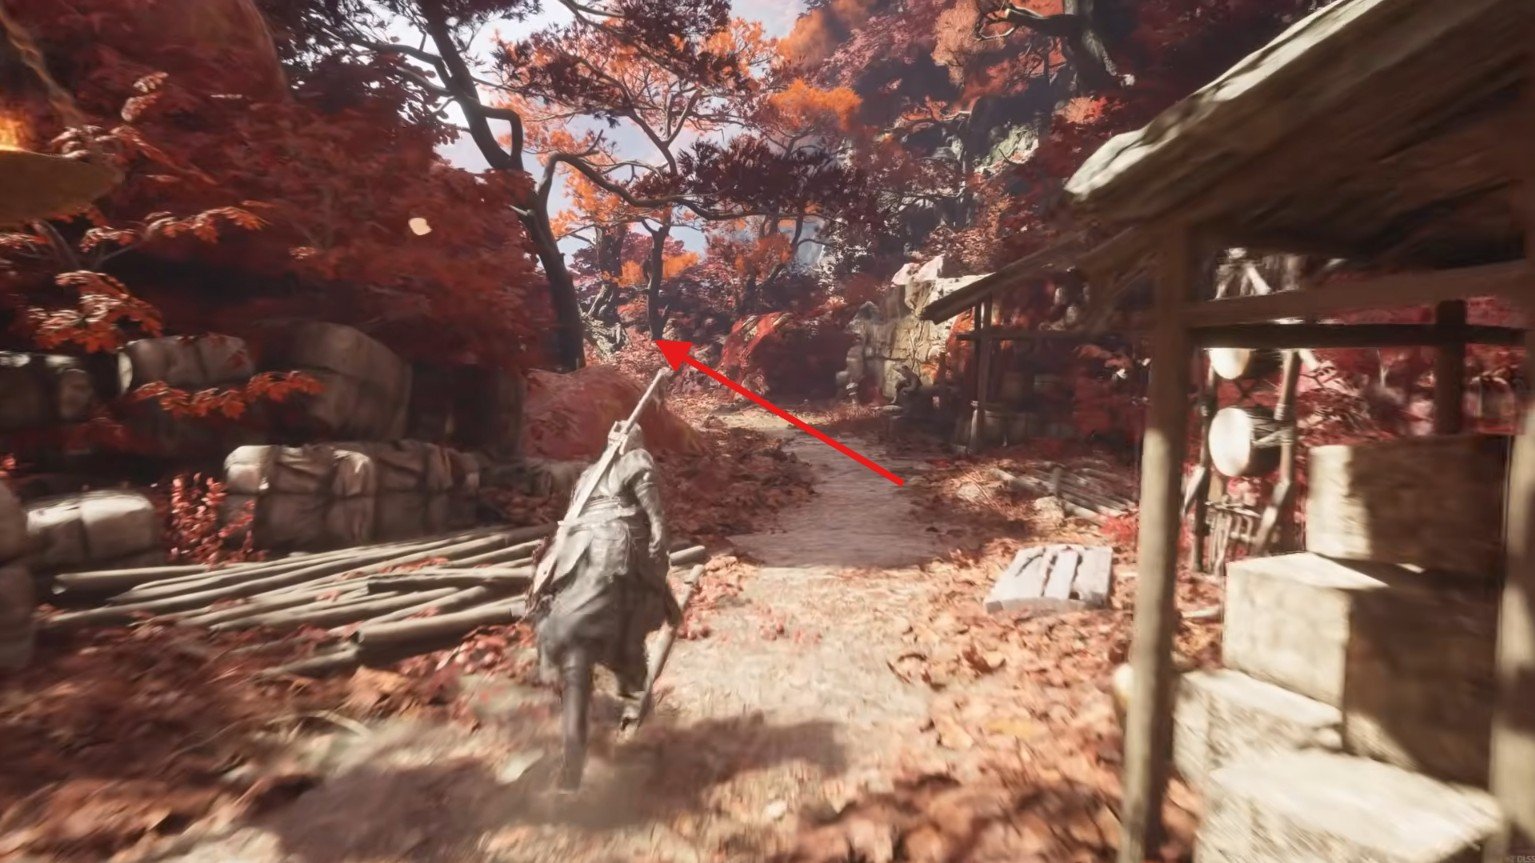
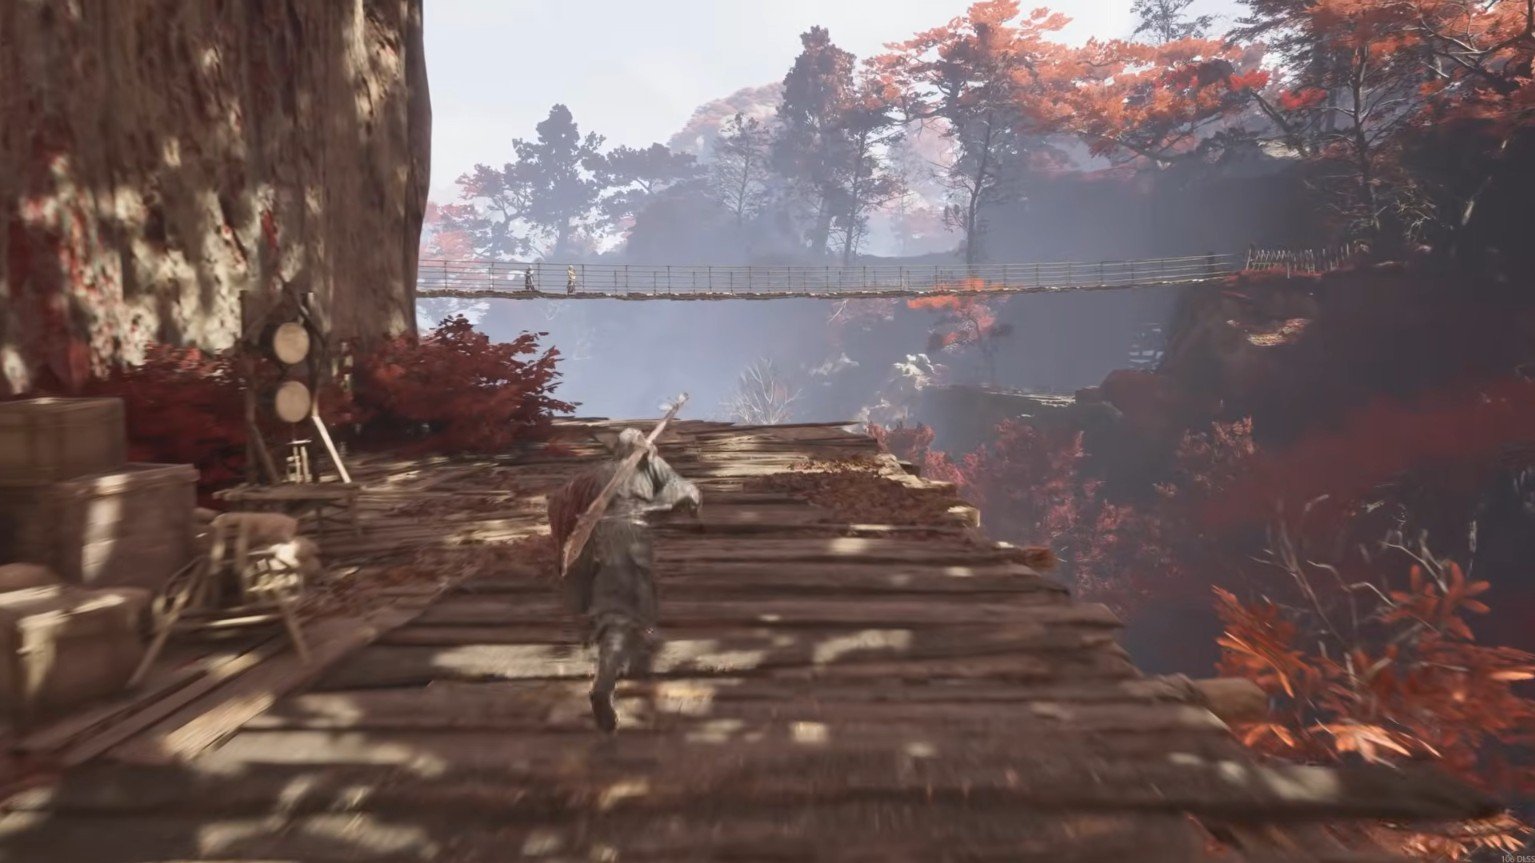
Keep moving forward and go up the staircases where you see them. Moreover, you can also collect loot as you explore, as it will help you reach your full power. Eventually, you will reach a cave. Pass through it and crouch through the opening on the other side to enter a small village.
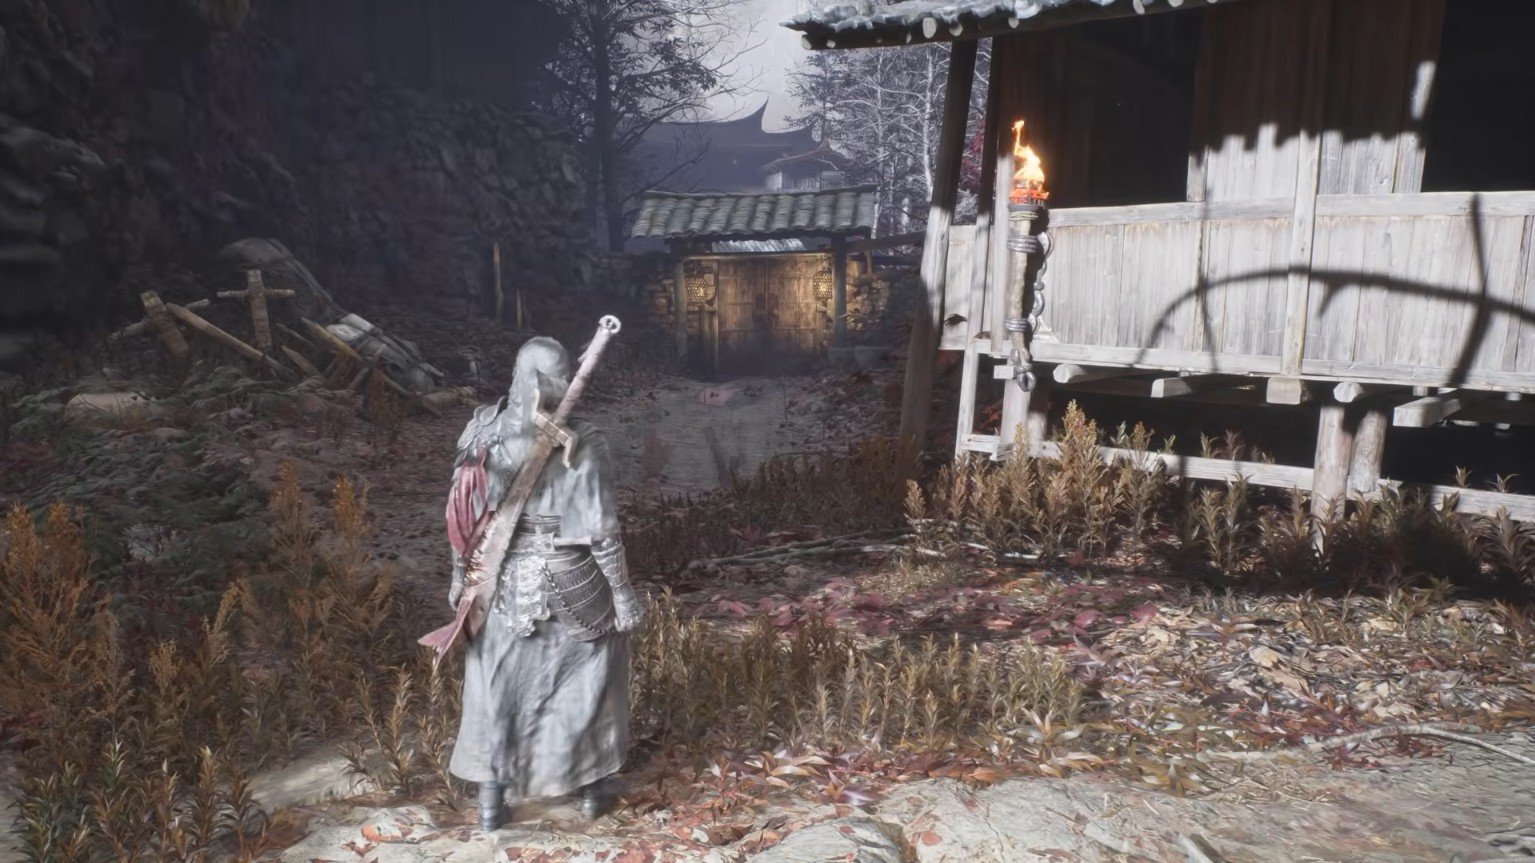
You will find a locked door in this area. To get its key, turn around and climb the stairs behind you. Enter the large house on the left and collect the item inside. This is the Forest Outpost Courtyard Key.
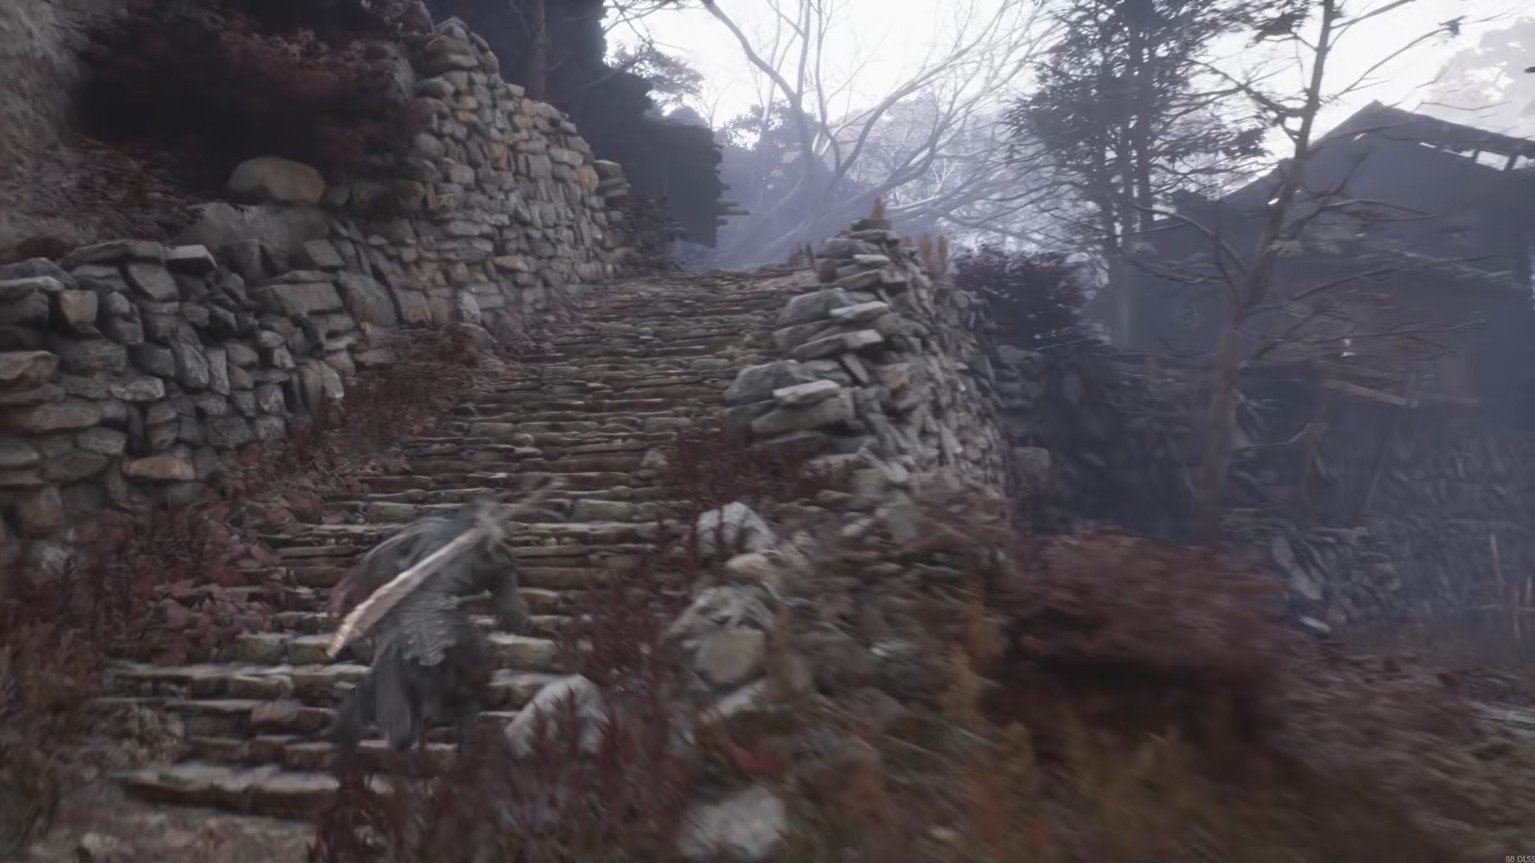
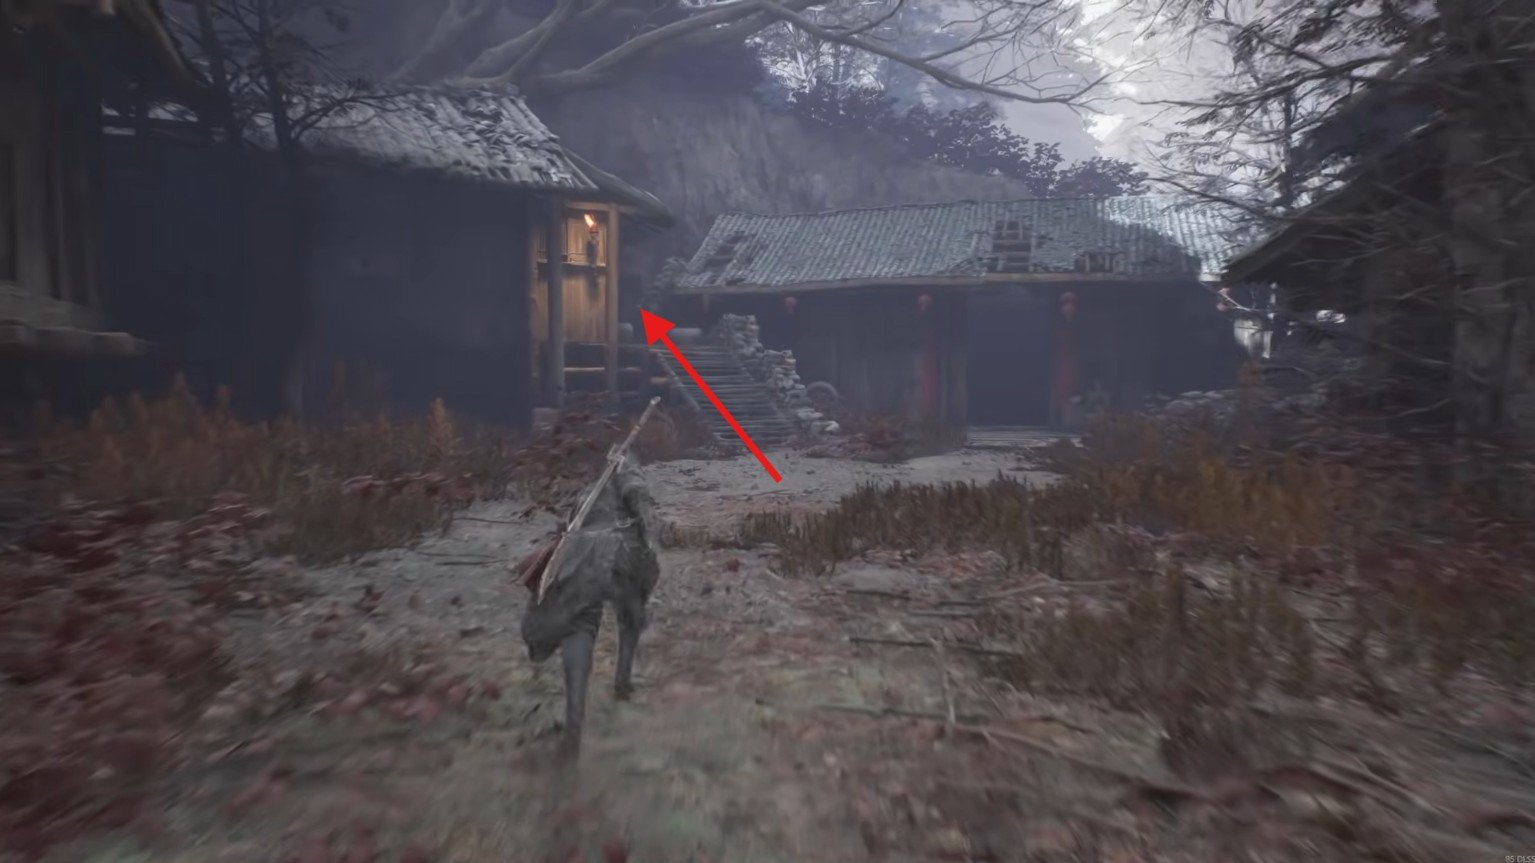
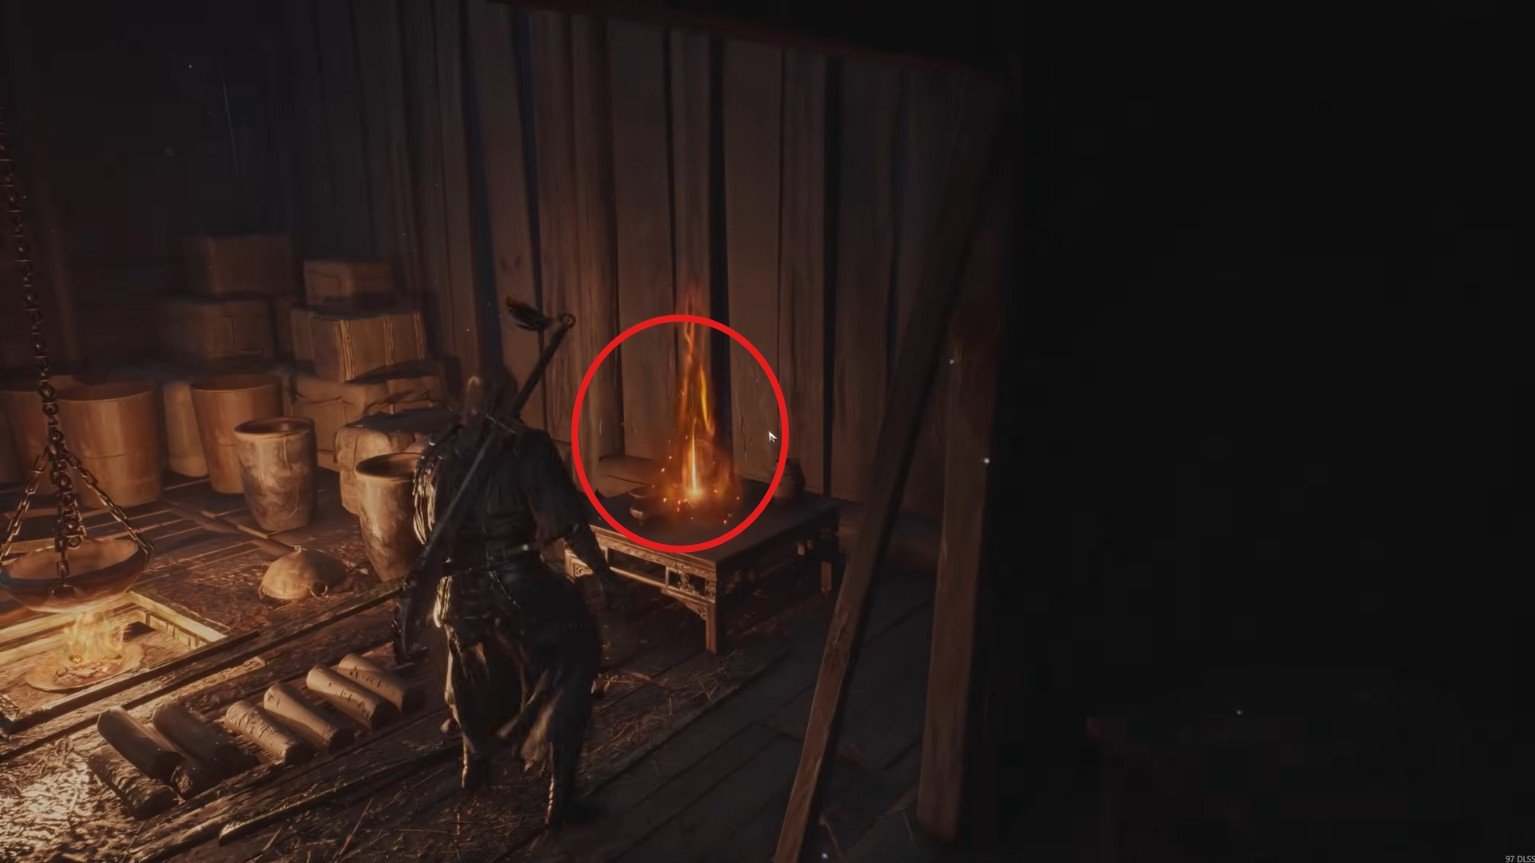
Return to the locked door and use the key to open it. You can then activate the resting point inside, making it easier to continue exploring this section. From the newly unlocked resting point, follow the road ahead and climb the stairs. Continue through the area, dealing with any enemies you encounter along the way.
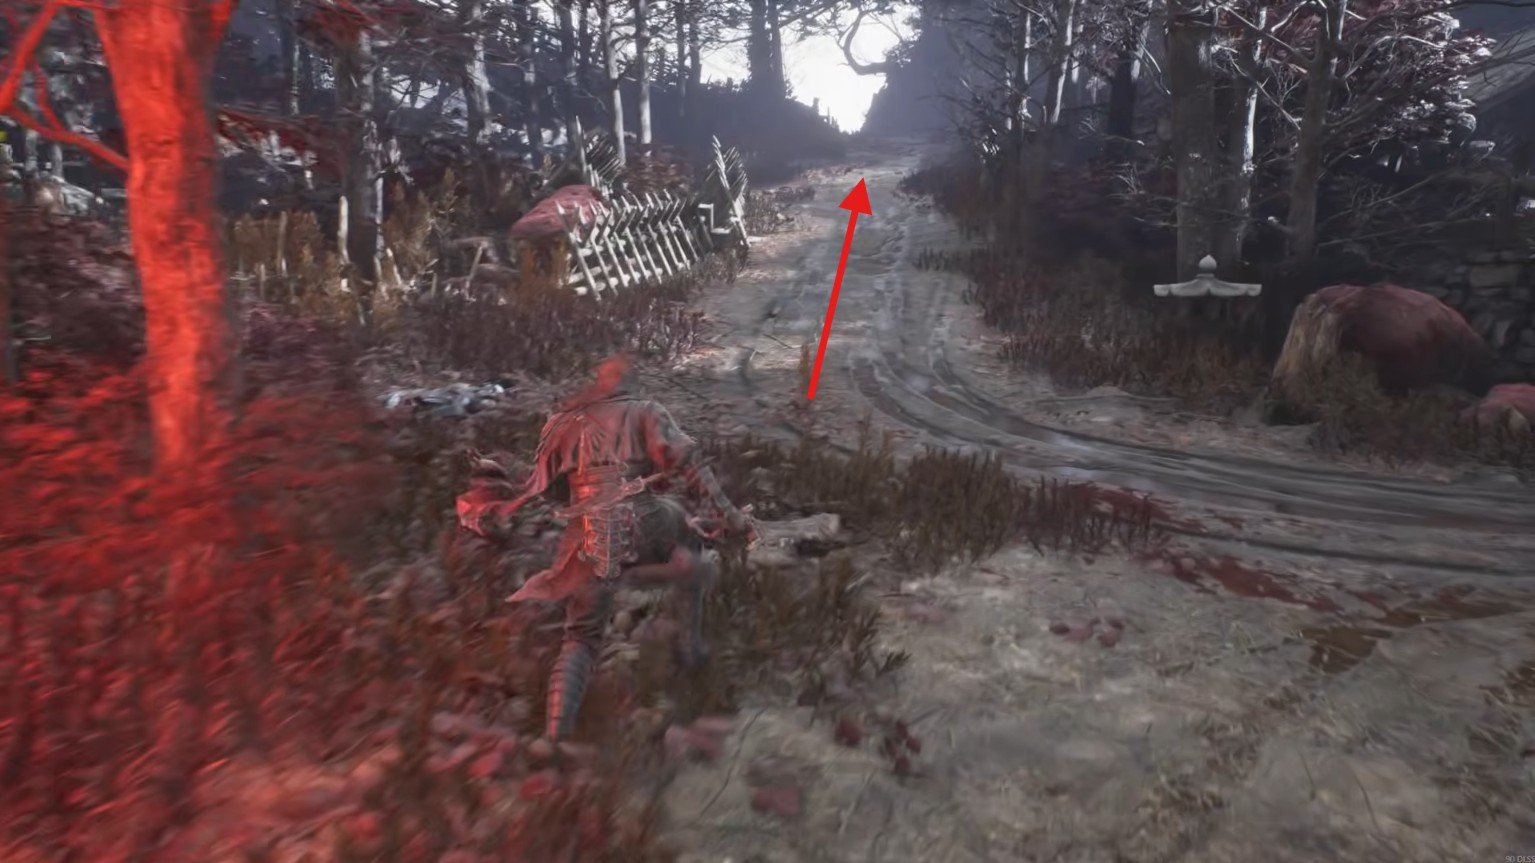
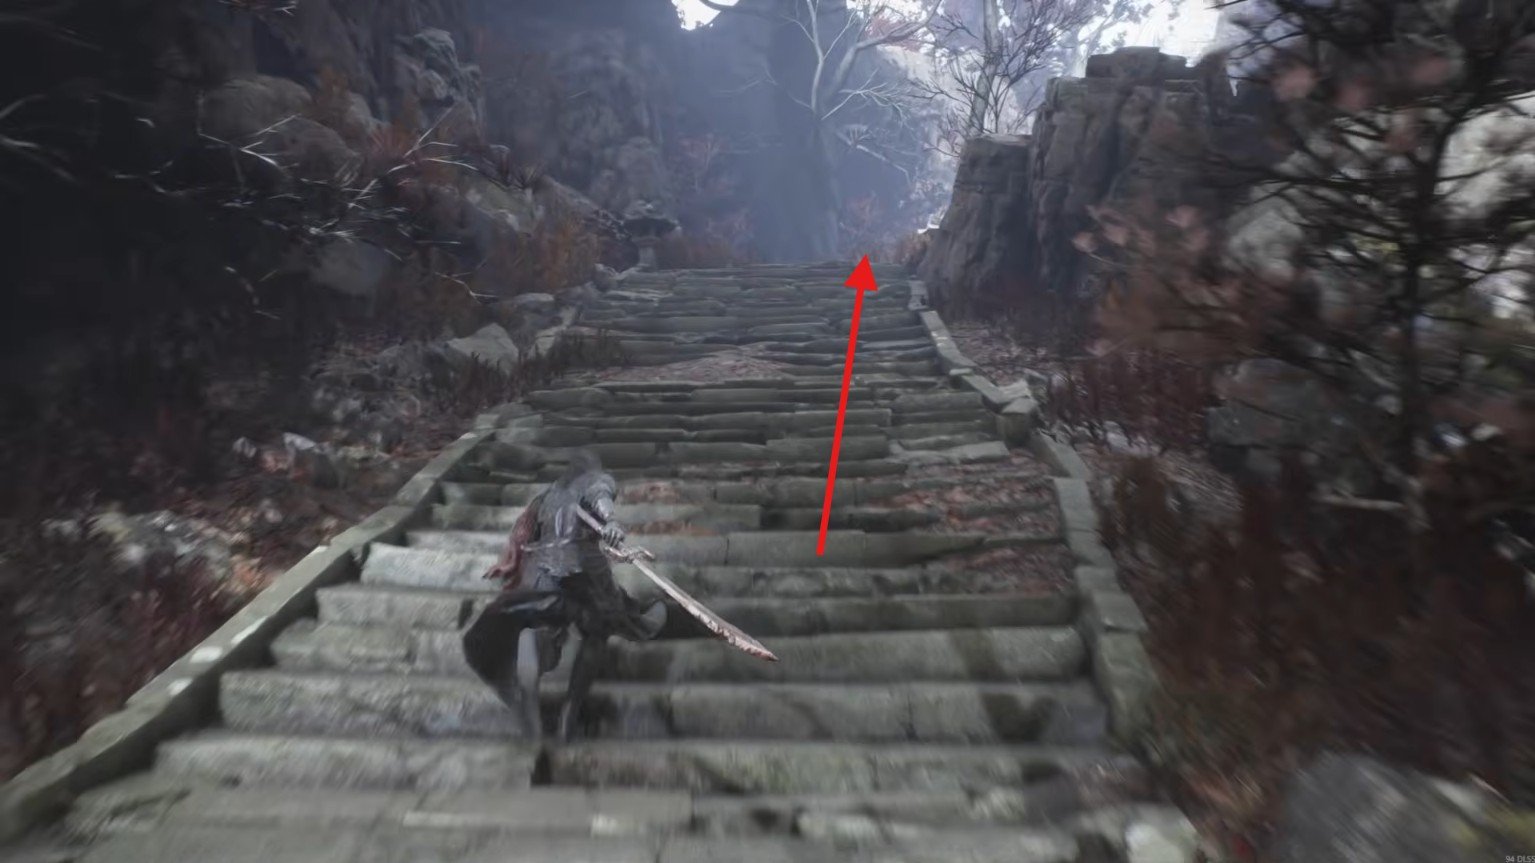
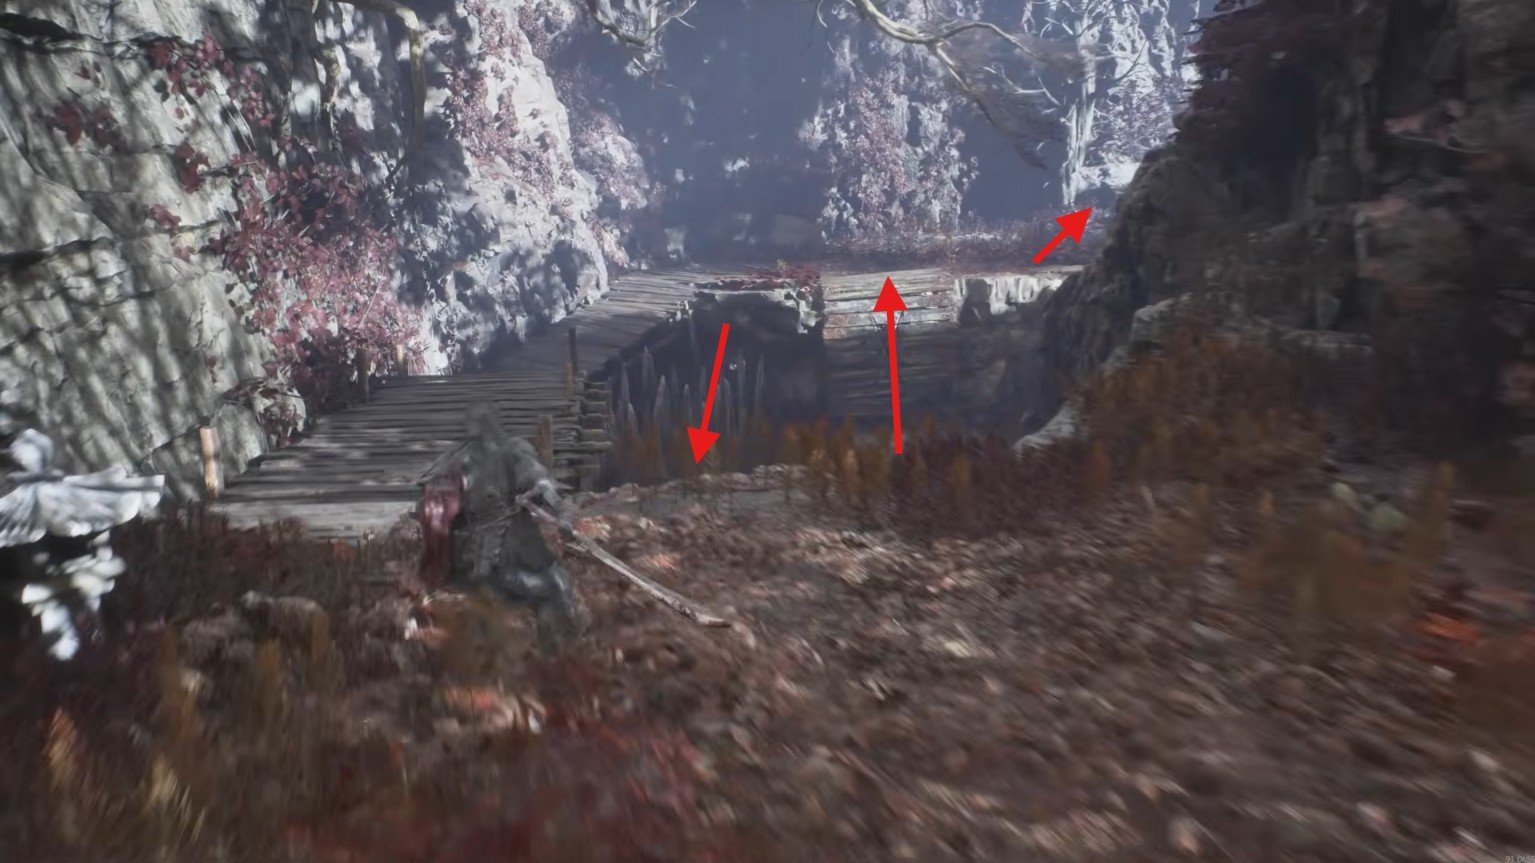
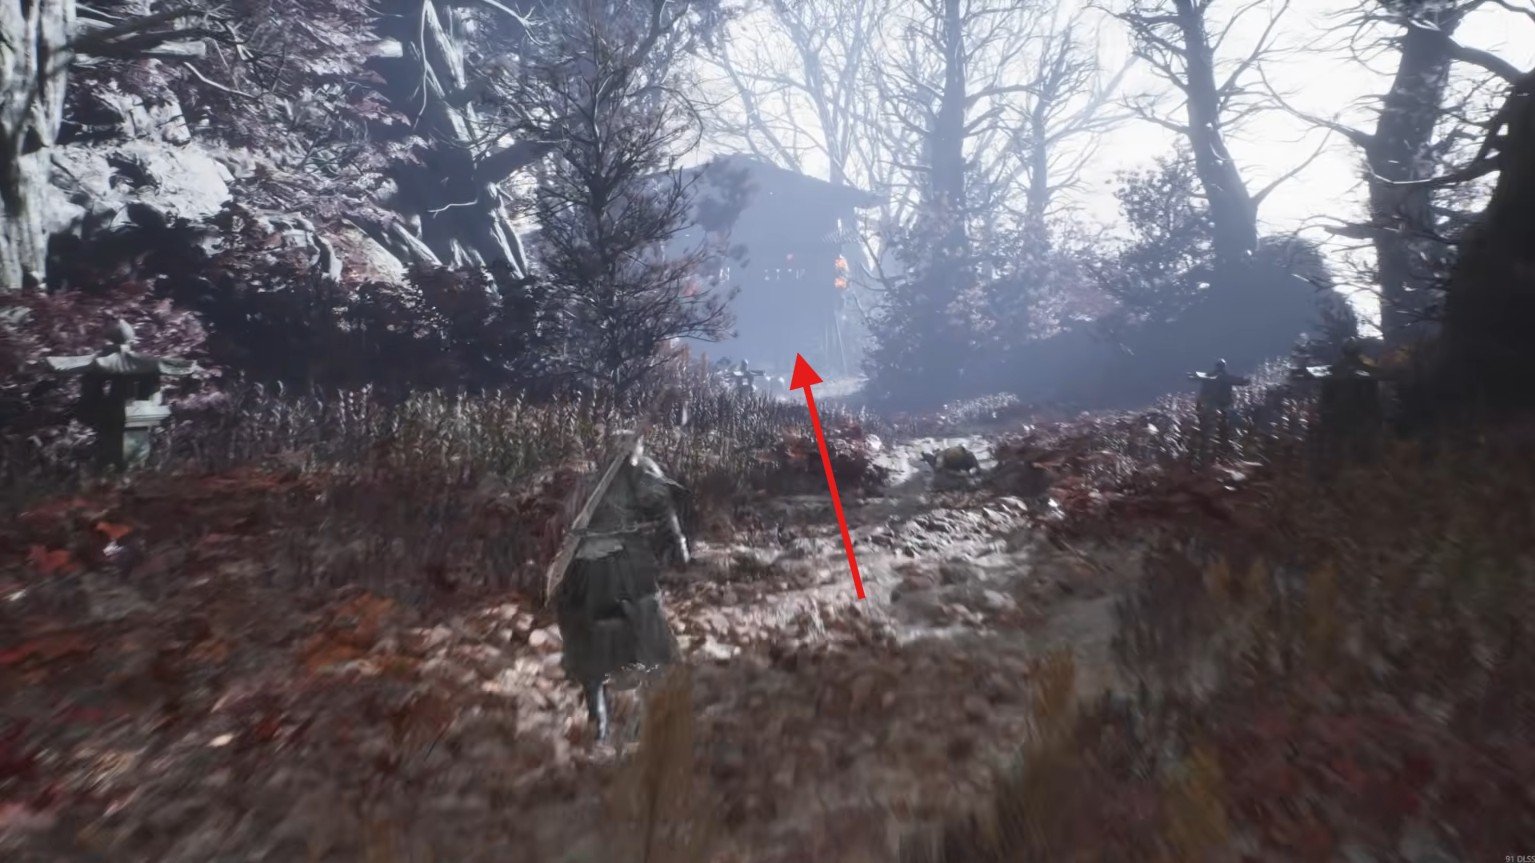
When you reach the next section, head downwards and jump to the lower platform. From there, climb back up and continue towards the large house visible in the distance.
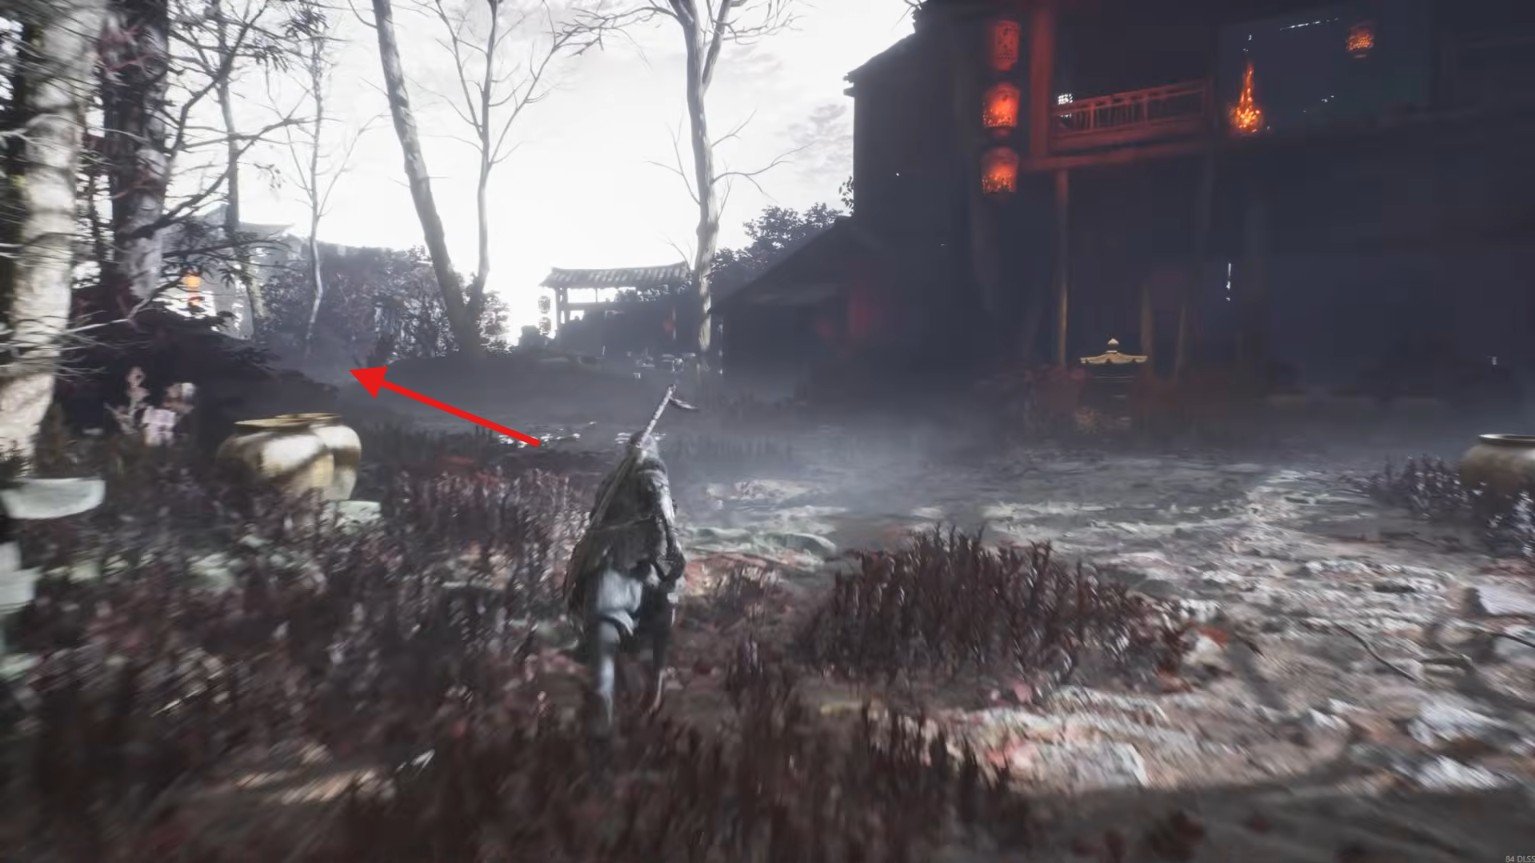
Before entering the house, look towards the left side near a tree where you will find a ladder leading down to a lower area. Climb down, and you will discover the third wounded thief at the bottom.
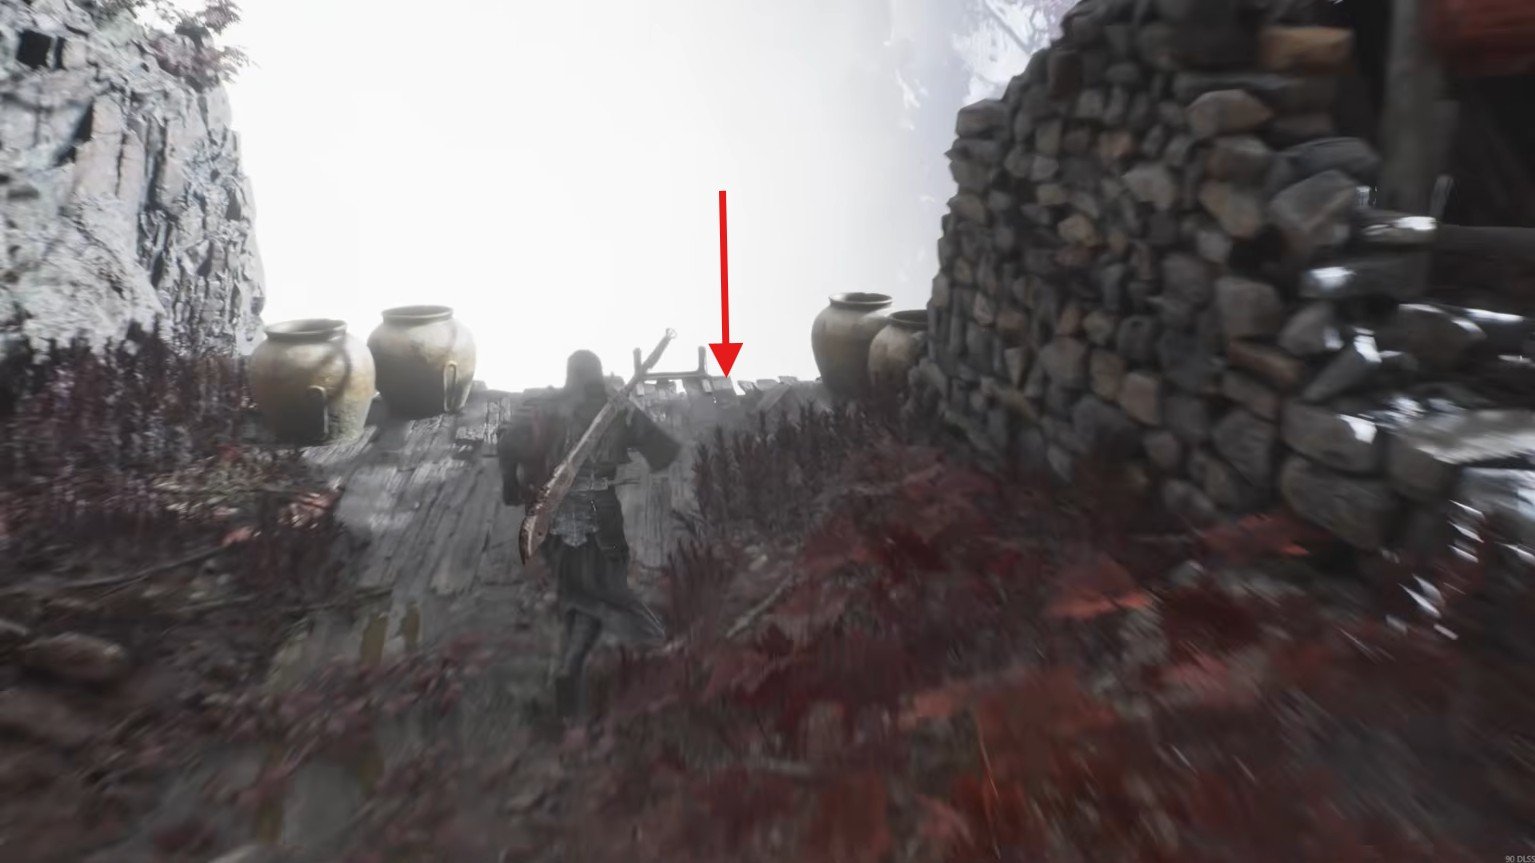
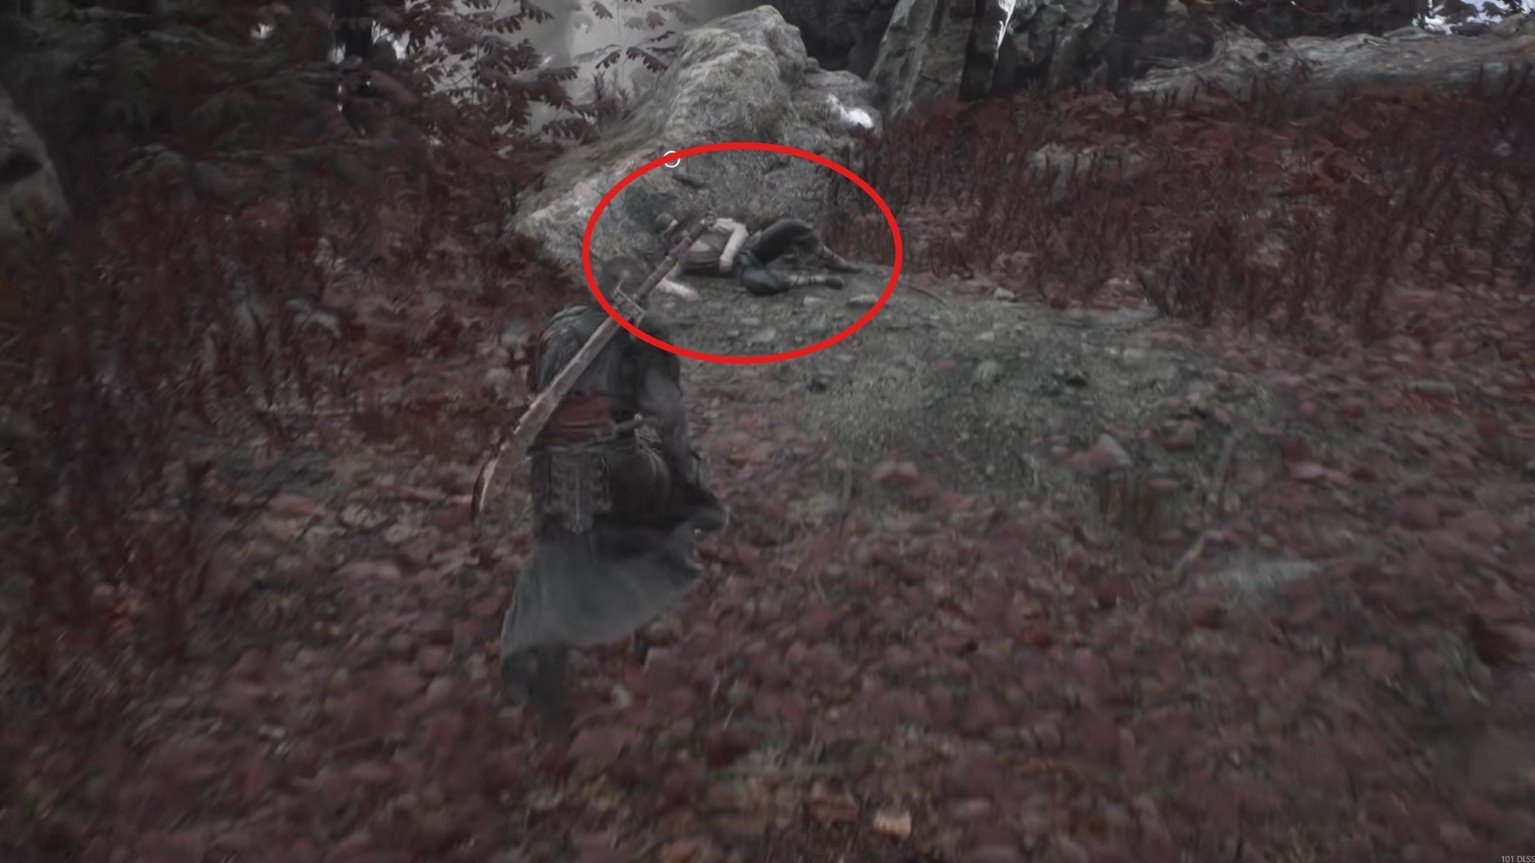
Give him a Life Saving Pill to complete the third rescue. You can now return up the ladder and continue towards the nearby house.
Fourth Wounded Thief
The next objective is to collect a crank from the large house. This item is located on its upper floor, but you will need to take a different route to reach it.
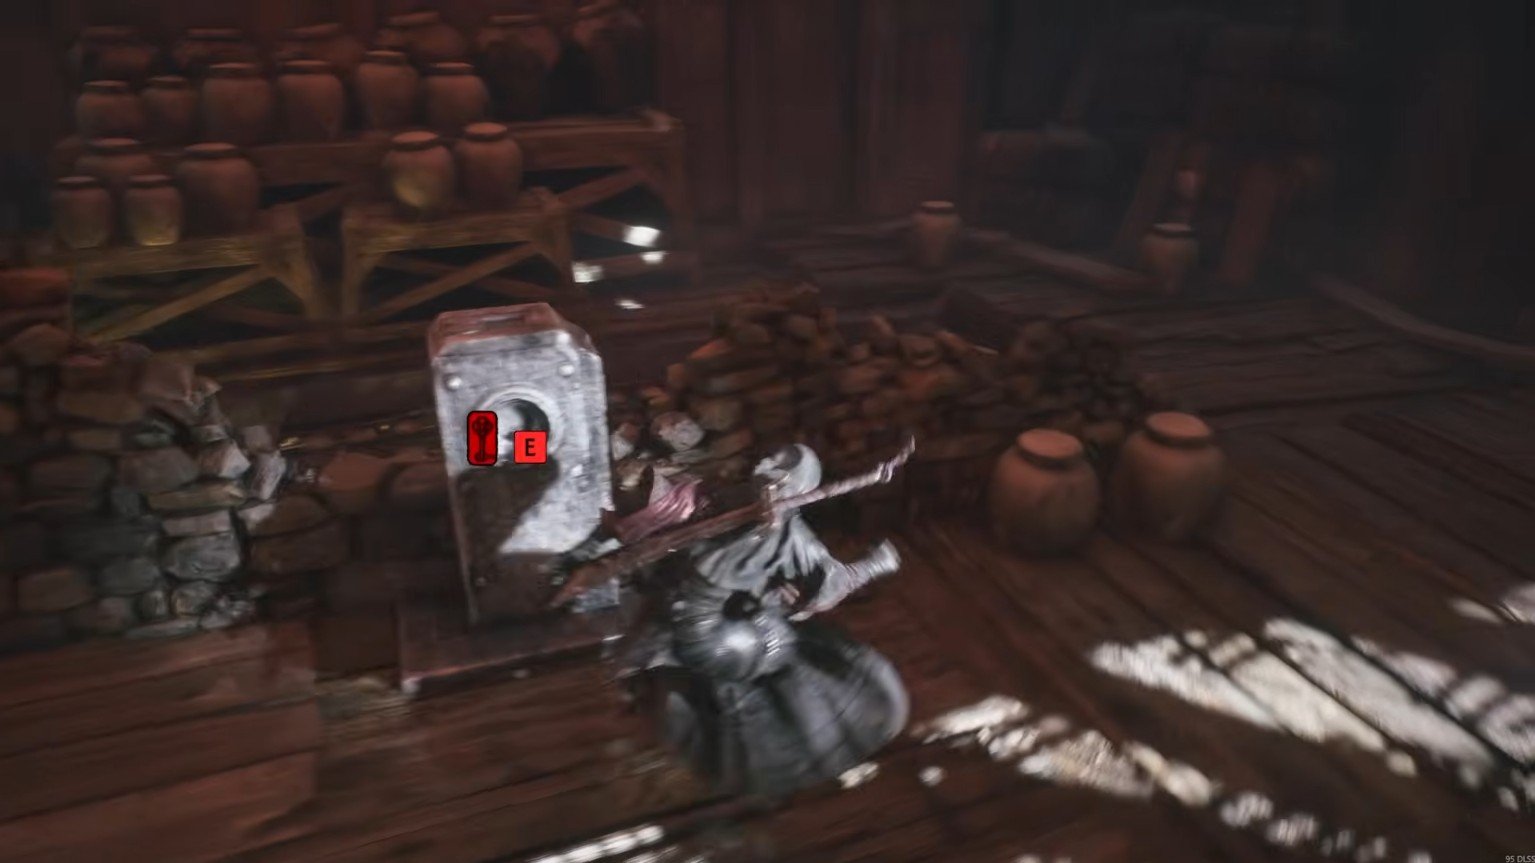
From outside the house, move to the right and pass through the open hut. You will find a resting point and a ladder that leads to the second floor.
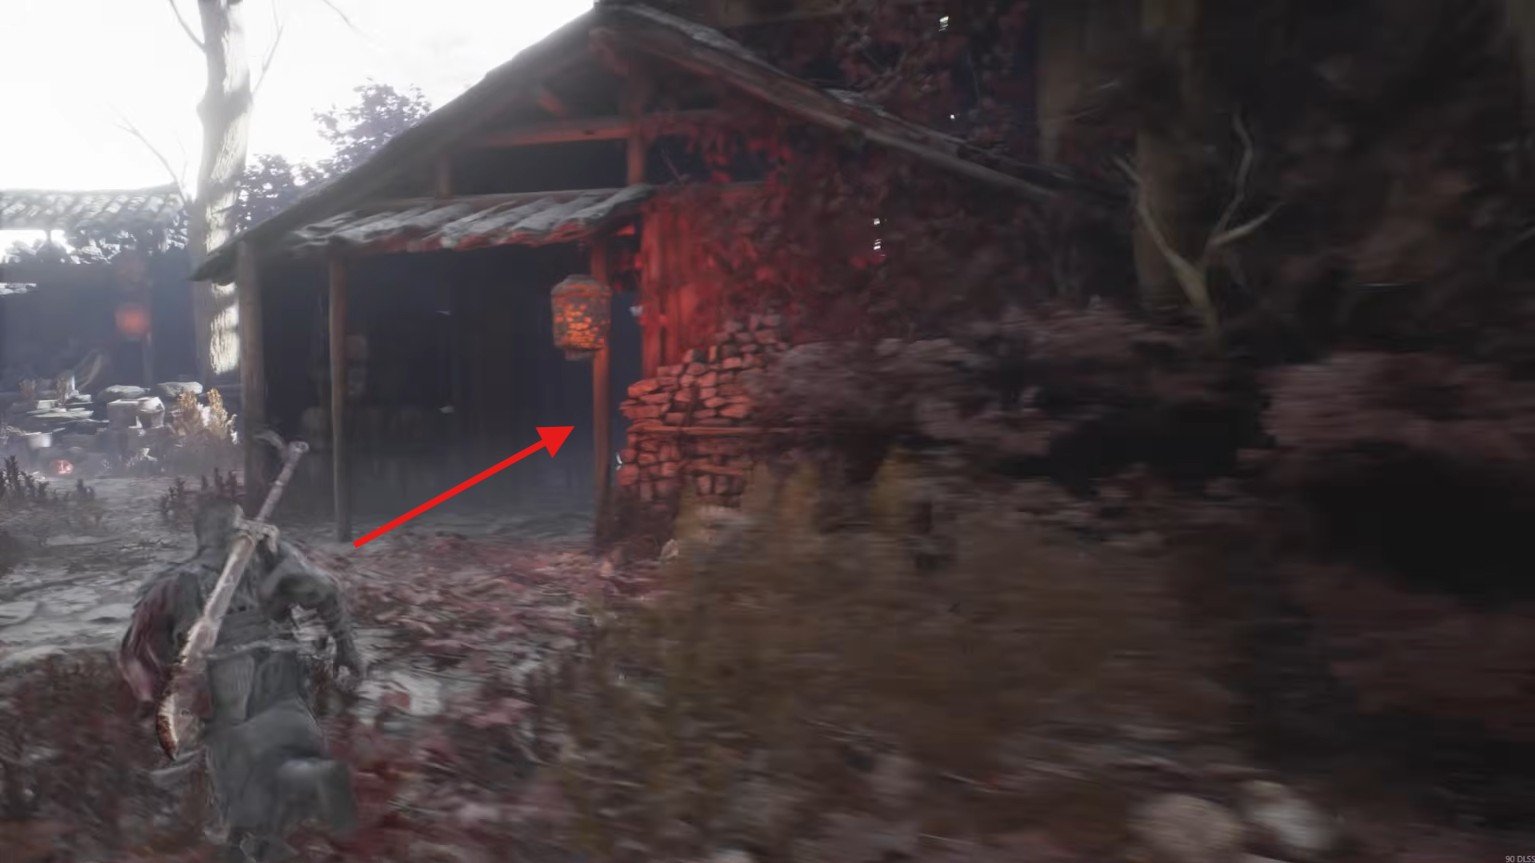
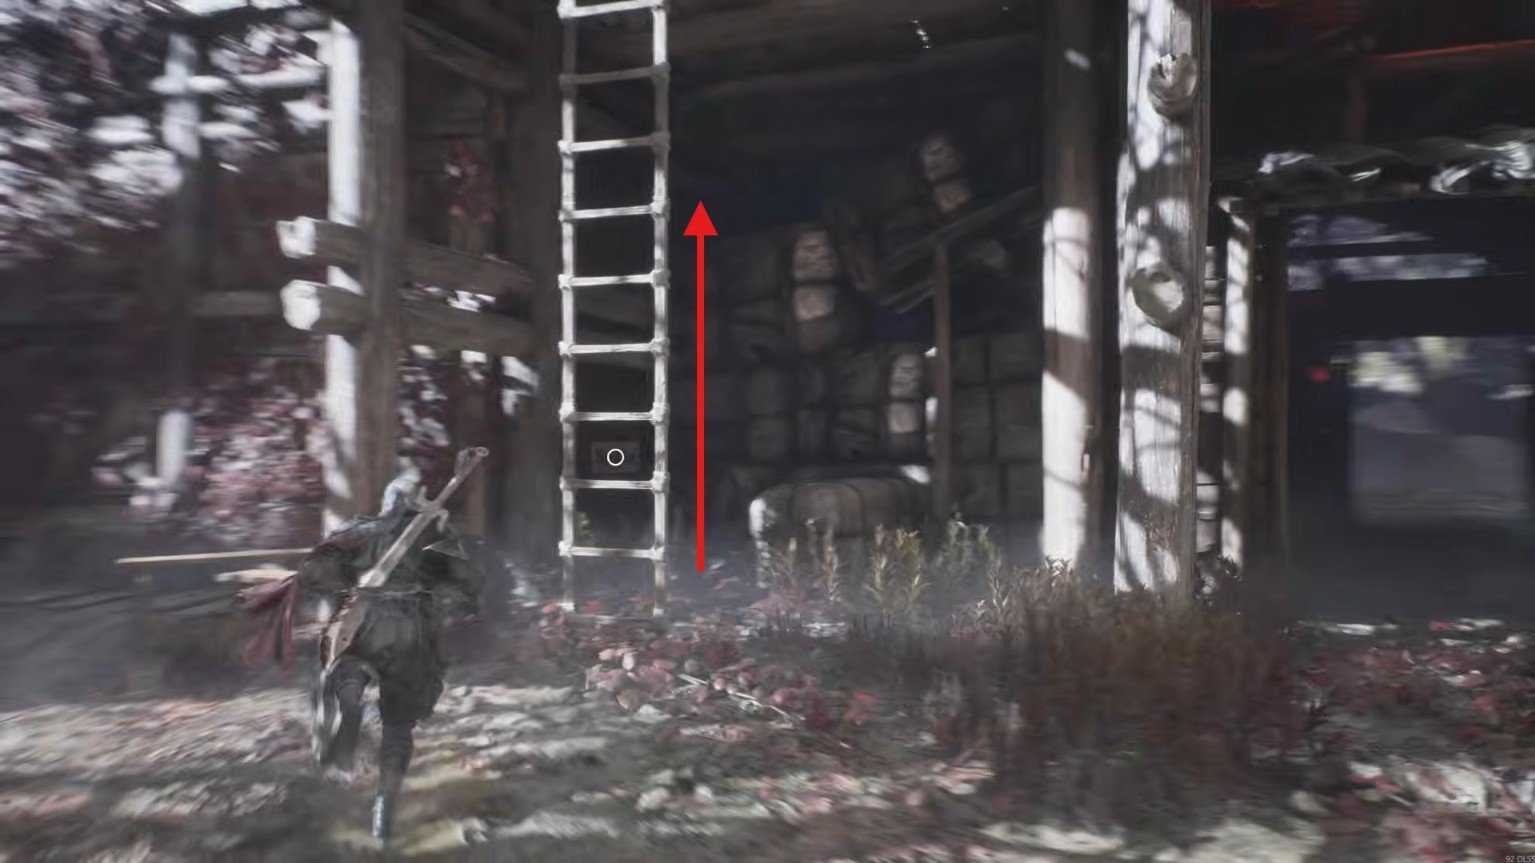
At the top, break the objects blocking the passage and open the route on your left. Move through the poisonous area quickly and collect the crank.
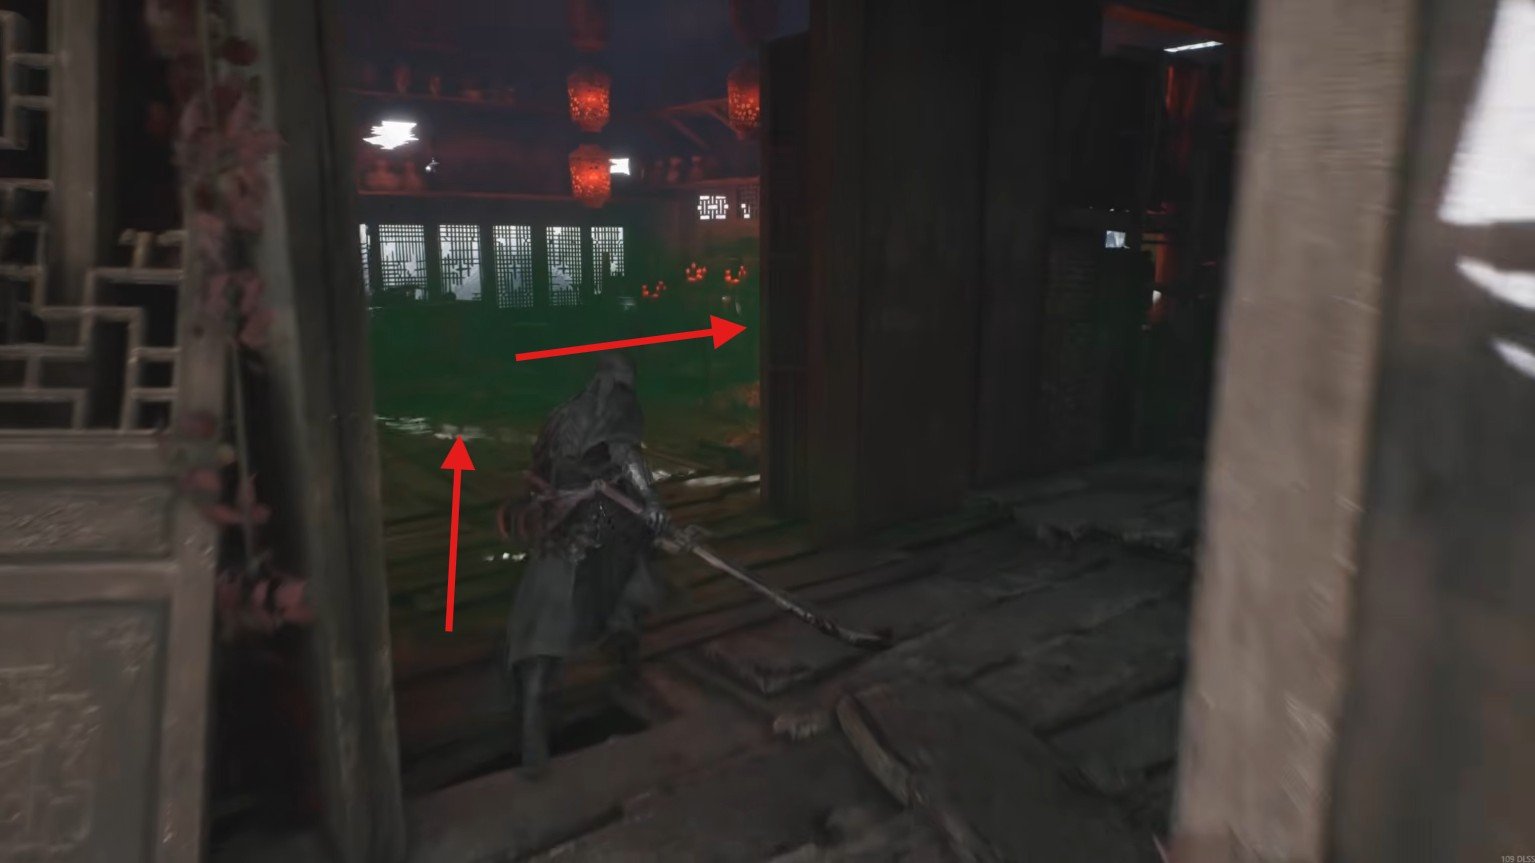
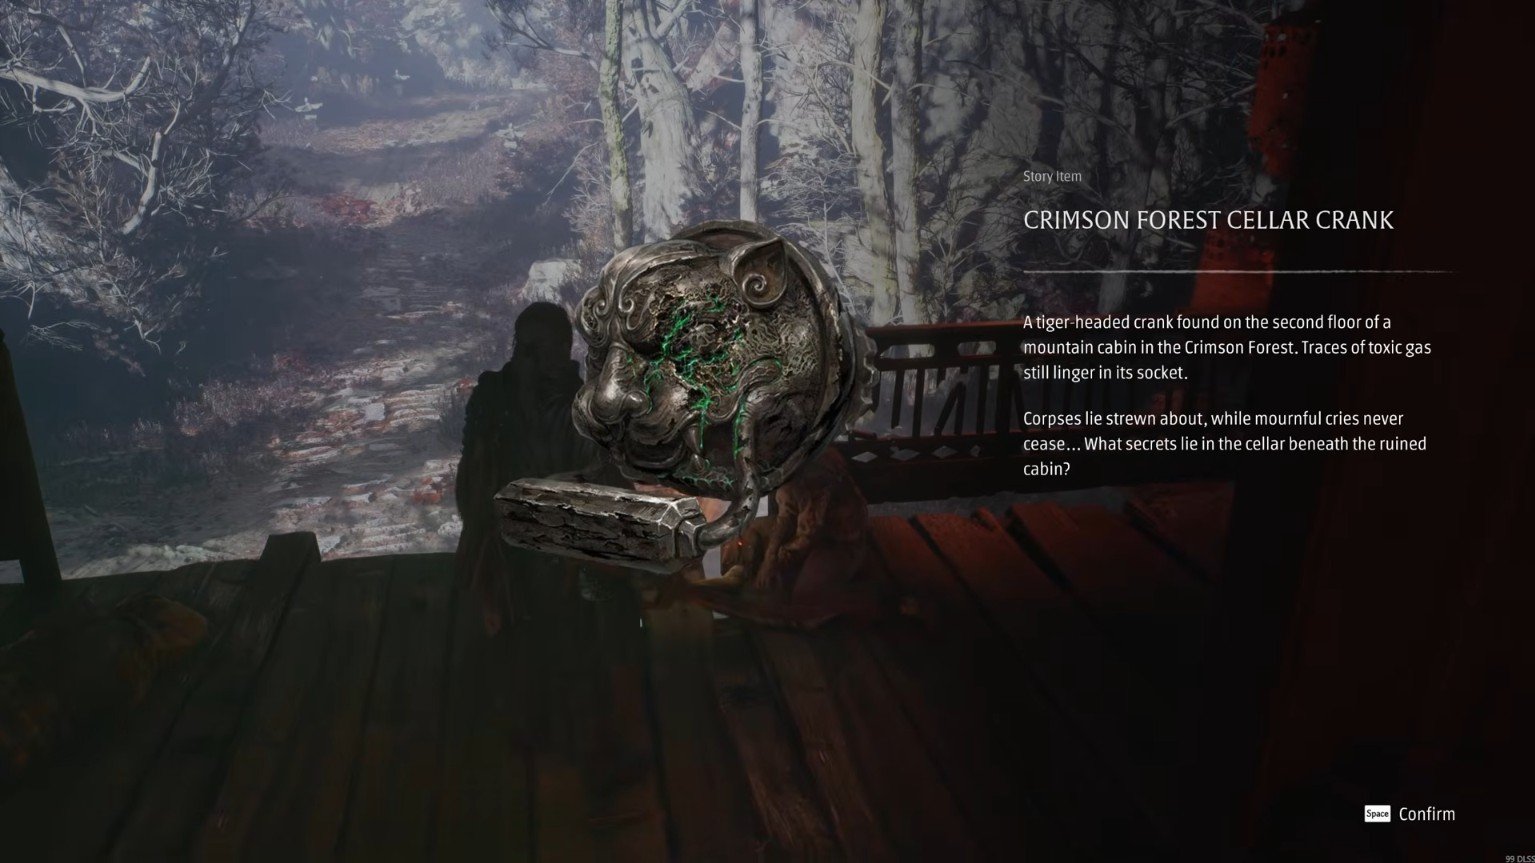
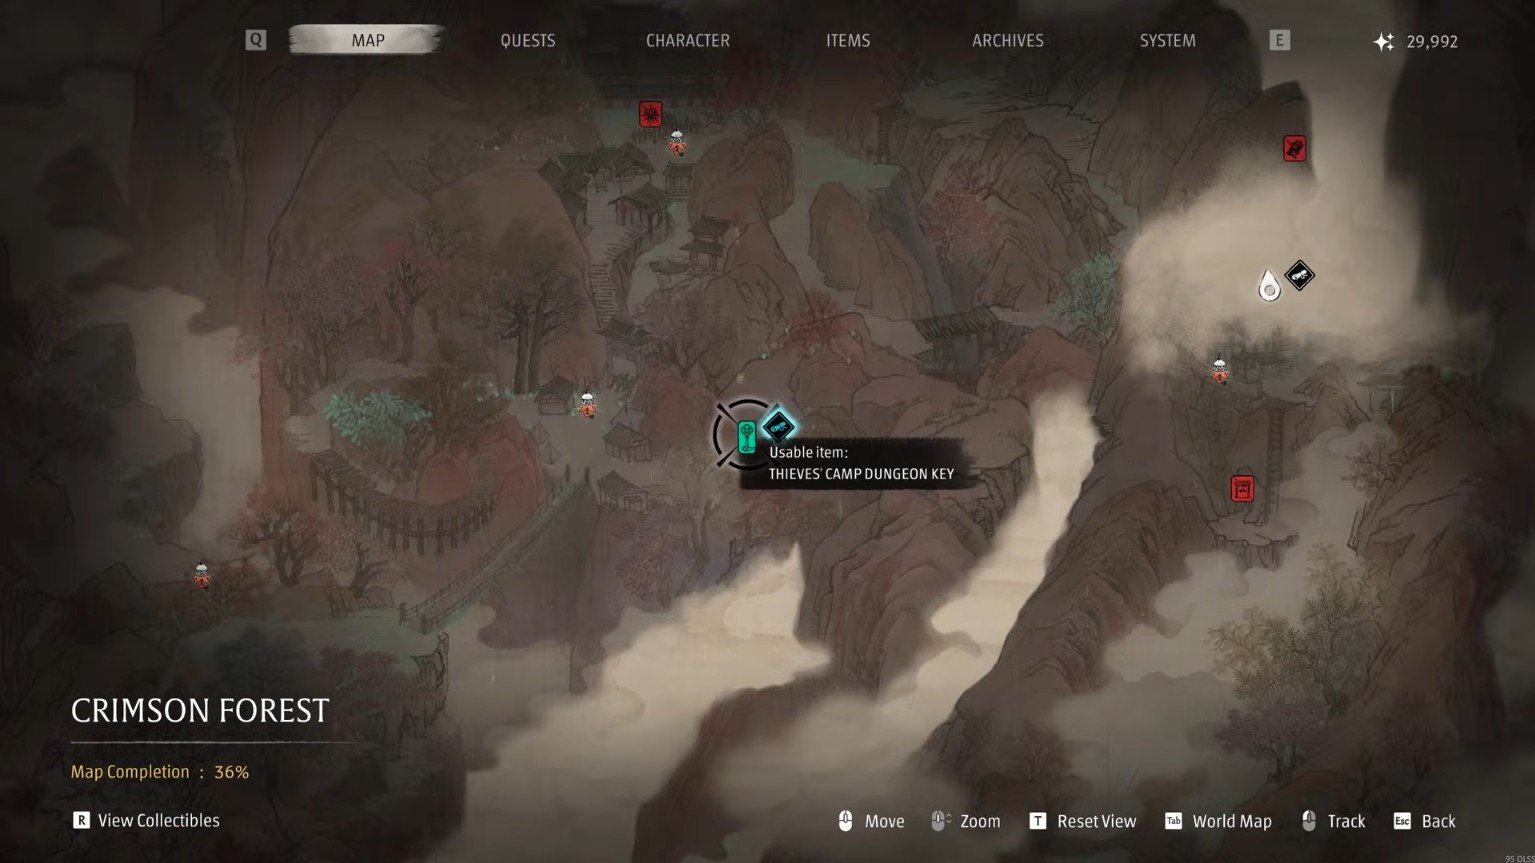
Jump back down and place the crank into the nearby machine. This will open the cellar, allowing you to enter the underground section. Once inside, follow the open passage on your left and collect any loot you find. Continue through the area, jump across the gap, and climb up the next section. You will eventually spot a glowing item ahead. Collect it to obtain the Thieves’ Camp Dungeon Key.
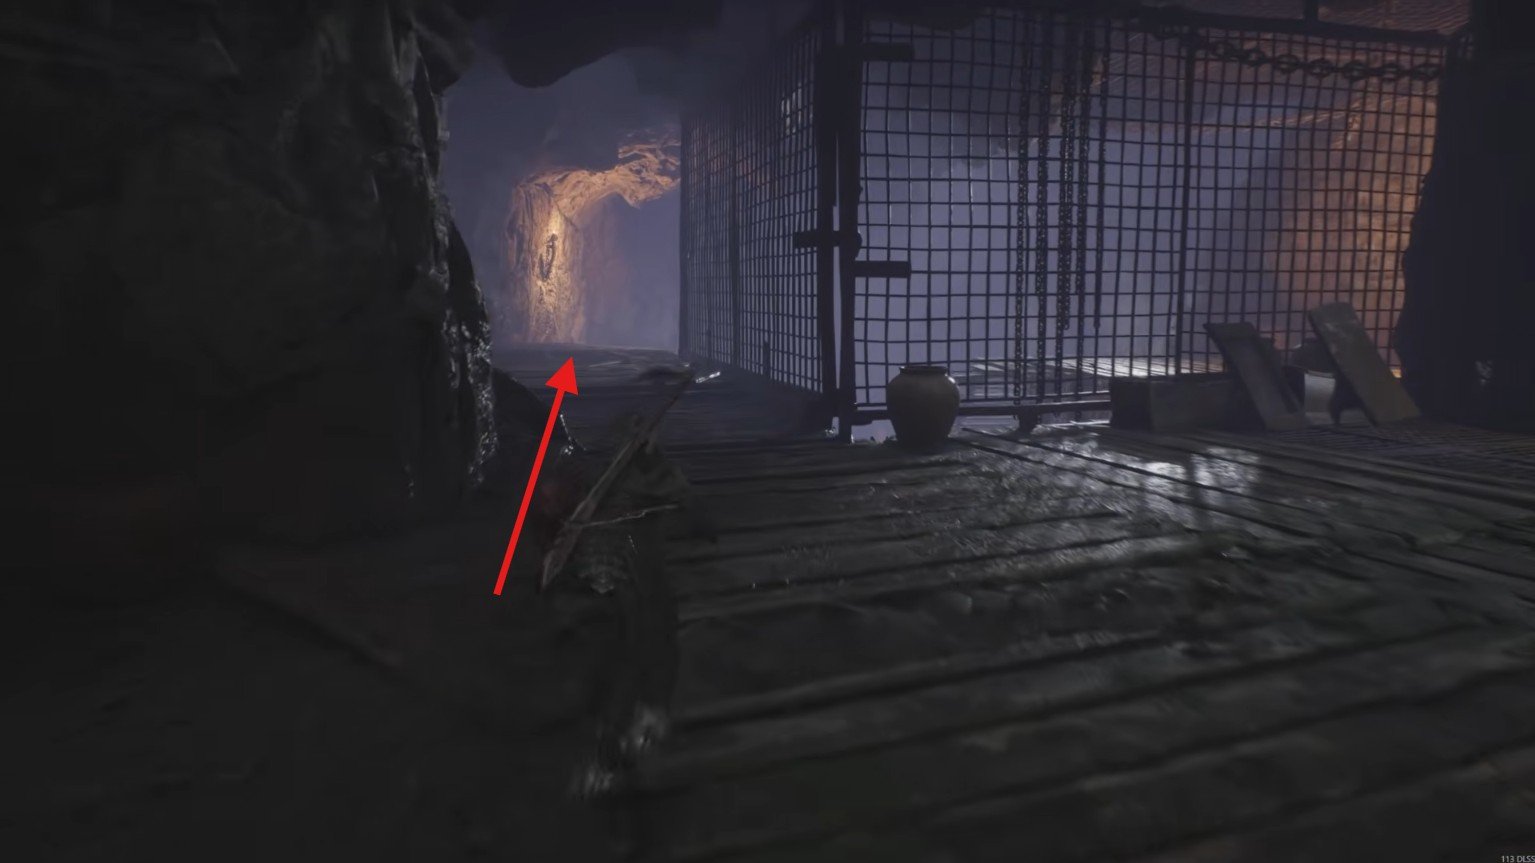
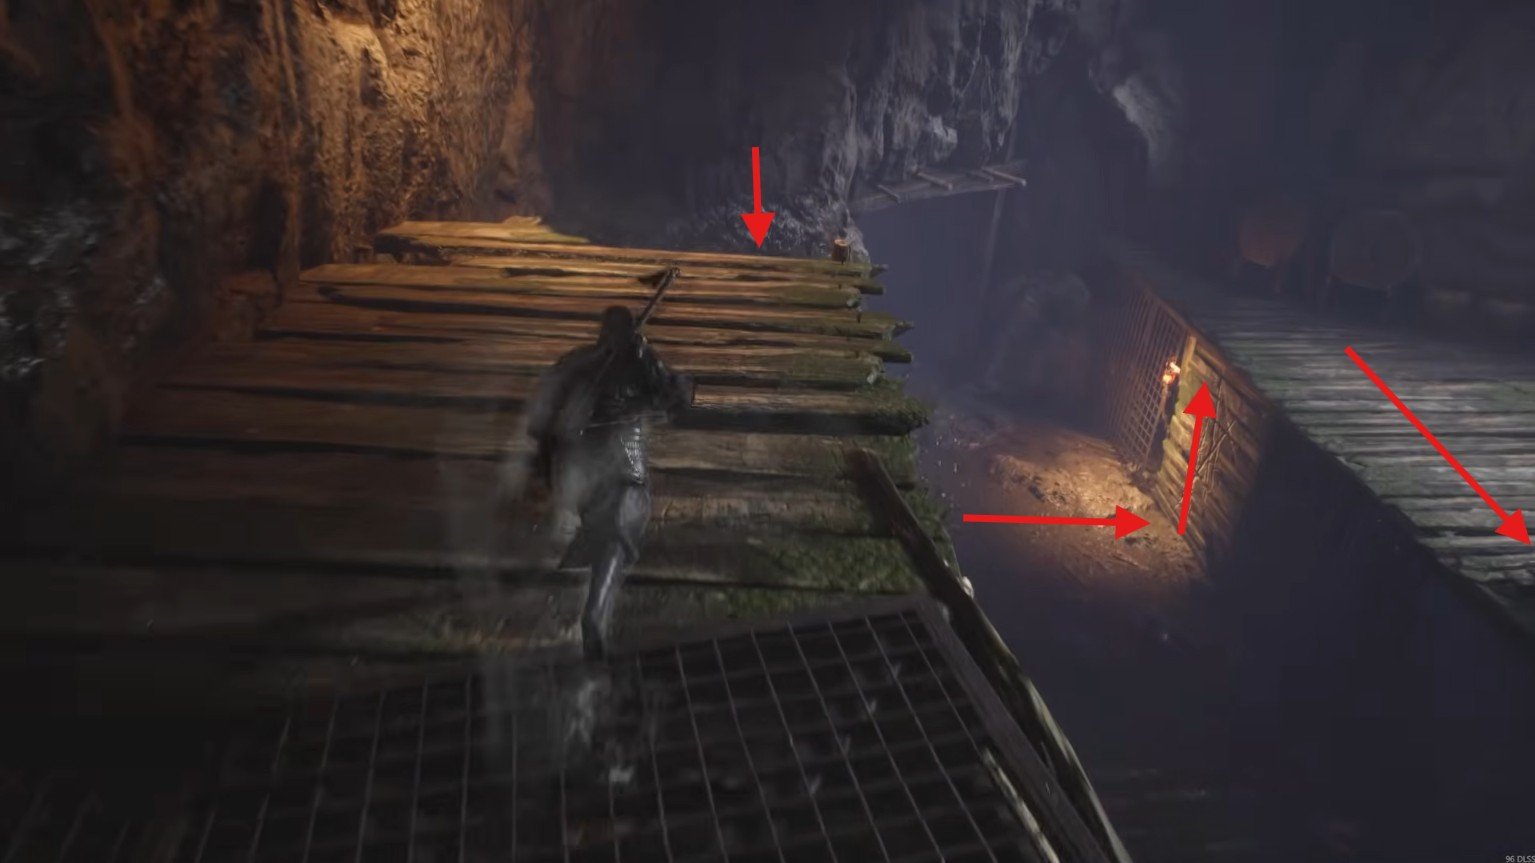
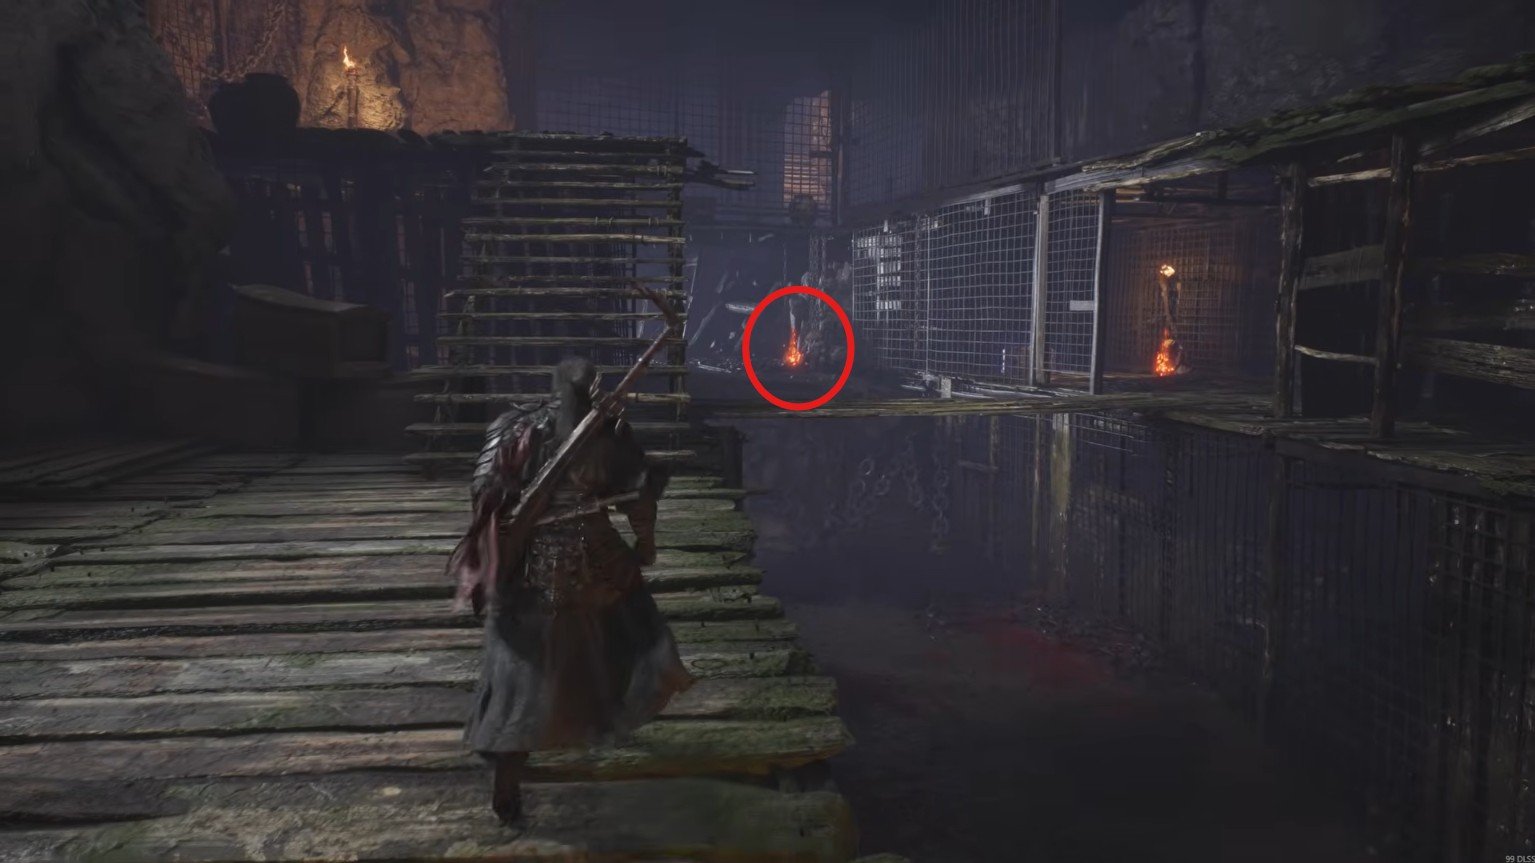
This is the key needed to open the locked gate near the Thieves’ Camp, where the final wounded thief is located.
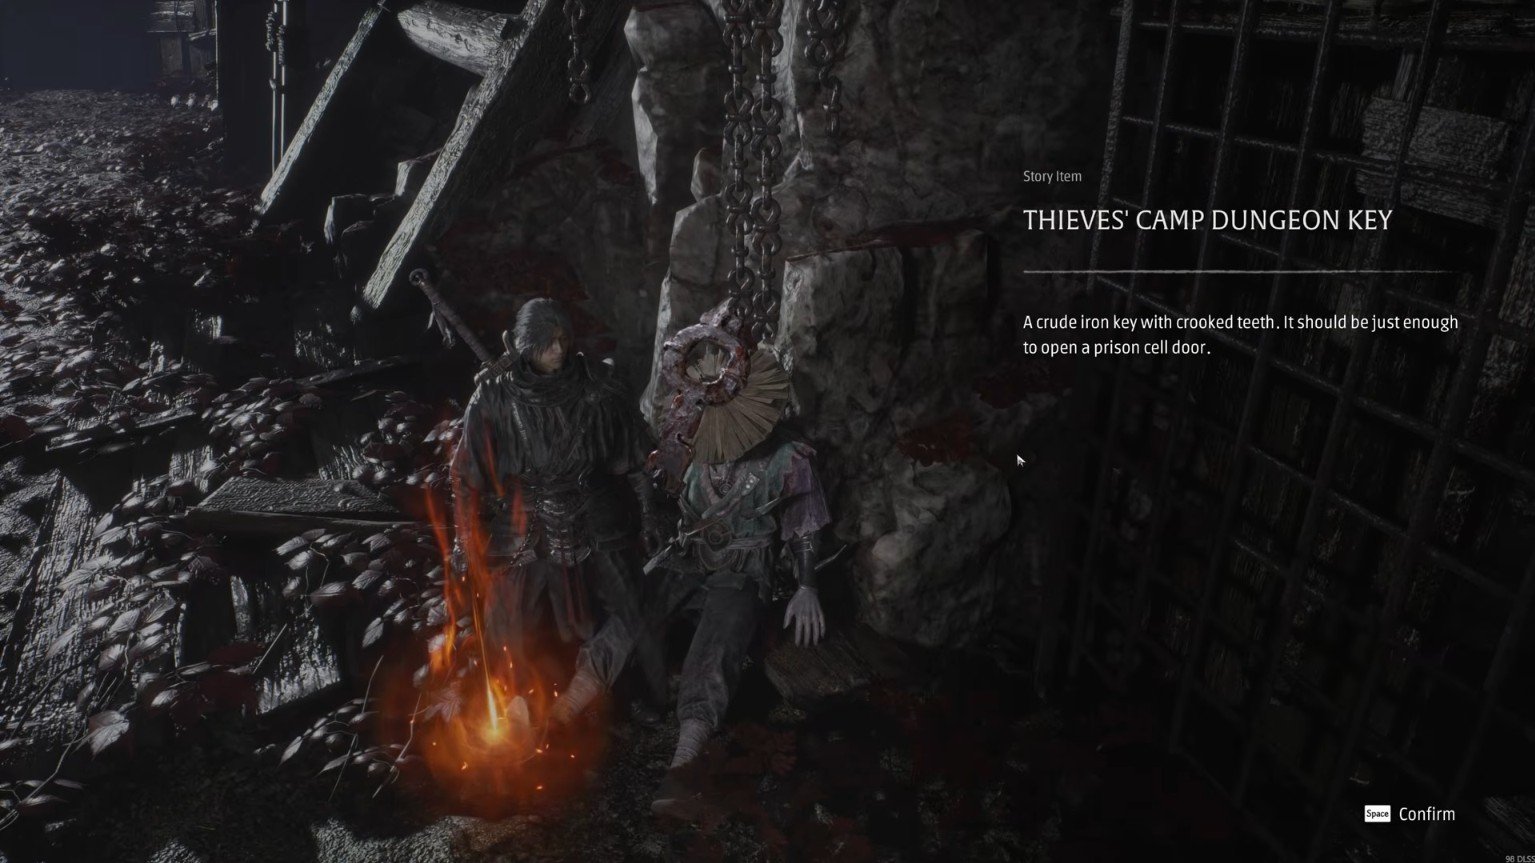
Once you have collected the dungeon key, fast travel back to the Thieves’ Camp. Head towards the previously locked gate and use the Thieves’ Camp Dungeon Key to unlock it. Enter the area, and you will find the final wounded thief immediately on your left.
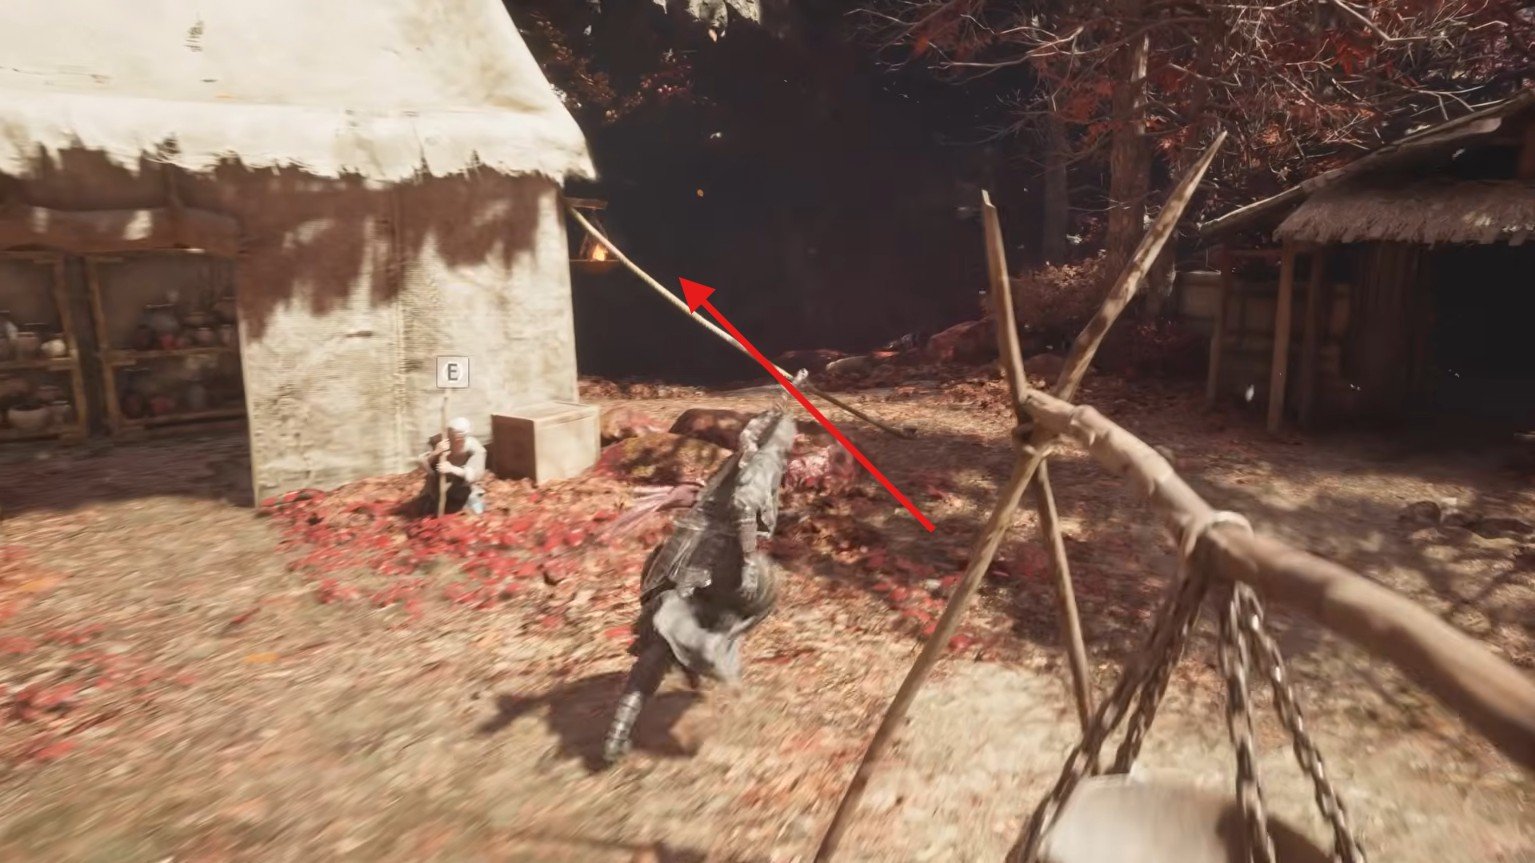
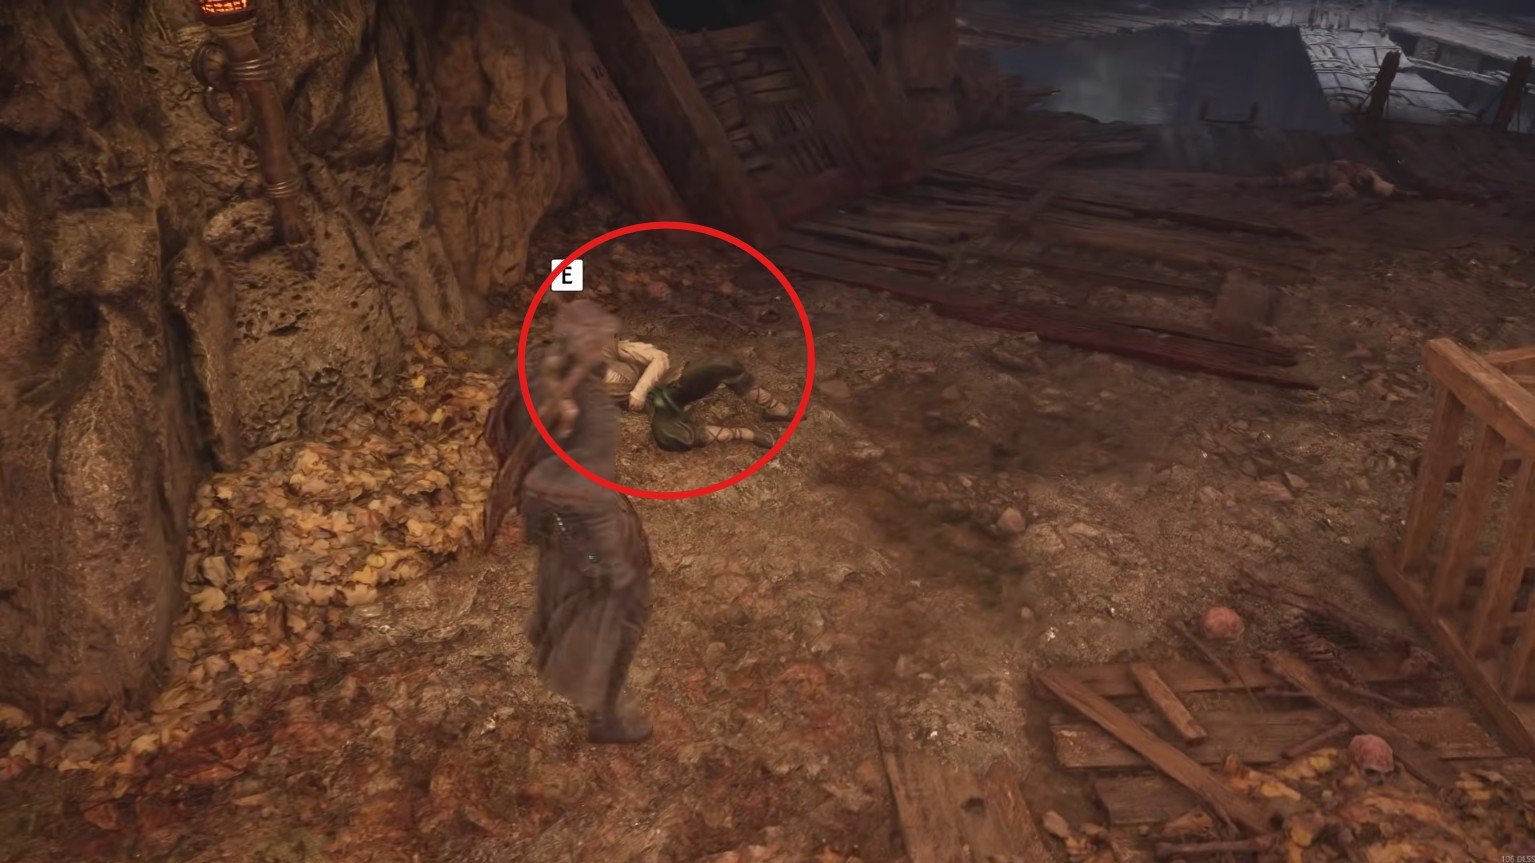
Give him a Life-Saving Pill to complete the last rescue. With all four thieves healed, the main objective of the quest is finished.
Head back to Yu’er at the Thieves’ Camp and speak with her again. Select the dialogue option about the wounded in the woods to complete A Healer’s Mercy, and she will reward you with a Calming Gourd for completing the quest.
That is all for this guide. Additional Phantom Blade Zero guides are linked below:
This concludes our Phantom Blade Zero A Healer’s Mercy Quest Guide. If you want to add anything to this guide, feel free to use the comment section below.