This Meccha Chameleon Custom Map Guide details how you can create and publish custom maps in the game. Meccha Chameleon supports custom maps, allowing players to build their own levels and share them with the community through Steam Workshop. If you have worked with Unreal Engine before, you can design your own maps, package them correctly, and let other players enjoy them.
Custom Map Guide – Meccha Chameleon
Making a custom map involves several steps, but the overall process is easy to follow once everything is set up. You will create your level inside the official mod kit, package the files correctly from Unreal Engine, and then upload the finished project to Steam Workshop.
Before you begin, you should ensure that you are using Unreal Engine 5.6.1, as the Mecha Chameleon mod kit is designed for this version.
Open the downloaded mod kit project in Unreal Engine. Once the project loads, create a new Content Only Plugin by opening Edit, selecting Plugins, and choosing the option to add a new content-only plugin. Give your plugin a unique name because you will need it later when packaging the mod.
Build Your Map
Inside your newly created plugin folder, make another folder named Maps. This folder will store all of your custom levels. Create a new level by selecting File, then New Level, and choosing the Basic template. This gives you a clean starting point for building your environment. If you need extra assets, you can browse the Fab plugin for buildings, props, and other objects to decorate your map.
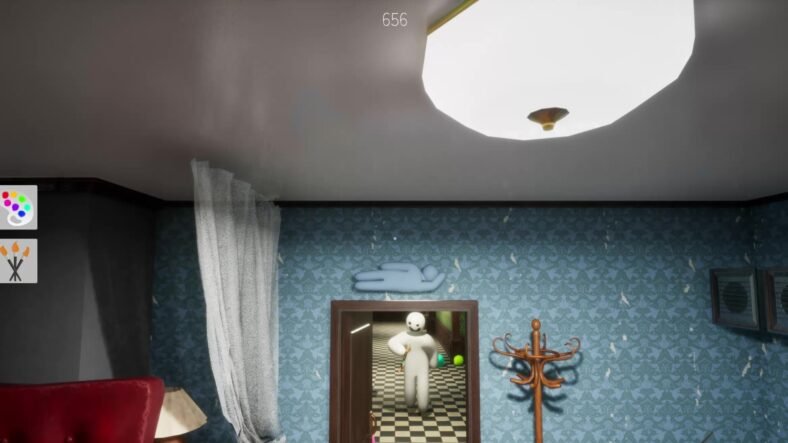
When designing the level, remember that players always spawn at X=0, Y=0, Z=100. It is usually easier to build the map around this starting point, especially for larger environments.
To prevent camera problems during gameplay, apply the CameraBlockWall collision profile to walls and other solid objects. This stops the camera from passing through surfaces while players move around the map.
Once your map is complete, it is time to package it. Open the Legacy Project Launcher from the Platforms menu. Then, create two separate packaging profiles named FullGame and MyMod.
The FullGame profile should package the Windows version of the project while enabling distribution and optimized loading options. Deployment should remain disabled.
For the MyMod profile, enter the exact name of the plugin you created earlier. This tells Unreal Engine which plugin should be packaged as your custom mod. The remaining packaging options should match those used for the FullGame profile.
Always package FullGame first, then package MyMod by launching the second profile.
Prepare the Workshop Files
After packaging finishes, create a new folder that will hold everything needed for the Steam Workshop upload. From your packaged plugin output, copy the generated .pak, .ucas, and .utoc files into this folder. You also need to copy AssetRegistry.bin from the Cooked folder.
At the end, you need to create a thumbnail image named Preview.png and place it inside the same folder.
Configure SteamCMD
Steam Workshop uploads are handled through SteamCMD. Download and extract SteamCMD, then launch steamcmd.exe and sign in using your Steam account.
Inside the mod kit, you will find a file named Sample.vdf. Make a copy of this file and edit it for your own project. Update the folder path where your packaged files are stored, the location of Preview.png, the mod title, and its description. Leave the appid exactly as it is, and don’t change the publishedfileid when uploading a brand-new mod.
Upload the Map to Steam Workshop
Once your VDF file is ready, return to SteamCMD and run the workshop_build_item command using your edited VDF file. SteamCMD will package the information and upload your map to Steam Workshop. If everything is set up correctly, your custom map will appear on the Workshop, where other players can subscribe to it.
If the upload doesn’t work, check that every required file has been copied into the upload folder before trying again. After the upload finishes successfully, your custom map is ready for the community to download and play.
Downloading and Playing Custom Maps
Playing community-made maps is much simpler than creating them. From the game’s main menu, open the Maps option located in the bottom-left corner. This opens the Mecha Chameleon Steam Workshop page, where you can browse maps created by other players.
When you find a map you like, open its Workshop page and click Subscribe. Steam will automatically download the required files in the background.
That is all for this guide. Additional Meccha Chameleon guides are linked below:
- Meccha Chameleon Beginner’s Guide – Top Tips for New Players
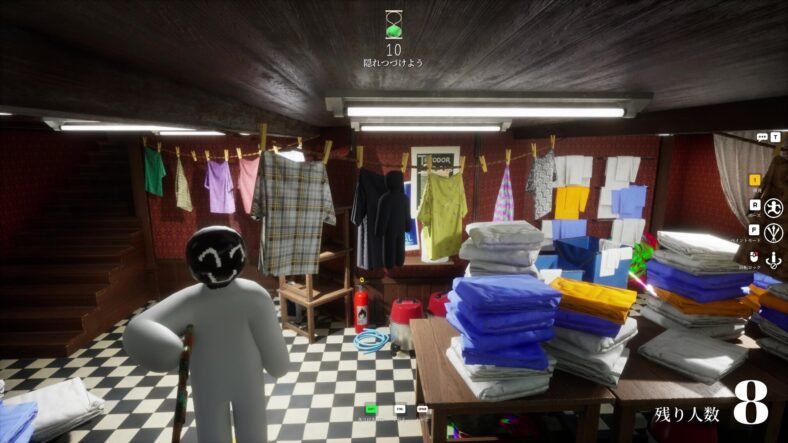
- Meccha Chameleon Best Hiding Spots Guide – All Maps, Where to Hide
That is everything that you need to know about creating and publishing custom maps on Meccha Chameleon. If you have some additional tips and tricks for us, or some cool custom maps for us to try, let us know in the comments section below.