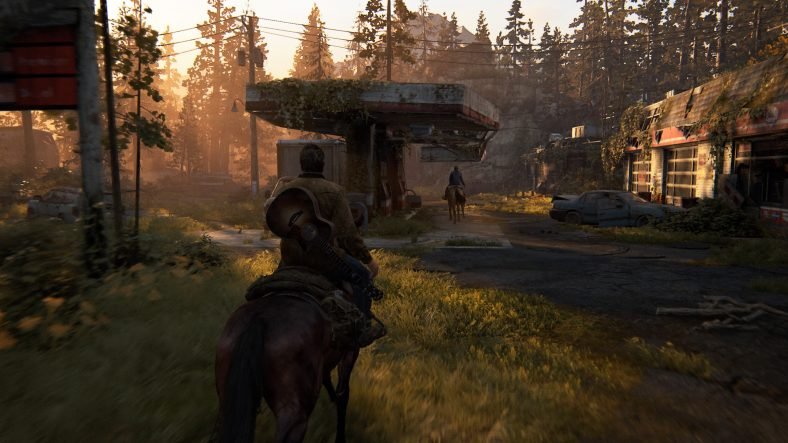
Weapons play a vital role in your survival in The Last of Us: Part 2 and it is vital that you keep them in their top shape. Even if you use only a few weapons rather than all of the weapons in the game, you must always keep them updated, and for updating weapons, you will need to find different weapon workbenches scattered around the world. You can only update these weapons on workbenches so every time you have some parts and want to upgrade your weapons; you will need to find a workbench. This is where this The Last of Us: Part 2 Weapon Workbench Locations Guide comes into play as we have listed the locations of all weapon workbenches in the game.
Weapon Workbench Locations Guide – The Last of Us: Part 2
Our The Last of Us: Part 2 Weapon Workbench Locations Guide details the locations of all weapon workbenches in The Last of Us: Part 2. There is a total of 25 weapon workbenches throughout the main story of the game. Their locations are listed below so make sure that pay them a visit when you are in that area for some weapon upgrades.
Weapon Workbench #1 – Library
When you take shelter in the Library for the first time, Dina will automatically point this weapon workbench to you. This one cannot be missed while playing the main story of the game.
Weapon Workbench # 2 – Downtown – 5th and Marion Checkpoint
Upon arriving at the now-abandoned FEDRA check post, go towards the West Gate 2 and look for a ladder near it. Use the ladder to get over to the wall and go around to find some tents with a weapon workbench inside one of them.
Weapon Workbench # 3 – Capitol Hill – Gas Station
From the motel, go left and you will find yourself at a Gas Station. Check its garage to find another workbench.
Weapon Workbench # 4 – Capitol Hill – Gym
This workbench is located inside a gym located on the path to the TV Station. When you come to the area sealed with the tripwires, check for a glass window near them that can be broken into to bypass the tripwires. This will lead you to the gym where the workbench is sitting at the back.
Weapon Workbench # 5 – Tunnels – Subway
When you reach the Subway, you will eventually arrive in a room which is lit with a red light. Here, look for a ladder next to a hanging body and you will find the workbench at the top.
Weapon Workbench # 6 – Hillcrest – Rosemont Clothing Store
You will start the level near some stores and your target for this workbench is the Rosemont Clothing Store. Head inside the store and make your way to the back of the store where there is a hole in the wall. Use the hole to access the basement and a workbench is sitting there with your name on it.
Weapon Workbench # 7 – Hillcrest – Bike Shop
Keep following the path and you will eventually drop inside a bike shop with a workbench in clear sight.
Weapon Workbench # 8 – The Seraphites – WLF Apartment Safehouse
When you reach a locked metal gate, look for an apartment on the other side with a giant ruck next to it. Climb the truck and get inside the apartment building which is a safe house for WLF. Go to the hallway and check the apartment on the left side for another workbench.
Weapon Workbench # 9 – The Seraphites – Weston’s Pharmacy
After crossing through the Merci building and the pool after it, check on your left side and you will see Weston’s Pharmacy. Go inside and head back to find the pharmacy’s workbench.
Weapon Workbench # 10 – Road to the Aquarium – Barricaded Room
Exit the theatre and while you are going through the halls between the shops, you will find a barricaded door to your right side that you can crawl under. The workbench is sitting inside this room.
Weapon Workbench # 11 – Road to the Aquarium – Store Office
While crossing the large, destroyed departmental store, you will make your way to its roof. Once at the roof, turn around and you will see a small path leading to some offices. The workbench is sitting inside these offices.
Weapon Workbench # 12 – The Flooded City – Manufacturing & Production Division Building
After you ride some rapids and the boat’s engine dies out, Ellie will attempt to restart the engine. When this happens, look to your front and you will see a large building with a faded sign and some blown away porch that says Manufacturing and Production Division. The workbench is inside this building.
Weapon Workbench # 13 – Barricaded Restaurant
Continue down the main path until you drive the boat into a barricaded restaurant. When you get off the boat to find a solution to the problem. Use the stairs and make your way to the top floor where you will find some arcade machines along with a pool table. The workbench is sitting here.
Weapon Workbench # 14 – On Foot – Boat Repair Shop
Cross the hardware store and then get to the top of the boat repair shop using a rope. Jump inside and you will find a weapon workbench inside it.
Weapon Workbench # 15 – The Forward Base – Tents
When you reach the front of the Serevena Hotel, look for some green tents right in front of it. Head inside one of them to find a workbench.
Weapon Workbench # 16 – Hostile Territory – Scar Camp
When you reach the top where the Scar camp is located, check its back for another workbench.
Weapon Workbench # 17 – The Forest – Garage
At the end of the forest, there is a garage. Inside this garage, you will find a workbench.
Weapon Workbench # 18 – The Coast – Construction Site
When you reach the construction site, enter the main building and you will find a workbench inside it.
Weapon Workbench # 19 – The Shortcut – Mobile Phone Store
When you arrive at the mobile phone store, check the left side and you will find a workbench there.
Weapon Workbench # 20 – Prophet Shrine
When you reach the Prophet Shrine, check its next room to find the workbench.
Weapon Workbench # 21 – Hospital – Generator Room
Generators and The Last of Us do not have a particularly good history. When you reach the hospital’s generator room, you will find a workbench inside this room.
Weapon Workbench # 22 – The Island – The Logging Camp
Cross the Logging Camp and you will find yourself at a mill. Cross the mill and you will arrive at some small wooden buildings. Check the building on the left side to find the workbench inside.
Weapon Workbench # 23 – Old Town – Radio Station
Cross the Old Town and you will arrive at a radio station. The workbench is right inside this radio station.
Weapon Workbench # 24 – Santa Barbara – Mansion’s Kitchen
After clearing the infected down in the street, you will get to a roof where a clicker is also present. Clear the area and use the hole in the roof to drop inside the big mansion. Now check to your right inside the kitchen where you will find a weapon workbench.
Weapon Workbench # 25 – The Resort – Workshop
After you gain entrance to the resort, there is a small wooden workshop right in front of you. Inside this workshop is your final weapon workbench of The Last of Us: Part 2.
For more collectibles, check out the guides linked below:
- Safe Codes Guides
- Coins Locations Guide
- Artifacts Locations Guide
This concludes our The Last of Us: Part 2 Weapon Workbenches Locations Guide. If you want to add anything to the guide, feel free to use the comments section.


