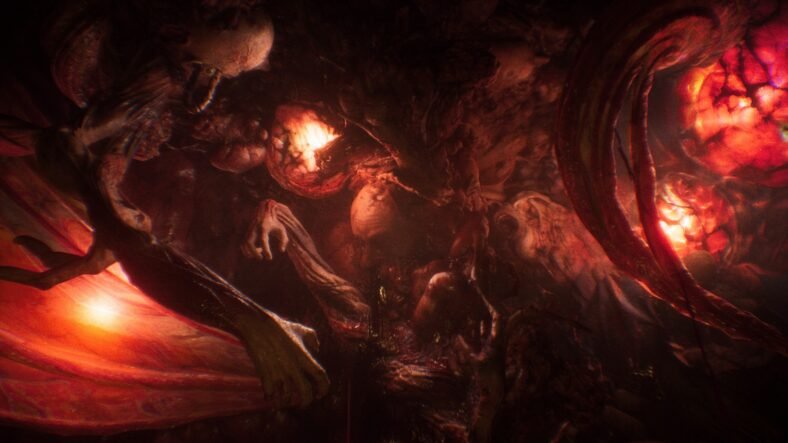
In this Destiny 2 Forsaken – The Last Wish Kalli Boss Battle Guide, we will share some tips and tricks with you on how you can defeat the boss Kalli in The Last Wish Raid, which is now live in Destiny 2 Forsaken. There are three bosses in The Last Wish raid and one of them is Kalli, The Corrupted.
You will come face to face with Kalli soon as she is the first boss of The Last Wish Raid. She is not that hard to beat as she is the starting boss of the raid but do not underestimate her as she can kill you instantly with her ultimate move.
The level requirement alone for this boss is quite high. Before tackling The Last Wish Raid, you must complete the main story of Forsaken, unlock The Dreaming City and reach at level 550. Only then, you can start The Last Wish Raid and expect to come out victorious.
Kalli Boss Battle – How to Defeat
As soon as you enter the arena, you will notice that the middle area of the arena is some sort of a pit and surrounding this pit, are three different sets of two symbols. There are even more symbols in the area to the back of this area. To clear this section of the Raid, these symbols are the key.
The symbols in the center of the pit need to be activated from their corresponding locations in the back of the arena. Therefore, this means that there are six symbols in total located in three pairs that need to be activated.
Head to the background and each of the six players will need to stand on a different plate. Since two symbols are identical, you can divide the team in three pairs who can go for a specific set of symbols. While players are standing on their respective symbol plates, they will have two different Taken Orbs on each plate.
Do not stay in the range of these orbs or they will explode and they will kill you. Keep an eye out for these orbs and make sure that you keep on moving around so that you do not die in the explosions. You will also need to take care of the assaulting enemy forces so it could get a little messy during this phase.
Once enough time has passed, a Taken Knight will spawn at each plate. Each team must kill their Taken Knight to progress to the next phase. To ensure that you have cleared the phase, head of the center pit and look for the symbol that you were standing on, if that symbol is gone, then it means that you have cleared the initial phase of the battle.
Once all six symbols are gone, all the teammates can reach the center part of the area and star dealing some damage to the boss. This is the damage phase of the battle. Keep dealing damage to Kalli until you see her raise her hands in the air. This shows that she is about to wield her weapon and unleash a deadly blow that can wipe out the entire team in one hit.
To evade this attack, look for small doors around the arena. Six of these doors will open and each player can crawl in it to safety. One door can only allow one player inside. Once the player is inside, the door will close and the player will survive the attack. Once the attack is gone, doors will open again and you can come out again. This time, you will need to kill some enemies as well before going back to the boss.
Repeat the process two more times until all of the safe spots have been used. After the third damage phase, you will be required to head back to the outer plates where six symbols will be back. Repeat the process to get to the damage phase and finish off the boss.
For more Destiny 2 Forsaken The Last Wish guides, check out our Destiny 2 Forsaken The Last Wish Morgeth Boss Battle Guide and Shuro Chi Boss Battle Guide.
This concludes our Destiny 2 Forsaken – The Last Wish Kalli Boss Battle Guide. If you want to add anything to this guide, feel free to use the comments section below.


