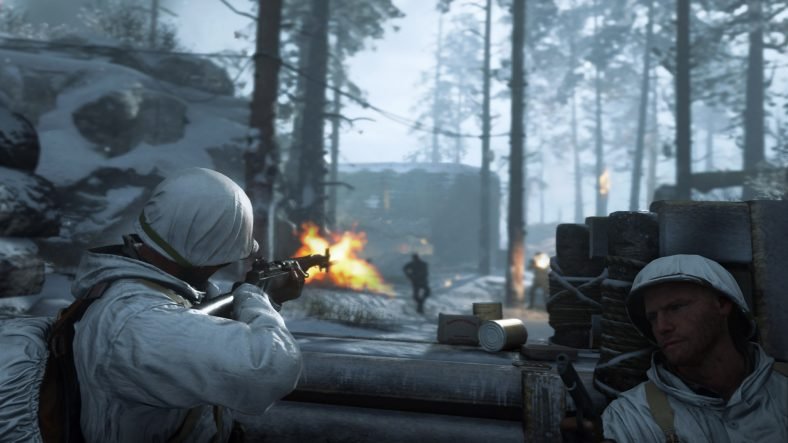
In this Call Of Duty WW2 Zombies Frozen Dawn Easter Egg Guide, we will guide you on how you can unlock the final Easter egg in Call of Duty WW2 Zombies Frozen Dawn DLC. Frozen Dawn is the final DLC of Call of Duty WW2 Zombies mode and it comes with a final Easter egg that will end the chapter of Nazi Zombies forever.
We have curated this Call Of Duty WW2 Zombies Frozen Dawn Easter Egg Guide in which we will detail the method by which you can finally unlock this Easter egg and gain access to the final boss of the game. Call of Duty WW2 Zombies will finally conclude once you beat this boss as it is the final boss of the mode.
Call Of Duty WW2 Zombies Frozen Dawn – Detailed Easter Egg Guide
Below you will find all steps that are required to finally unlock the last Easter egg of Call Of Duty WW2 Zombies Frozen Dawn.
Getting Started
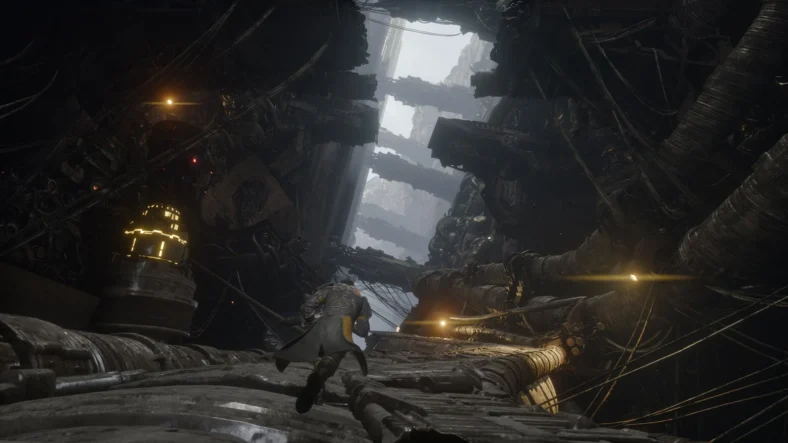
The final Easter egg is essentially a final boss who is hidden behind a locked door in the map. This door is located in the Ice Caves. You can easily spot it from the ledge which offers the complete view of the entire underground volcano and the area beyond.
To open this door, you will need to collect and upgrade four Wonder Weapons and then place them in special spots near the door. This will open the door and you can get inside the door to battle the final boss of the DLC.
The main quest here is to find and upgrade the four Wonder Weapons. We have detailed all four weapons below and how you can find and upgrade them.
Wonder Weapon # 1 – Thulian Flail
To get the Thulian Flail, you will be required to do a bit of a homework and visit three different places to collect all the parts needed for it. For starters, simply head to the Thulian Archive where you will need to get inside the Cypher Room. To open the Cypher Room, you must find two books and put them in the pillar located in the center.
The pillar already has a book right at the start so you just need to find two more books. Books are randomly generated but you will likely find one in the following locations.
A book can be found at the Overlook. Go to the blood bridge and stand while facing the Ice caves. Look on the right side and you will find a well hidden book behind some stones. Another book can be found in the passage floor, which is near the fast-travel chamber. Another book is usually found in Morgue. It is located on the cliff that drops down to the Phylactery door.
Once you have two books, head back to the archive and place the books there to get access to the Cypher Room. Your second task is now to activate the Orrery. You will need to find three large gears and fix them in place under the Orrery.
Just like the books, gears spawn at random places at well. You can find some at the locations explained below. One gear is always located inside the Cypher Room. Another one is mostly found in the passage next to the Gearworks door. Another gear is mostly found in the Blood Altar. Look at the outer edge near the Mystery Box. Sometimes a gear is also located near the Overlook. Look for it on the left side of the stairs heading to the Phylactery.
Once you have three gears, head back and put them in place. Once the gears are in place, go up and kill some zombies to charge it up. Once enough blood has been spilled, Orrery will be fully functional. Now your next step is to solve the puzzle of Orrery Cypher. This will give you the Broken Flail weapon.
You need to lock the Orrery in right places. It has four orbs spinning Red, Yellow, Purple and Green. All must be locked in a specific place so that you can get the Broken Flail. You must focus on the red orb, it is the fastest among all orbs and it will help you solve it much easily. If an orb is stopped at the wrong position, it will be reset and you will be required to start over.
To check whether you have locked the orb in the right place, listen to the sound it makes when locked. Loud sound means it is right in place. Check for the other orbs as well as you lock the red one. You need all four in the right place. Once they are in the right place, you will have it unlocked and the Broken Flail will appear for you.
Now that you have the weapon, your next step is fixing it and upgrading it. For that, you will be required to complete three constellations. Broken Flail will give you access to new locations as well which were previously unavailable to you. Look up the Orrery and throw the Moon Orb to teleport to the room. You will find three Moonraven Symbols here.
If you kill zombies while standing on these symbols, they will absorb blood and when they have enough blood, a rune will appear. Hold L2 to enter the special vision and view the constellation. You will need to connect them suing the Flail and read the first message.
You will need to do this three times. After the message is read, go back to the symbols and do the same with the next one until all three are complete. You will find constellations randomly in Crash Site, Blood Altar, Overlook or behind Shildblitz Check all locations.
Now you are left with the final step for the first Wonder Weapon. The upgraded weapon is called Talon of Lu’roth and for it, you will need to throw the Moon Orb inside the Orrery and teleport there for a final trial. Complete the trail and you get to keep the upgraded Flail required for the final Easter egg.
Wonder Weapon # 2 – Thulian Scythe
Earning the main weapon is easy this time around but the real challenge is getting its upgrade, Fang of An’heist. This Wonder Weapon has the ability to revive you when your health reaches zero and its upgraded version is even better as it shoots lightning in all directions hitting zombies.
To start, you will be required to activate the Ancient Forge. It is the Deathraven Forge in Phylactery. Simply crouch and press E with the stone block on the altar to do this. Once done, a fire will surround you and block your path. Simply kill all the zombies that spawn in the area to make the fire go away and proceed. Once all zombies are dead, the weapon will spawn at the altar. Go and collect it.
Now for the upgrade, start by collecting some Thulian Spine. You can do that by killing a Thulian with the Scythe and then cutting it up to its spine by pressing the interact button on your respective platform. Head back to the Crash Site and collect the wire from the spawn room. Now you must put the Spine, Wire and the Scythe on the Altar and kill some zombies. You can equip the Scythe and then interact with the altar to put it there.
Keep killing zombies until the weapon is charged up. Once fully charged, it glows orange but you cannot pick it up. Wait two turn until it cools down and then pick it up. Now you can enter the Fast Travel chamber to start the final Deathraven Trail for the upgrade. Once in the arena, you will come across some Brutes that will keep spawning.
Keep killing the Brutes until two Thulians spawn. Kill them and the challenge will complete. Once the challenge is complete, you will get to keep the upgraded Scythe and this completes your two Wonder Weapons for the final Easter egg.
Wonder Weapon # 3 – Thulian Hammer
The process to obtain Thulian Hammer is a lengthy one but the weapon is worth the hassle. This hammer is excellent in disposing zombies and bashing their skulls open. This makes it one must-have weapon in the game so let us start with how to obtaining this amazing weapon.
To start with the hunt, grab the battery from the crash site and take it to the cauldron located in the Overlook. Head to the bloody bridge and put the battery in the black cauldron. Kill all zombies in the area until the battery is charged up. Once the battery is charged you can go to the next step.
You need to collect four stone tablet scattered around the map and bring them back to place them in slots opposite to the cauldron where you just cooked up your battery. Lucky for you, the tablets do not spawn randomly. First one is located in the Ice Caves on the left side of the right most weapon slot where you can see the volcano, second one is located in the Orrery, left of the Schnellblitz machine.
The third tablet is located on the stone pillar behind the armor machine in the Morgue while the last one is located across the Kugelblitz machine in the Blood Altar. Once you have all four tablets, head back to the cauldron and place the tables in the four slots. Now look down the area ahead where you will see some runes appear. Kill a zombie near each one to complete this phase.
Now for the next step, you need to rearrange the runes by looking through the center hole in the Overlook Bridge. They will appear in an order so you will be required to follow the same order. Kill a zombie near a rune to input it. Make sure the stones near the kills are matching the symbol on the rune to register the input.
Once you input all three runes, the Thulian Hammer will appear and fly away and four pillars will appear. Now you need to solve the next puzzle. You will need to solve the puzzle by shooting the sections to rotate them until the lightning bolt image is aligned. This will take some time as the puzzle is tricky and every time you shoot, the block that you shoot spins two times while the blocks next to this block spin one time.
You will need to the kill the zombies here as well but make sure that you leave two slow zombies otherwise the last one will sprint towards you. Once the puzzle is solved, you will find the Thulian Hammer in either the Thulian Archives, Ice Caves or the Phylactery. Now you must not run towards it. You need to crawl towards it.
Once you are near to the hammer, stand back up and the hammer will retreat. Keep following it until it reaches the overlook where you must wait until it charges up before picking it up.
Now that you have the hammer, you must upgrade it. In order to do so, you must first charge up four runes. These are located in Crash Site, Ice Caves, Morgue and Phylactery. Do them in this specific order. For transferring a charge to the ruin, kill a zombie underneath the ruin with the hammer and the zombie will transfer the charge to the ruin.
To solve the next puzzle, head to the puzzle wall located in the hallway between Blood Altar and the Phylactery. Solve the wall puzzle until the wall is showing Raven images. This is trial and error based so it will take some time. Leave a slow zombie and kill all other Thulian to focus on the wall.
For the final step, you need to complete the Stormraven Trail. After solving the puzzle three times, head to the Overlook and look towards the volcano in the distance. You will see a winding path when the lightning strikes otherwise it is not visible in normal lighting. Head to this path, and reach its end to enter the Stormraven Trial. Compete the trial to upgrade the Thulian Hammer to ‘Fist of Tal’rek’, which is required for the final Easter egg.
Wonder Weapon # 4 – Thulian Shield
Thulian Shield is the easiest weapon to obtain out of the bunch yet it requires some homework. Start by filling the three blood pools. They are located in Ice Caves, Morgue and the Overlook. Keep killing zombies near each pool until they are filled. For the Overlook Pool, you will need to repair it first. Head to the Morgue and collect the BloodRaven stone to fix the Overlook Pool.
Once all three pools are filled, a Wustling will spawn out of the blood pool from the Blood Altar once all three blood pools are filled. Kill it and it will drop a shield. It is the Thulian Shield pick it up. Now that you have the shield, you must upgrade it.
To star the upgrade, you must reactivate all the blood pools in the same order in which you filled them earlier with Albino Thulian monsters. Simply lure them to the blood pool and you will see steam coming out of the blood pool. Kill the Albino Thulian near it to activate them. You can charge an Albino Thulian by letting it absorb zombies. You will need a fully charged Albino Thulian for this to work.
Activate all three blood pools and this step will complete. Your next step now is to match the blood pool symbols. Collect the radio from the crash site. You will need to open up the door where the radio crackle is coming from using a bomber zombie. Lure one near to the door and let it blow himself up.
Collect the radio and head to the Phylactery. Place it on the ledge overlooking the big blood pool and turn it on. It will make some symbols appear in the cauldron. Now you must match these symbols with the ones shown on the blood pools that you charged earlier. Set the cauldron to the pool’s symbol and then head to the blood pool with that symbol and kill a zombie next to it. Repeat until all three blood pools are matched.
Once all three blood pools are matched, you can enter the final trial for the shield. Simply head to the Blood Pool and die there at the ends of any enemy. This will teleport you to the trial. Finish the trial to win the upgraded Thulian Shield and complete your set of all four Wonder Weapons.
Accessing the Final Easter Egg
Now that you have the four Wonder Weapons, you are all set to gain access to the final Easter egg of Frozen Dawn. Simply head back to the main ledge and place all four Wonder Weapons in the slots. It is located in the center of Ice Caves.
Once the fast-travel chamber open up, recollect all the weapons and enter it to fight the final boss of the game and this is your final Easter Egg for Call of Duty WW2 Zombies Frozen Dawn Easter Egg. The ending cinematic will play once you defeat the final boss.
This concludes our Call of Duty WW2 Zombies Frozen Dawn Easter Egg Guide. If you want to add anything to this guide, feel free to use the comments section below.


