This Zelda: Ocarina of Time guide explains how to rescue all captive apprentices at Gerudo Fortress, defeat the Gerudo guards, and collect a Gold Skulltula Token along the way. Completing this quest also earns you access to the desert and the Spirit Temple, so make sure you free every prisoner before leaving.
Gerudo Fortress Rescue Guide – Zelda: Ocarina of Time
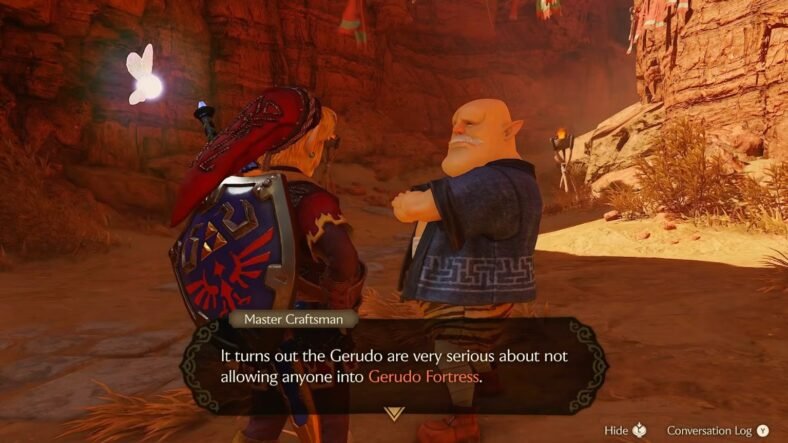
When you arrive in Gerudo Valley, look for the master carpenter from Kakariko Village. Speak with him, and he will explain that his four apprentices have been captured at Gerudo Fortress. Your task is to find their prison cells and bring them back safely.
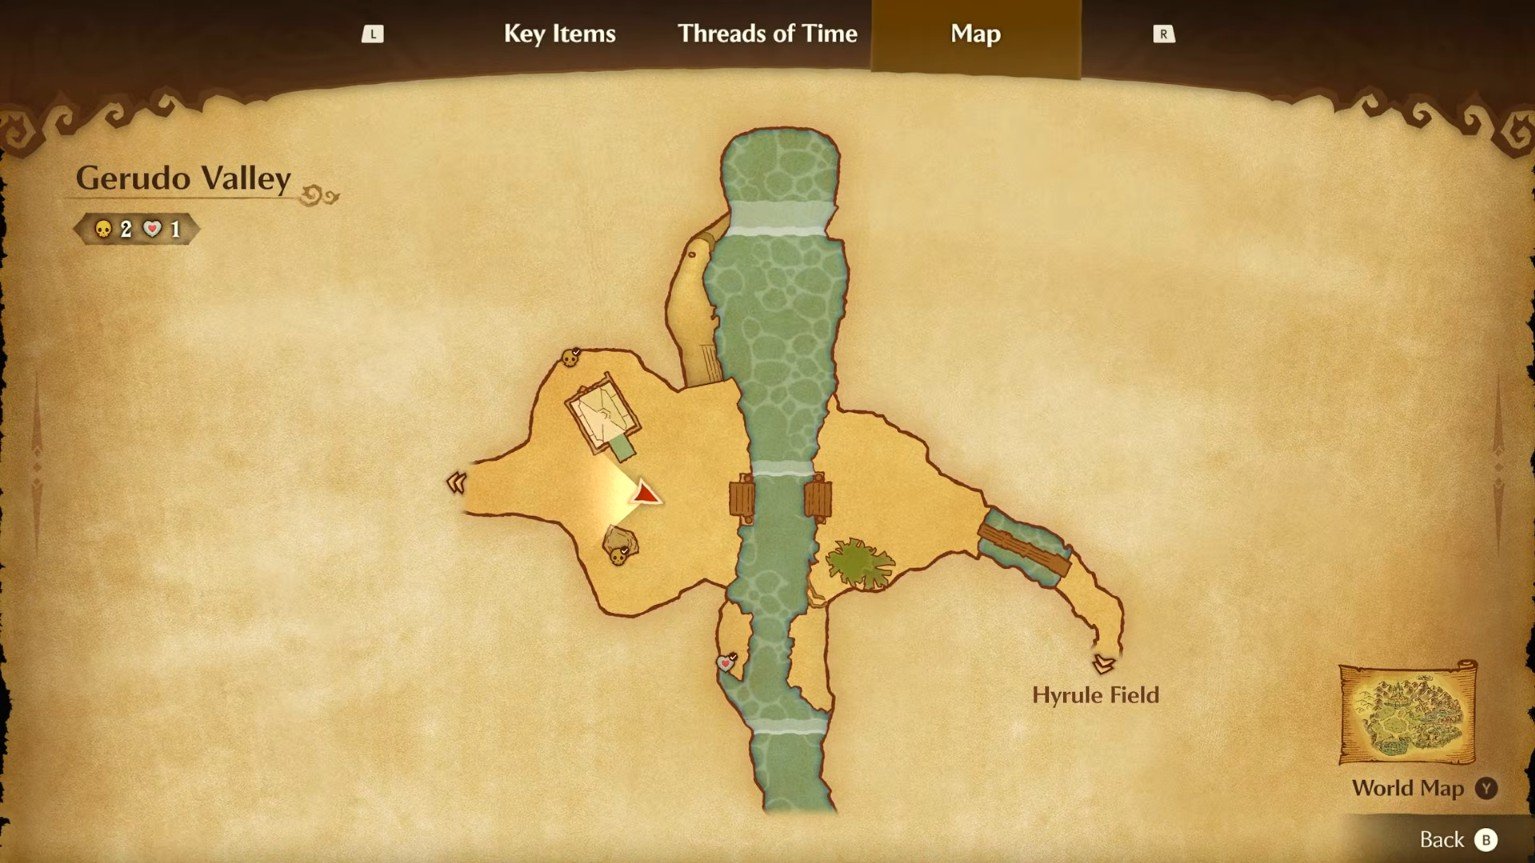
Follow the path leading towards the fortress.
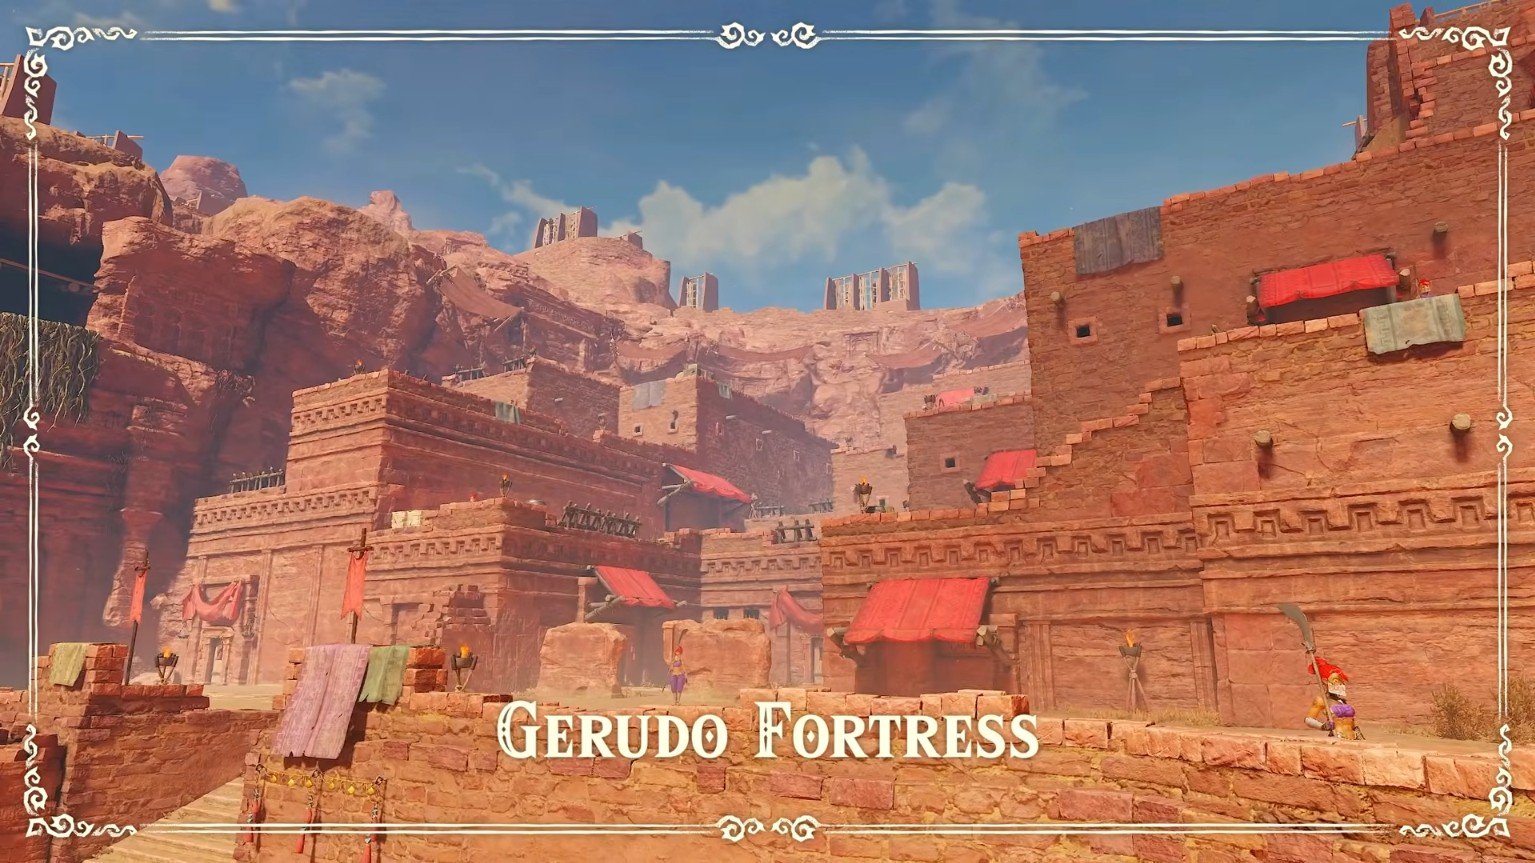
Once inside, you can either try to avoid the guards or deliberately allow one to catch you. Getting caught is a convenient way to enter the prison area and begin the rescue.
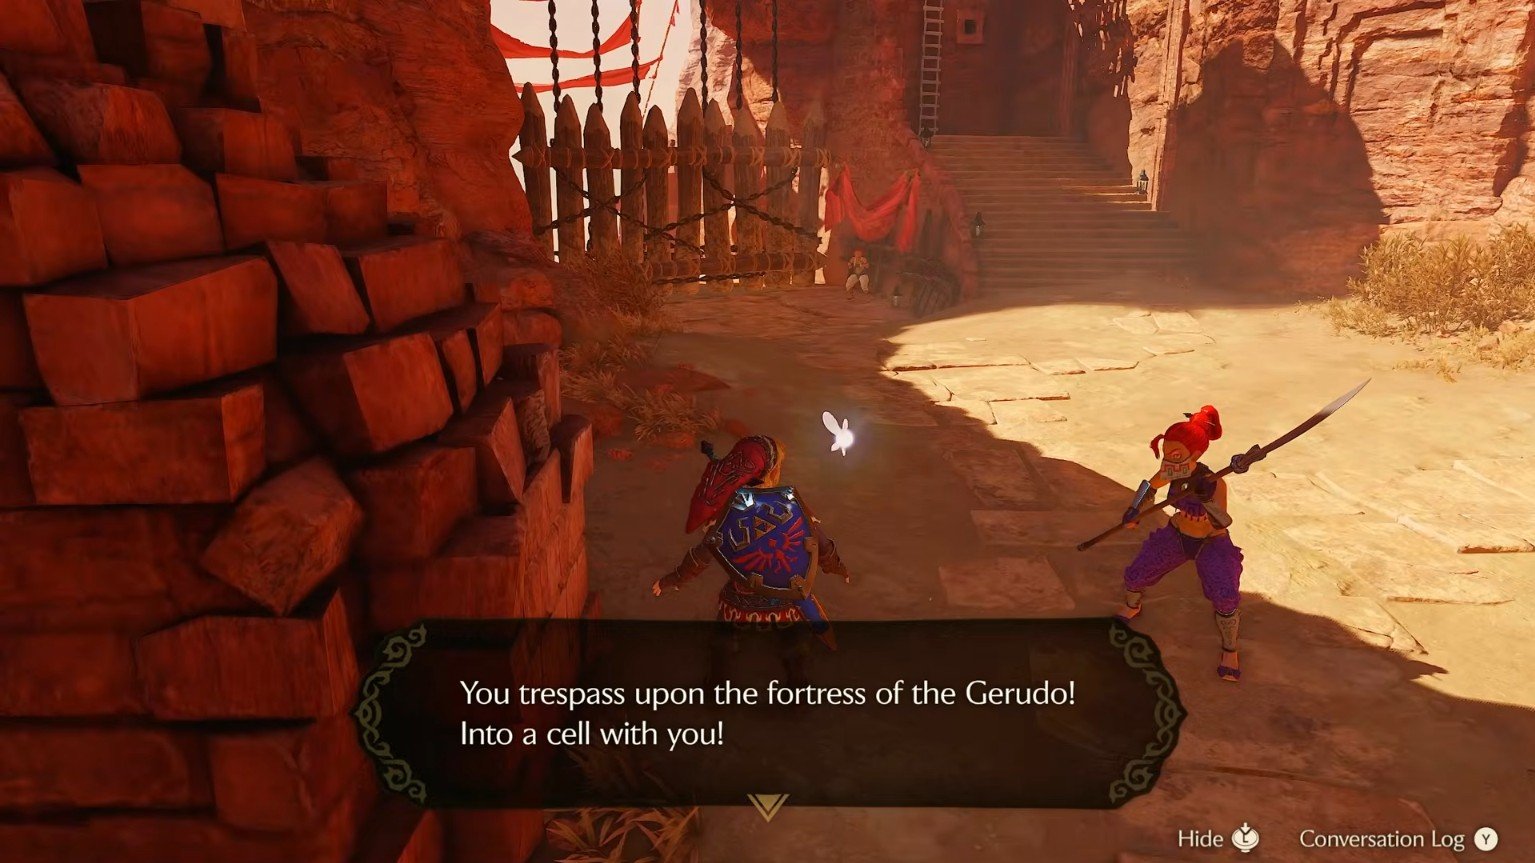
After being locked up, use your Longshot to escape the cell. You can now explore the fortress and reach the different prison rooms.
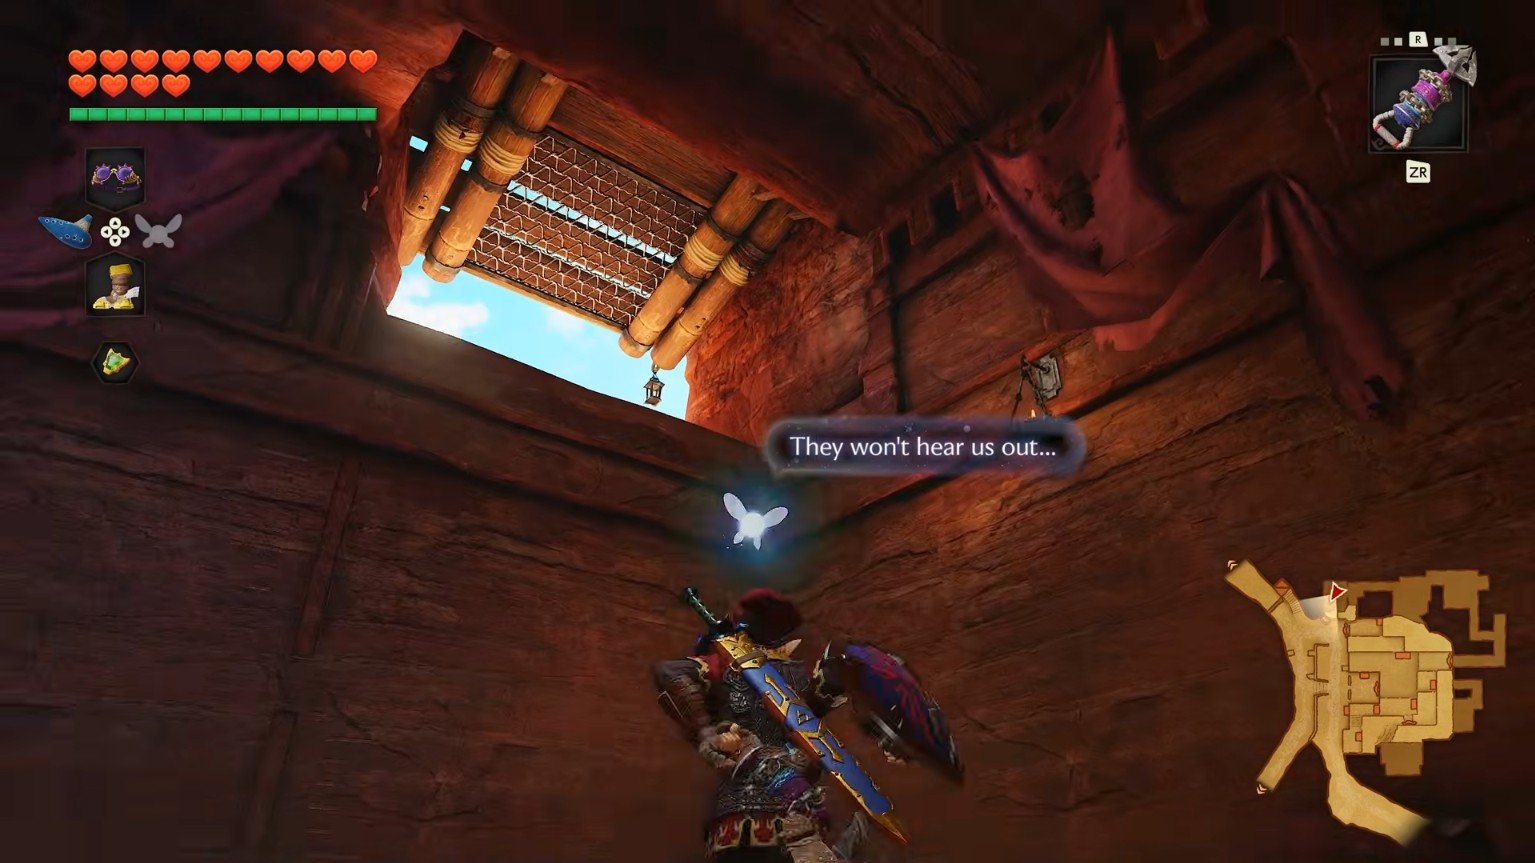
First Prisoner:
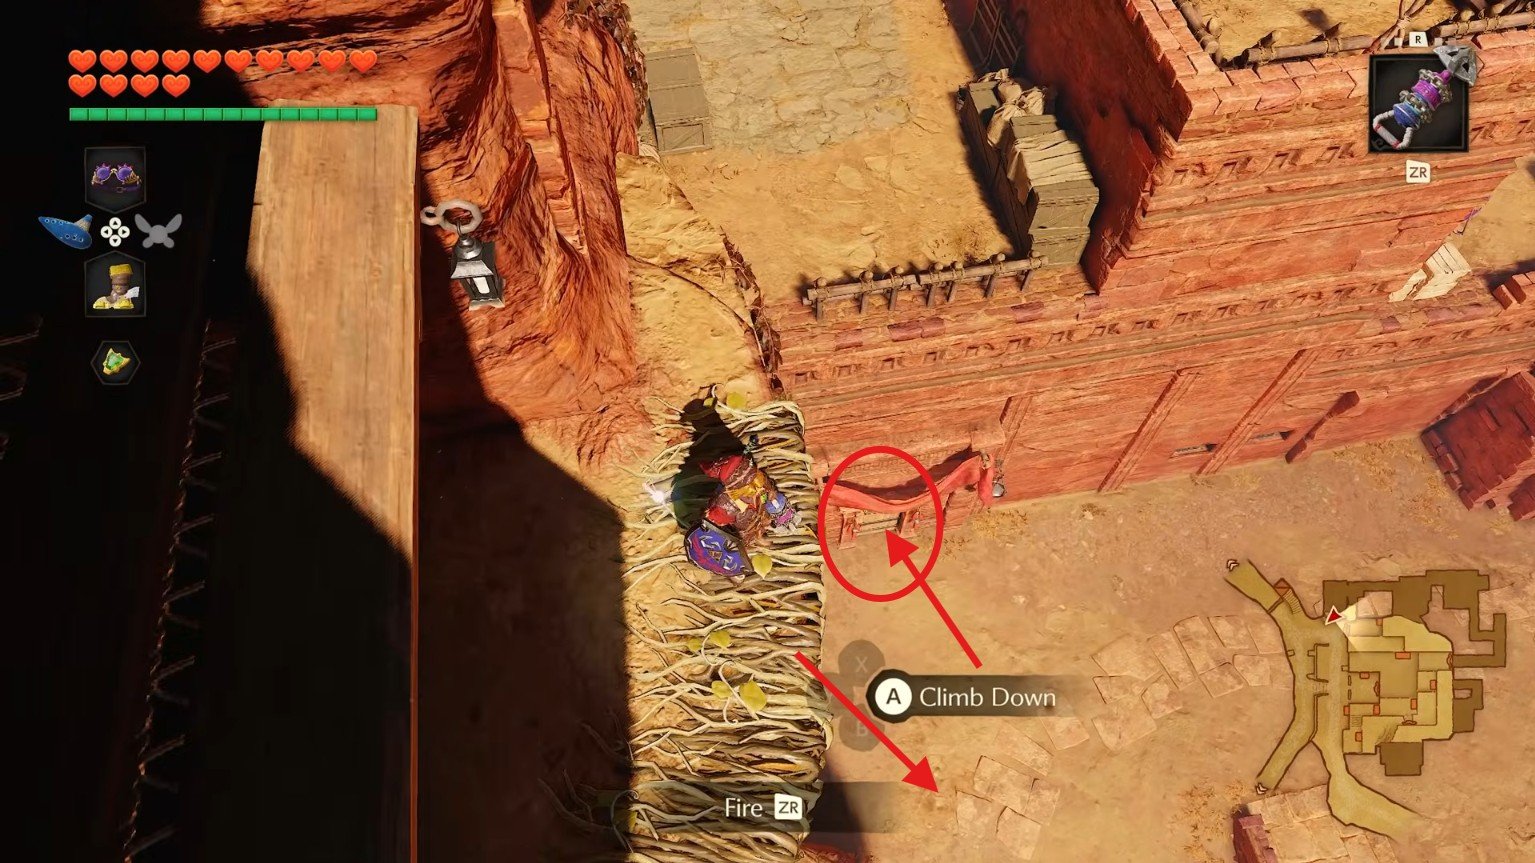
For the first prisoner, climb down towards the lower level and look for a doorway near the bottom. Follow the passage around the corner to find the first captive.
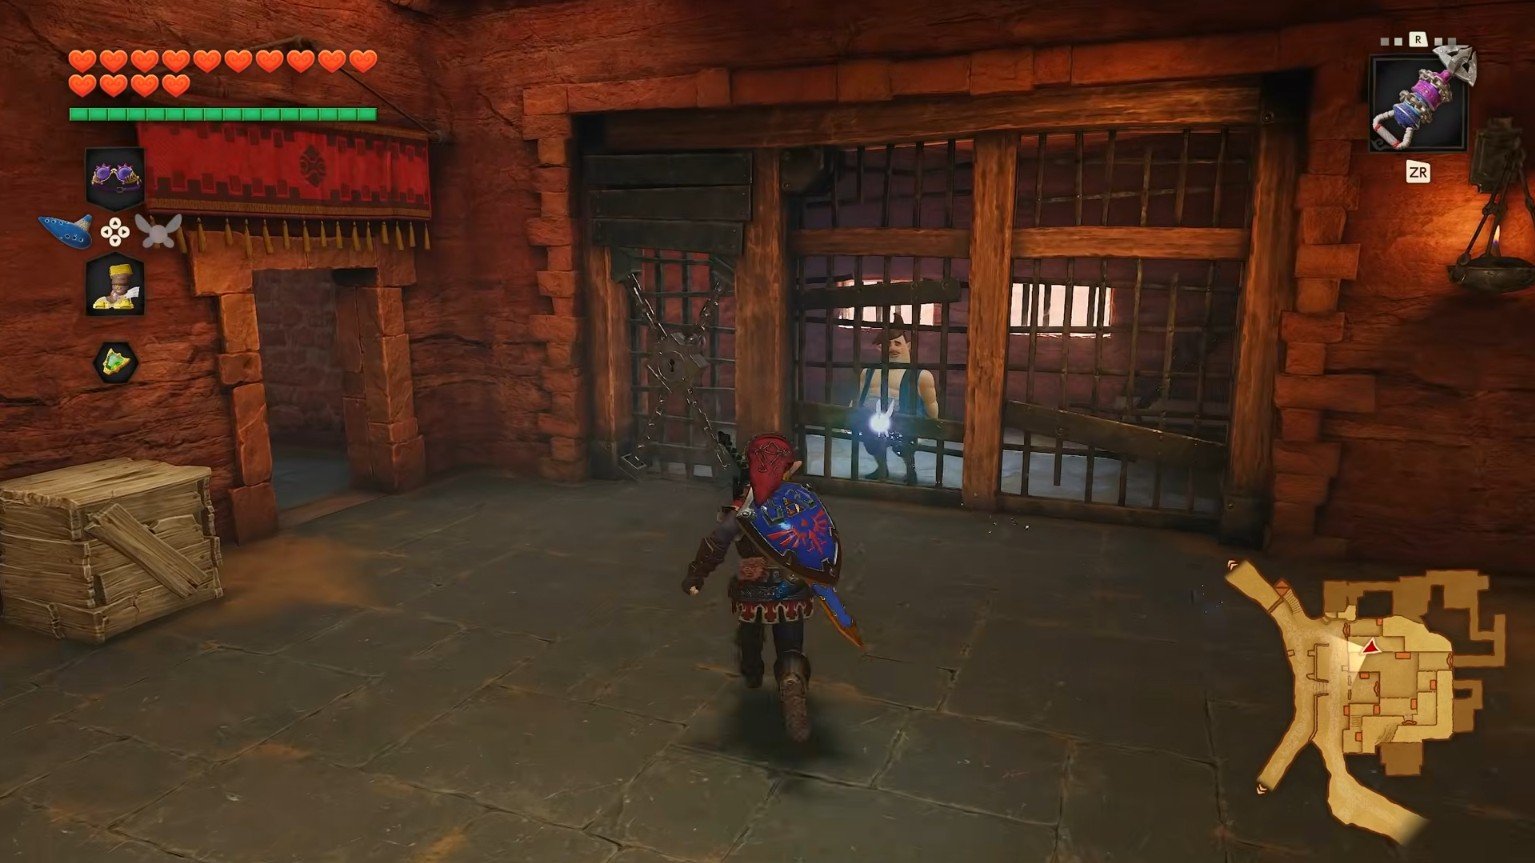
Talk to him to trigger a fight with a Gerudo warrior. You must defeat her to receive the Small Key needed to open the prison.
During the fight, watch her movements and wait for an opportunity to attack from behind. When she performs a large sweeping attack, create some distance before moving in again. After losing, she disappears in a smoke cloud and leaves a Small Key behind. Pick it up and unlock the cell to rescue the first apprentice.
Second Prisoner:
Collect anything useful in the surrounding area, then return outside using the route you entered through. Use the Longshot on the vines to climb back to the upper section.
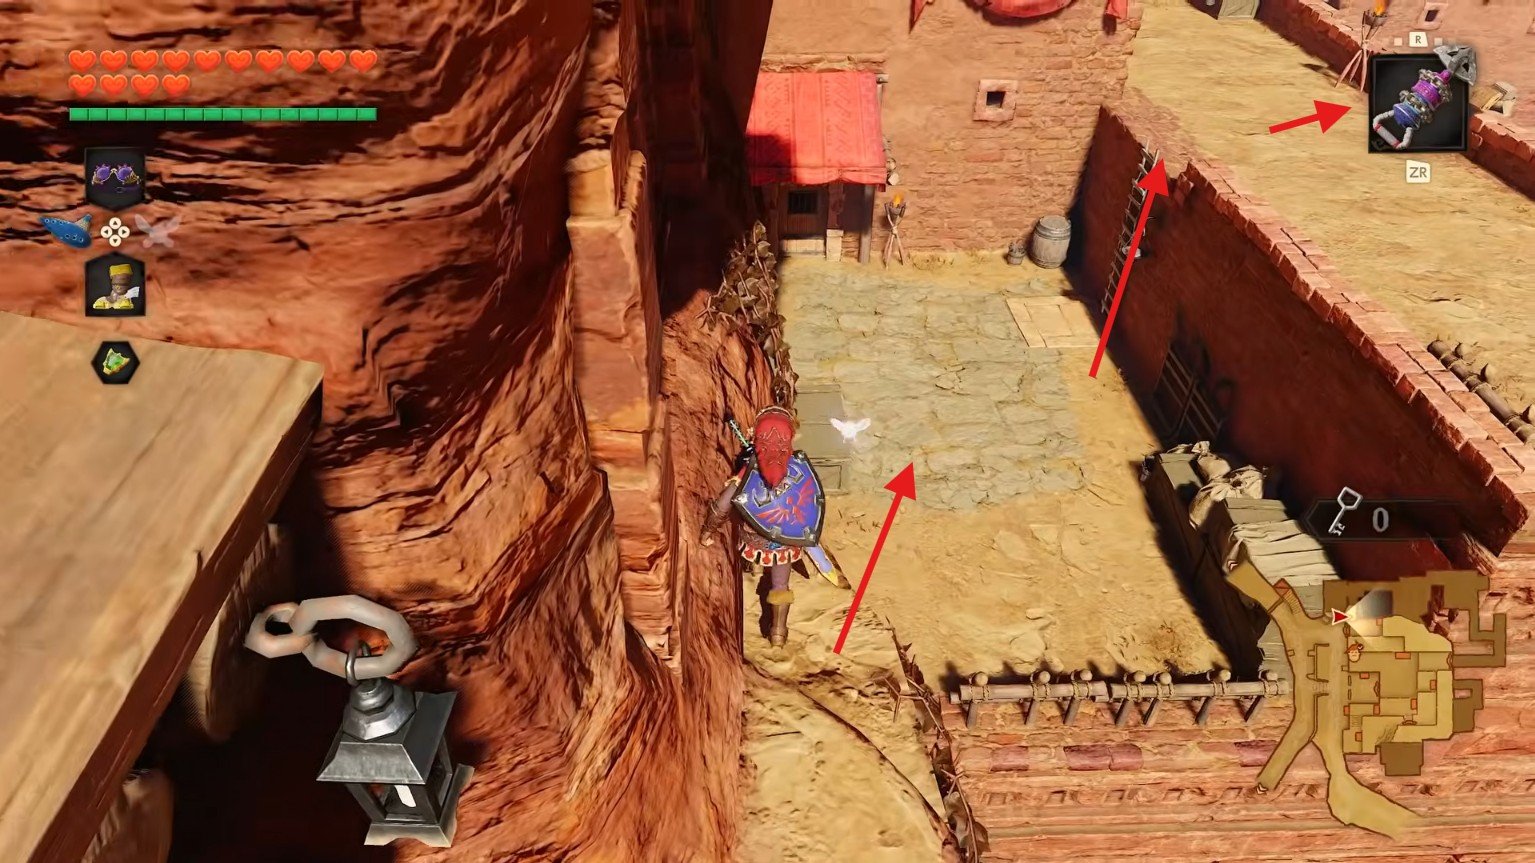
Once you’re back on the upper level, avoid taking the door on the left, as it leads to a dead end. Instead, move towards the rooftop and jump down onto it. Enter the doorway nearby and follow the passage down to another prison area.
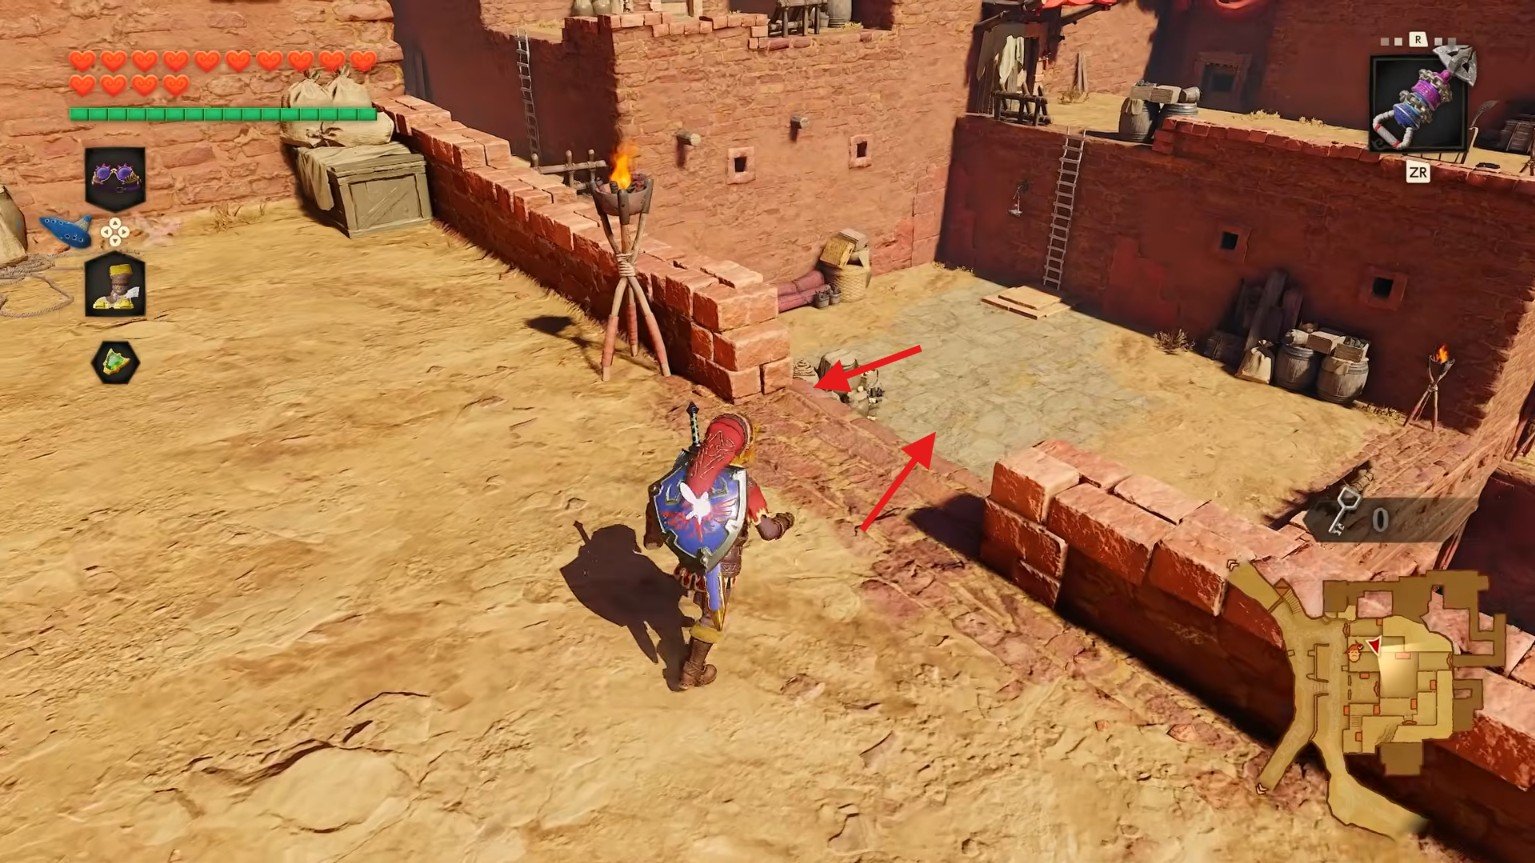
Speak with the second apprentice to bring out another Gerudo warrior. Defeat her using the same approach as before. She will leave behind another Small Key when defeated.
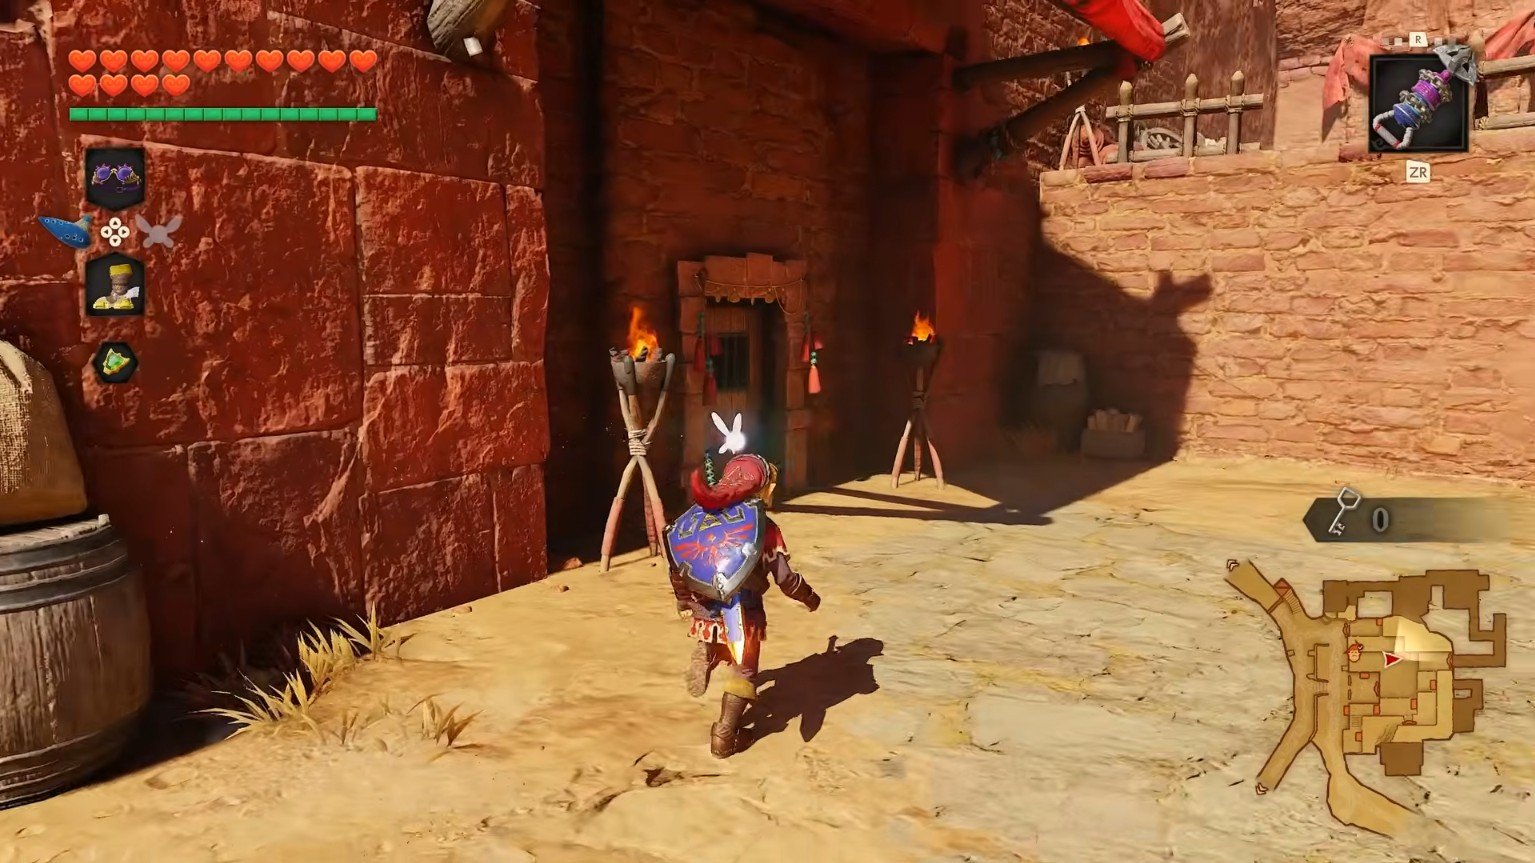
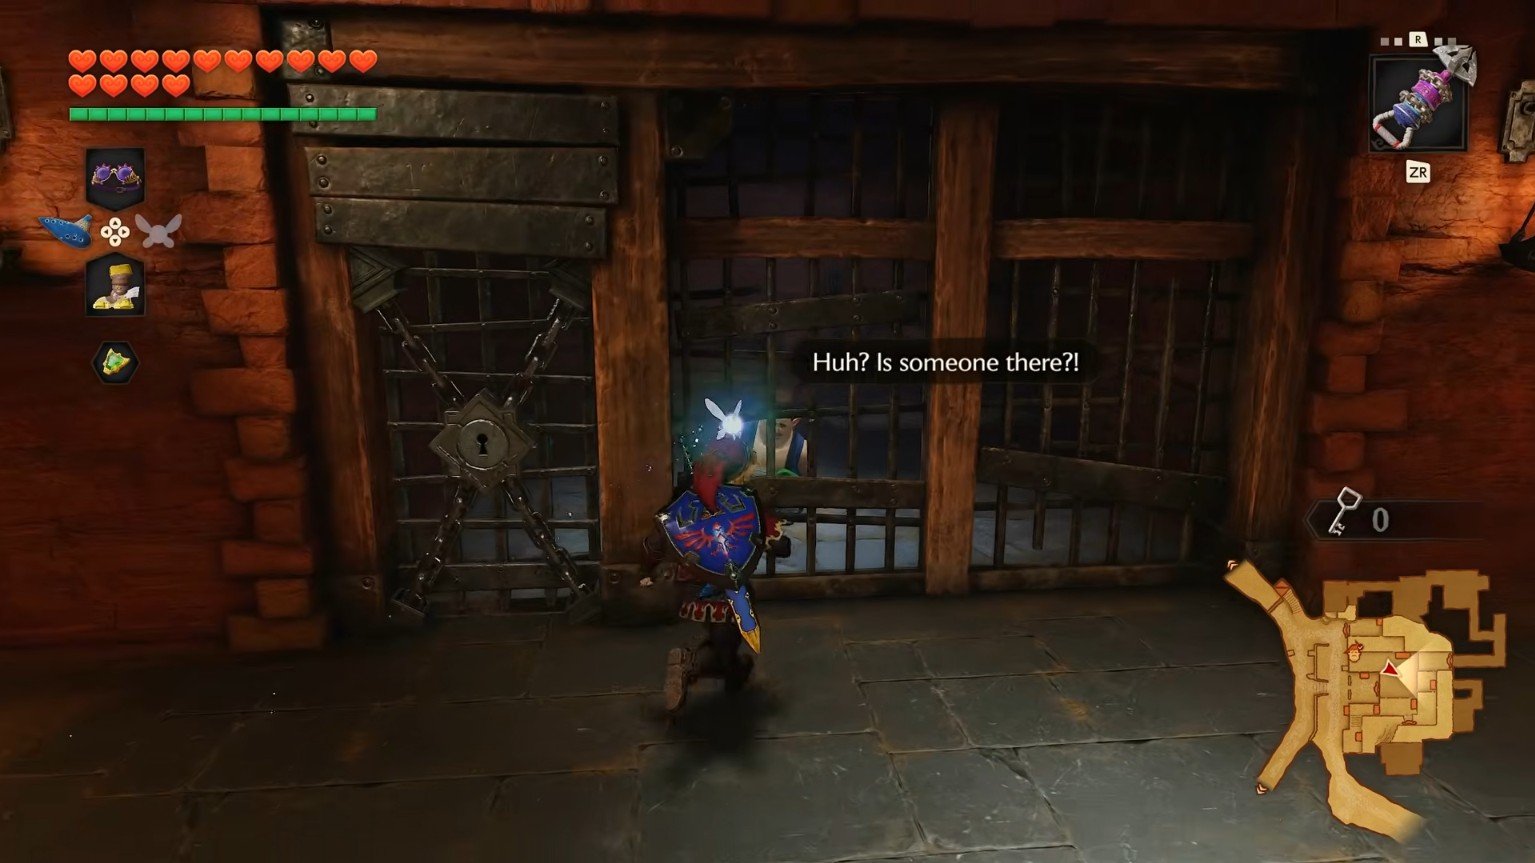
Take the key and unlock the prisoner’s cell. With two apprentices rescued, return along the same route and make your way back towards the rooftop and stairs.
Third Prisoner:
Go back outside and head to the ladder in front of you. Use it to access the next level, where you will find two doors.
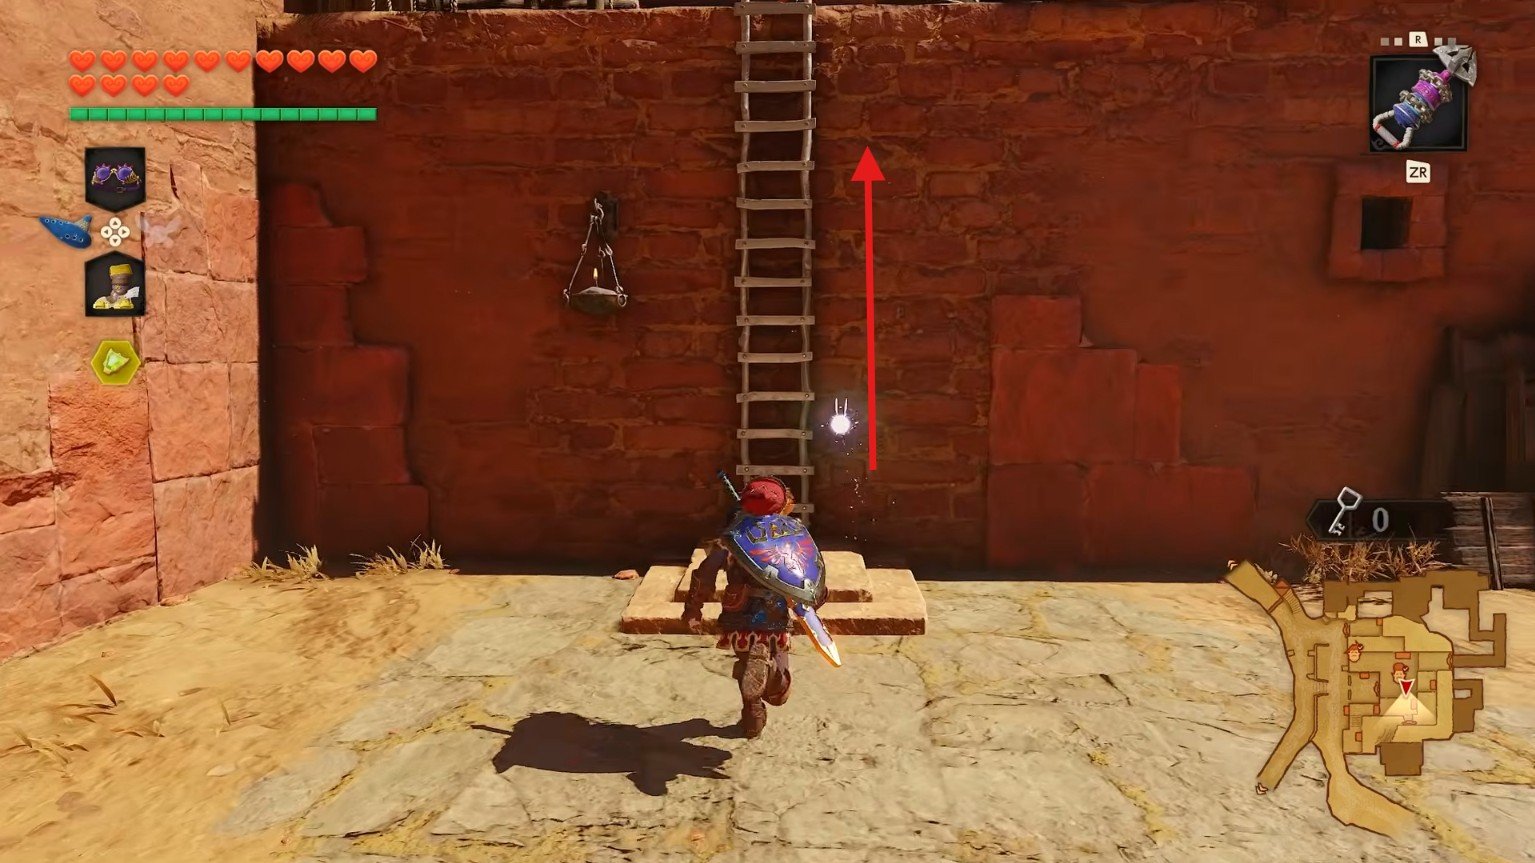
Leave the other doorway for later and enter the door that leads further down the passage. Follow the corridor until you reach the third prison cell.
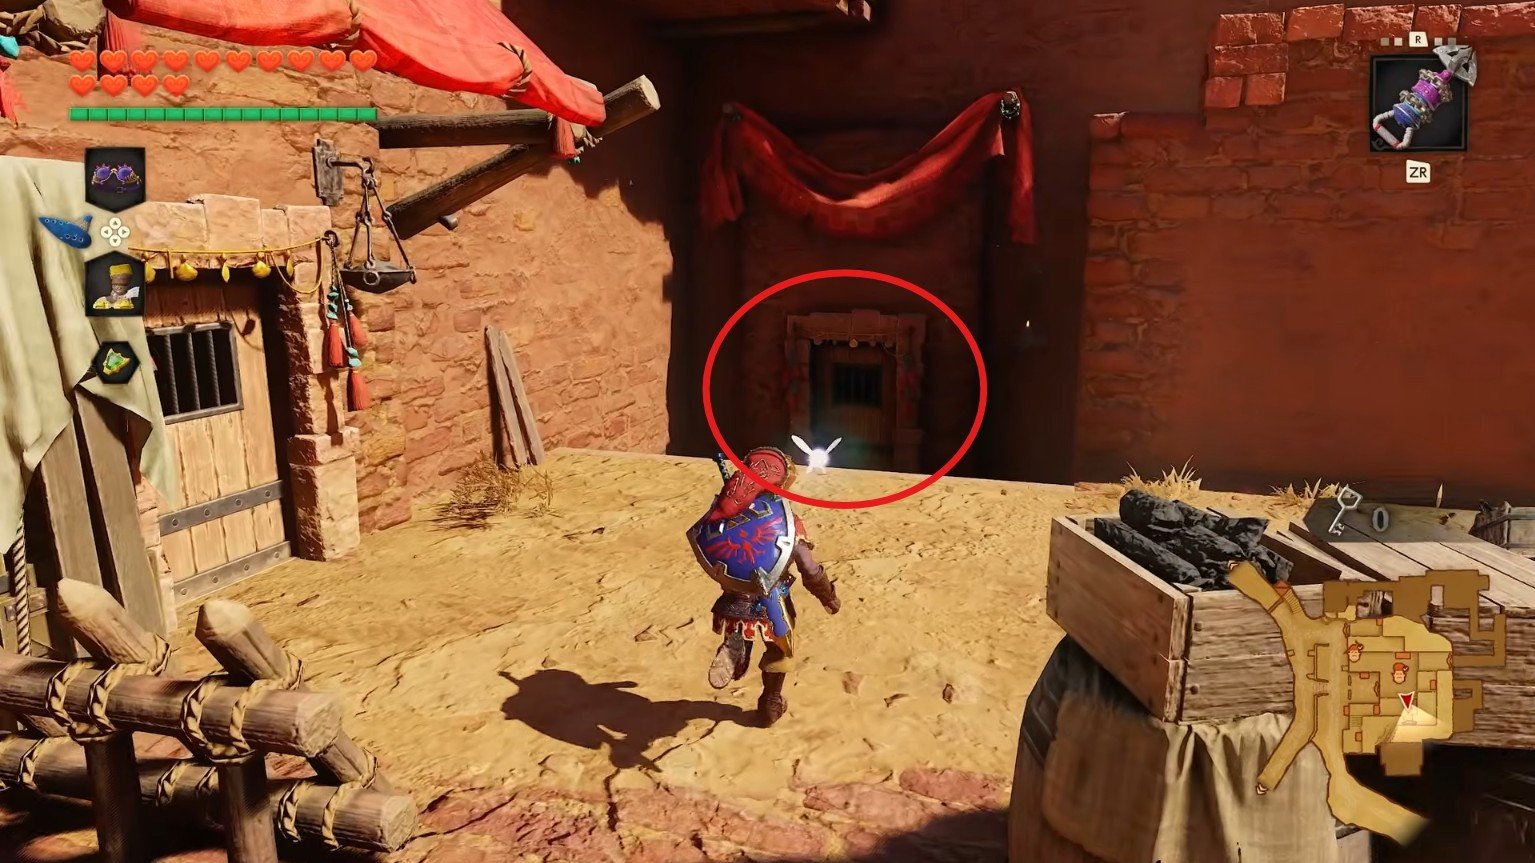
Talk to the captive, and another Gerudo warrior will appear. Defeat her, collect the Small Key she drops, and unlock the cell.
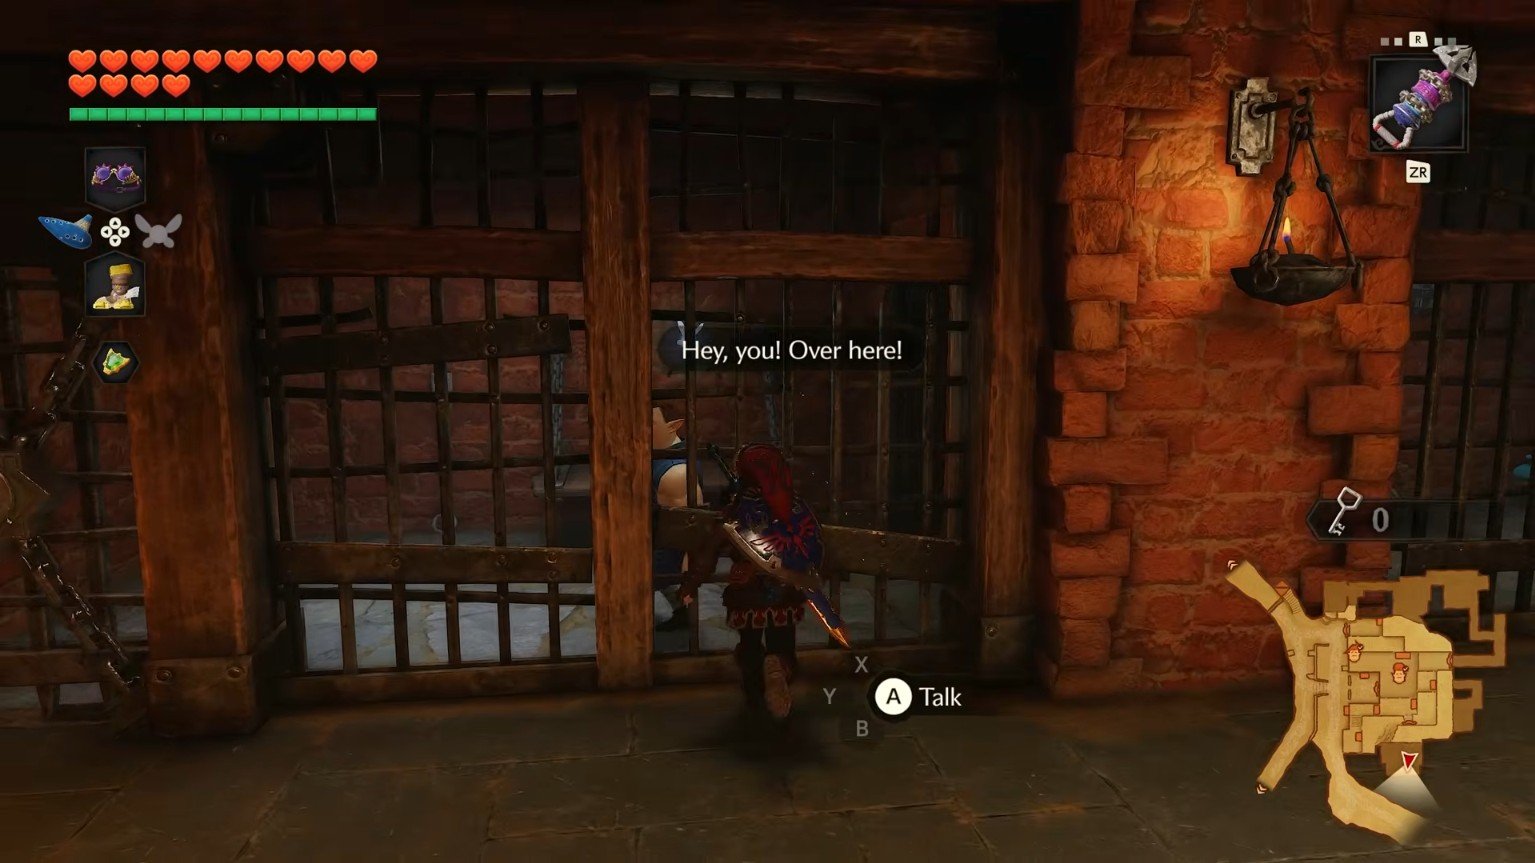
You have now rescued three of the four apprentices. Only one remains.
Fourth Prisoner:
Before heading to the final prisoner, return to the area near the ladder where you found the two doorways. This time, take the other route.
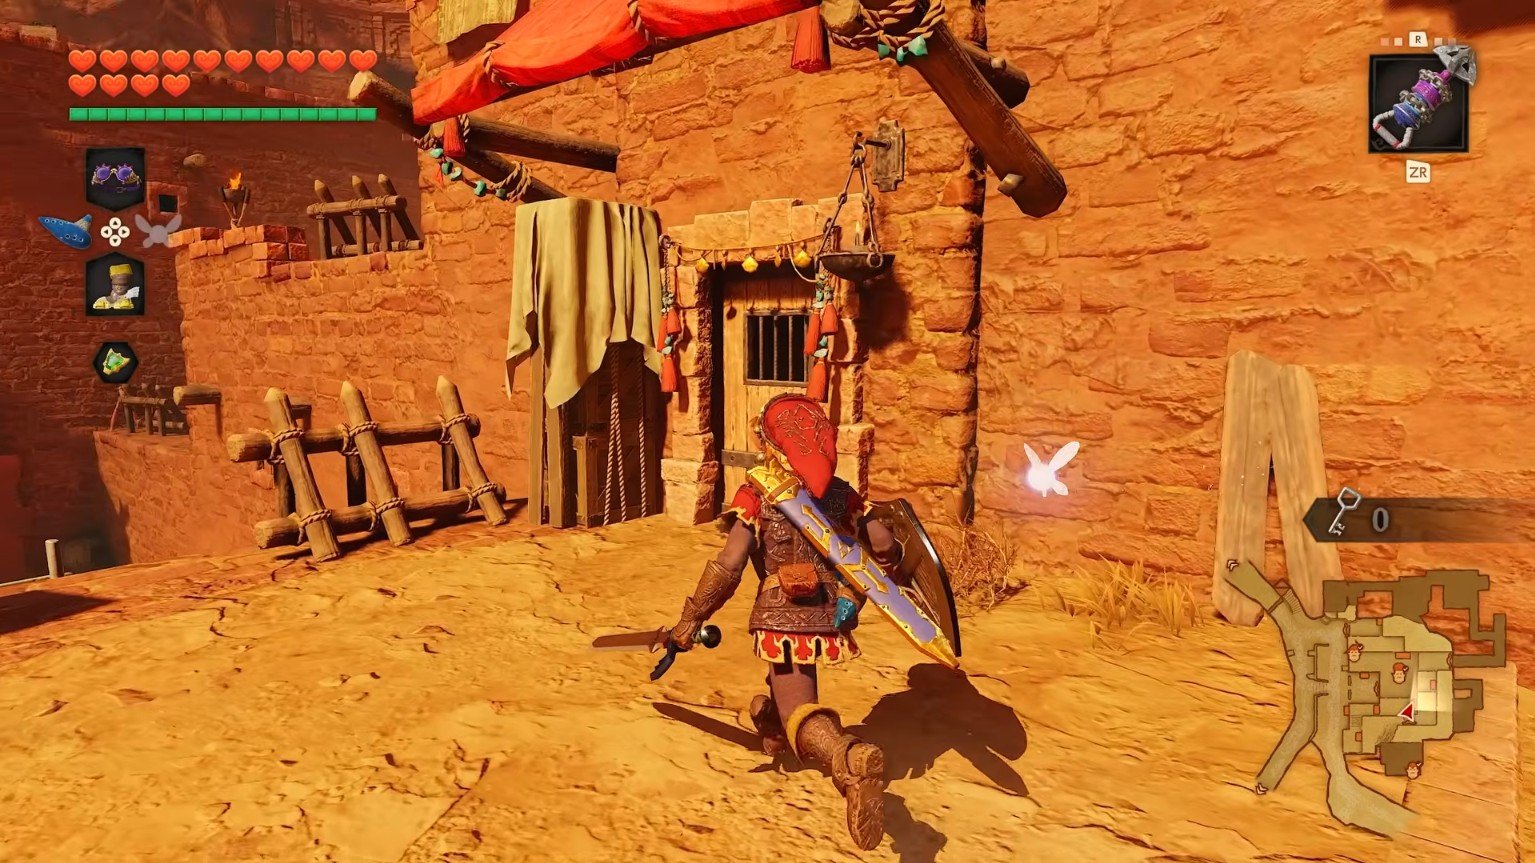
Use your Longshot to cross to the opposite side, keeping away from the guards below on the right. Continue up the stairs until you reach a door. The nearby Skulltula indicator will begin flashing, showing that a Gold Skulltula is close.
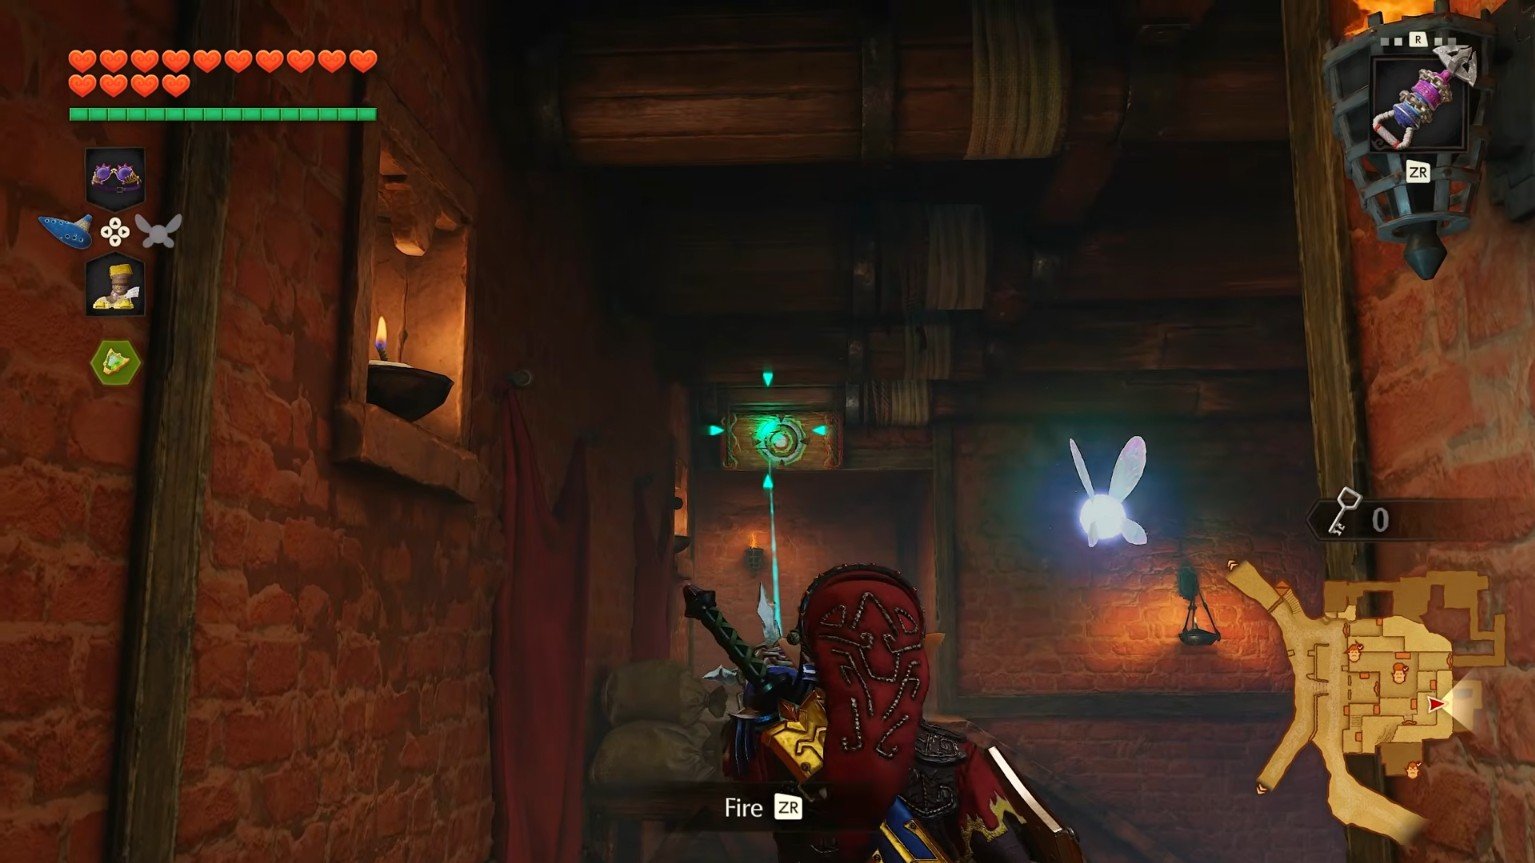
Open the door, turn right, and drop down near the ladder. Before entering the next doorway, play Sun’s Song to change the time to nighttime.
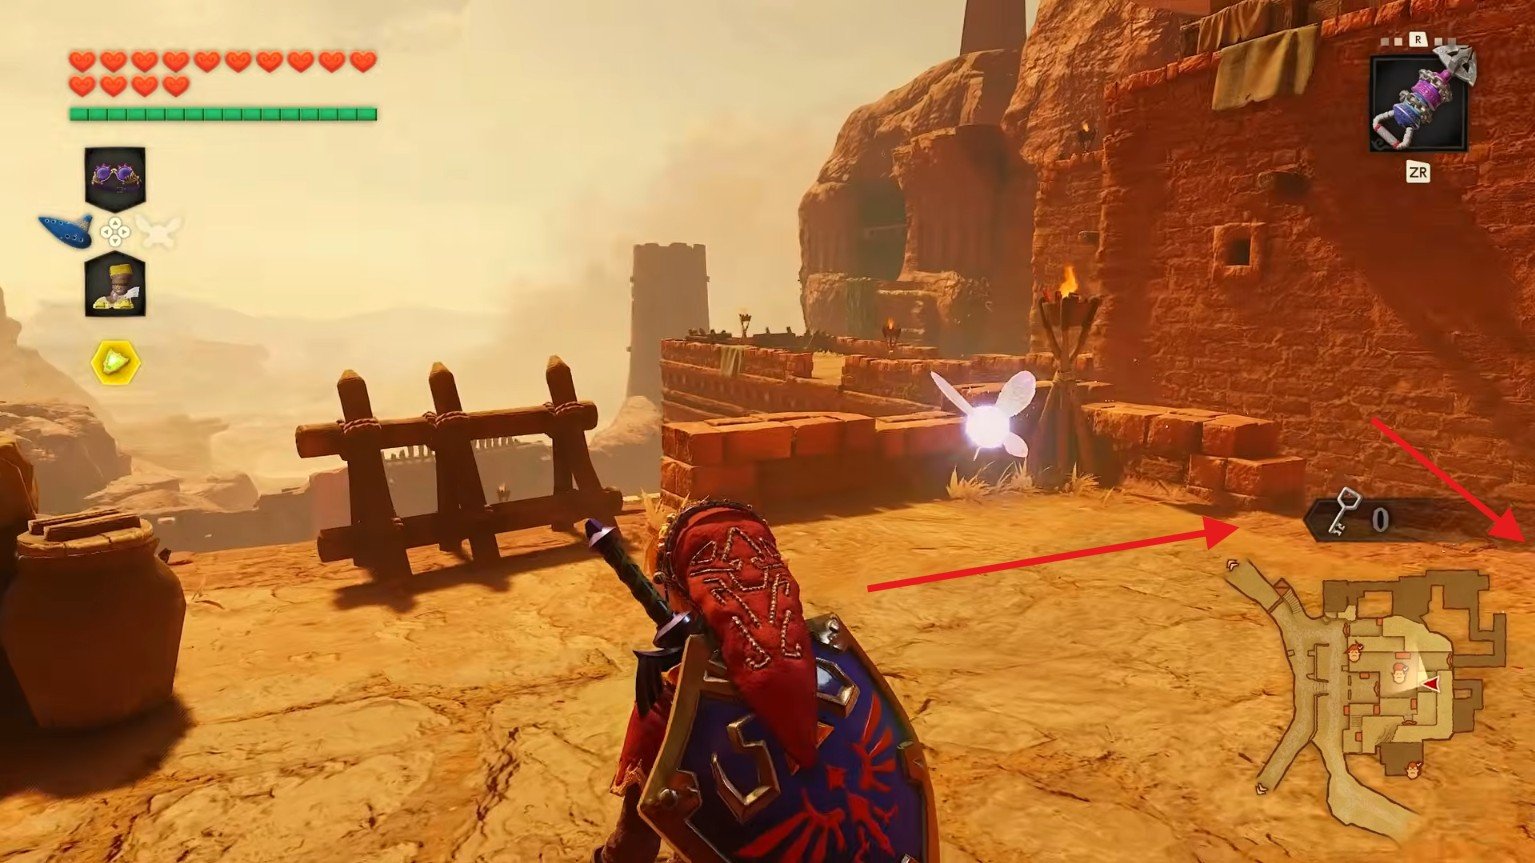
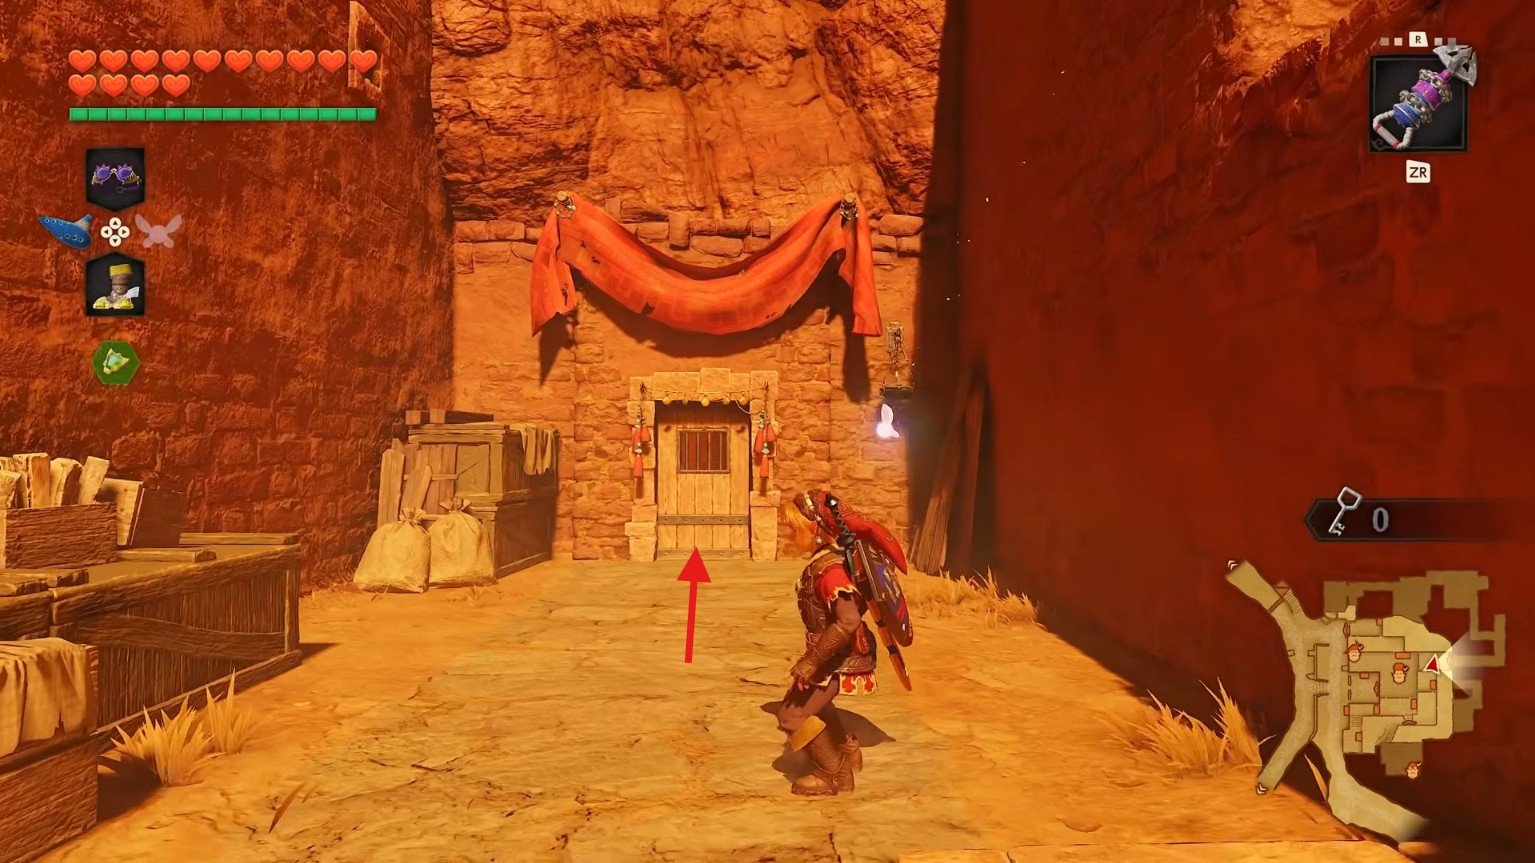
Look upwards, and you should spot the Gold Skulltula on the wall. Hit it with your Hookshot and collect the Gold Skulltula Token.
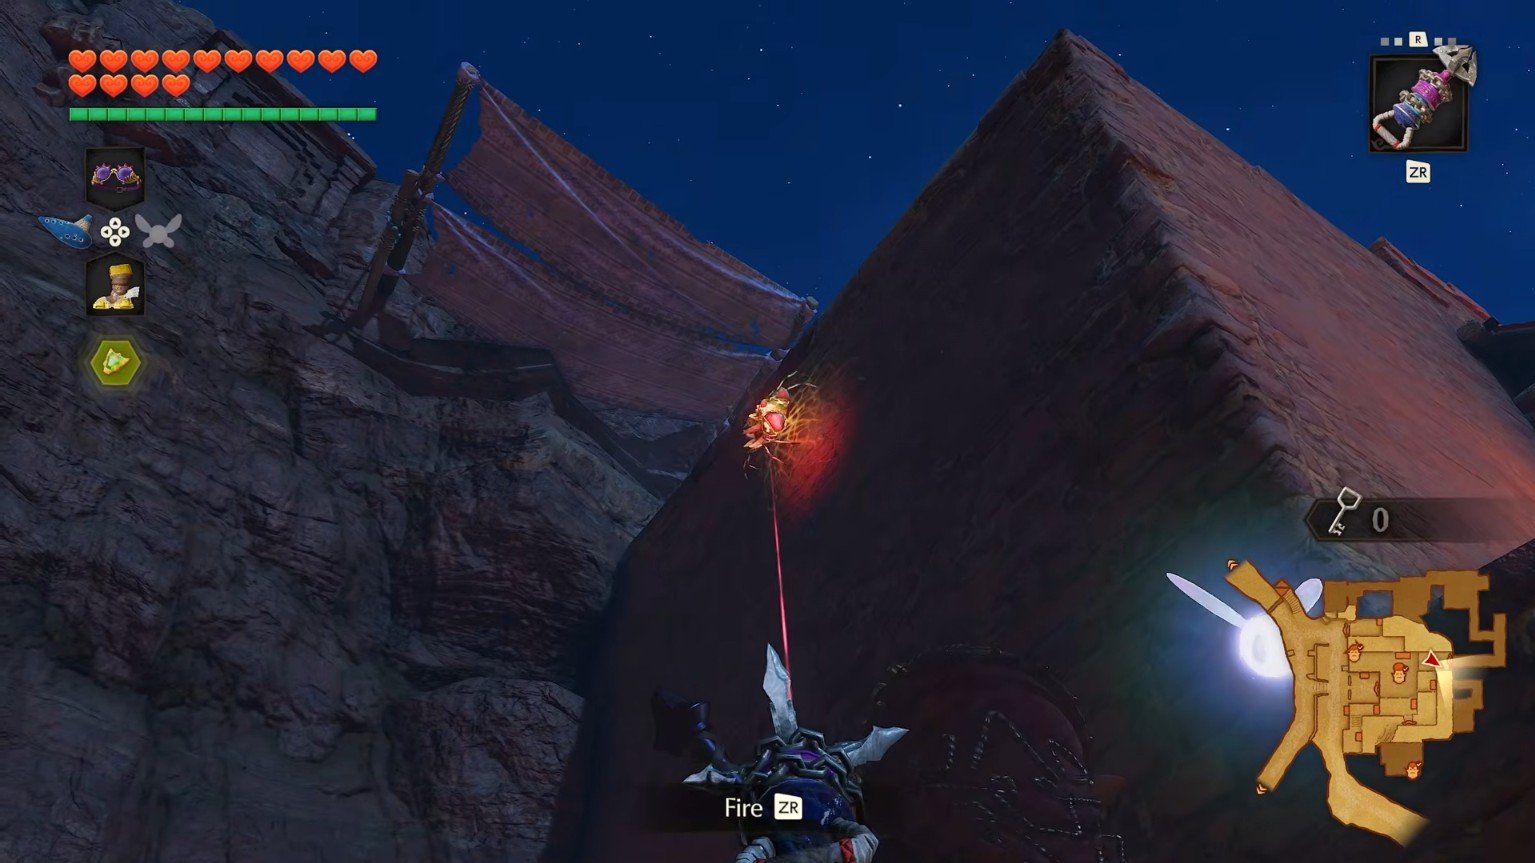
After collecting the token, enter the nearby door and watch for the Gerudo guard patrolling the area. Stay behind her and keep enough distance so she does not notice you.
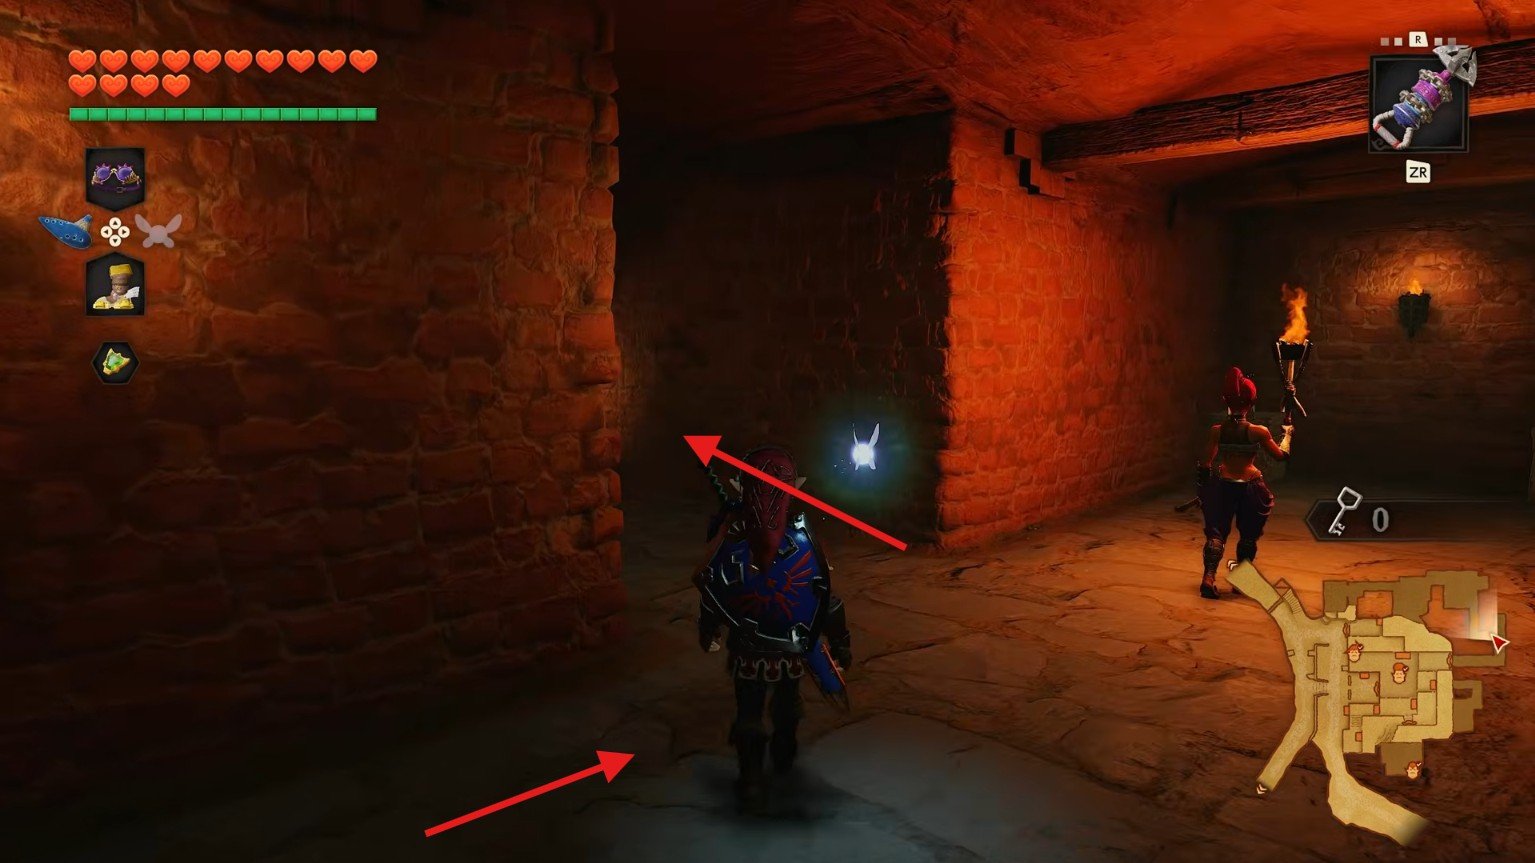
Move carefully through the passage and make your way towards the final prison room.
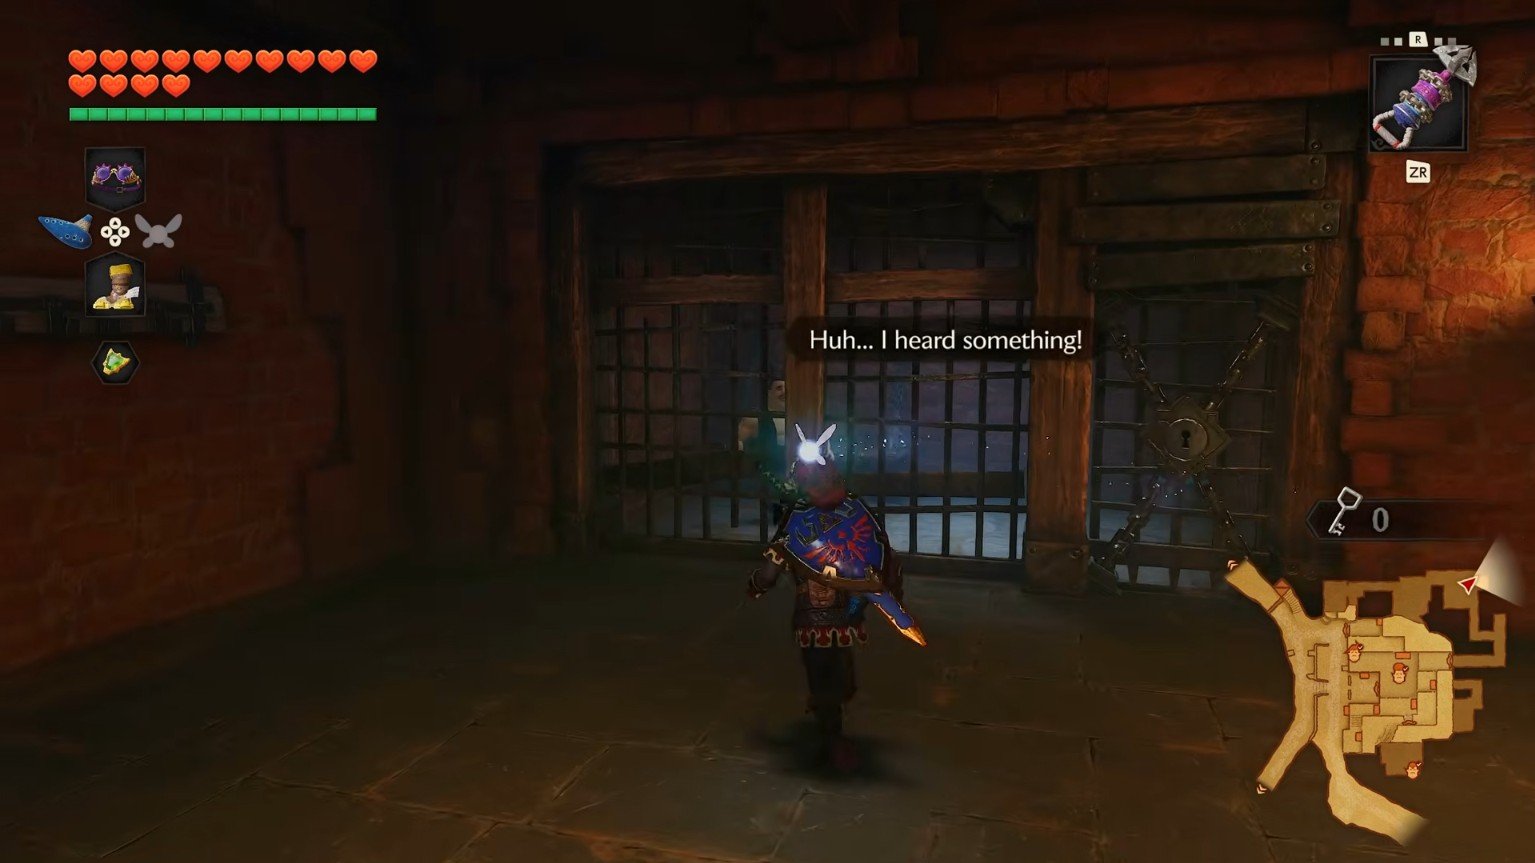
Speak with the last apprentice to trigger the final Gerudo warrior fight. Her attacks follow the same pattern as the previous guards, so use the strategy you’ve already learned.
Once she is defeated, collect the Small Key and open the cell. All four apprentices have now been rescued. The final prisoner will ask you to return to the master carpenter in Gerudo Valley and let him know what happened.
After freeing all four prisoners, you will see a conversation with the fortress captain. She will explain more about the Spirit Temple and open the gate leading towards the desert. You will also receive the Gerudo’s Membership Card. This allows you to move around Gerudo Fortress freely without being thrown into prison whenever a guard catches you
Finally, head back to the master carpenter who originally asked you to rescue his apprentices. Speak with him to complete the task. You will see that he has repaired the bridge, and he will mention that you can now bring your horse across it.
That is all for this guide. Additional Zelda: Ocarina of Time guides are linked below:
This concludes our Zelda: Ocarina of Time guide on how you can rescue the captive apprentices in Gerudo Fortress. If you want to add anything to this guide, feel free to use the comment section below.