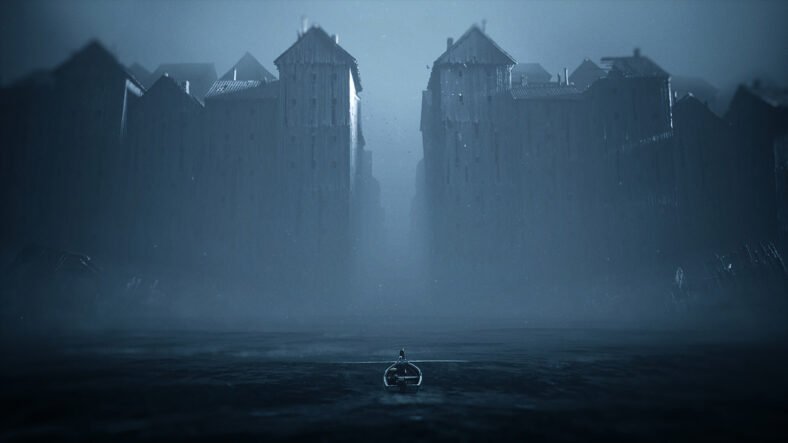
This Reanimal Chapter 6 Walkthrough Guide details how you can complete the sixth chapter: Nobody Left Behind, and find all collectibles in it. Chapter 6 is the final major boat section and ties together many trophies from earlier chapters, especially the naval ones.
Chapter 6 Walkthrough Guide – Reanimal
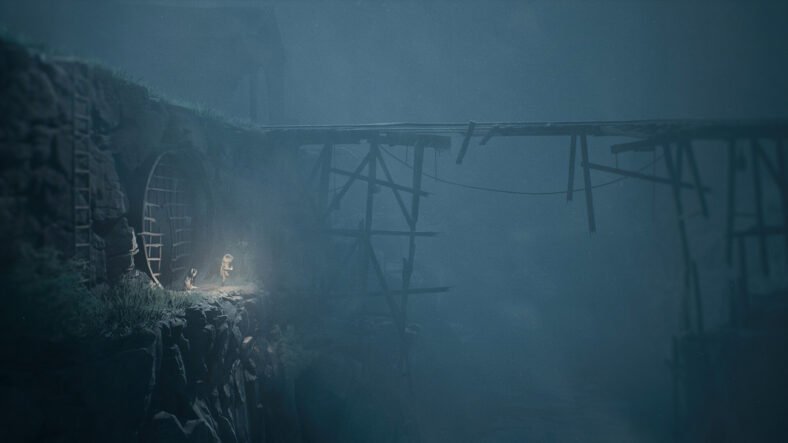
After the truck crashes in Chapter 5 ending, head right through the tunnel and enter the bunker door.
Trophy Secret Bunker
Go through the bunker and exit using the door on the right. Outside, kick down the nearby crate, then pull the generator lever to restore power.
Return inside to the lab area. On the left wall is a console showing four glowing dots. Input the sequence from left to right as: middle dot > bottom dot > bottom dot > middle dot (2-3-3-2). Once entered correctly, pull the lever on the right. This unlocks the trophy “Secret Bunker” and makes a poster appear inside the room.
Poster 14 (Secret 30) is now available on the left side of the same room. Pick it up before moving on.
Beach Critter & Mask
Still inside the bunker room, look through the binoculars pointed toward the beach. You will notice a crate outside with white dots painted on it. This shows the code needed for the next interaction; the code may differ per playthrough.
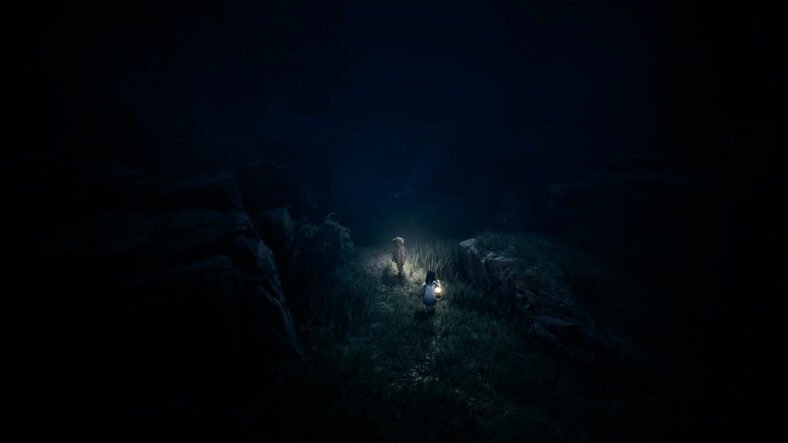
Now, squeeze through the small opening on the left wall and climb down to the beach. Walk toward the upper section of the sand to find a Critter. Defeat it to collect Critter 4 + Mask 10 (Secret 31). Make sure you previously kicked down the crate outside the bunker before coming down here.
Returning to the Sea – Naval Progress
Continue along the beach and clear out any seagulls near your boat. Get in and remember: you must destroy sea mines with the harpoon for the “Naval Blazing” trophy if you haven’t already unlocked it. Immediately steer right to find cliffs hiding three sea mines at the edge of the area. Destroy them before proceeding.
Destroying the Bunker – Non-Cannonical Trophy
Drive to the central island where the large cannon stands. On the island, take a cannon shell from the glowing red crate. Carry it inside and load it into the cannon. One character must hold the back wheel mechanism while the partner places the shell inside.
Press the glowing wall button to open the firing window. Rotate the cannon toward the bunker where you first came from. Use the firing switches to shoot and blow up the bunker. This will unlock the trophy “Non-Cannonical.”
Shooting the Sea Monster & Hidden Mask
Now rotate the cannon toward the massive sea monster in the distance. Load another shell and fire at it. After hitting it, drive your boat down the newly opened path behind the creature. Clear the next group of sea mines. Follow the cliffs to the far right side of the area until you reach a small beach. Park there and collect Mask 11 (Secret 32) from the sand.
Before leaving, return to the sea and destroy any remaining mines, especially those near the far-left side around the large shipwreck.
Shipwreck Exploration & Poster
Sail to the small beach beside the giant shipwreck. Get off the boat and defeat the seagulls nearby. Climb up with your partner’s help, then use the anchor chain to enter the ship. Drop down inside and walk left. You will find Poster 15 (Secret 33) attached to a buoy.
Continue deeper into the ship. Cross the steel beam, help your partner climb up, and rotate the wheel to open the next gate. In the following area, lift your partner again on the left wall. Go all the way to the end of the corridor and interact with the two golden diving suits lying on the floor. Your characters will automatically put them on.
Use the elevator switch to descend underwater.
Underwater Section & Sea Monster Chase
Move carefully through the underwater path, using your torch if needed. Avoid touching sea mines as you move along the linear route. At the end, you will find what looks like a dead sea monster. Interact with it to remove its eye.
Head back toward the elevator. The monster is not actually dead and will suddenly chase you. Run back quickly and make sharp turns to avoid being caught. The monster will collide with sea mines along the way.
Once at the elevator, go up immediately and exit fast; the monster will drag the lift down, resulting in your death.
Back in the ship interior, cross the steel beam again and reach the large whale at the end. Insert the monster’s eye into it. This makes the whale move and clears a path for your boat outside.
Your diving suits will automatically come off. Before leaving, interact with both helmets again. Each one counts separately, giving you Mask 12 (Secret 34) and Mask 13 (Secret 35) in the same spot.
Hidden Beach Statue
Leave the ship by squeezing through the opening on the right and return to your boat. Drive through the newly opened route beside the shipwreck, clearing all sea mines along the way. After passing beneath a bridge where two enemies jump into the water, you will see a dark tunnel entrance blocked by mines. Before entering the tunnel, turn right instead. There is a narrow path between cliffs leading to a quiet beach.
At the end of this hidden beach, you will find Hidden Statue 4 (Secret 36). Collect it before returning to the tunnel entrance.
Final Naval Trophies
Head back to the tunnel entrance and destroy all sea mines there. If you destroyed enough mines throughout Chapters 3 and 6, the trophy “Naval Blazing” should unlock here.
There are still a few extra mines inside, and after the tunnel, so you have some margin if you missed a few earlier. You may also unlock “Lost at Sea”, which tracks the total distance traveled by boat. If it hasn’t popped yet, simply drive back and forth until it does. This progress carries across playthroughs.
End of the Chapter
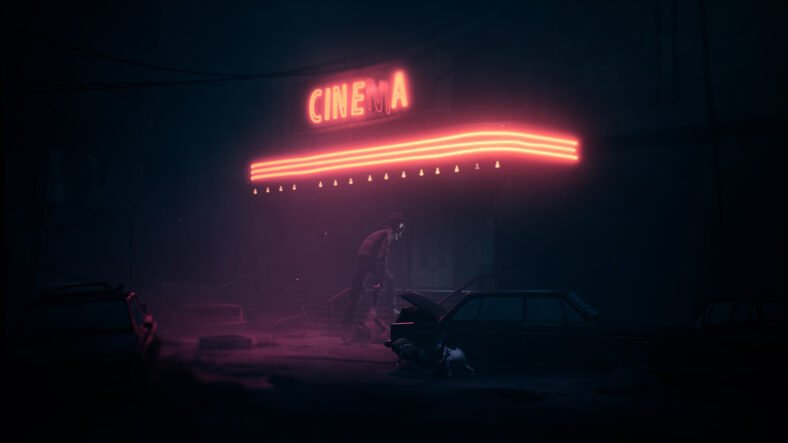
Sail through the tunnel. Two swimming enemies will emerge from a yellow school bus, defeat them, and continue. After passing a few more mines and driving through the flooded town, park the boat when the path ends.
Move forward and interact with the door ahead. A scene plays where the girl collapses, and a sheep bursts out. Interact with her to carry her. You need to follow the sheep, climb over the wall it leads you to, and this begins the next chapter.
That is all for this guide. If you need additional help with this game, make sure to check out additional guides linked below:
- Reanimal Secret Ending Guide – How to Unlock, Coffin Locations
- Reanimal Chapter 7 Walkthrough Guide – How to Complete
- Reanimal Chapter 8 Walkthrough Guide – How to Complete
- Reanimal Chapter 9 Walkthrough Guide – How to Complete
This concludes our Reanimal Chapter 6 Walkthrough Guide. If you want to add anything to this guide, feel free to use the comments section below.