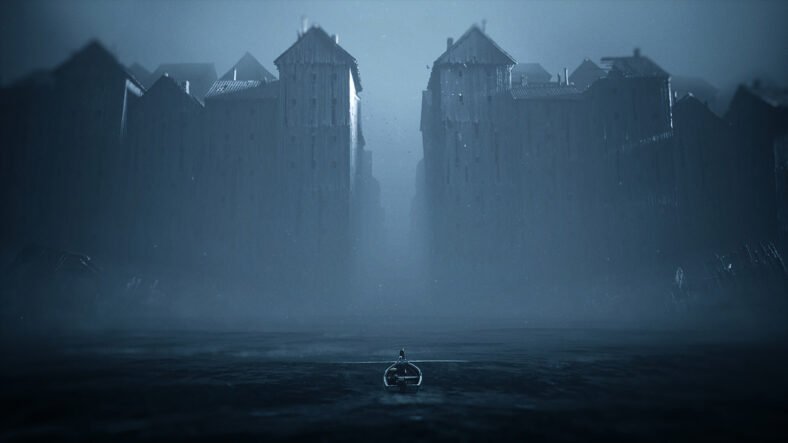
This Reanimal Chapter 4 Walkthrough Guide details how you can complete the fourth chapter: No Shelter, and find all collectibles in it. Chapter 4 begins right after the bus ride. Many secrets, masks, statues, trophies, and resting spots are packed close together here, and some are missable if you move too fast.
Chapter 4 Walkthrough Guide – Reanimal
As soon as you step off the bus, look to your left. Poster 9 (Secret 20) is attached to a pylon in the starting area. Pick it up before moving forward.
Take the path on the right side and go up the stairs. Help your partner climb the ladder, then continue right and climb another ladder. At the top, you will reach a large clock outside the tower.
Push the left clock hand all the way toward the right side. This creates a path so you can climb through the broken window on the right and enter the clock tower.
Clock Tower – Statue Trophy & Multiple Secrets
Inside the first big room of the tower, there are many petrified child statues scattered around. To unlock the trophy “Scared to Dust”, you must destroy all 13 statues in this room. Some are easy to see, while others are hidden in darker corners. A few are leaning in the shadows on the left side, some are near boxes on the lower right, several are sitting on the floor against objects, and others stand clearly in the middle of the room. If you are unsure whether you’ve hit them all, listen carefully for the breaking sound when attacking with the crowbar.
Still in the same room, go to the upper-right corner and sit on the couch. This gives you Rest Your Legs 8.
Now head to the far right side of the room and crawl through the hole in the wall to reach a small hidden space.
Poster 10 (Secret 21) is located on the wall in the bottom-right corner of this secret room. When you enter, a Critter will run away.
Go back into the statue room. The Critter will now be there. Defeat it to earn Critter 3 + Mask 7 (Secret 22).
Survival Instinct Trophy & Hidden Statue
Next, go through the wardrobe and open the hatch to drop down into the next section. Break the barrier in front of you, and three enemies will appear.
For the trophy “Survival Instinct”, let the enemies defeat your partner instead of helping them. Once your partner dies, the trophy unlocks.
After that, continue down the same hallway to the very end. Do not enter the vent on the left yet. Instead, squeeze through the narrow opening in the back wall. This leads to a hidden space where you will find Hidden Statue 3 (Secret 23). Light the candle on the statue before leaving.
Now return to the hallway and go into the vent on the left wall.
The King & Missable Trophy
You will enter a room filled with enemies and a king sitting on a throne. Clear out the normal enemies first, but leave at least one alive so the fight doesn’t end too early.
Eventually, the king climbs down from his throne. He can’t be hurt while sitting or while climbing. After he steps down, he disappears briefly behind the throne. Then he tries to sneak across the room toward the upper-right side.
This is your only chance. Quickly defeat him while he walks behind the throne before he escapes. He looks similar to other enemies but wears a crown. The camera angle makes it difficult to see him, so pay close attention.
Killing him unlocks the trophy “Long Live The King”, and you can pick up his crown for Mask 8 (Secret 24). If he escapes, you must reload the checkpoint and try again.
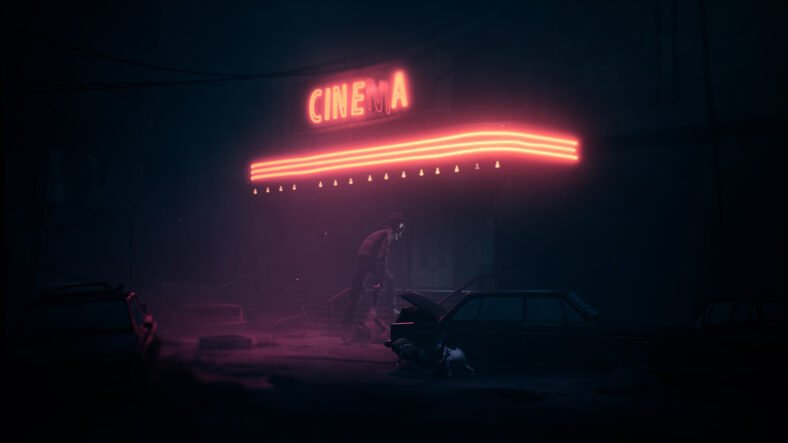
Theatre Area & Mask
After this encounter, go upstairs and cross through a room that looks like a stage, where a large pig hangs from a rope. Continue through the bottom-left door.
As soon as you enter the next room, you will see a couch in front of you. Sit on it to get Rest Your Legs 9.
Continue through the corridor. Pull a wall lever to open the way forward and enter the next room on the left to continue the story. Defeat the two enemies inside.
Before leaving this room, look at the wall ahead to collect Poster 11 (Secret 25).
Mask Hidden in the Corridor
In the following section, you will face several waves of enemies. After clearing them, you need to squeeze through the gap, then go through the door.
You will reach a hallway with broken floorboards. Move downward toward the bottom edge of the screen until you find a tight space in the wall you can squeeze through. Inside, you have to interact with a plant on the ground to get Mask 9 (Secret 26).
Return to the hallway, carefully jump across the damaged floor, and enter the door on the left.
The Dark Room
You will enter a dark room filled with sleeping enemies. Crouch and move slowly. Do not step on any enemies or touch them, or they will wake up and kill you instantly.
One enemy is sleeping on top of a table with his hand hanging down. Walk around the right side of the table to avoid touching his hand.
At the back of the room, use the crowbar to open the door quietly. This will not wake the enemies as long as you don’t step on them.
In the next area, drop onto a wooden plank. Your partner must stand on the right side of the plank to balance it while you jump across on the left. If they don’t stand there, the plank tips over and you fall.
Once across, push the bookshelf down so your partner can follow. Then enter the door on the left. You will find yourself in a room with three enemies and a large hole in the middle with a rope hanging down. Defeat all three enemies, but do not interact with the rope yet.
Coffin Before the End
Before touching anything in this room, go through the bottom-left door. Inside, you will find Coffin 4 (Secret 27). Collect it now because interacting with the rope in the previous room will end the chapter.
Go back to the rope room. Use the wheel on the right side of the stage area to raise the body hanging from the rope. After lifting it, interact with the body to finish the chapter. This will also unlock the story-related trophy “It’s a Trap!”
That is all for this guide. If you need additional help with this game, make sure to check out the additional guides linked below:
- Reanimal Secret Ending Guide – How to Unlock, Coffin Locations
- Reanimal Chapter 5 Walkthrough Guide – How to Complete
- Reanimal Chapter 6 Walkthrough Guide – How to Complete
- Reanimal Chapter 7 Walkthrough Guide – How to Complete
This concludes our Reanimal Chapter 4 Walkthrough Guide. If you want to add anything to this guide, feel free to use the comments section below.