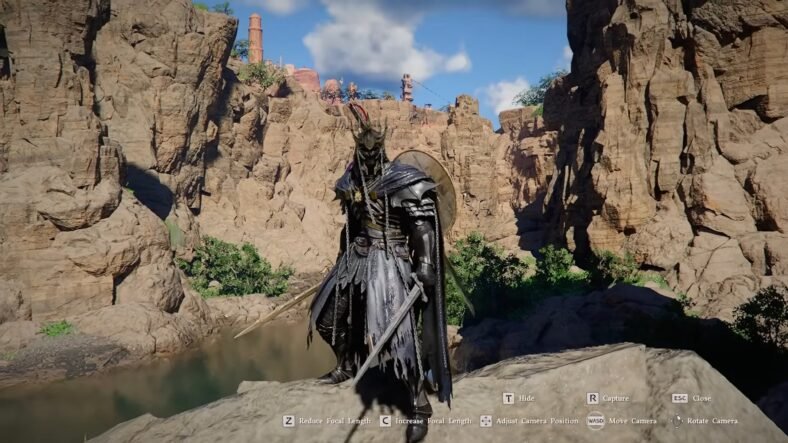
This Reanimal Chapter 2 Walkthrough Guide will help you clear the second chapter of the game and find all of the collectibles in it. It lists all secrets, masks, posters, critters, hidden statues, coffins, and Rest Your Legs locations. Following this guide ensures that you not only complete the level easily but also find all of the collectibles in it easily.
Chapter 2 Walkthrough Guide – Reanimal
As you enter the town area, walk forward until you reach a large hole blocking the road. Check the trunk of the car on the left, then use the car to jump across. Continue through the ruined house ahead and interact with the large shutter door on the left to proceed.
Mask 4 (Secret 9)
You will enter a strange room filled with mannequins. Behind the counter on the left side, there is a hole in the wall you can squeeze through. Inside this hidden space, you will find Mask 4 (Secret 9), the pig mask.
Return to the mannequin room and knock the mannequins over. Pick up one of their heads and throw it at the front window to break it. Climb through the broken window to continue.
To the right, you will see an ice cream cart blocking part of the way. Get inside and push it forward to clear the path. Take the right path beside it to reach a plaza.
On the right side of the plaza, go through a damaged house and follow the alley upward. Jump over the fence at the end to find a pair of wire cutters behind it. Use the cutters to open the locked fence door, then return to the plaza and head into the cinema on the left side.
Poster 4 and “Rock ‘n Pop” Trophy
As soon as you step inside the cinema, head to the bottom-right corner. You will spot Poster 4 (Secret 10) on the wall. Climb onto the nearby shelf to reach it. If you are holding the wire cutters, put them down first before interacting with the poster.
In this same room, pick up the rock lying on the floor and throw it at the popcorn machine to unlock the “Rock ‘n Pop” trophy.
After that, grab the wire cutters again and cut open the chained door on the left side. Go through and squeeze between the cinema seats until you reach the left exit. Continue forward and leave through the front door to reach an alley.
Near the locked door in the alley, squeeze through the gap in the wall. Move through the next room and take the door in the back-left corner.
Playground – Rest Your Legs Spot and Poster 5
You will step outside into a playground. In the center, there is a couch. Sit on it to complete Rest Your Legs 4. There are other objects you can sit on in this area, but only the first one you choose will count, so make sure it is the couch.
To the right of the couch, check the fence behind the slide to find Poster 5 (Secret 11).
Move forward to an area with dumpsters. Push the dumpster near the shutter door to reveal a vent, then crouch through it.
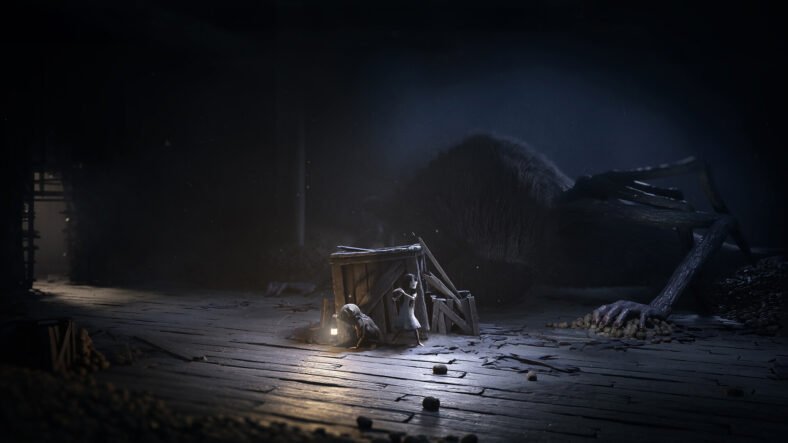
You will fall into a basement where a large enemy is ironing clothes. Wait until the washing machines make noise, then carefully crouch through the water behind him to reach the vent. If he reacts, hide inside the washing machines.
In the next room, stay hidden behind bathtubs. When the enemy enters, circle the tubs quietly so he never sees you. Wait until he unlocks the door on the left and leaves. After a short pause, follow him into what looks like a prison area.
Prison Area – Rest Your Legs and Crowbar
In the prison hallway, sit on the chair on the left for Rest Your Legs 5. There is also a toilet at the end of the hall, but if you’ve already used the chair, the toilet won’t count.
Crouch through the hole in the nearby left cell and interact with the body inside to pull out a crowbar. Wait until the big enemy exits the prison area. Use the crowbar to open the first cell on the right and free the trapped NPC.
Now, retrace your steps back toward the playground. The enemy is no longer patrolling inside, so you don’t need to sneak here.
Outside, the big enemy is digging through a dumpster. Stay crouched and hide behind it, moving along as he shifts it. When he turns away with a body in his hands, slowly move back toward the playground entrance while staying behind cover. Go to the left.
In the next room, hide under the long center table. The enemy will search underneath. Your NPC companions will shift automatically and stay aligned with them to remain hidden. Once he leaves, use the crowbar to force open the next door.
Cinema Return and Rest Your Legs 6
Go back inside the cinema and enter the first door on the left to reach the projector room. Pry open another door using the crowbar.
In the hallway beyond, sit on the toilet on the left to complete Rest Your Legs 6. Then continue forward and exit the cinema building.
Critter 1 and Mask 5 (Secret 12)
After leaving the cinema, move toward the broken building on the right. A critter hiding under an orange cone will run away. Chase it toward the bottom-right section of the area, where you will see a door blocked with wood. Open it and defeat the critter, then pick up the orange cone from its body.
Go back through the damaged building to the alley where you previously found the wire cutters. The big enemy will rush toward you; quickly run inside to avoid him. When you return to the alley, he will be gone.
Use the crowbar to open the gate at the end of the road. Jump down into a gas station area and interact with the fuel can placed on a large body between the pumps. This triggers a cutscene, followed by a wave of crawling enemies.
Run toward the bottom of the screen and avoid the crawlers while crossing the parking lot. In the lower-right corner, climb over the car leaning on a fence and jump across.
Boss Encounter and Trophy
Quickly head to the ice cream truck parked near the cinema and pour the fuel into its tank. Enter the truck and begin driving forward down the road.
Eventually, you will crash into the big enemy blocking your path. While inside the vehicle, he will try to grab you through the window. Stay crouched the entire time and repeatedly hit his arms and face with the crowbar. After enough hits, he will finally release you.
This ends the chapter and unlocks the story-related trophy Save Our Skins.
That is all for this guide. If you need additional help with this game, make sure to check out the additional guides linked below:
- Reanimal Secret Ending Guide – How to Unlock, Coffin Locations
- Reanimal Chapter 1 Walkthrough Guide – How to Complete
This concludes our Reanimal Chapter 2 Walkthrough Guide. If you want to add anything to this guide, feel free to use the comments section below.