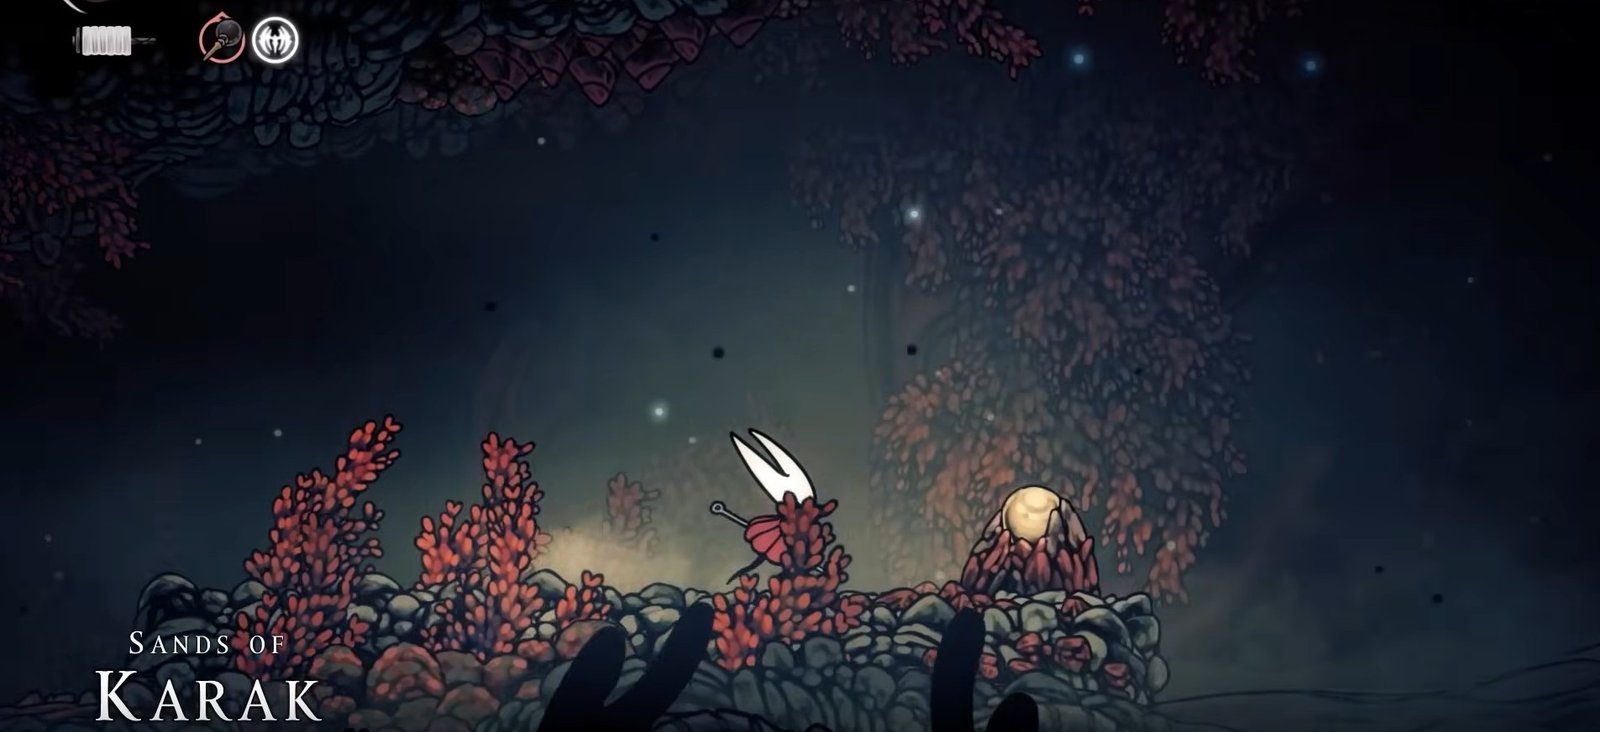
If you thought Hunter’s March was difficult, wait until you arrive in Sands of Karak because this nightmare of a region is even harder. It not only requires difficult platforming, but it is also very hard to deduce where you have to go next on the path. For this very reason, you must try to acquire this place’s map as soon as you enter it. Our Hollow Knight: Silksong Sands of Karak Map Guide details everything that you need to know about obtaining the Sands of Karak map in the game.
Sands of Karak Map Guide – Hollow Knight: Silksong
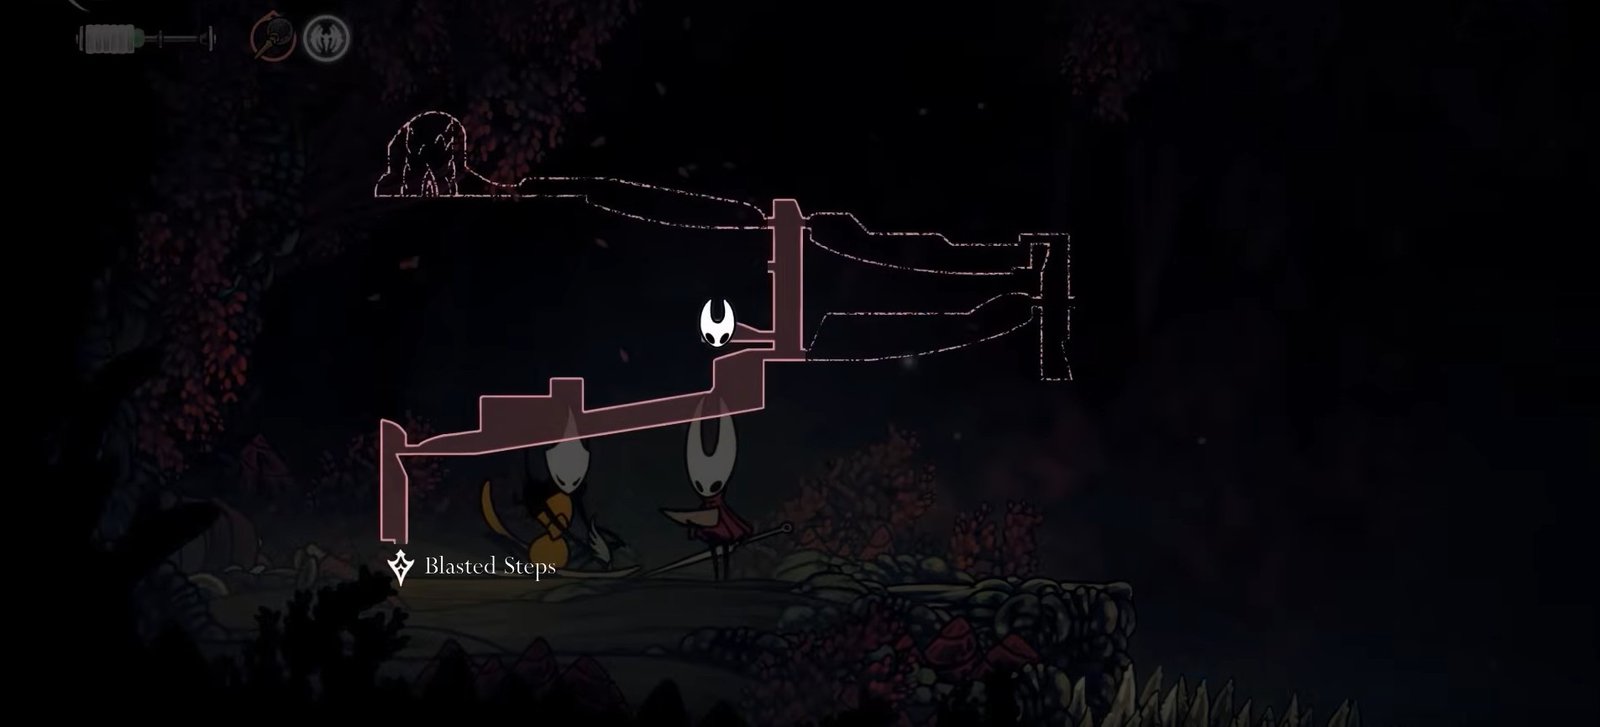
We will begin in the Blasted Steps, which connects with the Sands of Karak region through its left-most section. We have marked its location on the map below:

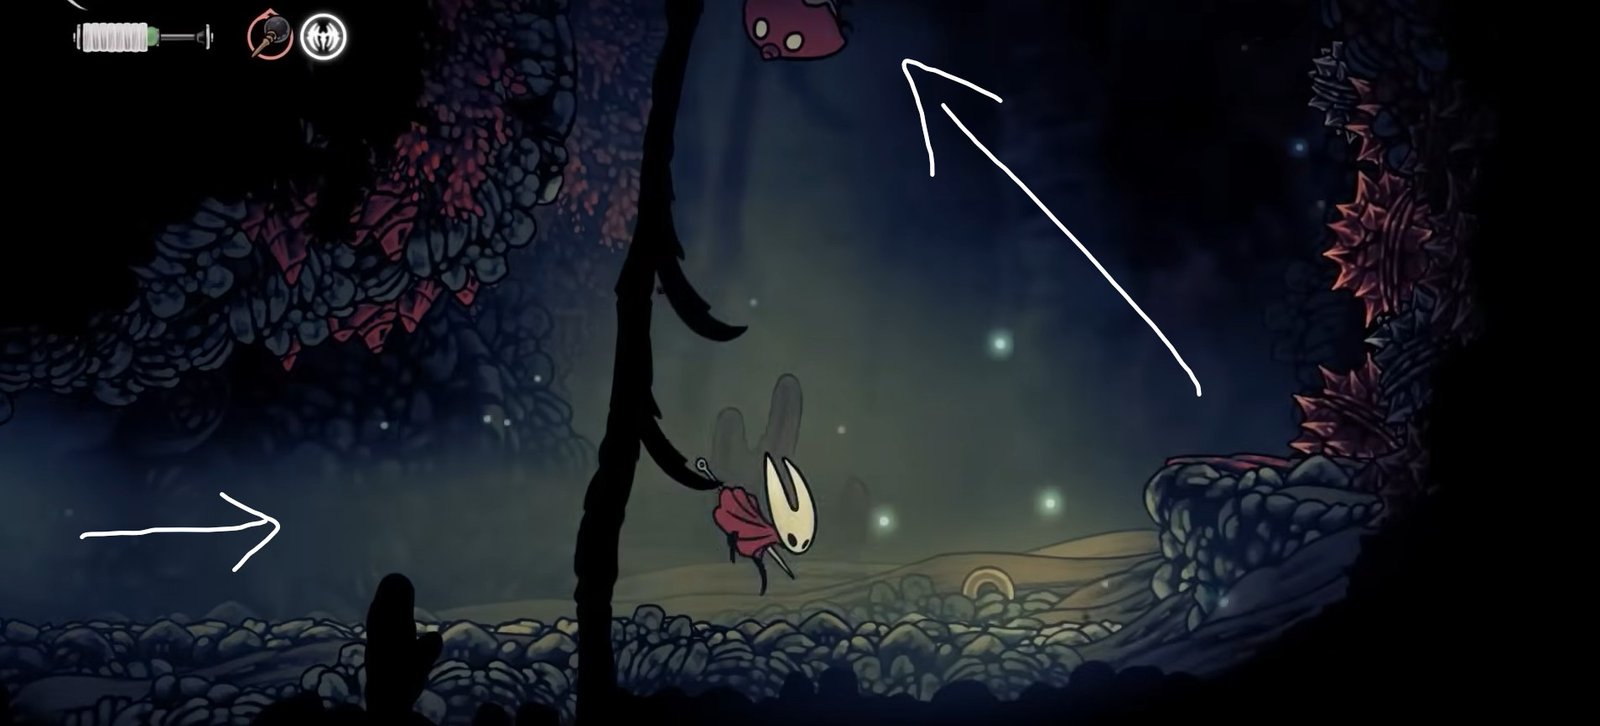
Right from the start, there is a sandstorm that reduces the visibility, and the sand in the ground has worms, so you cannot land on the ground for this particular section. Use jumps, dashes, and gliding to cross the sand sections and reach the platforms in the middle.

Keep going until you land on a platform that has another platform above it. Jump up to this platform.

Now go towards the right side, where you can bounce off a balloon-type thing to reach the platform above it.

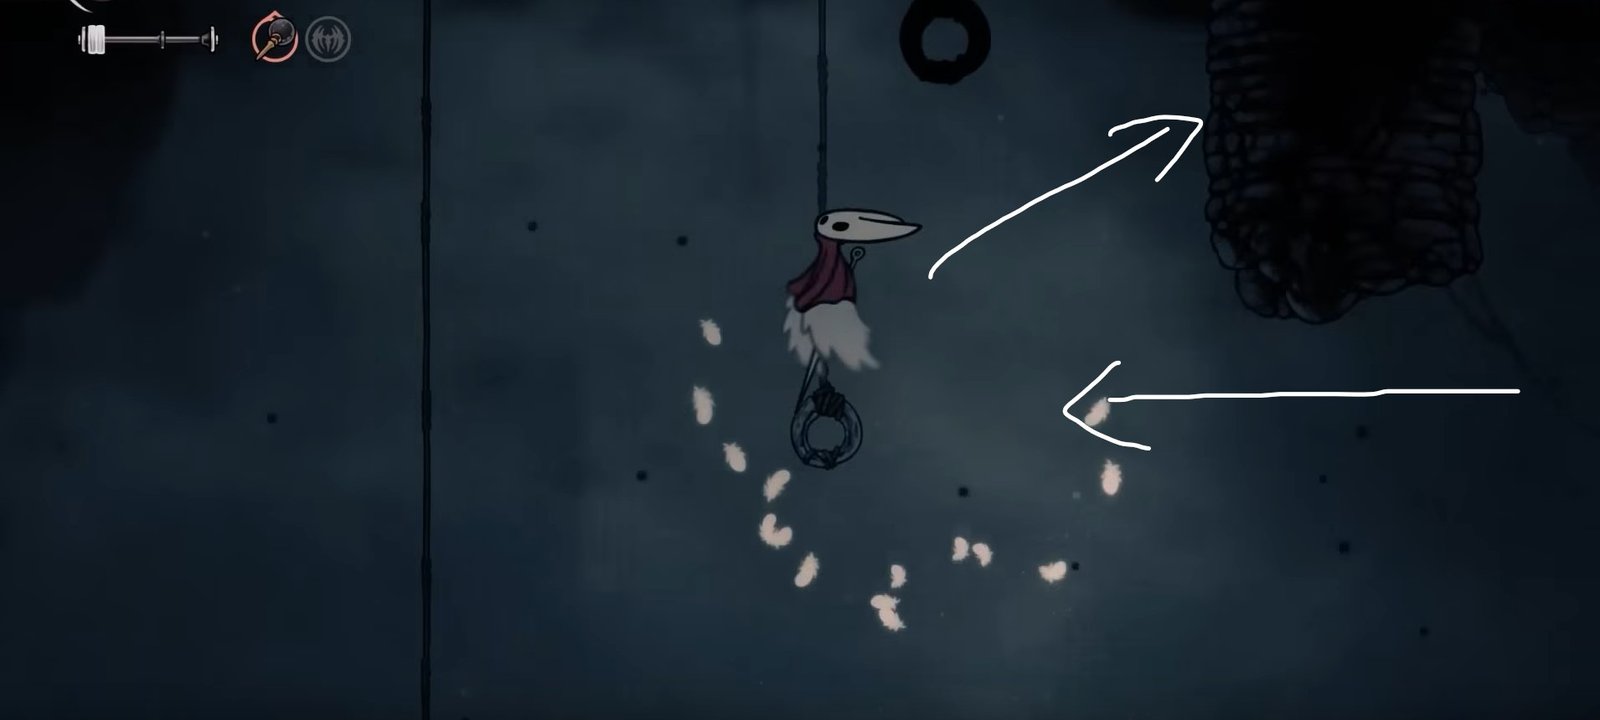
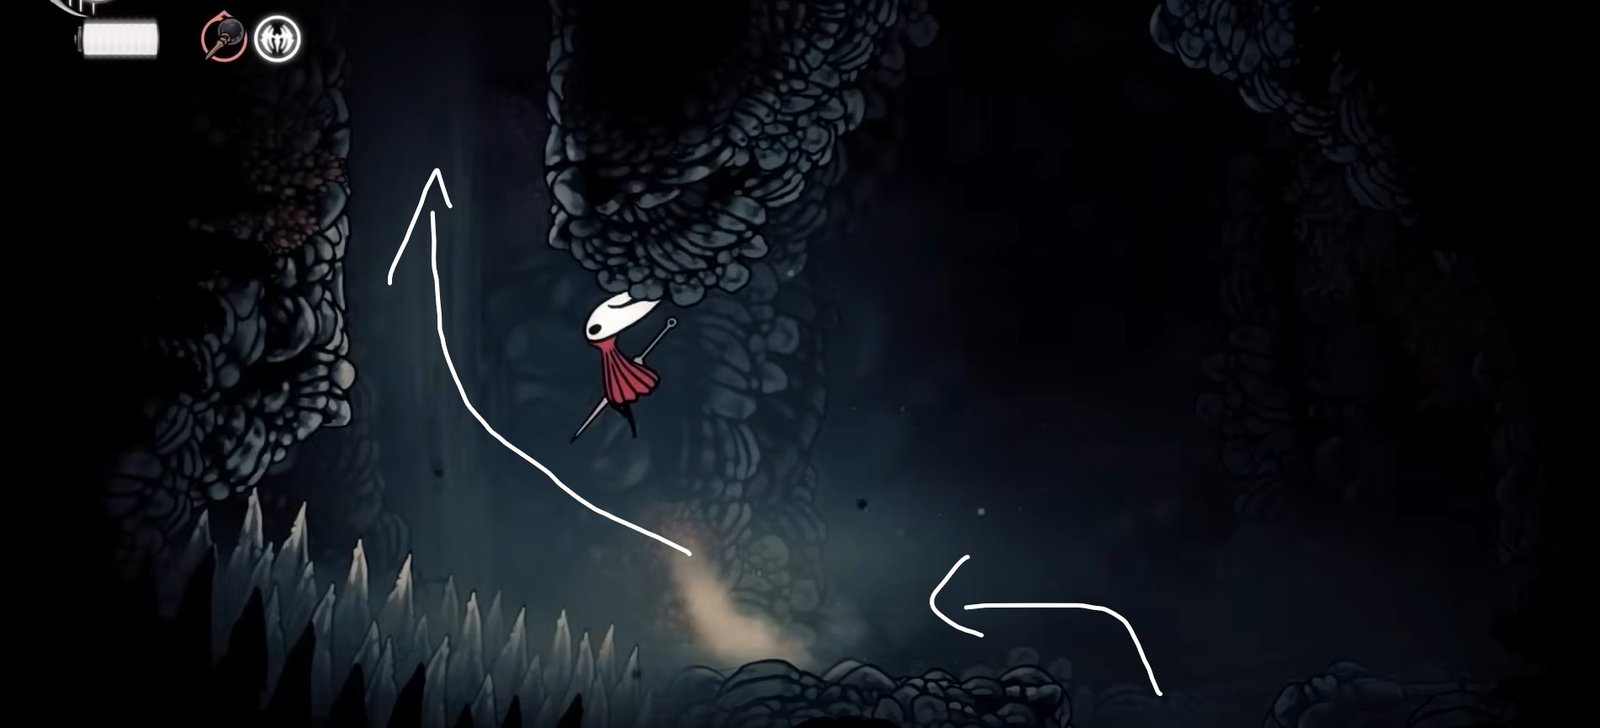
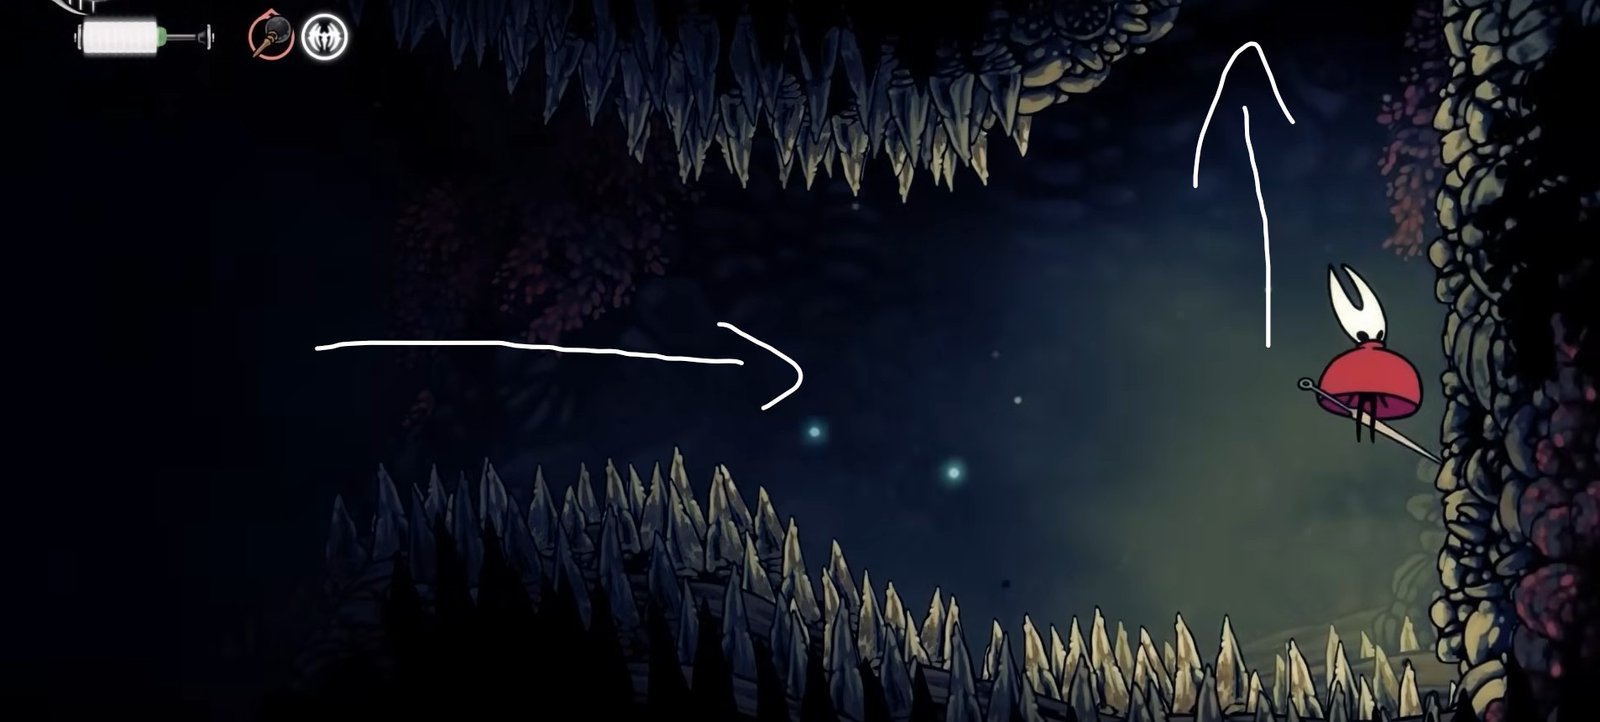
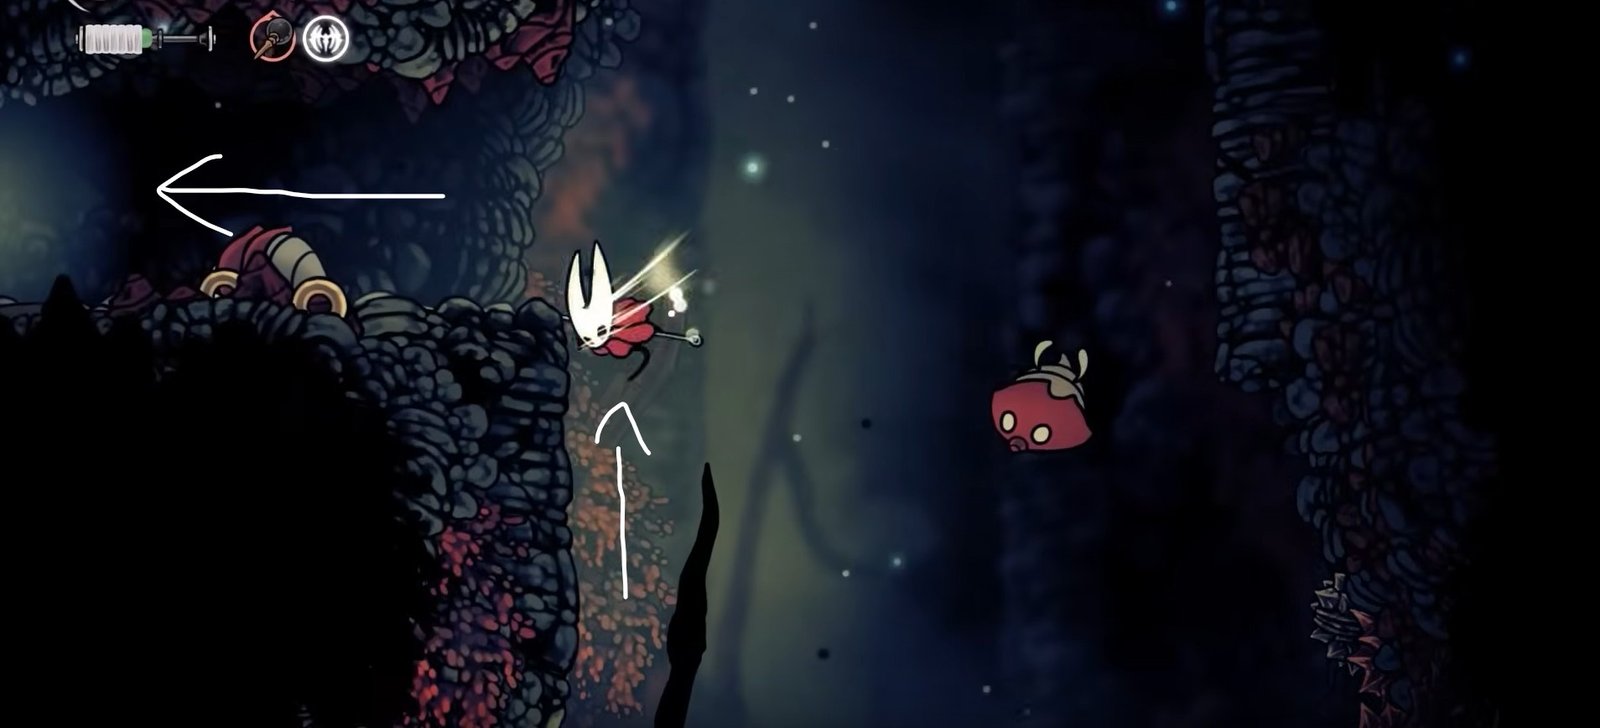
Once you reach this platform, do not enter, but rather jump on the left side towards the hook ring and cling to it. Move forward to the next ones on the left side.

After the third ring, you will come close to a wall. Now it is a tricky part. Jump off this ring and reach the wall. Cling to it, jump to its highest point, and then jump off it towards the right side and start gliding.

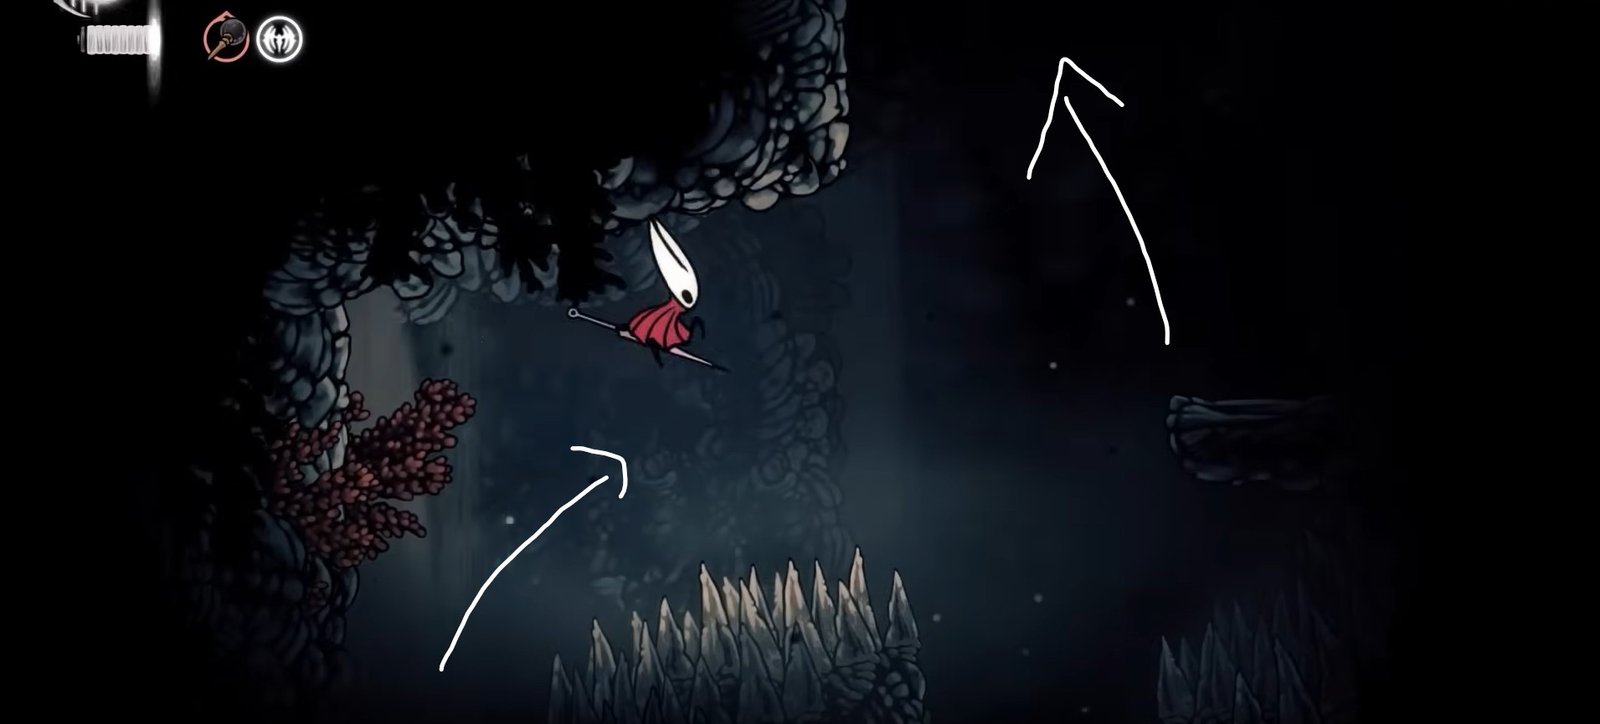
Keep gliding to the right side, and you will soon see a platform ahead. Dash towards it and land on it.

Now go right, and use the walls ahead to go further up.

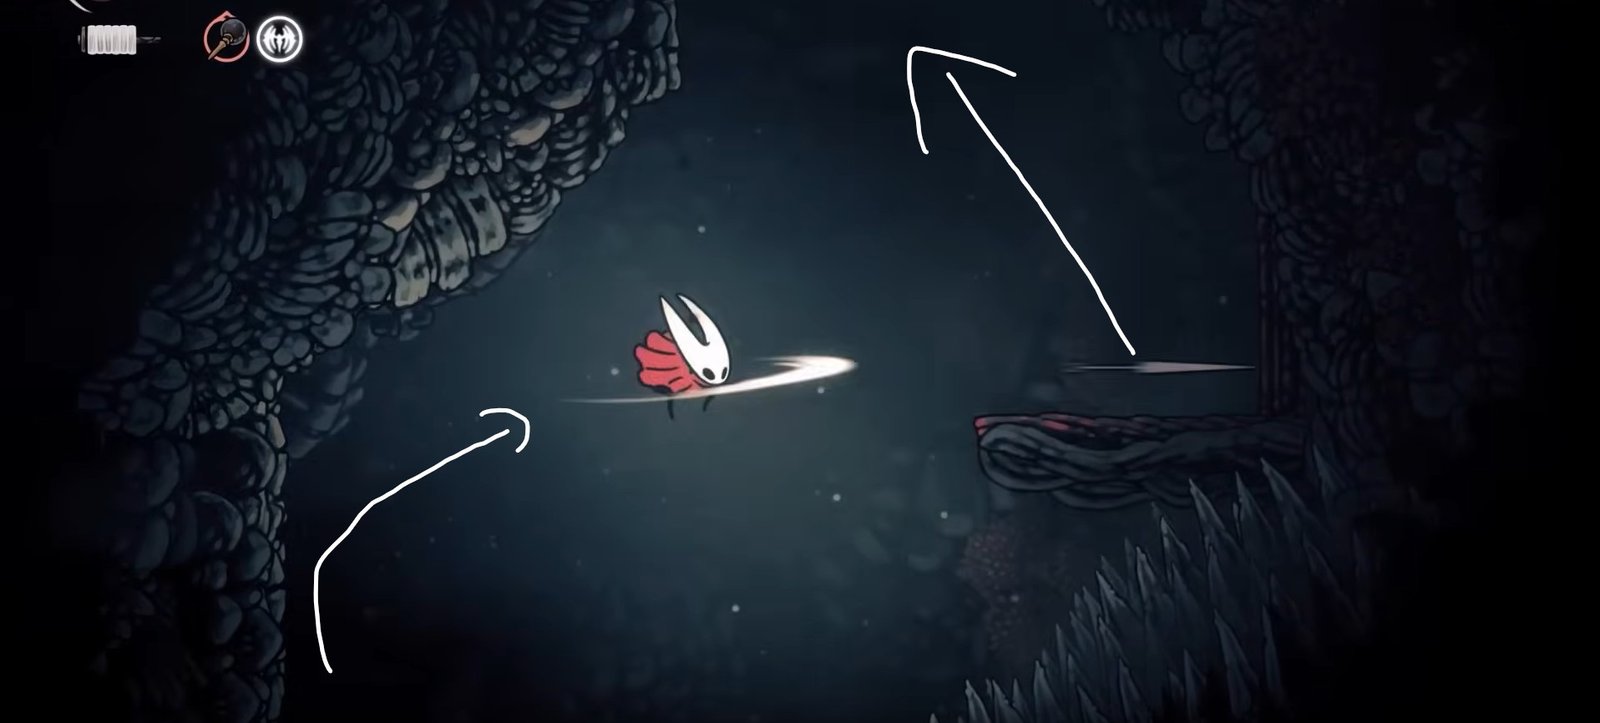
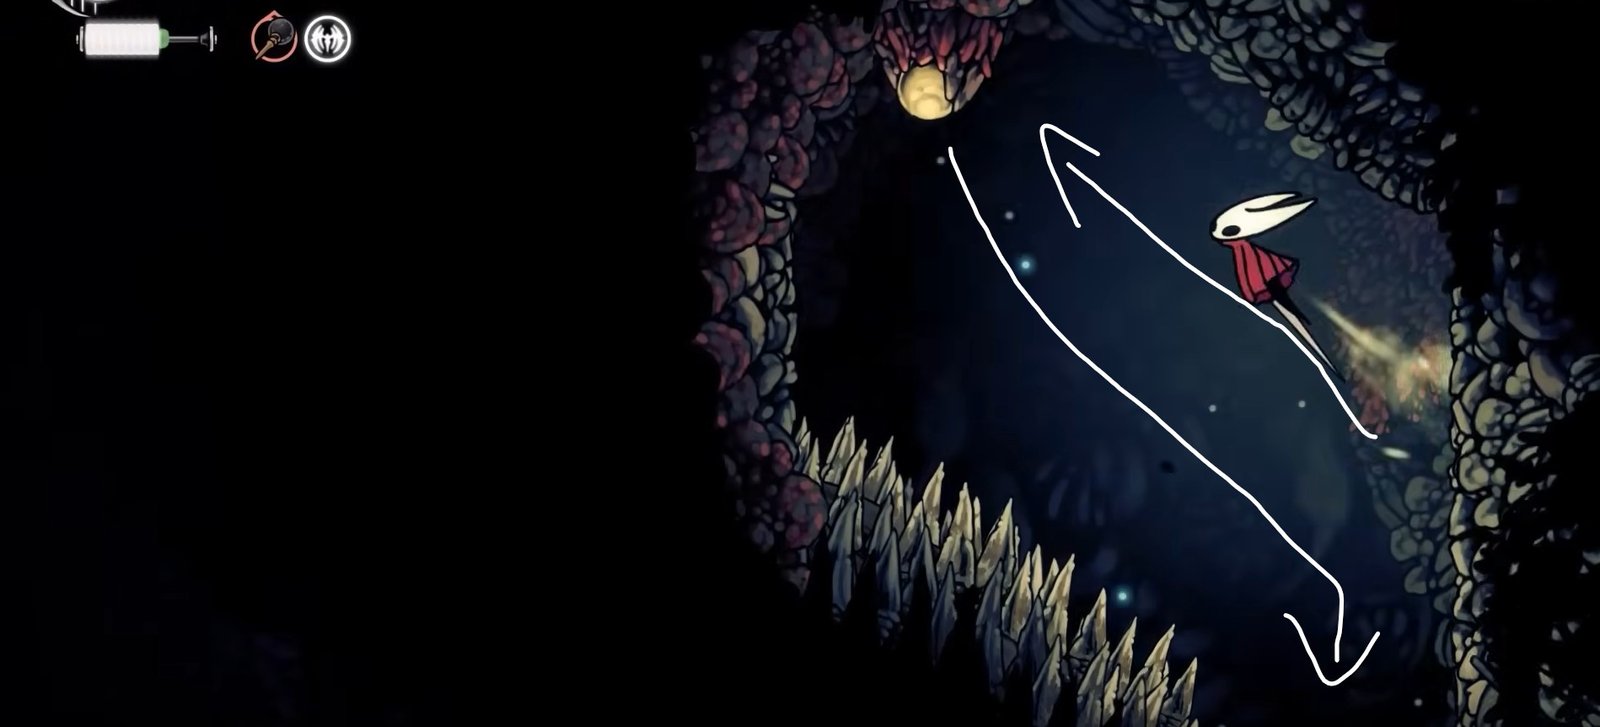
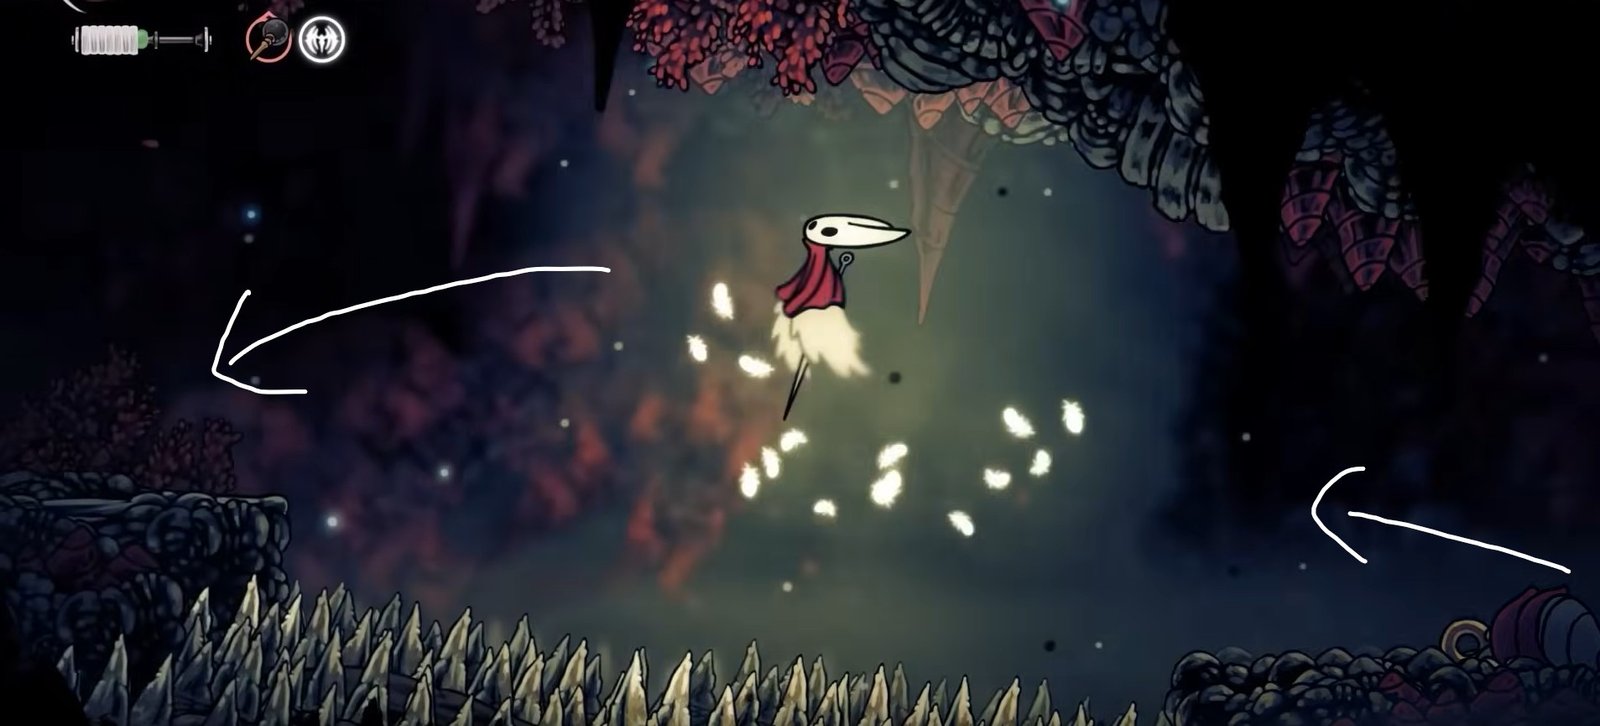
On the platform above, go left and then jump off it to glide towards the other side.

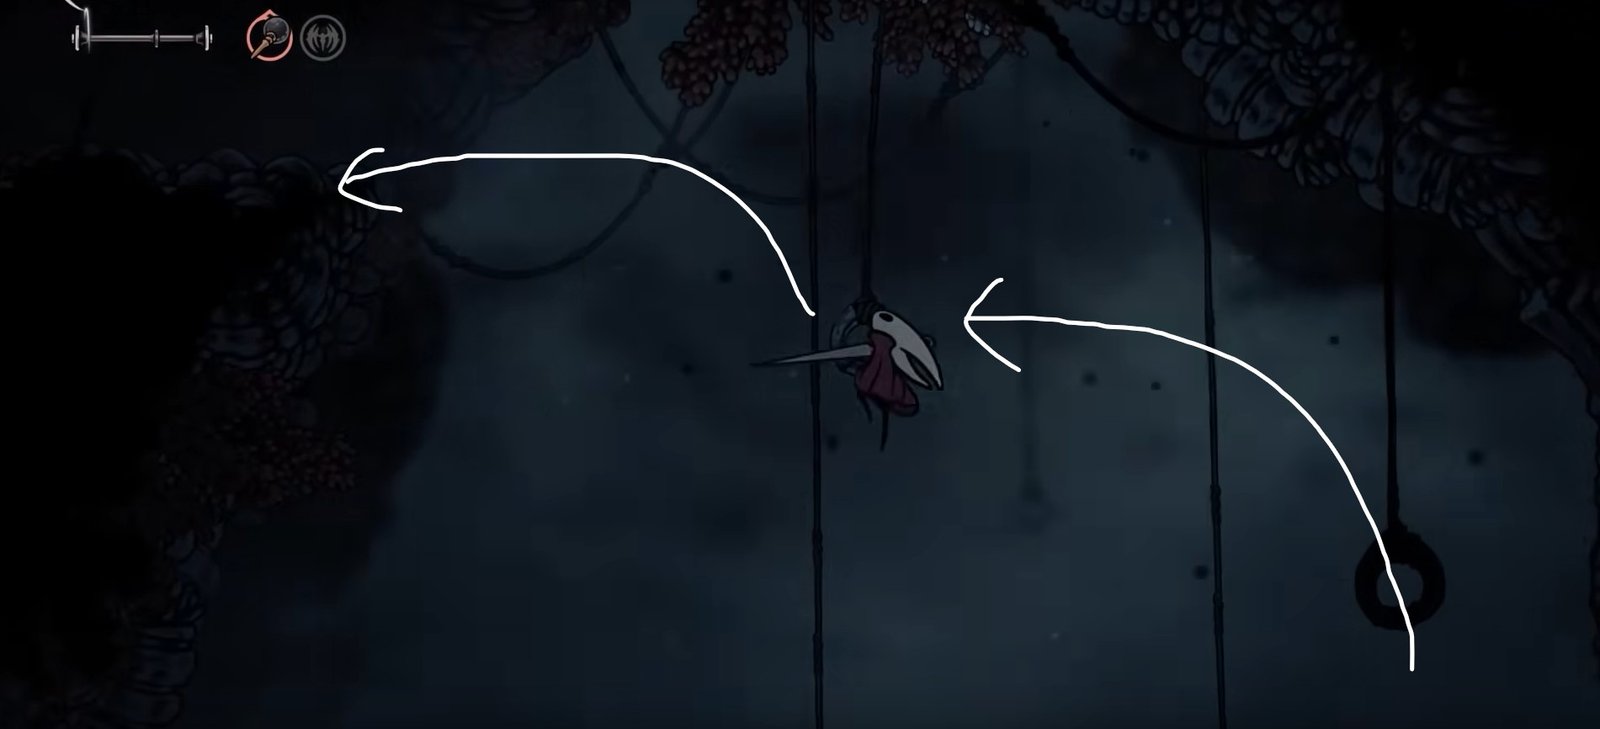
As soon as you reach the edge of the broken tower, quickly dash towards the left side and cling to the grappling hook ring ahead.
Using the wall close to it, jump further and look for the hook ahead. Cling to it using your spear.
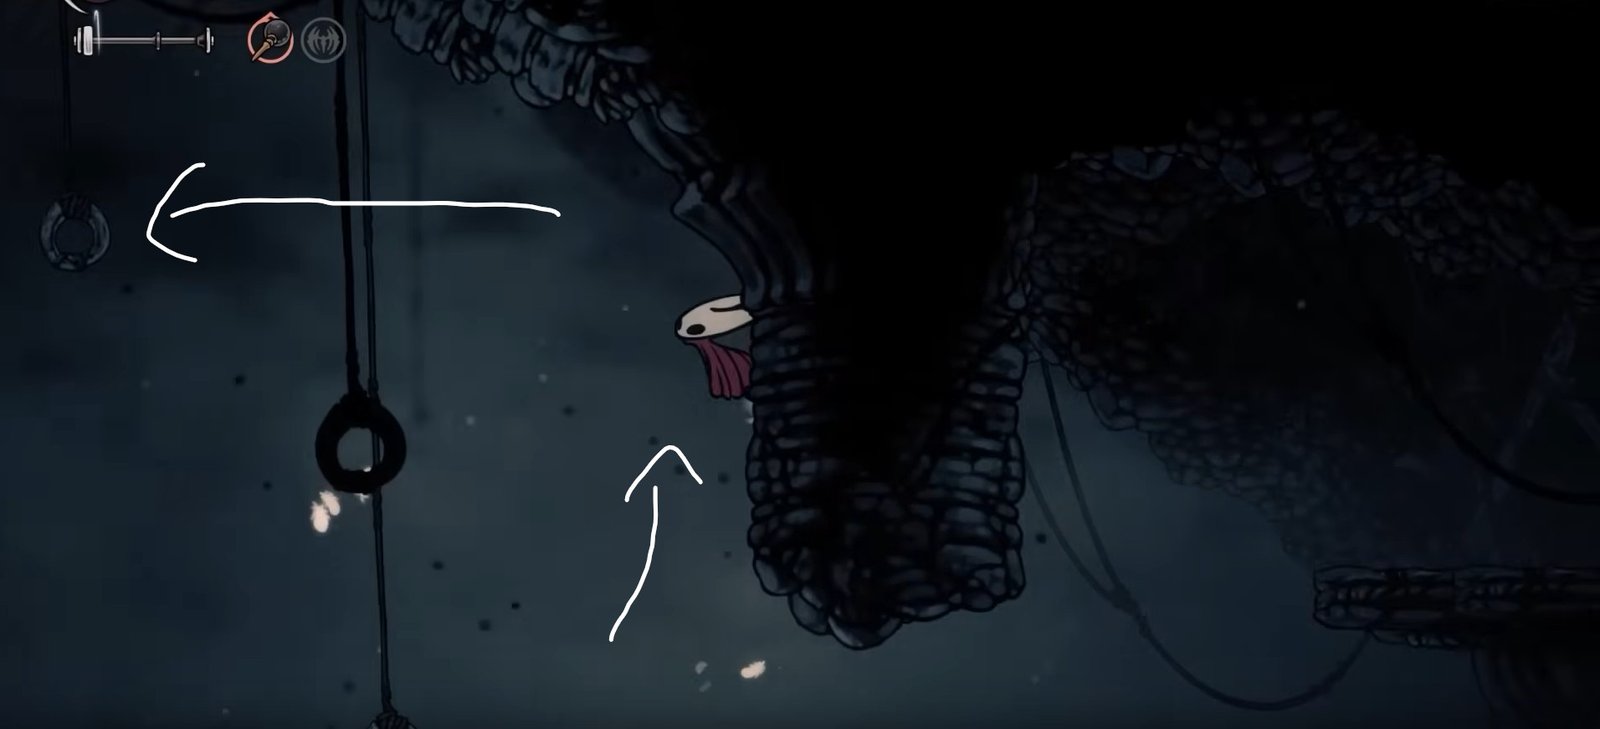
From this ring, jump up and cling to the next ring on the left, above this one. Right next to this ring is a platform. This platform is your destination. Once you land on it, move ahead and then jump above to arrive in the next area.
This area has some wall climbing as well. Move left and then jump to the wall on the left and climb up using Wall Cling.
Continue further up by avoiding the spikes. Reach the platform on the right and then move further up.
Alternate between the two walls to reach the spikes, move further up on the right side, then jump and dash towards the wall on the left side.

Continue moving up by sticking to the walls. Once you cross the spikes, move to the left side of the chamber.
From here, jump back towards the upper left wall and climb onto the platform. There is another platform right above it. Climb to it and then go right into the next area. The sandstorm will return at this point.
In this new area, you will get the notification of Sands of Karak. Move right and you will come to a ball clamped in some rocks. Hit it, and it will open a path ahead for you with some platforms to jump on. Use these platforms to move further right.
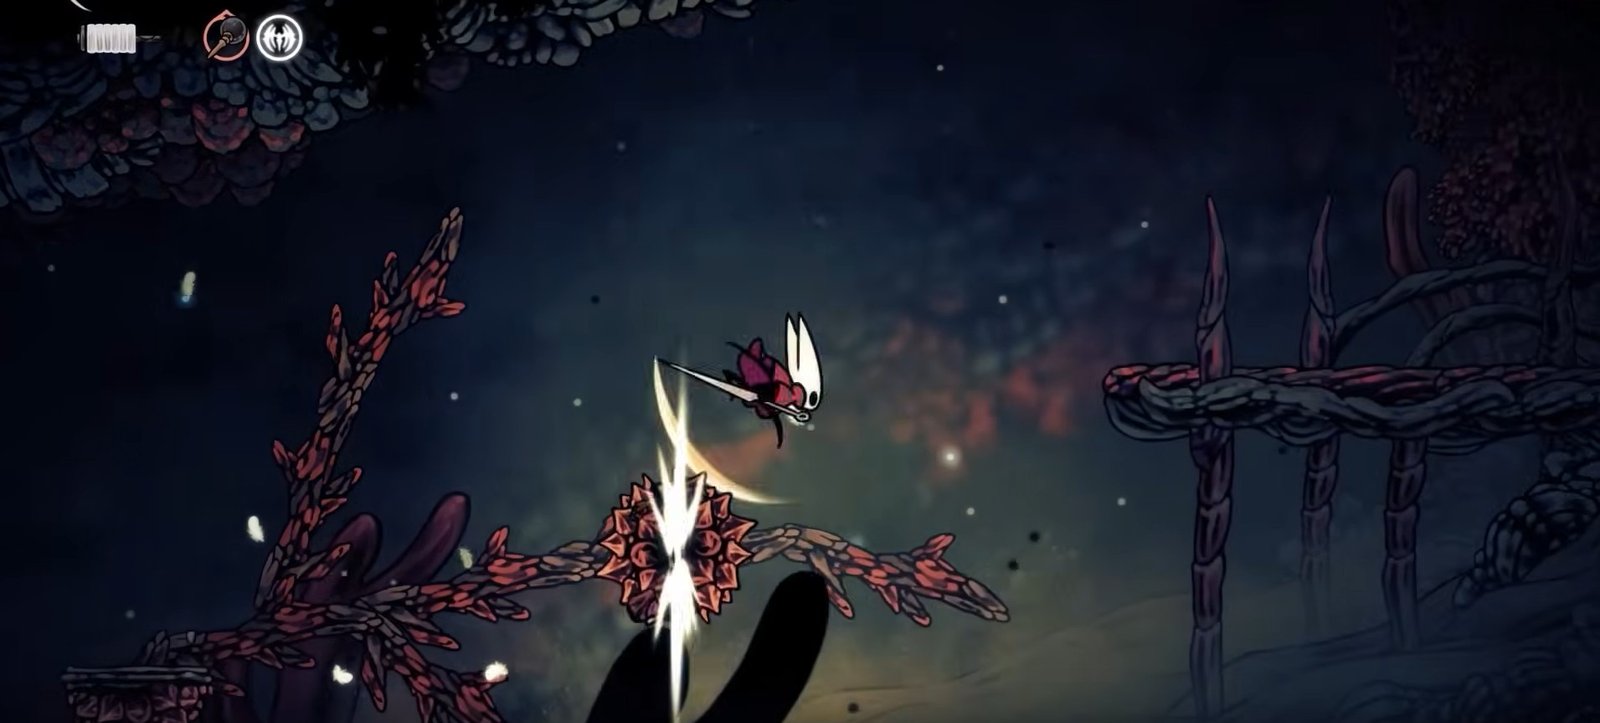
The next few sections will continue like this. On these branches, sometimes you will get a spike ball instead of a platform, so use your dive attack to bounce up off them and proceed. Keep going to the right side.
Some will have walls, so just use Wall Cling and jump between them to move ahead.
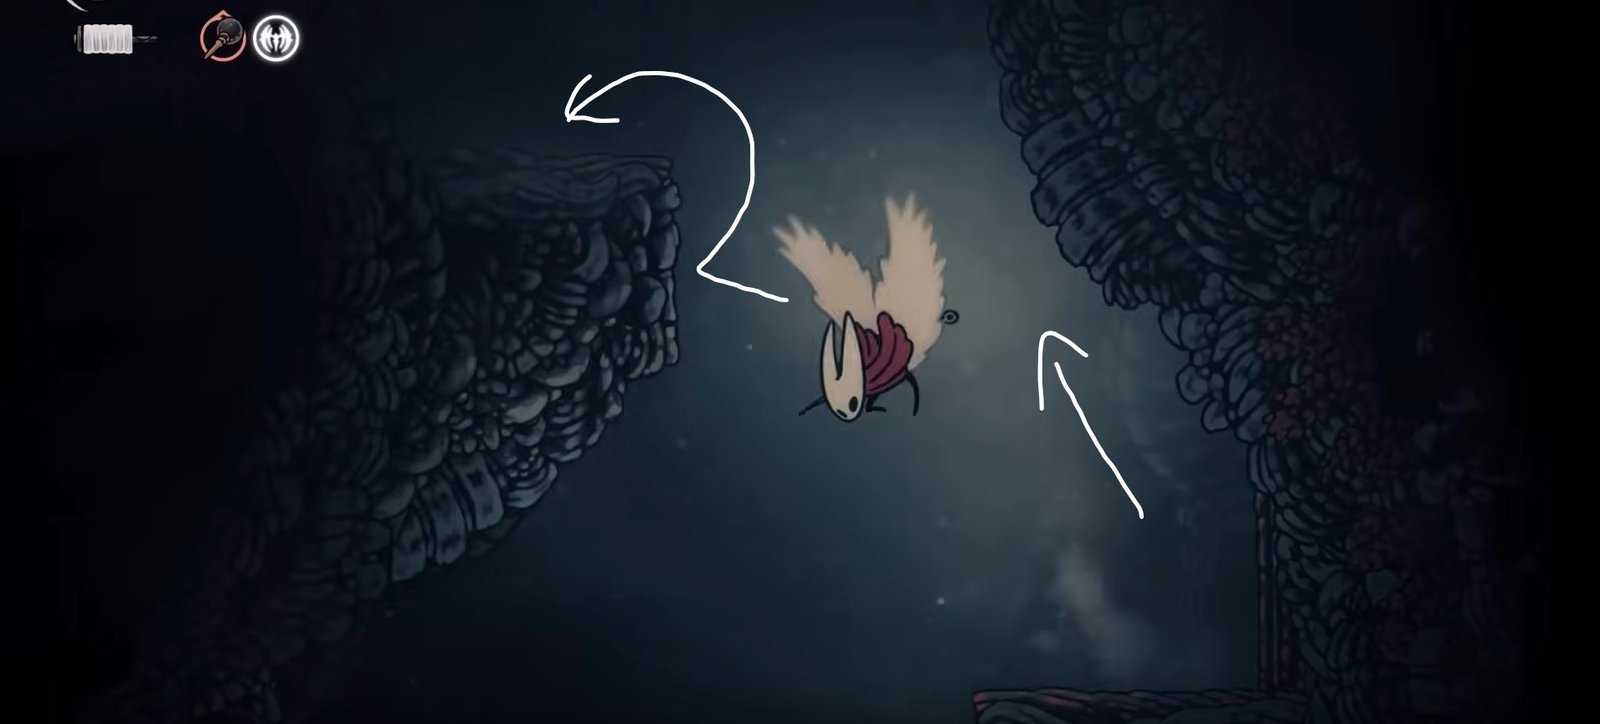
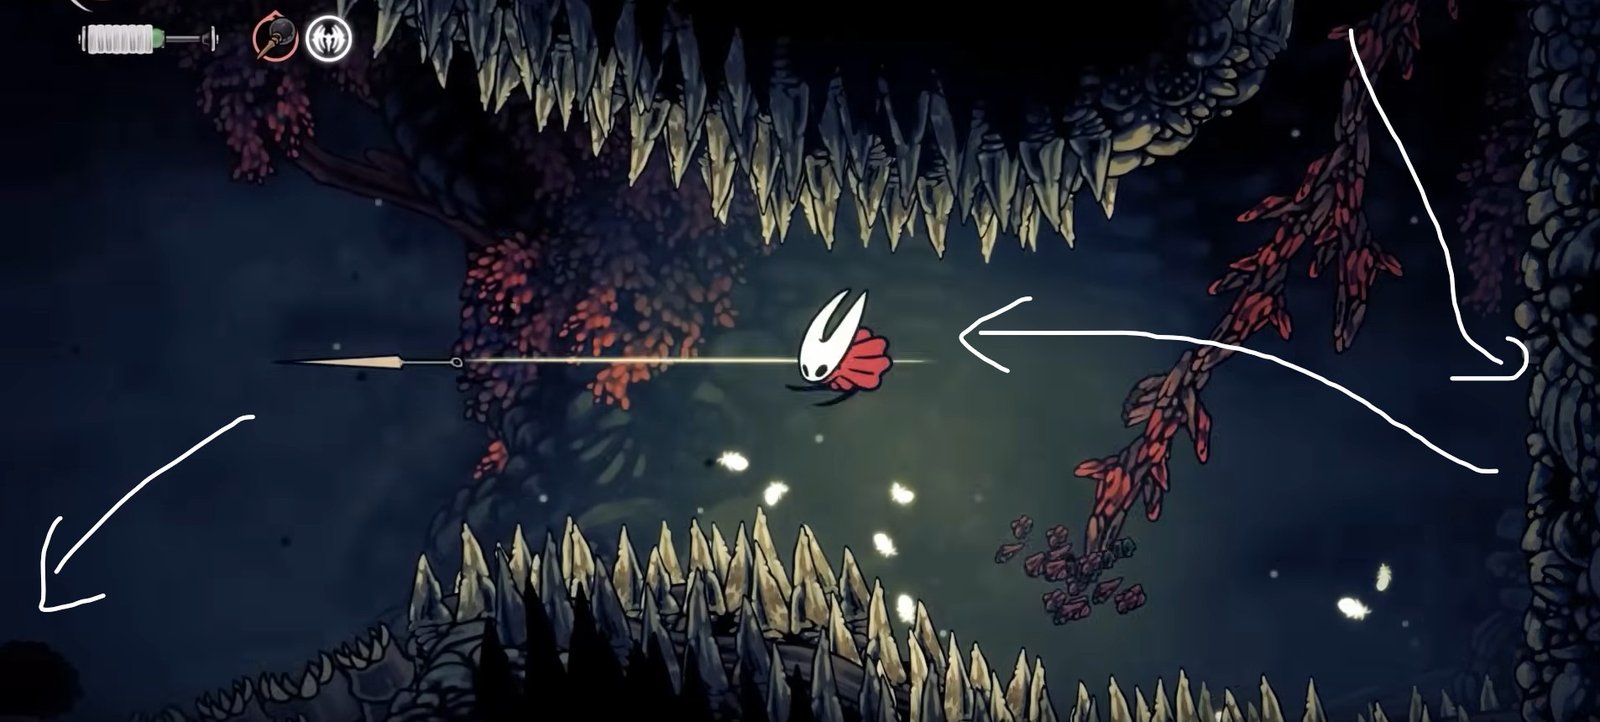
When you reach the end of this area, you will see rows of spikes on the path ahead. You will need to dash through them and then glide to reach the wall ahead to cling to.
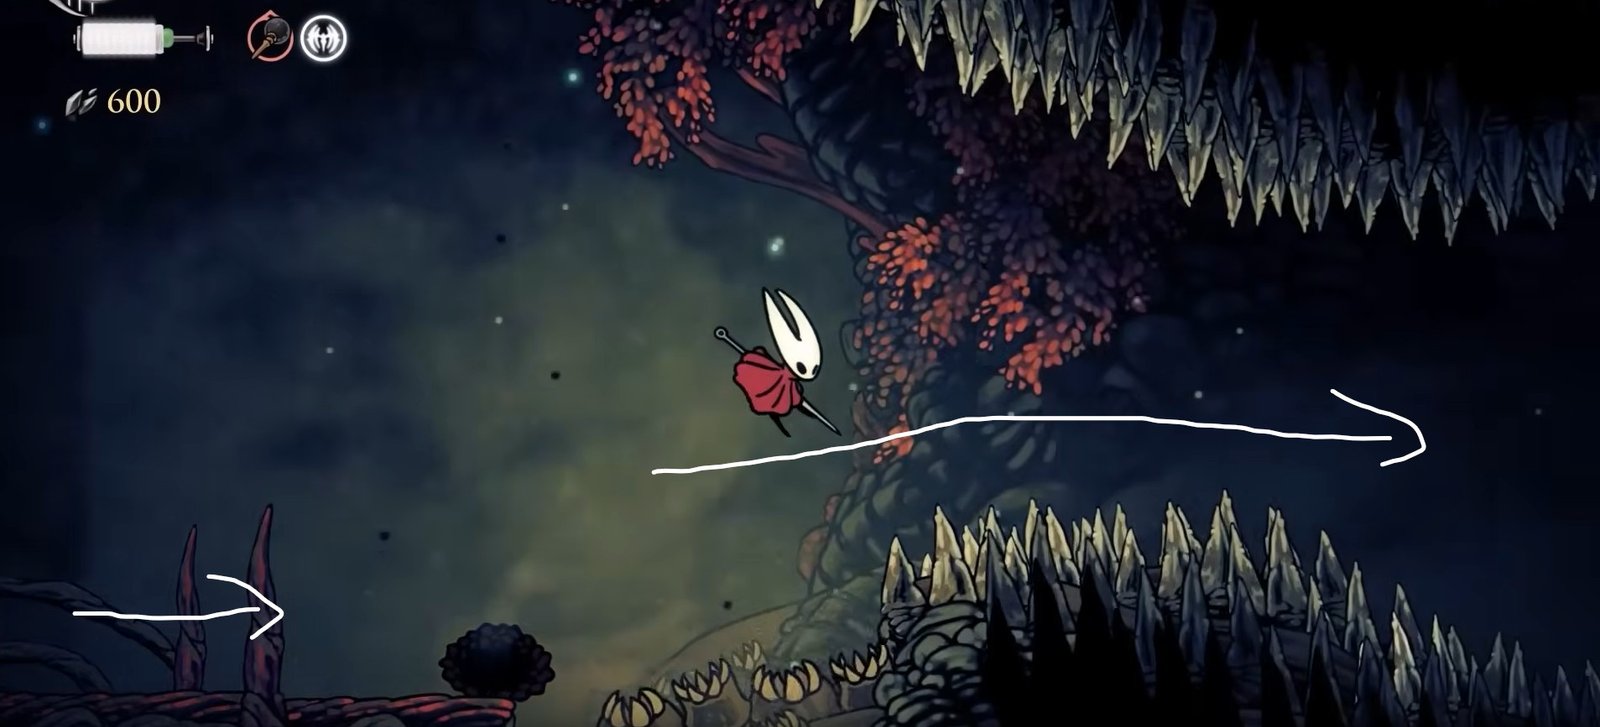
Simply glide, and you should be able to reach the wall easily.
This is not the path. You only have to hit a rock here to extend the path. Hit it, and then carefully glide and dash back to the original platform.
The branches will extend to form a new path behind you. The return journey can be a little tricky, so make sure to use the wall again for leverage.
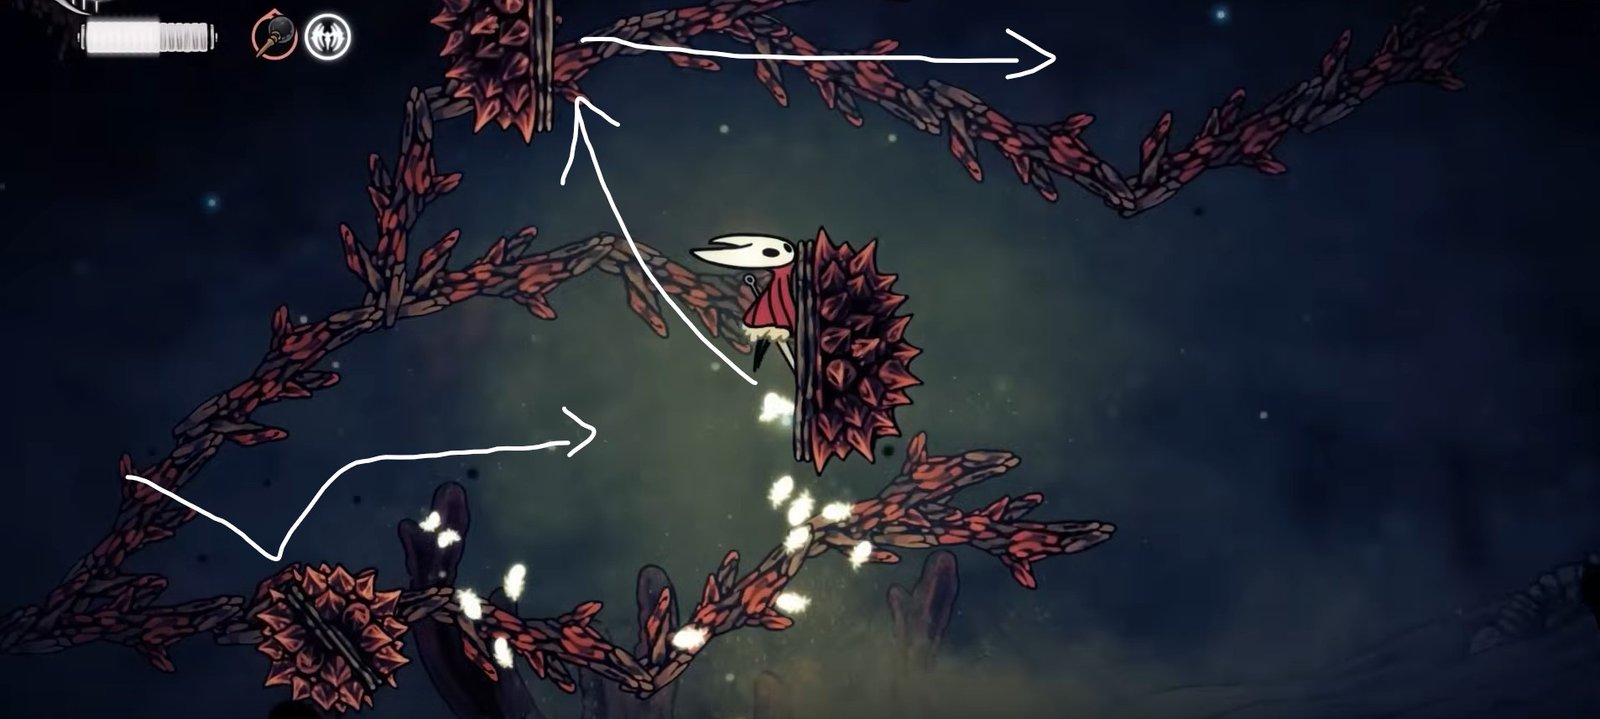
Once back on the platform, use the newly formed branches to go up while bouncing off the spike balls and using the walls to wall jump. Keep going up and then right, and you will be able to leave this chamber and progress ahead.
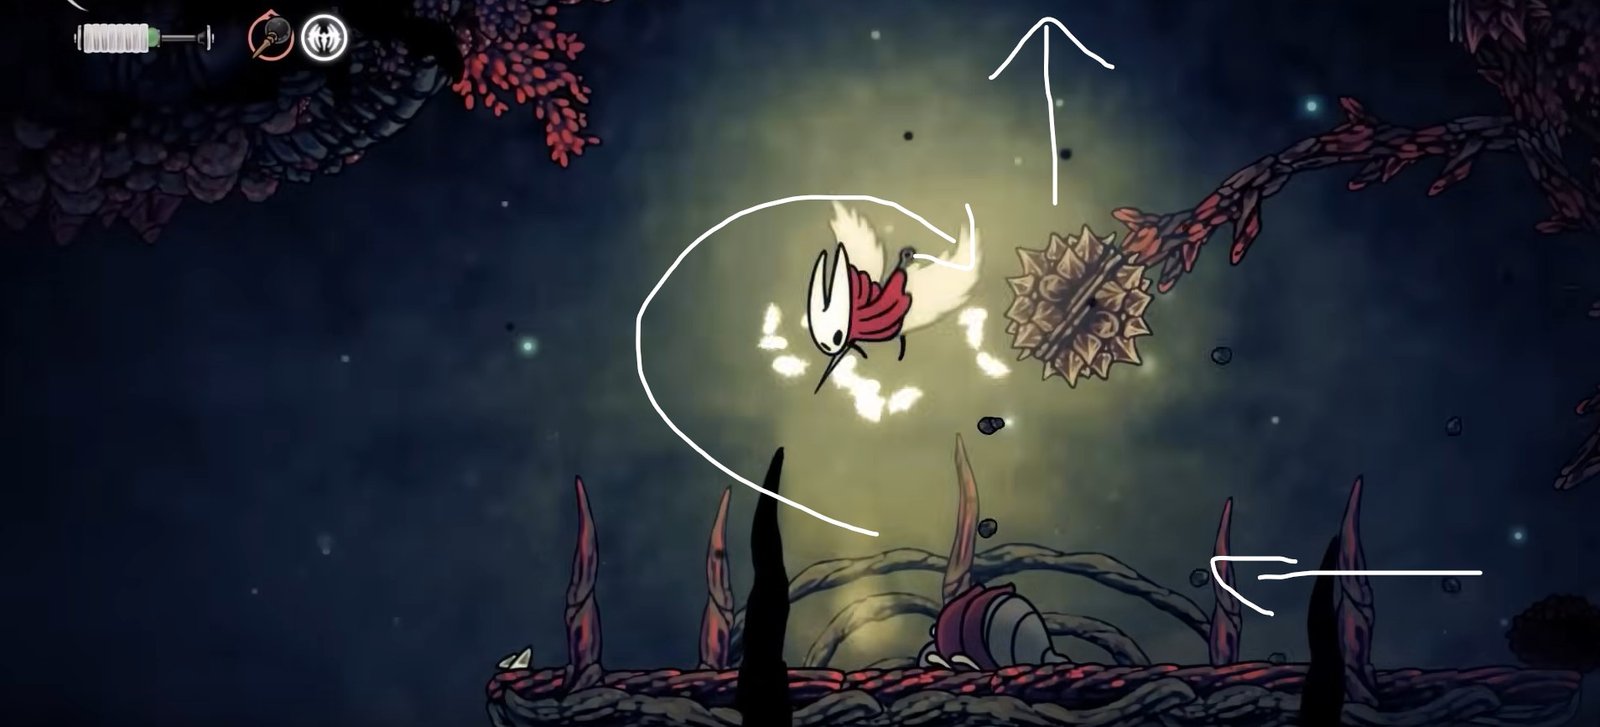
As soon as you enter the next room, you will find a Shakra’s ring on the floor, which shows that you have almost made it. Use the platform near the spike balls to gain some height, and then jump on the opposite side wall to go up. This area has a flying enemy that is very annoying, so it is best to fight it in order to make it easier to go up.
Go a little up on the left wall, and you will find the entrance to the location where Shakra is present. Climb onto the platform and go inside the room.
Inside the next room, cross the large spike chasm, and you will find Shakra.
You will need 90 Rosary Beads to buy this map.
That is all for this guide. Additional Hollow Knight: Silksong guides are linked below:
- Hollow Knight: Silksong Whispering Vaults Map Guide – Where to Find the Map in Whispering Vaults
- Hollow Knight: Silksong Sinner’s Road Map Guide – Where to Find the Map in Sinner’s Road
- Hollow Knight: Silksong Whiteward Map Guide – Where to Find the Map in Whiteward
- Hollow Knight: Silksong Mount Fay Map Guide – Where to Find the Map in Mount Fay
- Hollow Knight: Silksong Bilewater Map Guide – Where to Find the Map in Bilewater
- Hollow Knight: Silksong High Halls Map Guide – Where to Find the Map in High Halls
- Hollow Knight: Silksong Memorium Map Guide – Where to Find the Map in Memorium
- Hollow Knight: Silksong The Cradle Map Guide – Where to Find the Map in The Cradle
- Hollow Knight: Silksong Slab Map Guide – Where to Find the Map in Slab
- Hollow Knight: Silksong Guides Wiki
This concludes our Hollow Knight: Silksong Sands of Karak Map Guide. If you want to add anything to this guide, feel free to use the comments section below.