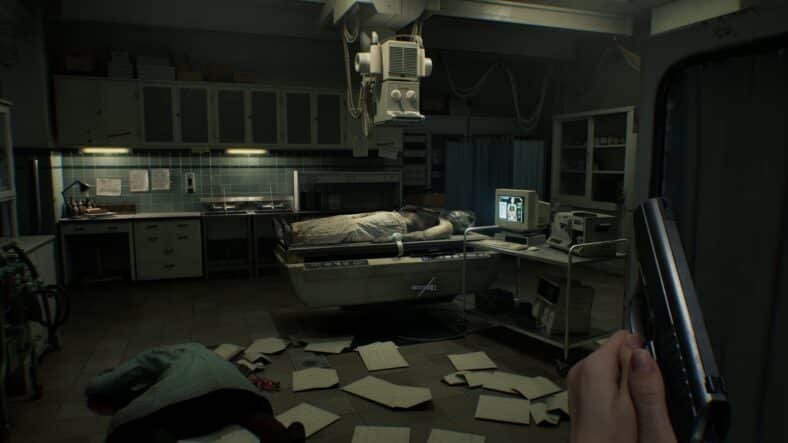
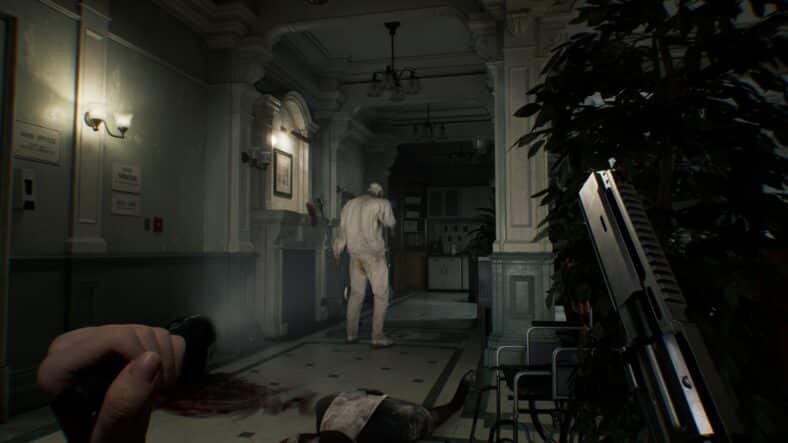
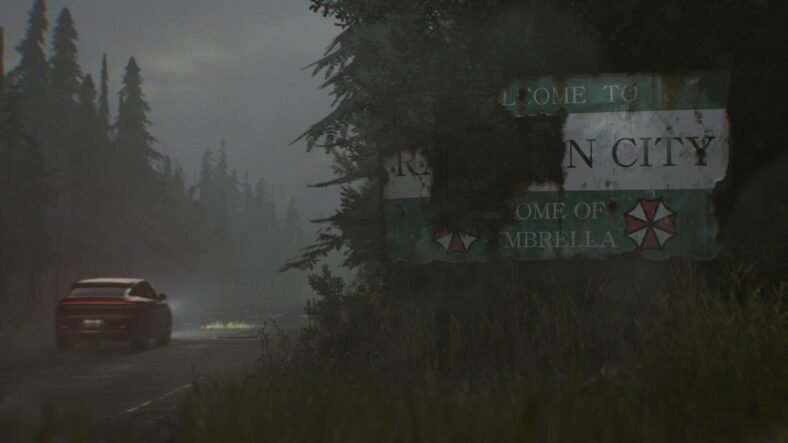
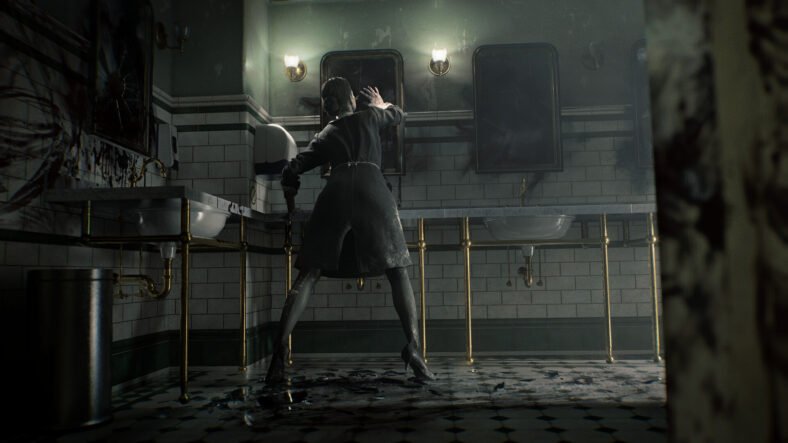
Black Ops 7 Zombies is back with the next part of the Dark Aether story. Whether you are returning from older Zombies games or playing for the first time, the launch map Ashes of the Damned can feel confusing when you see and play it first time. In this Call of Duty: Black Ops 7 Zombies Beginner’s Guide, we will see all the things that we can find in the Ashes of the Damned.
- Use Fumigators for Early Loot
Across the map, you will see orange spray canisters with a white glow. These are Fumigators. Pick one up by holding your reload button.
With the Fumigator in your hand, look for green Aether Seeds, which you will find many in Janus Towers Plaza and in the upper Ashwood area. Spray the seed when the icon appears. After spraying:
- You will hear a chirping sound
- Zombies will ignore you and start attacking the plant
- Protect the plant from zombies
The plant will turn purple and then burst, dropping loot and items like Essence, Salvage, weapons, and other useful items.
- Buy Tier 2 Armor Early
Essence is the points system you use to buy weapons, perks, doors, and armor. One of the good things to buy first is Tier 2 Armor, usually found on a wall with a blue outline, which you can buy for around 4,000 Essence.
Tier 2 Armor:
- Let you take many more hits
- Becomes more valuable as rounds get harder because, as the game progresses, zombies also become stronger.
- Unlock and Use Ol’ Tessie
Ol’ Tessie is the vehicle on the map, and it is extremely important because traveling on foot between the areas is very difficult.
You can activate Ol’ Tessie as follows:
- Go to Janus Towers Plaza, your spawn area.
- Enter the Server Room and attack the floor with melee to find T.E.D.D.’s Head.
- Interact with Ol’ Tessie after acquiring Head.
Once activated:
- You can break the east and west blocks of Janus Towers Plaza using Tessie.
- Driving between landmarks is safe because zombies spawn endlessly in the open areas.
- Zombies will attack the vehicle, so move fast.
- If Tessie gets destroyed or lost, you can respawn or teleport to it in Ashwood for about 1,000 Essence.
Tessie also becomes your Pack-a-Punch machine once you install it at Ashwood.
Pack-a-Punch has 3 upgrade levels, each stronger and more expensive than the last.
- Buy Crutch Perks First
There are 12 Perk-a-Cola Machines on the map, and each new Perk you buy becomes more expensive. So, you need to buy the most helpful ones earlier.
Recommended first perks:
- Jugger-Nog: At The Ruby Rabbit in Ashwood. Gives more health.
- Quick Revive: In the Server Room at Janus Towers Plaza. Helps restore health faster.
- Stamin-Up: In Vandorn Farm’s farmhouse. Lets you sprint faster and longer.
- Speed Cola: Upstairs in the Blackwater Lake cabin. Gives quicker reloads.
- Use The Arsenal to Upgrade Your Weapon’s Rarity
The Arsenal is a machine that talks in a loud drill-sergeant voice. You can spend Salvage here to make your guns stronger by upgrading their rarity. You can easily get Salvage by killing zombies.
You can also buy Ammo Mods, which add special effects to your bullets. For example, Napalm Burst works very well on Zursa, the zombie bears.
Using both Arsenal upgrades and Pack-a-Punch will make your weapons much stronger.
- Equip Augments
Before starting a match, open the Augment Research menu. You can research with the help of Augments. And these are unlocked by earning XP. Some make Perks stronger, some upgrade Ammo Mods, and others improve your Field Upgrades
For example, Jugger-Nog can get an Augment called Turtle Shell, which protects your health from attacks. Choose Augments that fit your playstyle.
- Learn How to Train Zombies
In higher rounds, zombies move extremely fast and can trap you easily. They can attack you in hordes and can spawn from anywhere. To avoid that, you must learn how to train them. To train them, you should do the following:
- Let zombies spawn.
- Move in curves and wait until they gather behind you.
- Shoot only when they are grouped and behind you.
This method keeps you safe, saves ammo, and makes killing faster.
Extra Simple Tips for Beginners
- Use melee in the first few rounds to earn more Essence before zombies get too fast and stronger.
- Reach the barn early to access the top floor and turn on the power to get the Pack-a-Punch Machine.
- Buy a weapon before clearing the Vandorn Farm center machine, as your initial pistol might not be enough.
- After turning on the Pack-a-Punch, unlock more paths so you have escape routes.
- Unlock at least two main guns, so you always have a backup when one runs out of ammo.
That is all for this guide. Additional Call of Duty: Black Ops 7 guides are linked below:
- Call of Duty: Black Ops 7 Ashes of the Damned Main Quest Easter Egg Guide – How to Complete
- Call of Duty: Black Ops 7 Zombies Mastery Camo Guide – How to Unlock All
- Call of Duty: Black Ops 7 Weapon Level Up Guide – How to Level Up Quickly
- Call of Duty: Black Ops 7 Zombies Augments Guide – All Augments, Where to Get
- Call of Duty: Black Ops 7 Zombies Perk-a-Colas Guide – All Perks
- Call of Duty: Black Ops 7 Zombies GobbleGums Guide – All Rarities
- Call of Duty: Black Ops 7 Zombies Field Upgrades Guide – All Upgrades
- Call of Duty Black Ops 7 Zombies Cursed Mode Guide – Challenge Mode Explained
- Call of Duty: Black Ops 7 Zombies Relics Guide – All Tier Relics, How to Unlock
This concludes our Call of Duty: Black Ops 7 Zombies Beginner’s Guide. If you want to add anything to this guide, feel free to use the comments section below.