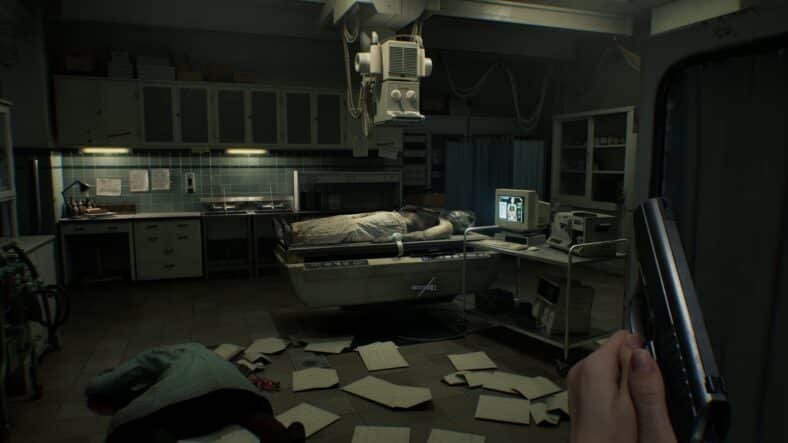
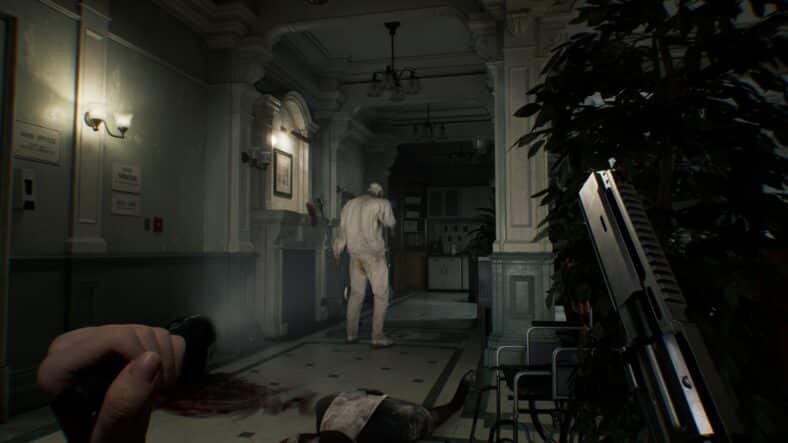
Call of Duty: Black Ops 7 launches with only one main map on day one, but it’s huge, and the Easter egg is even bigger. This quest takes you all over the map and relies heavily on your new vehicle, Ol’ Tessie, which eventually can be upgraded into powerful weapons. Our Black Ops 7 Ashes of the Damned Main Quest Easter Egg Guide details how we can complete the Easter Egg Quest.
Ashes of the Damned Main Quest Easter Egg Guide – Call of Duty: Black Ops 7
Below you will find all of the steps that you need to complete in order to complete the massive Easter Egg quest.
Making the Necrofluid Gauntlet: The Wonder Weapon
- Activate Klaus and bring him to help you collect the Aether Barrel. Take the barrel to the Vandorn Farm basement to get the Wonder Weapon.
- After Round 8, an Uber Klaus appears behind a truck northwest of Janus Towers Plaza. Kill him and grab the Stabilizer Chip.
- Go to Klaus’s cell in Ashwood and place the chip into the gate panel. Throw a stun grenade at Klaus’s head. Once free, he will stand outside where the party leader can control him.
- Then, head to Support Systems in Zarya Cosmodrome. Command Klaus to go to the broken wall panel. You must stay inside the red circle until the scan finishes. If you fail, wait for the next round and try again.
- After that, bring the barrel to each Power Pump and protect it. Move fast between pumps because the barrel’s contents decay over time.
- Return to Vandorn Farm’s basement and offer the barrel to the cube. Interact with the eye, then match the three symbols on the cube with three symbols around the map.
- Use the jump pad between Vandorn Farm and Janus Towers Plaza to see symbols clearly. These are red in color. After matching the symbols and interacting again, you receive the Necrofluid Gauntlet. Finish the lockdown by destroying red bulbs with the Gauntlet’s recall.
Upgrading Tessie and Gathering Key Items
Next up, you will need several items and also upgrade them.
Abomination Carcass – Reba’s Diner
- Kill zombies inside the diner until one drops the Freezer Key.
- Use it to open the double freezer and pick up the Abomination Carcass.
- Bring it to the garage and upgrade Tessie again.
Destroy Purple Plants
- Drive Tessie through the large glowing purple plants along the highways.
- Get out of the truck to pick up the dropped Horde Chunks from the plants.
- Only one plant drops the item, so keep trying until you get it.
Human Bones – Vandorn Farm
- Throw a combat axe at one of the hanging corpses inside the farmhouse.
- It drops a foot. Burn it with a Molotov to get the Human Bones item.
Jar of Spores – Blackwater Lake
- Grab a Jar of Spores from the kitchen shelf in the main house at Blackwater Lake.
- Then, go to the horse corpse at Vandorn Farm and interact with it.
- After two rounds, the fungus grows, and you receive Widow’s Lantern.
Ravager Eyes – Saw Trap
- Kill a Ravager at Saw Trap.
- The first Ravager killed this way drops the Ravager Eyes.
Mysterious Limb
After Round 15, Zursas spawn. Kill them using Tessie’s Beam to get the Mysterious Limb.
Activate the Mysterious Mirror
- Go to the Tailer Shop in Ashwood, and you will see a shiny mirror there.
- Get Wisp Tea or use a Gobblegum.
- Kill zombies in the room until the Wisp activates the mirror.
- Shoot the mirror while having the Necrofluid Gauntlet to get Powder of the Forgotten.
- Go to Yuri’s Lab with this powder and interact with a tray.
Solve the Pigpen Code in Yuri’s Lab
- Place all six items (Horde Chunks, Ravager Eyes, Human Bones, Mysterious Limb, Jar of Spores, and Powder of the Forgotten) into Yuri’s Lab tray to heat the beaker.
- A Pigpen message/code appears on the chalkboard above.
- Decode it, and the three decoded words must be read right to left.
- Interact with the three matching items on the table.
- A short lockdown starts; survive with limited health.
Collecting the Three Keys
For the next bit, you must find three separate keys.
Nightbird Key – Orda Graveyard
- Look for a key stuck between dinosaur skull teeth.
- Shoot it with the Gauntlet spike to pull it out. This key is the Nightbird Key.
- The key attaches to your body and deals damage; only the person who holds this can interact with the prism.
Bruin Key – Crashed Rocket
You can get this key at the following possible spots:
- Radio tower across the gap between the two edges.
- Roof with the spinning satellite.
- Left cliff between Ashwood and the Rocket site.
Shoot and retrieve with Gauntlet. You cannot use weapons while carrying this key.
Terrapin Key – Grounded Ship
You can get this key at the following possible spots:
- In an open container on top.
- Under the ship between barrels on the north.
- Inside the middle cabin, visible through the window.
Shoot and retrieve with Gauntlet. This key slows you heavily.
Unlocking the Prism
Once all three keys are collected, you now need to use these to unlock three chains on the Prism, which now appears near the Ashwood jail area. A cutscene plays, and you receive the DG-2 Turret Barrel for Tessie.
Killing Time in Ashwood
Drive to Ashwood using Tessie. At there, shoot the floating clock tower using Tessie’s turret. Shoot a shard at the clock face with the Gauntlet and retrieve it. Your Gauntlet turns purple.
Vandorn Farm
- Check the clock in the family house and stand on the floorboard with that Roman numeral. Look at the skeleton at the table until its eyes glow red, then shoot it with your powered Gauntlet.
- Collect four items:
- Teddy bear (upstairs bedroom)
- Face mask (second floor of barn)
- Chalice (cellar near bathtub)
- Pa’s Pigsticker (under table in Mystery Box shed)
Place each item in its ritual circle. Defend them during lockdown.
Zarya Cosmodrome
- Fire the charged Gauntlet shot at two spinning satellite dishes to stop them.
- A computer displays a six-letter Pigpen word.
- Convert letters to numbers (a = 0, b = 1 etc).
- Find six monitors in the Control Room and shoot the red button when their number matches the code.
Exit 115
Charge the Gauntlet and shoot the gas station roof clock. A 60-second timer starts.
Do the following quickly:
- Wake the Waitress by meleeing the diner’s cash machine, then lead her to the red lightning on the diner’s roof.
- Use Tessie’s beam on a truck trailer to wake the Trucker zombie, then lead him to the roof with red lightning.
- Call Klaus in the mechanic shop to wake the third zombie, and lead him to the yellow lightning.
This mission can only be done on even-numbered rounds.
Blackwater Lake
If you have completed the above three, then
- A wisp appears on the dock; interact with it.
- Shoot the projector in the cabin to show four locations. You must remember the order.
- Shoot the film reels in that same order:
- Cabin back stairs
- Cabin upstairs near the roof
- Boathouse ceiling
- Tool shed shelf
Call Klaus using the nearby radio. Lead him to the bedroom; he will pick up an item and walk to the dock.
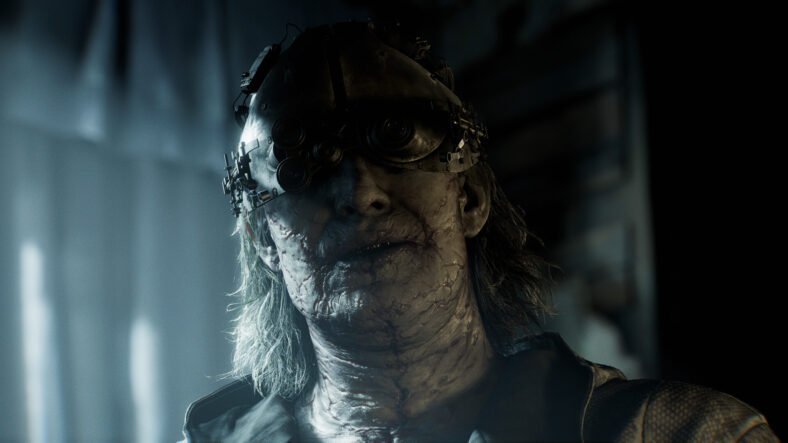
Final Fight – Defeat Veytharion
Before starting the fight with the boss: make sure you have good perks, gear, gums, throwables, and a Self-Revive kit. When you are ready, interact with Klaus on the dock.
Boss Fight Tips
- Shoot weak spots whenever possible.
- When Veytharion becomes immune, drive Tessie through glowing beams and ram into the boss. This breaks his shield and reveals a weak spot under him. At that time, use Tessie’s Turret, a Ray Gun, or other weapons to deal damage.
- Use red danger circles to dodge rockets.
- Watch out for the laser attack and the move where he throws Tessie.
Once he falls, the final cutscene plays, and the quest is complete.
Rewards
Finishing the full Easter egg gives you:
- Oorah! Operator Skin for Dempsey
- 10,000 XP
- Ashes of the Damned Calling Card
That is all for this guide. Additional Call of Duty: Black Ops 7 guides are linked below:
- Call of Duty: Black Ops 7 Zombies Beginner’s Guide – Tips and Tricks to Fight the Undead
- Call of Duty: Black Ops 7 Zombies Mastery Camo Guide – How to Unlock All
- Call of Duty: Black Ops 7 Weapon Level Up Guide – How to Level Up Quickly
- Call of Duty: Black Ops 7 Zombies Augments Guide – All Augments, Where to Get
- Call of Duty: Black Ops 7 Zombies Ammo Mods Guide – All Ammo Mods Detailed
- Call of Duty: Black Ops 7 Zombies Power-Ups Guide – All Power-Ups
- Call of Duty: Black Ops 7 Multiplayer Modes Guide – All Modes Detailed
- Call of Duty: Black Ops 7 Zombies Relics Guide – All Tier Relics, How to Unlock
This concludes our Call of Duty Black Ops 7 Ashes of the Damned Main Quest Easter Egg Guide. If you want to add anything to this guide, feel free to use the comments section below.