Finding strong weapons, good armor, saddles, cursed items, and rare blueprints on the Lost Colony map can feel frustrating, especially since this map has no traditional supply drops. That is exactly why knowing where and how to farm loot properly is so important. In this ARK: Lost Colony Loot and Blueprints Farming Guide, we will see the top 5 loot-farming methods on Lost Colony.
Loot and Blueprints Farming Guide – ARK: Lost Colony
Below, we have some locations where you can farm loot and blueprints easily.
#5 – Dark Forest Cave
Main entrance: 57.8 Latitude / 28.3 Longitude. Easily identified by ruins near the cave entrance.
The Dark Forest Cave is one of the easiest ways to get loot on Lost Colony. It is a massive underground cave that spawns free loot crates every run. Several loot crates can spawn during a single visit. The crates can be blue, yellow, or red tier. Loot respawns roughly every 45 minutes, allowing repeat runs. Loot crates are Lost Colony exclusive, meaning you can get items that don’t appear on other maps.
However, loot quality is very random. Some runs feel rewarding, others not. The cave is large, with many possible crate spawn points. It can take time to learn where crates usually appear.
Recommended Gear
- Desmodus (the only flyer allowed in caves on official servers)
- Basic exploration supplies:
- Parachutes for safety
- Shotgun
You will face common cave creatures like Spiders, Bats, and Desmodus hanging from ceilings.
Loot Spawn Coordinates (Dark Forest Cave Area)
- 44.5 / 25.8
- 47.2 / 26.8
- 47.5 / 25.4
- 48.4 / 23.9
- 50.3 / 26.2
- 51.1 / 21.4
- 53.4 / 25.1
- 54.2 / 22.0
- 54.8 / 28.2
#4 – Ruins of the Ascendant Cavern
Main entrance: 82.8 Latitude / 74.9 Longitude. Enter through a large visible structure with a clear opening.
This cave is better than the Dark Forest Cave in almost every way. It is easier to see inside, faster to navigate, and much better suited for consistent loot farming.
You can usually get around 3 loot crates per run. Crates can still be blue, yellow, or red tier. The respawn time is about 45 minutes with over 12 possible spawn locations, keeping runs fresh.
Recommended Mount
- Desmodus
- Excellent for navigating tight spaces
- Allows you to avoid most combat
- Cave creatures, including:
- Spiders
- Scorpions
- Bats
- Desmodus
Loot Spawn Coordinates (Ascendant Cavern Area)
- 84.7 / 71.9
- 89.1 / 68.9
- 90.2 / 71.9
- 90.8 / 70.0
- 91.4 / 67.7
- 91.8 / 69.9
- 92.4 / 71.5
- 92.6 / 68.6
- 93.9 / 70.1
- 95.2 / 67.3
- 96.6 / 66.9
#3 – Outpost Missions
Outpost Missions are one of the best sources of high-quality loot and cursed blueprints on the map. They are dynamic world events and scale in difficulty, making them great for both solo and group play.
Outposts are small enemy-controlled locations spread across the map. They come in two main mission types: Defense Outposts and Attack Outposts. Each mission has three difficulties: Gamma, Beta, and Alpha.
Defense Outpost Missions
- Claim the vault to begin the event
- Enemies drop resources as they attack
- Use dropped resources to:
- Place turrets
- Build defenses
- Survive multiple enemy waves
- Defeat the final mini-boss
- Use the dropped key to open the vault and collect your loot
Attack Outpost Missions
- Destroy all enemy structures
- Deal with constant reinforcements
- Defeat mounted mini-bosses (rider + creature combo)
- Open the vault using the mission key
Gamma can be completed solo without much trouble. Beta and Alpha are extremely challenging. Greater difficulties require strong weapons, high-quality saddles, and multiple powerful tames.
Recommended Creatures
- Osiden
- Reaper
- Future strong options:
- Giga
- Carchar
All creatures must be uncryoed before starting the mission; otherwise, the mission will not allow them.
Outpost Mission Coordinates
- 54.5 / 6.1
- 49.0 / 57.1
- 42.4 / 51.8
- 70.5 / 67.1
- 50.8 / 90.3
- 94.8 / 95.3
- 38.4 / 57.1
- 69.6 / 7.4
- 34.1 / 59.3
- 69.3 / 22.7
- 97.9 / 13.3
- 35.1 / 52.6
- 36.3 / 63.2
- 38.5 / 67.5
- 44.1 / 65.5
- 84.8 / 87.0
- 70.4 / 86.0
- 41.4 / 63.7
- 35.9 / 58.5
- 40.2 / 72.3
- 33.7 / 79.3
- 25.4 / 63.3
- 30.2 / 62.8
- 23.1 / 61.2
#2 – Drakelings & Dragon Horde Chests
This method offers some of the highest-quality loot in the entire game, with minimal effort. Drakelings are easily one of the best shoulder pets in the Lost Colony DLC. They don’t just help with combat; they actively boost your progression and give access to some of the best loot in the game through Dragon Horde Chests.
They provide a native biome passive buff, which increases your XP gain by 10% and improves loot quality by 10%. The biome buff remains active for up to 3 hours, even after leaving the biome. Different Drakeling variants may offer additional seasonal or bonus effects, depending on the type.
XP Storage System
- Drakelings passively gain XP as you kill enemies
- Stored XP is saved directly on the Drakeling
- Maximum XP capacity is 30,000 XP
- Once the cap is reached:
- The Drakeling stops storing more XP
- You should use the XP for the best efficiency
- Fully maxing stored XP is strongly recommended for higher-quality rewards
Drakeling Stances
Drakelings can be used in two different stances, each with its own purpose: Shoulder Stance and Wrist Stance.
You can also drag the Drakeling’s weapon directly onto your hotbar and access its abilities more quickly without opening menus.
Wrist Stance Abilities
While the Drakeling is on your wrist, you can cycle abilities using the reload button:
- Ranged Breath Attack – Functions like a mini flamethrower. It is useful for light combat or utility.
- Season Buff Sharing – Temporarily shares the Drakeling’s seasonal buff. It affects nearby allies, and the buff lasts 60 seconds.
- XP Sharing – This is the main reason Drakelings rank so high.
How XP Sharing Works
- Switch the Drakeling to XP-sharing mode
- Aim at the tame you want to level
- Use the alternate attack button
- All stored XP is instantly transferred to that creature
- Once XP is shared, a Dragon Horde Key is added to your inventory
More stored XP = higher-quality Dragon Horde Key
Dragon Horde Chests
- Open your inventory and consume the Dragon Horde Key
- A new waypoint appears on your screen or in-game map.
- Travel to the waypoint location
- When you get close to the waypoint turns green, and a Dragon Horde Chest emerges from the ground
- Open the chest to claim your loot
Dragon Horde Chests do not drop cursed items and always provide top-tier standard gear.
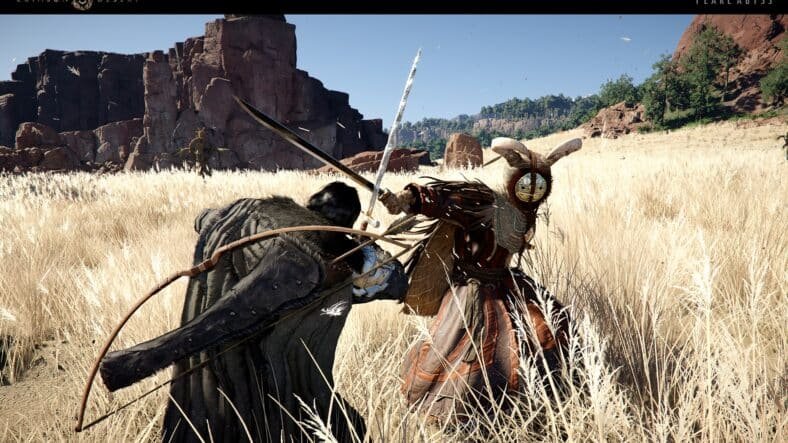
#1 – Farming Neophytes in ARK: Lost Colony
It is the most rewarding loot method on the Lost Colony map.
How to Spawn Neophytes
To start farming Neophytes, you must first meet specific conditions:
- Raise your Lost King hostility level to 50. This is done by killing Lost King enemies repeatedly
- Once hostility reaches 50, Neophytes can begin hunting you
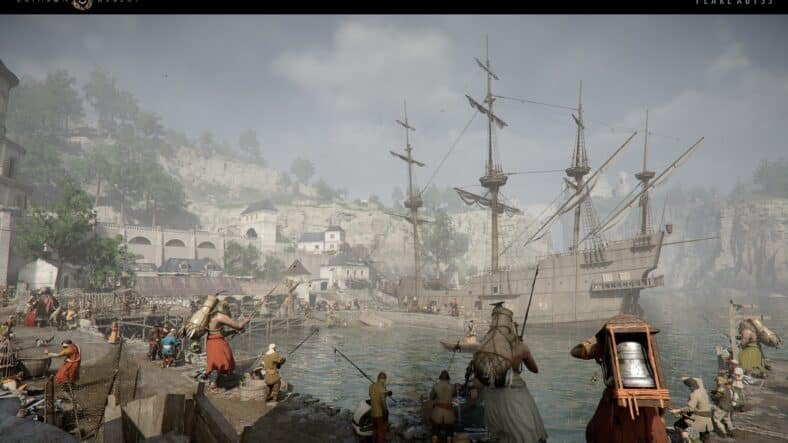
- You must be in or near the city area
- Neophytes only hunt players at night from 8:25 PM to 5:00 AM
This gives you a long window to farm them efficiently.
Farming Strategy
Before night begins, it is best to prepare a trap:
- Build a box trap using: Door frames and Dino gate or double doors
- Make sure you have a clear way to enter and exit
- When a Neophyte starts hunting:
- It will hover in the air briefly
- Then dive toward you
- Use a shield to reduce damage while baiting
- Lure the Neophyte into the trap
- Once inside:
- Lock it in place
- Attack safely from outside
Best Mount for the Job
- Filer Colio is the ideal choice
- Its bite applies a strong bleed effect and drains 5% of the enemy’s health over 5 seconds
- Bleed damage ignores total health, meaning you only need around 20 bites to kill a Neophyte. It works regardless of how much health it has
Efficient Farming Loop
- Kill the trapped Neophyte
- Loot its death cache
- Immediately mount your Filer Colio
- This instantly triggers another Neophyte spawn
- Dismount and repeat the process
You can continue farming non-stop until 5:00 AM or on any in-game night, once hostility is at 50.
Loot Scaling & Rewards
- Neophytes initially spawn at level 50
- Each kill causes future spawns to scale higher
- Levels can increase up to level 300
- Higher-level Neophytes drop noticeably better loot
Possible Loot Drops
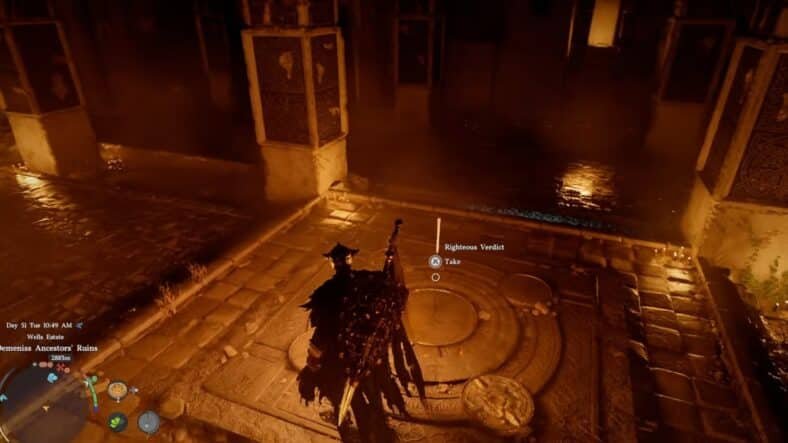
- Cursed weapons
- Fabricated sniper rifles
- Riot armor pieces
- Ascendant pump shotguns
- Flamethrowers
- Swords
- Blueprints (rare, but possible)
This is the single best method for farming cursed items and high-end gear on Lost Colony. That is all for this guide. Additional ARK: Lost Colony guides are linked below:
- ARK: Lost Colony Outposts Guide – All Outposts, Missions
- ARK: Lost Colony Items Guide – All New Items and Consumables Detailed
- ARK: Lost Colony Thralls Guide – How to Get, Use
- ARK: Lost Colony Creatures Guide – All New Creatures, Where to Find
- ARK: Lost Colony Console Commands Guide – Spawn Creatures, Saddles, More
- ARK: Lost Colony Best Creatures Guide – 10 Creatures You Need to Tame
- ARK: Lost Colony PvE Base Locations Guide – Best Locations for PVE
This concludes our ARK: Lost Colony Loot and Blueprints Farming Guide. If you want to add anything to this guide, feel free to use the comments section below.