MIO: Memories In Orbit may look calm on the surface, but it is built to make you feel lost, underpowered, and unsure of your next step. The game gives very little direction and expects you to learn through failure, exploration, and experimentation. Understanding how death, currency, movement, and assist systems work early on will save you hours of frustration and help the game feel challenging instead of punishing. This MIO: Memories In Orbit Beginner’s Guide details all the tips and tricks you need to know to make your journey a bit easier.
Beginner’s Guide – MIO: Memories in Orbit
Below, you will find tips and tricks you should use when you are in the world of MIO.
Death Is Part of Progress
Dying in MIO is not something you should try to avoid at all costs. Early in the game, the main hub area, called the Nexus, is mostly inactive and limited in what it can do. Each time you die, the Nacre you earn helps power this area.
As the Nexus gains power, important features begin to unlock. One of the first is map access, but at the beginning, you can only view it while standing inside the Nexus. If you try to open the map elsewhere, it simply won’t work. Once you invest more Nacre, the Nexus fully comes online, letting you check the map anywhere and even move more freely within the hub itself.
Check Back with Mel for Upgrades
After some exploration, you can buy things from Mel. As you explore, it is important to return to Mel, the shopkeeper in the Nexus, whenever possible. Her inventory expands as you progress, and she sells upgrades that help you survive and improve your mobility. Regularly checking her stock ensures you don’t miss upgrades that can make difficult sections more manageable. Even if you feel ready to push forward, stopping to upgrade can save a lot of unnecessary frustration.
Protect Your Nacre Whenever You Can
Nacre is extremely valuable, and losing it can slow your progress. It is not just money here; it controls your progress. After powering up the Vessel, you then want to save the Nacre rather than spending it. This currency is not safe until it is secured. Enemies drop a loose form of Nacre when defeated, but this version is risky. If you die, it stays behind where you fell. If you die again before collecting it, it disappears completely. This makes all your hard work and progress go to waste.
To avoid this, look for functional processing units spread across the map marked with hexagons. These allow you to convert Nacre into a crystallized form that stays with you even after death. There is no downside to doing this, so it is best to use them often. Once fast travel becomes available, it is easy to forget how much unprotected Nacre you are carrying, which makes regular visits to these processors even more important.
Use the Map Pins
The map in MIO does not explain much on its own. To make it useful, you will need to rely on map pins. These can help you remember locations you can’t reach yet, strange areas, or areas that require abilities you don’t have.
Using your pin system helps turn aimless exploration into planned backtracking. When you return later with new upgrades, those markers save you from rechecking every room blindly.
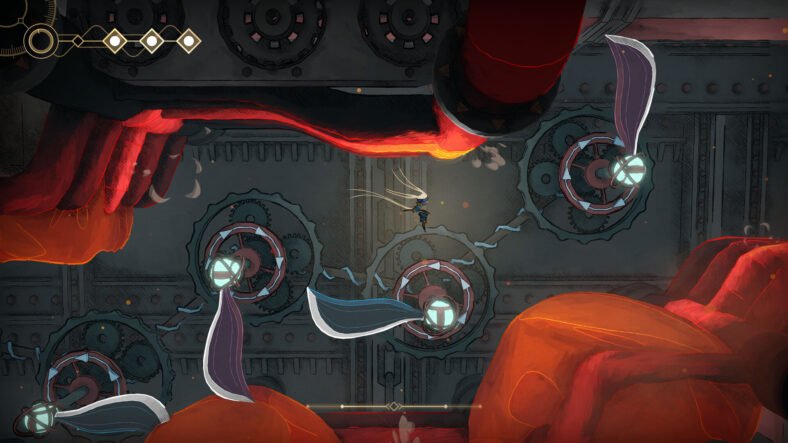
Using Double Jumps to Airborne
While MIO gives you a double jump early on, it doesn’t explain how flexible this ability really is. Hitting enemies, certain plants, or other interactive objects can refresh your double jump while you are still in the air. By timing attacks carefully, you can stay airborne much longer than expected, especially in vertical sections.
This is especially useful when navigating large gaps or fighting flying enemies. Instead of searching for platforms, look for something you can strike mid-air. With practice, you can stay off the ground far longer.
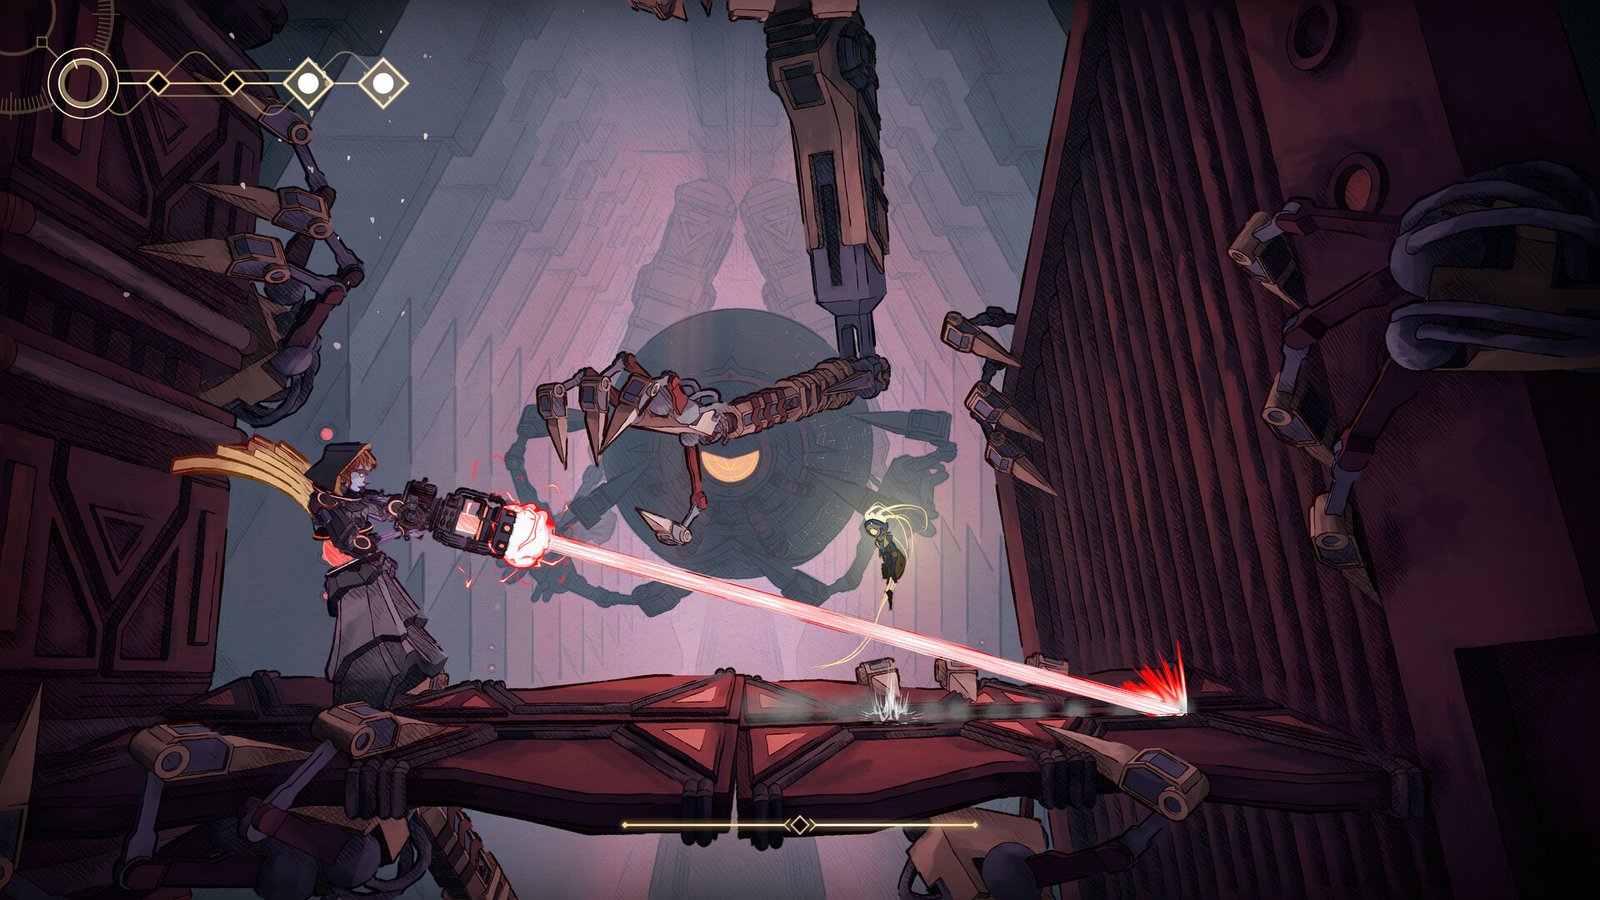
Control Movement with Directional Attacks
MIO allows you to aim attacks in multiple directions, including upward, diagonal, and side strikes. Even attacks that do not deal damage, such as downward strikes, can still bounce you and reset your jump. Learning to aim deliberately helps you stay mobile during combat, making both fights and platforming sections easier.
Choose the Right Mods
As you collect modifiers, you will quickly notice that space is limited. You can’t equip everything at once, and even basic features like health or energy displays take up room and fall in the category of mods.
Because modifiers can only be changed at Network Gate save points, repeated attempts at a boss are a good time to experiment. Some modifiers are very helpful while exploring, such as Maintenance Hack, but less useful during boss fights. Swapping them out can give you more room for combat-focused options.
Certain modifiers, like Nacre Drought, add extra slots but come with restrictions, which can be risky during exploration but useful in controlled situations.
You can get these mods by purchasing them from Mel or finding them in the dark areas of Vessel. Some of the early useful mods are:
| Mod Name | Where to Find It | What It Does |
| Analyzer | After you open a shortcut door in the game, the robot, Rad, will reward you with this mod | Displays health bars for enemies and bosses |
| Protective Overlay | Located in a locked chest in the Dwellings after defeating a group of enemies | Adds one extra point to your health |
| Kinetic Thrust | Found in a hidden area near the beginning of the game | Increases the damage of the final hit in your attack combo |
| Maintenance Hack | Bought from Mel, the merchant in the Nexus area | Allows you to heal at Nacre basins without spending Nacre |
Look Closer for Hidden Areas
Many items in MIO appear unreachable at first glance. While some are meant for later upgrades, there are also some hidden paths. Hidden paths are often disguised using rocks, plants, or background details that blend into the environment.
Thoroughly exploring nearby areas can reveal hidden routes. Don’t rush past rooms that seem empty; take your time to investigate suspicious walls, plants, or breakable objects. These hidden areas can contain upgrades or shortcuts, and sometimes you may discover paths that the game doesn’t even expect you to find until later.
It is also worth noting that not all content in MIO is mandatory. The game can be completed without visiting every area, as some biomes and boss fights are completely optional and hidden off the main path.
Use Assist Options for Help
MIO includes assist features that make the game easy without removing its challenge. These options are especially helpful if you are stuck on bosses or difficult platforming sections. One of them, Eroded Bosses, gradually lowers a boss’s health by nearly 25% after repeated defeats, making pattern learning less difficult.
Pacifist mode prevents enemies from attacking unless you hit them first, which is useful for safely exploring or retrying boss encounters.
One assist worth paying attention to is Ground Healing, which helps you regain a small amount of health if you stay grounded without jumping for a short time. This mechanic rewards careful play and can give you health when you are close to failure. These settings are tools, not shortcuts, and using them doesn’t take away from the experience.
Check your Surroundings
Not every threat in MIO comes from enemies. Be careful around elevators. When calling one, always stand off to the side. There is no warning or safety signal, and standing directly under it will result in instant death.
Some Network Gates won’t work until their overseers are found and reactivated, so if fast travel is not available, check the surrounding area carefully before moving away to find them.
That is all for this guide. Additional MIO: Memories in Orbit guides are linked below:
- MIO: Memories in Orbit Bell Tower Key Guide – How to Get
- MIO: Memories In Orbit Flowing Steps Guide – How to Walk on Liquids, Gloomwater
- MIO: Memories In Orbit Silo Access Badge Guide – How to Get
- MIO: Memories In Orbit Fast Travel Guide – How to Unlock
- MIO: Memories in Orbit Atmos Boss Guide – How to Defeat
This concludes our MIO: Memories In Orbit Beginner’s Guide. If you want to add anything to this guide, feel free to use the comments section below.